? Are you certain that the cover on your well is keeping your water supply safe?
How Do I Know If My Well Cap Is Secure?
You rely on clean, safe water from your well, and the well cap is one of the simplest but most important barriers against contamination. This article explains how to check whether your well cap is secure and what steps you should take to prevent backflow and other contamination risks.
Why the Well Cap Matters
The well cap seals the top of your well casing and keeps out bugs, small animals, surface water, and debris. If the cap is damaged, loose, or improperly vented, contaminants can enter the well and compromise the water quality you use every day.

How Contamination Can Reach Your Well
Contaminants can enter through direct access when caps are missing or cracked, or indirectly through poor site drainage, cross-connections, and backflow events. Understanding these entry points helps you take the right precautions and reduces the chance of bacteria, pesticides, or chemicals getting into your water.
Types of Well Caps and Seals
Different caps and seals offer different levels of protection. Knowing which one you have helps you inspect and maintain it correctly. Here are common types you may encounter:
Standard Screw-on Cap
The screw-on cap threads onto the casing and usually has a rubber gasket. It provides basic protection but can deteriorate or loosen over time.
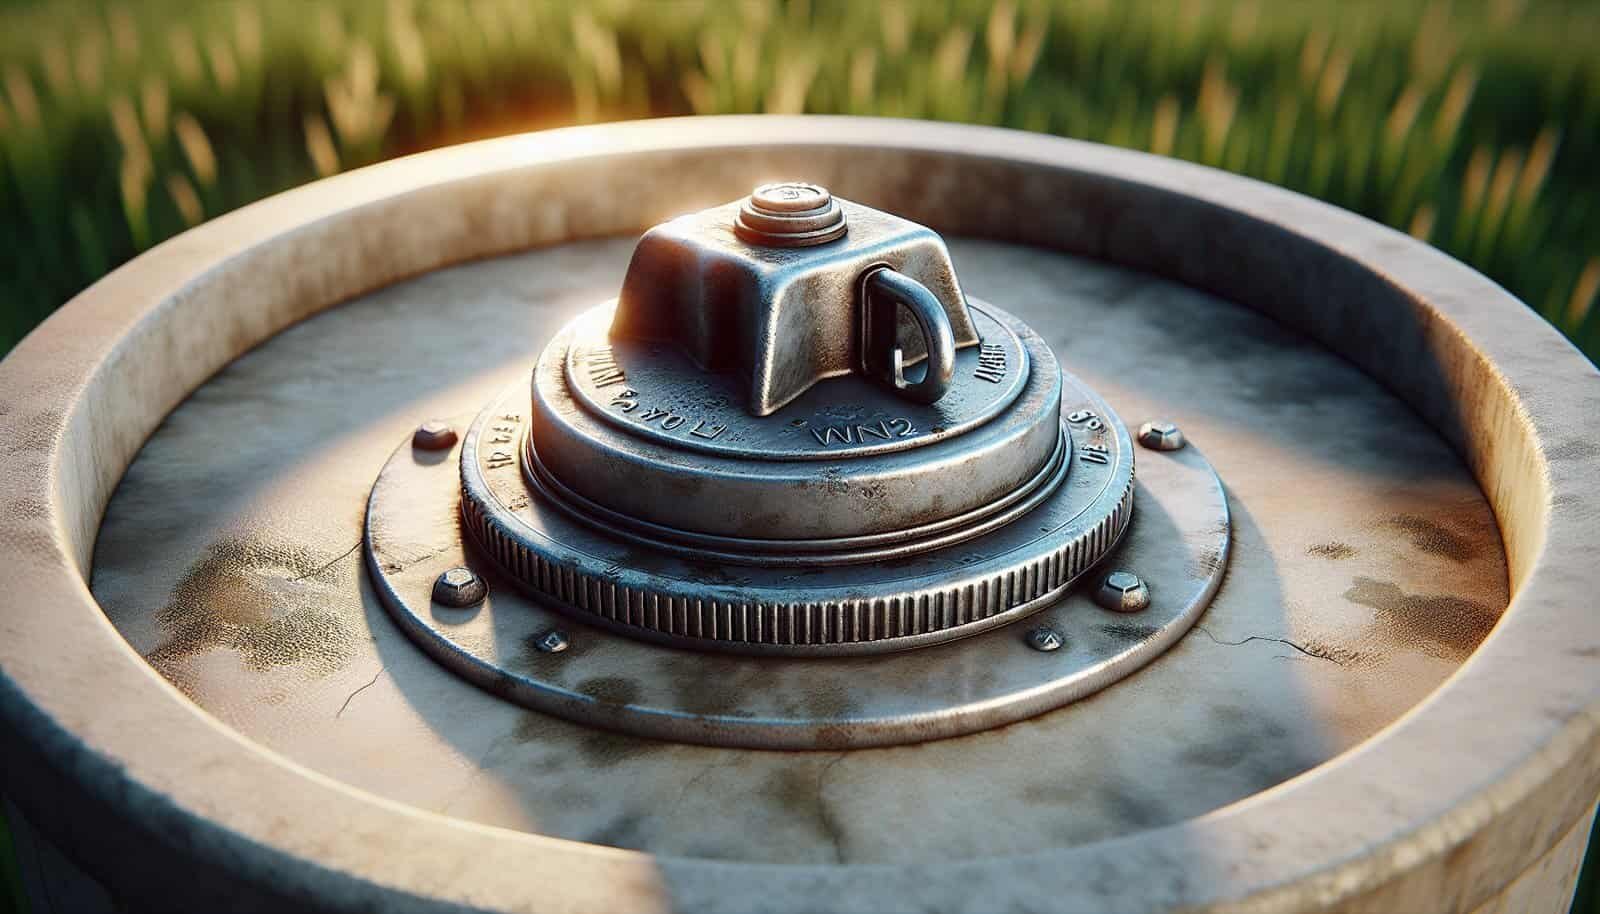
Sanitary Well Cap (Sanitary Seal)
Sanitary caps are designed to meet health standards and provide a vent that prevents insects and small animals from entering. They typically include a gasket and a screened vent. These are preferred for their safety features.
Concrete Collar or Pad with Pitless Adapter
A concrete collar or pad helps keep surface water away from the casing. A pitless adapter keeps the discharge conduit below frost level and reduces the chance of leaks at the casing. These combinations improve overall security around the well opening.
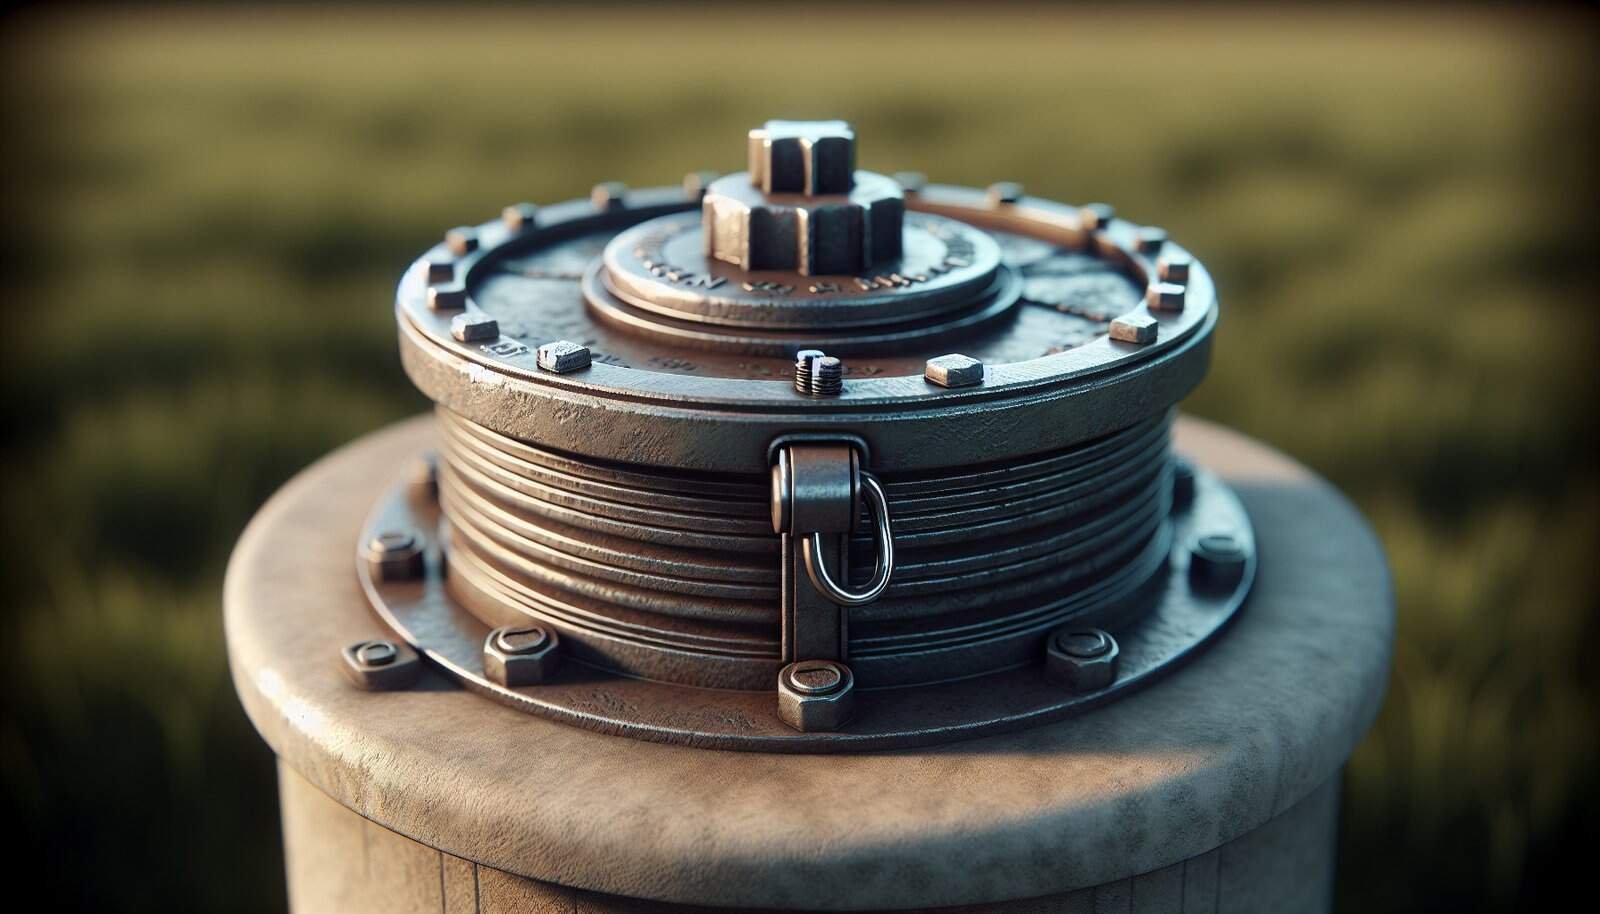
Pressure-rated or Bolted Caps
For wells with higher pressure or special equipment, bolted caps or pressure-rated covers may be used. These are more secure and better suited when equipment requires a heavy-duty seal.

Basic Inspection Frequency
You should visually inspect the well cap and the immediate area at least once a year. After severe weather, flooding, or a maintenance service to the pump or plumbing, inspect the cap again. Regular checks catch problems before they lead to contamination.
Tools and Materials You’ll Need
Gathering the right tools makes inspection and simple maintenance safer and easier. Below is a short list and the purpose of each item.
| Tool / Material | Purpose |
|---|---|
| Flashlight | Inspect inside the casing and check for debris, cracks, or animal activity. |
| Adjustable wrench / pliers | Remove and re-tighten screw-on caps and bolts. |
| Screwdriver set | Remove screws from bolted caps or enclosures. |
| Replacement gasket or cap | Replace worn seals to maintain a tight closure. |
| Wire brush / rag | Clean threads, gasket seats, and sealing surfaces. |
| Inspection mirror | View obstructed areas inside the opening without removing the pump. |
| Gloves and eye protection | Personal safety during inspection and cleaning. |
| Water test kit or sample bottles | Collect water for bacterial or chemical testing if contamination is suspected. |

How to Inspect Your Well Cap — Step-by-Step
A careful inspection is straightforward. Follow these steps to determine whether your well cap is secure and functioning properly. Always follow electrical safety best practices if the pump or electrical equipment is nearby.
1. Visual Inspection of the Area
Look for signs of animal activity, trash, or surface pooling of water near the well. The ground around the well should slope away and be free of standing water that could seep into the well.
2. Check the Cap for Physical Damage
Examine the cap for cracks, corrosion, broken vent screens, or missing bolts. Even hairline cracks can lead to infiltration over time, so replace damaged caps promptly.
3. Verify the Seal and Gasket Condition
Check the rubber gasket for cracks, compressive set, or missing sections. Replace any gaskets that feel hard, brittle, or no longer compress snugly when the cap is tightened.
4. Look Inside the Casing
If you safely remove the cap, use a flashlight to look for debris, dead insects, or rodent droppings. Anything foreign inside the casing is a sign the seal failed at some point.
5. Confirm Venting Is Proper and Screened
Sanitary caps include a screened vent to allow pressure equalization while keeping insects out. Ensure the screen is intact and not plugged with dust, mud, or insect nests.
6. Check Thread Engagement and Fasteners
Make sure screw-on caps are fully threaded and bolted covers have all bolts present and torqued properly. Avoid overtightening plastic threaded caps, which can crack.
7. Inspect Casing Above Ground
The casing should extend at least 12 inches above the ground to prevent surface water from running into the top. If the casing is low or buried, consider raising it or installing a concrete collar.
8. Look for Evidence of Cross-Connections
Inspect plumbing nearby for hoses or temporary connections that could create a cross-connection. Garden hoses and irrigation systems are common sources of backflow risk.
Common Signs Your Well Cap Is Not Secure
Knowing the warning signs lets you act quickly. Here are common indicators that the cap—or the surrounding well components—may be compromised.
- Presence of insects, dead animals, or droppings in the casing.
- Cracks in the cap or casing, or missing screws/bolts.
- Poorly fitting or hardened gasket.
- Vent screen missing or blocked.
- Standing water or saturated soil immediately surrounding the well.
- Recent changes in water taste, odor, clarity, or a positive bacteria test.
If you observe any of these signs, take immediate action to prevent further contamination and have the water tested.

What to Do If You Find Problems
If the cap is loose, cracked, or the gasket is damaged, replace it with a sanitary well cap that meets local standards. If you find debris or animal matter inside the casing, disinfect the well (shock chlorination) and test the water for bacteria.
Immediate Steps After Finding Contamination
- Stop using the water for drinking and cooking until you know it’s safe.
- Use bottled water or a known safe source for drinking, brushing teeth, and food prep.
- Consider contacting local public health for guidance and arrange for water testing.
- If required, perform shock chlorination or hire a licensed well professional to disinfect and restore the well.
How to Replace a Well Cap Safely
Replacing a well cap is usually a simple job, but safety and proper sealing are essential.
Steps to Replace a Cap
- Turn off electrical power to any well equipment near the opening to avoid contact with live wires.
- Remove the existing cap carefully and inspect the top of the casing for damage.
- Clean threads or sealing surfaces with a wire brush and rag.
- Install a new gasket if the cap requires one and set the cap onto the casing without forcing it.
- Tighten screw-on caps hand-tight or bolts to manufacturer torque specs. Avoid over-tightening plastic caps.
- Check the vent screen and replace it if damaged.
- Verify the area around the well sheds water away from the casing.
If you are unsure about electrical safety, structural integrity, or local code requirements, hire a licensed well contractor or plumber.

Preventing Backflow Into Your Well System
Backflow is when water flows in the reverse direction, potentially bringing contaminants into your well or cross-connecting systems. Preventing backflow is critical if you have irrigation systems, municipal connections, chemical injectors, or devices that could create cross-connections.
What Causes Backflow?
Backflow can happen due to backpressure (pressure in a downstream system higher than in the supply) or backsiphonage (negative pressure in the supply line causing suction). Conditions such as broken pipes, pump start/stop, power outages, and pressure drops can create these events.
Common Cross-Connections to Watch For
- Garden hoses left submerged in fertilizer or standing in a pool.
- Irrigation systems with backflow into the potable water supply.
- Chemical feeders for water treatment or pools connected without proper devices.
- Booster pumps or connections to municipal water used to augment your well supply.
Devices That Prevent Backflow
There are several types of backflow prevention devices; choosing the right one depends on your situation.
| Device | Typical Use | Protection Level |
|---|---|---|
| Air gap | Most secure; used where space allows, like between outlet and floodable device | High |
| Reduced Pressure Zone (RPZ) valve | High hazard connections (irrigation, chemical injectors) | Very high |
| Double Check Valve Assembly (DCVA) | Low-to-medium hazard applications | Moderate |
| Pressure vacuum breaker (PVB) | Irrigation systems, protects against backsiphonage | Moderate |
| Hose bib vacuum breaker | Attached to hose bibs to prevent garden hose contamination | Low to moderate |
| Check valve (single) | Prevents reverse flow in pumps but does not protect against backsiphonage | Limited |
Best Practices to Prevent Backflow
- Install proper backflow prevention devices for irrigation, pool fills, and chemical feeders. RPZs are often required for high-hazard connections.
- Always use an air gap where possible when transferring water to tanks, chemical feeders, or processes that can be open to contamination.
- Install hose bib vacuum breakers on all outside faucets and avoid submerging hoses.
- If you connect to a municipal supply or have a dual-source setup, ensure proper isolation and backflow prevention between sources.
- Ensure check valves on the pump are maintained, but don’t rely on a single check valve as your only backflow protection for hazardous connections.
Table: Backflow Risk Examples and Appropriate Protection
| Scenario | Backflow Risk | Recommended Protection |
|---|---|---|
| Garden hose used for fertilizing or dipped into standing water | Backsiphonage | Hose bib vacuum breaker + avoid submersion |
| In-ground irrigation system | Backsiphonage/Backpressure | PVB or RPZ depending on hazard and local code |
| Chemical injection for treatment | Backpressure | RPZ or air gap |
| Connection to municipal water for pressure boosting | Cross-connection risk | Double check or RPZ and code-compliant isolation |
| Filling a portable tank with well water | Backsiphonage | Air gap or appropriate backflow preventer |
Testing and Water Quality Monitoring
Even if your cap looks secure, routine water testing is important. Bacteria, nitrates, and other contaminants can enter through less obvious routes.
Recommended Testing Frequency
- Bacterial tests (total coliform and E. coli): At least annually and after any well work or contamination event.
- Nitrate testing: Annually, especially if you have agricultural land, septic systems, or young children in the home.
- Other tests (pesticides, VOCs, metals): Test if you suspect contamination due to location, land use changes, or industrial activity. Local health departments can advise on specific tests for your area.
What Tests Will Tell You
Bacterial tests detect microbial presence indicating a breach in sanitation. Chemical tests identify pollutants that could be harmful long-term. If tests are positive, follow public health advice for disinfection, repair, and re-testing.
Maintenance Schedule and Record-Keeping
Keep a log of inspections, repairs, tests, and service visits. This helps track recurring issues, maintenance history, and supports compliance with local regulations.
Suggested schedule:
- Monthly: Visual check of area and signs of obvious problems.
- Annually: Full cap and casing inspection, water testing for bacteria and nitrates.
- After storms or flooding: Inspect cap and shock chlorinate if contamination suspected.
- After any pump or plumbing service: Inspect cap and test water.
Emergency Response: What To Do If You Suspect Contamination
If you suspect contamination, take prompt action to protect yourself and your household.
- Stop using the well water for drinking and food preparation until testing confirms safety.
- Use bottled water or a safe alternative for drinking and oral use.
- Contact local health authorities for guidance on testing and treatment.
- Consider shock chlorination (household bleach) following recommended procedures or contact a certified well contractor.
- Re-test after disinfection before resuming normal use.
DIY vs Professional Services
Simple inspections and replacement of a gasket or cap can be DIY tasks if you are comfortable with basic tools and safety precautions. However, call a professional if:
- You find structural damage to the casing.
- There are electrical components nearby that pose a risk.
- You’re unsure about sanitary seals, pitless adapters, or compliance with local codes.
- The well requires disinfection beyond basic procedures or persistent contamination exists.
Professionals can perform pressure tests, camera inspections, and certified backflow device installations that meet local regulations.
Typical Costs and What Affects Them
Costs vary by region, well type, and extent of work. The table below gives rough estimates to help you budget.
| Item or Service | Typical Cost Range (USD) |
|---|---|
| Replacement sanitary well cap | $20 – $100 |
| Gasket or minor parts | $5 – $30 |
| Simple inspection (service call) | $75 – $200 |
| Shock chlorination (DIY materials) | $10 – $50 |
| Licensed well contractor shock & test | $150 – $400 |
| Backflow prevention device installation (RPZ) | $300 – $1,200 |
| Major casing repair or pitless adapter service | $500 – $3,000+ |
Prices depend on local labor rates, complexity, and whether additional equipment or repair is required.
Local Codes, Standards, and Certifications
Check local health department or building code requirements for well construction and backflow prevention. Many areas require sanitary well caps, screened vents, and certain backflow devices for irrigation or municipal connections. Use caps and devices that meet recognized standards (look for manufacturer compliance with relevant NSF/ANSI standards where applicable) and have installations performed by licensed contractors when required.
Final Checklist: Is Your Well Cap Secure?
Use this quick checklist after your inspection:
- Is the cap present and seated snugly with an intact gasket?
- Is the vent screen intact and free of blockages?
- Are there cracks, corrosion, or missing fasteners?
- Does the casing extend at least 12 inches above grade and slope away from the well?
- Are there any signs of animal entry or debris in the casing?
- Are there any temporary or permanent cross-connections (hoses, chemical feeders) that need backflow protection?
- Has the water been tested recently for bacteria and nitrates?
- Is normal maintenance documented with dates and actions?
If you answered “no” or “unsure” to any of these, schedule repairs, install appropriate backflow devices, or arrange testing.
Summary and Next Steps
A secure well cap is a small but critical part of keeping your water safe. Regular inspections, proper venting and sealing, attention to drainage, correct backflow prevention, and scheduled water testing are your main defenses against contamination. If you find damage or evidence of contamination, act quickly—replace the cap, disinfect the well if necessary, and contact a licensed professional or local health department for guidance.
If you’d like, I can provide a printable inspection checklist, a step-by-step shock chlorination guide tailored to your well size, or help you find local resources and certified professionals based on your location. Which would you prefer?
