Are you responsible for an abandoned water well and unsure how to seal it safely?
How Do I Safely Seal An Abandoned Water Well?
Sealing an abandoned water well is important for safety, environmental protection, and property value. You’ll want to understand the risks, legal requirements, and the proper methods before taking action. This article walks you through everything you need to know in clear, friendly language so you can make an informed decision.
Why sealing an abandoned well matters
An unsealed well is a direct conduit to groundwater and can present physical hazards. You’ll reduce risks of contamination, drowning, and legal liability by sealing a well properly. It also helps protect community water supplies and prevents animals or debris from entering the well.
Common hazards of abandoned wells
Unsealed wells can cause groundwater contamination, collapse or injury, tripping hazards, and breeding grounds for pests. Recognizing these hazards helps you prioritize sealing and choose the right approach.
How to determine if the well is abandoned or active
Before you do anything, you must confirm whether the well is truly abandoned. Mistaking an active well for an abandoned one could interrupt water supply for someone.
Signs the well may be abandoned
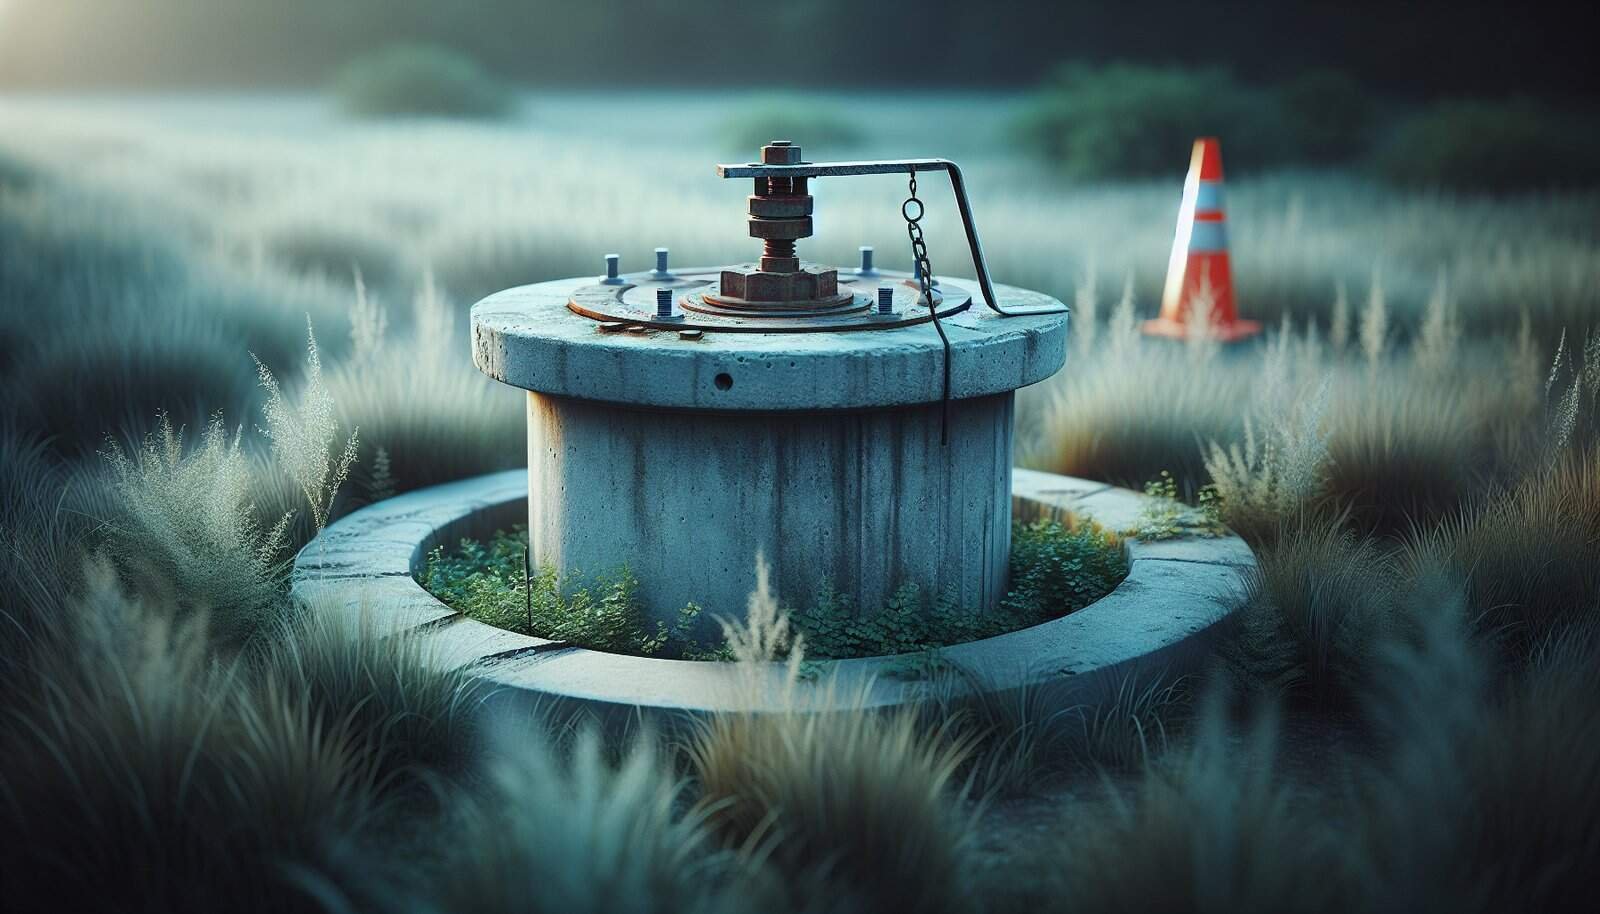
Look for rusting or broken well caps, disconnected pump systems, no recent maintenance tags, and overgrown vegetation around the wellhead. You’ll also check property records and ask neighbors or previous owners.
How to confirm well status officially
Contact your local health department, state wellregistry, or environmental agency. They can tell you if there is a record for the well, whether it’s permitted, and if it’s listed as active or abandoned.
Types of wells and how that affects sealing
Different well types require different sealing methods. You’ll encounter dug wells, drilled wells, driven wells, and bored wells.
Dug wells
Dug wells are shallow and wide. You’ll often need to remove loose material, disinfect, then fill and compact with approved material.
Drilled wells
Drilled wells are deeper and lined with casing. You’ll typically seal them with grout from the bottom up or use a specialized cement slurry.
Driven wells
Driven wells use well points and are usually shallower; sealing often involves pulling the well point when possible and backfilling with bentonite or cement.
Bored wells
Bored wells are similar to dug wells but can be deeper; the process often includes disinfection, casing removal, and filling with appropriate sealants.
Legal and regulatory considerations
Before you begin physical work, check local, state, and federal regulations. Many jurisdictions require certified contractors, specific materials, or permits for plugging wells.
Who to contact
You’ll typically start with your local health department, the state well-drilling regulatory agency, or the environmental protection agency. They’ll inform you of required procedures, reporting, and documentation.
Permits and reporting
You may need a permit to seal a well and must file a completion report afterward. The agency may ask for details like well depth, diameter, sealing materials, and the contractor’s certification.

Should you do it yourself or hire a professional?
Deciding whether to DIY or hire a licensed well contractor depends on the well’s depth, complexity, local rules, and your comfort with the work.
When DIY might be appropriate
You might handle a small, shallow, dug well if regulations allow, you’re experienced, and you have the necessary tools. Even then, follow official guidance exactly.
When you must hire a professional
For deep drilled wells, wells with complex casing, or where regulations require licensed pluggers, you’ll want a professional. Professionals have the equipment to grout spaces effectively and ensure compliance.
Materials commonly used to seal wells
Use only approved materials. The right material depends on well type and local codes.
| Material | Typical Use | Key Properties |
|---|---|---|
| Cement grout | Sealing drilled wells and casing annulus | Strong, durable, bonds to casing and rock |
| Bentonite clay | Shallow seals, plugging annular space | Swells when wet, low permeability |
| Clean fill (sand, gravel) | Filling dug wells after partial removal | Supports compaction, easier to remove if needed |
| Concrete | Well caps, surface seals | Rigid, durable for surface work |
| Bentonite chips/pellets | Small voids, shallow wells | Easy to place, effective barrier when hydrated |
Choosing the right material
Follow local agency recommendations. For example, many states require cement or bentonite for sealing the annular space of drilled wells. You’ll choose materials based on permeability, long-term stability, and compatibility with the well structure.
Step-by-step process for sealing a typical drilled well (overview)
The general steps below give you a sense of the process. If local codes differ, follow those exactly.
- Locate and document the well. Note depth, diameter, casing type, and surroundings.
- Contact your regulatory agency and get permits if needed.
- Remove pumps, piping, and obstructions from the casing.
- Disinfect the well if contamination is suspected.
- Determine sealing depth intervals based on aquifers and geological layers.
- Place grout or sealing material from the bottom upward or as specified.
- Fill the casing completely and ensure no voids remain.
- Cut or remove casing flush with ground or to required depth.
- Install final surface seal or cap according to code.
- Complete and submit required forms and records.
Important safety steps during the process
Always use fall protection around open wells, lock out electrical systems, use proper confined-space procedures if entering shafts, and have an emergency plan. You’ll want a second person present for work in isolated areas.
Detailed sealing for a dug well
If you have a dug well, the approach differs from drilled wells.
Preparing a dug well
You’ll first remove loose stones, old pumps, and debris. It’s better to remove as much contaminated material as you can before filling.
Backfilling and compacting
Fill the well with clean fill material such as gravel, sand, and then clay or bentonite. Compact in lifts to minimize settlement. Place a final surface seal using clay or a concrete cap as required.

Detailed sealing for a drilled well
Drilled wells commonly need a grout seal in the annular space.
Removing equipment and assessing casing
You’ll remove the pump and plumbing, inspect the casing for corrosion or damage, and decide whether casing removal is necessary. If casing can’t be removed, you’ll grout inside and outside as applicable.
Grouting technique
Use a tremie pipe or grout pump to place cementitious grout from the bottom up to prevent voids. Make sure grout mixes meet specifications and are free of lumps.
How to handle contaminated wells
If the well has known contamination, you’ll need special handling to prevent spreading pollutants during work.
Containment and testing
Contain any contaminated water and test before, during, and after sealing. You may need to dispose of contaminated materials according to hazardous waste rules.
Professional help
For contamination, it’s usually best to hire environmental contractors with experience in remediation and regulatory reporting.
Surface seals and well caps
Even after filling, you’ll need an appropriate surface seal to prevent surface water or animals from entering.
Types of surface seals
You can use concrete caps, watertight steel caps, or screw-type caps designed for wellheads. The seal must be secure, tamper-resistant, and meet local specifications.
Placement and grading
Grade the soil away from the sealed well to direct surface water away from the cap. You’ll ensure the final finish prevents ponding.
Recordkeeping and documentation
After sealing, keep detailed records including photos, materials used, depths sealed, and certificates. Submit required reports to regulatory agencies.
Why records matter
Records protect you legally and help future owners or regulators understand what was done. They’re often required by law and help in property sale transactions.

Cost factors
Costs vary widely based on depth, accessibility, required permits, and whether you hire a contractor.
Typical cost ranges
- Small dug well (DIY if allowed): low materials cost, but still expect several hundred dollars.
- Professional plugging for shallow well: $500–$2,000 depending on region.
- Deep drilled well (professional): $1,000–$5,000 or more for complex jobs.
What affects cost
Depth, travel time, removal of old equipment, disposal of contaminated materials, and local labor rates all impact your total cost.
Health and safety checklist
Follow safety practices to protect yourself and others.
- Mark and secure the site before work begins.
- Use PPE: gloves, eye protection, hard hat, respirator when needed.
- Lock out power and remove pumps safely.
- Prevent falls into openings.
- Use proper ventilation and confined-space protocols if entering shafts.
- Keep children and pets away.
What to do if you find an old well cap or pipe
If you find an old cap or pipe that looks damaged, do not open or tamper with it without guidance. Contact your local health department or a licensed well contractor for inspection and safe handling.
Common mistakes to avoid
- Using the wrong sealing material.
- Not following local codes or failing to get permits.
- Leaving voids or gaps in the grout.
- Not documenting the work.
- Doing complex work without sufficient experience or help.

Frequently asked questions about sealing wells
You’ll have questions—here are answers to common ones.
How long does it take to seal a well?
It depends on well depth and complexity. A small dug well might take a day; a deep drilled well can take several days including setup, grout curing, and inspection.
Can a sealed well be reopened later?
Yes, but reopening a properly sealed well may be difficult and expensive and may require regulatory permission. Don’t rely on easy future access.
Who is responsible for sealing abandoned wells?
Typically the property owner is responsible. If the well poses an imminent hazard or contamination risk, local authorities may intervene.
Contacting professionals and what to expect
When you hire a professional, expect site assessment, a written estimate, permits, completion reports, and a warranty on workmanship. Ask for references and proof of licensing.
Questions to ask a contractor
- Are you licensed and insured?
- Can you provide references and past job documentation?
- What materials and methods do you use?
- Will you handle permits and reporting?
- What is the timeline and cost breakdown?
How Do I Know If My Water Filters Are Working Properly?
Now that you know how to handle an abandoned well, you’ll also want to keep your home’s water safe by ensuring your filters function correctly. Proper filtration protects your health and household systems.
Why testing your filter performance matters
Filters reduce contaminants, improve taste, and protect appliances. If filters are clogged or failing, contaminants can pass through, or flow may be reduced. Monitoring performance helps you act before problems escalate.
Types of water filters and what they do
Different filters target different contaminants. Knowing the type you use helps you evaluate performance.
Common filter types
- Sediment filters: Remove sand, silt, and large particles.
- Activated carbon filters: Reduce chlorine, volatile organic compounds (VOCs), and improve taste and odor.
- Reverse osmosis (RO): Remove many dissolved solids, salts, and some bacteria when combined with proper pre- and post-filters.
- Ultraviolet (UV) disinfection: Inactivates bacteria and viruses.
- Ion exchange water softeners: Reduce hardness minerals like calcium and magnesium.
What each filter affects
Understand what your filter is certified to remove so you know which tests to run and which symptoms indicate failure.

Signs your water filter may not be working
You’ll notice several warning signs if a filter is failing.
- Bad taste or odor persists after filtration.
- Discolored or cloudy water.
- Reduced flow rate at fixtures.
- Visible particulates or sediment.
- Sudden spikes in appliance scaling or staining.
- Algae or bacterial growth in filter housings.
Routine checks and maintenance
Regular maintenance keeps filters effective. You should schedule checks based on manufacturer recommendations and water usage.
Basic maintenance tasks
- Replace cartridges on schedule (every 3–12 months typically).
- Sanitize housings when replacing filters.
- Inspect O-rings and seals for leaks and replace as needed.
- Monitor inlet and outlet pressures if your system has gauges.
Keeping a maintenance log
Track replacement dates, water test results, and any system changes. You’ll avoid missing service intervals and can trace issues more easily.
How to test whether your filters work
Testing verifies that contaminants are being removed to acceptable levels. Use home kits, send samples to a lab, or hire a professional.
Home test kits
You can test for common parameters like chlorine, pH, nitrates, hardness, and bacteria with consumer kits. These are convenient for quick checks but may lack the precision of lab tests.
Laboratory testing
Send water samples to a certified lab to get accurate readings for heavy metals, pesticides, microbial contaminants, and dissolved solids. Labs give legally defensible results.
When to test professionally
Test when you suspect contamination, after replacing filters, when you move into a new home, or if someone in the household is immunocompromised.
Interpreting test results
Compare results to EPA or local health department drinking water standards. You’ll know if the filter meets required reductions.
What to do if test results are poor
- Replace filter elements immediately.
- Retest after replacement.
- If contamination persists, investigate source water quality and consider upgrading to a different filter type.
- Contact a water treatment professional for complex or persistent contaminants like heavy metals or industrial pollutants.
Ensuring proper filter installation
Even a great filter won’t work if installed incorrectly. Follow manufacturer instructions and check for leaks, proper flow direction, and secure fittings.
Common installation errors
- Installing cartridge backward.
- Not removing protective packaging or O-rings.
- Using incompatible fittings or incorrect pressure settings.
- Forgetting to flush new filters as required.
Monitoring flow rate and pressure
A drop in flow or pressure can indicate a clogged filter. Check pre-filter pressure gauges and replace cartridges if pressure differentials exceed manufacturer guidelines.
Simple flow checks you can do
Time how long it takes to fill a container and compare to previous measurements. Significant, steady reductions indicate a problem.
Specific guidance for common filter systems
Different systems have unique checks and maintenance.
Reverse Osmosis (RO) systems
Change pre- and post-filters on schedule, sanitize the storage tank occasionally, and replace the RO membrane every 2–5 years depending on feed water quality. Monitor TDS (total dissolved solids) reduction: a failed membrane will result in higher TDS at the RO output.
Carbon filters
Replace when taste/odor issues return or based on manufacturer timeline. For municipal chlorine removal, a drop in chlorine test readings from inlet to outlet indicates the filter is functioning.
UV systems
Replace UV lamps annually and clean sleeves as recommended. UV light output drops with lamp age; a functioning indicator on the unit helps but periodic microbial testing is prudent.
Sediment filters
Replace when visible clogging occurs or if you notice reduced flow. They protect finer filters downstream, so keep them fresh.
Troubleshooting tips
If you suspect a problem, follow these steps.
- Check the last service date and change filters if overdue.
- Inspect seals, housings, and fittings for leaks or cross-connections.
- Run a home test for the specific contaminant of concern.
- Flush the system thoroughly after filter changes.
- If problems persist, take a water sample for lab testing and consult a professional.
Record of replacement and warranty
Keep filter receipts, replacement dates, and manufacturer warranty info. You’ll need them for service claims and performance tracking.
When to upgrade your filtration system
Consider upgrading if your source water changes, you need additional contaminant removal (e.g., arsenic, lead), or existing systems can’t keep up with household demand. Newer systems can be more efficient and require less frequent maintenance.
Final tips and next steps
- For abandoned wells: prioritize safety and compliance. Contact your local agencies early and document everything.
- For water filters: maintain a schedule, test regularly, and respond promptly to signs of failure.
If you decide to tackle sealing a well yourself, make sure you’ve consulted regulations, acquired necessary permits, and prepared for safe work. If your water filtration appears compromised, start with a replacement of cartridges and a basic test, then escalate to lab analysis or professional help if needed.
If you want, tell me about your specific well (type, depth, location) and your water filter system (type, age, issues) and I’ll help you with tailored next steps.
