
Most well pressure tanks last 10 to 20 years before the internal bladder finally gives way and the tank goes waterlogged. When that happens, the signs are hard to miss: the pump kicks on every time you open a tap, water pressure sags in the middle of the day, and the motor runs far more than it should. Replacing a well pressure tank is one of the most cost-effective fixes you can make, and on a standard vertical bladder system it is a genuine do-it-yourself job. In this 2026 guide we walk through how to replace a well pressure tank start to finish, including how to diagnose a tired tank, choose the right replacement, make the swap safely, and set the air precharge so your system runs smooth. After inspecting and servicing hundreds of residential wells, this is the exact procedure we use and recommend to homeowners.
Disclosure: As an Amazon Associate, we earn from qualifying purchases on this page. Product selections are based on independent research and real well water data.
By Robert Harrison, Certified Well Inspector
Robert has 20+ years of experience inspecting and testing residential water wells across the western US, and has personally supervised or performed thousands of pressure tank installations for homeowners.
Published: October 2026
What this guide covers
- How to Tell Your Well Pressure Tank Needs Replacing
- Best Pressure Tanks to Replace Yours With
- Tools and Parts You Will Need
- Step-by-Step: How to Replace a Well Pressure Tank
- Setting the Air Precharge and Pressure Switch
- 5 Common Mistakes to Avoid
- How Long Does a Well Pressure Tank Last?
- Frequently Asked Questions
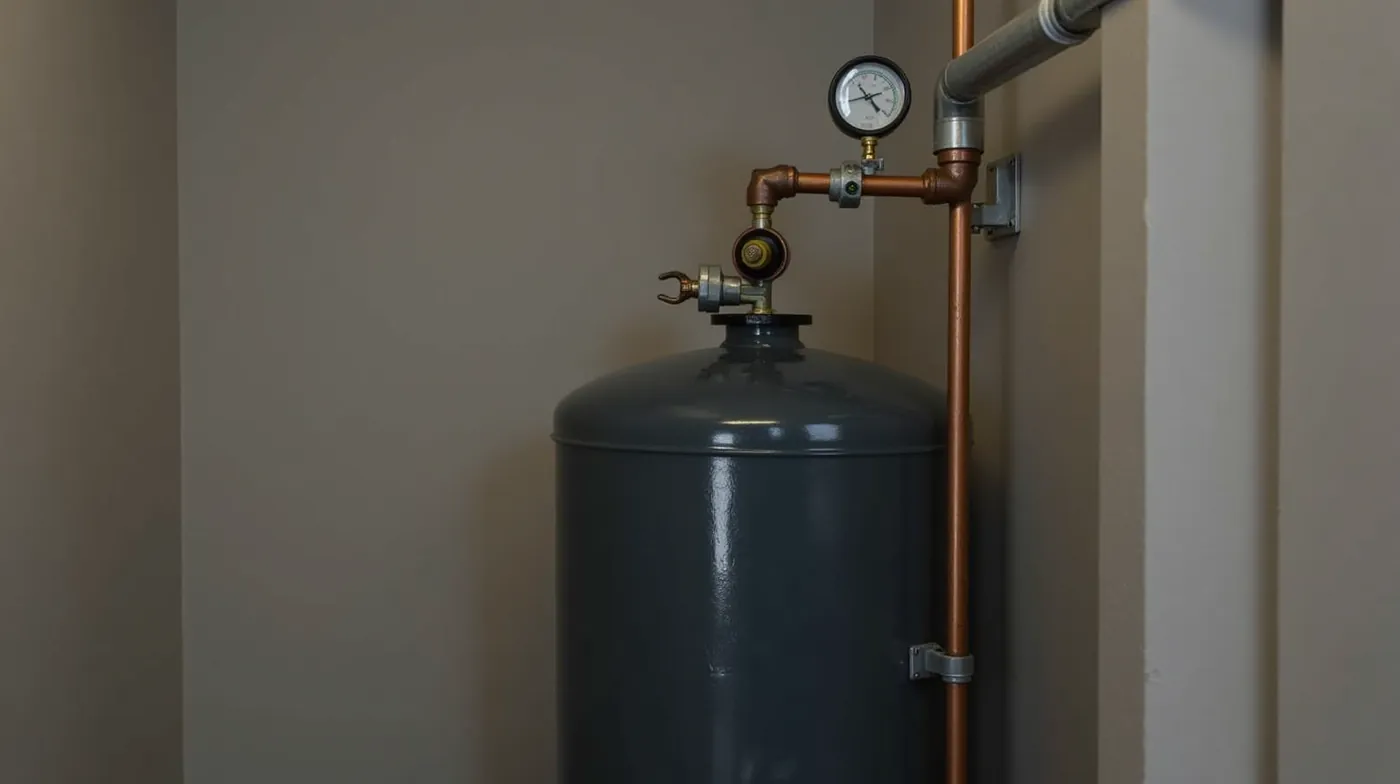
How to Tell Your Well Pressure Tank Needs Replacing
A well pressure tank does two jobs at once. It stores a cushion of air (or a sealed bladder holding air) that absorbs the pressure changes every time a pump cycles, and it keeps a reserve of water so the pump does not start and stop with every tiny draw. When the air cushion is gone, the tank becomes almost entirely full of water. We call that a waterlogged tank, and it is the single most common reason a homeowner replaces the tank.
Here is what a failing tank looks like in real operation, based on what we see most often in the field:
- Short cycling. The pump turns on and off every few seconds to a couple of minutes. This is the classic waterlogged-tank symptom, because there is no air cushion to hold pressure between cycles.
- Pressure that drops fast. Open one faucet and the gauge falls rapidly; close it and pressure climbs quickly. A healthy tank holds pressure much more steadily.
- The pump runs almost continuously. If the motor seems to hum all day, the tank is no longer holding enough water to let the pump rest.
- A soft, spongy tank. Tap the side of the tank. A healthy bladder tank has a slight give; a waterlogged one feels hard and all water. (Do this with the pump off.)
- Corrosion or weeping at the fittings. Rust at the nipple, base flange, or air valve is a sign the tank is at end of life.
Quick check before you buy a new tank
Before committing to a full replacement, confirm the tank is actually waterlogged. With the pump off and the system at rest, attach a tire gauge to the air valve and compare the reading to your cut-in pressure. If the air side reads near the water pressure (or you get water out of the valve), the air cushion is gone and a new tank is the right fix. If the air side reads well below water pressure but the tank still short-cycles, the problem may be a well pump flow switch or a failing check valve instead.
Best Pressure Tanks to Replace Yours With
For the vast majority of homes the correct replacement is a vertical bladder (diaphragm) tank that mounts to a single 1-inch pipe nipple. Size matters: the tank should match your pump and flow demand. An 8-gallon tank is the most common fit for a 1/2 HP submersible pump, while a 4-gallon tank suits low-flow or smaller systems. Here are the three we recommend most.
Franklin Electric 8-Gallon Vertical Pressure Tank
Our top pick for most half-horsepower systems. Franklin is the industry standard, and the 8-gallon vertical model drops in to replace the tank on the majority of residential wells. The factory-set precharge is reliable, the steel shell is double-epoxy coated, and the butyl rubber bladder is the same material used in higher-end units. It is the safest "match what you have" choice when you are not sure what to buy.
U.S. Well 4-Gallon Pressure Tank
The compact pick for low-flow homes, vacation cabins, and systems with a smaller pump. It takes up less space in a tight pump room or basement corner and still provides a proper air cushion. If your current tank is a 4-gallon or your pump is a 1/3 HP or smaller, this is the right size.
WaterRex 8-Gallon Bladder Pressure Tank
The value option. WaterRex tanks carry the same basic design as the name brands at a lower price, and they perform well for standard residential duty. If budget is a factor and your well is a typical 1/2 HP setup, this is a solid, no-frills replacement.
| Model | Size | Best For | Notes |
|---|---|---|---|
| Franklin Electric 8-Gal | 8 gal | Most 1/2 HP systems | Industry standard, safest match |
| U.S. Well 4-Gal | 4 gal | Low-flow / small systems | Compact, 1/3 HP and smaller |
| WaterRex 8-Gal | 8 gal | Budget 1/2 HP systems | Value pick, standard duty |
Source: manufacturer specs and our installation notes from 2025-2026 residential well work.
Tools and Parts You Will Need
The swap itself needs very little hardware. Most of the cost is the tank. Keep the fittings in mind if your old connections are corroded, because it is worth upgrading a cracked nipple or a tired valve while you have the tank out.
| Item | Why You Need It |
|---|---|
| 1-Inch Ball Valve (Brass) | Lets you shut off the tank for future service |
| 1-Inch Brass Union Fitting | Clean disconnect point at the tank |
| Pressure Tank Bladder (if replacing bladder only) | Fix a waterlogged tank without a full swap |
| Air Charge / Tire Gauge | Set and verify the precharge |
| Well Pump Pressure Switch | Replace if the old one is corroded or mis-set |
| Well Pump Check Valve | Prevents backflow that mimics a bad tank |
| Teflon tape, channel-lock pliers, wrenches, drain hose | Sealing and disconnection basics |
Step-by-Step: How to Replace a Well Pressure Tank
With the tank on the floor beside the old one and your fittings staged, the swap itself is quick. Work in this order to keep water and surprises out of the process.
- Turn off power to the pump at the breaker panel. Never work on a live pump system.
- Shut off water to the tank. Close the ball valve on the tank line if you have one. If not, shut off the well supply at its valve, or be ready to drain the line.
- Relieve system pressure. Open a downstream faucet or briefly jog the pressure switch to let the line pressure drop to zero.
- Disconnect the tank supply line. Unthread the 1-inch nipple (or union) connecting the pipe to the tank. Have a bucket or rag ready for the water that escapes.
- Drain the remaining water. With the nipple open, tip the tank to drain the last of the water, or run a drain hose from the open port. A waterlogged tank can hold several gallons.
- Note the setup. Before the tank hits the floor, photograph or label the pipe routing, the precharge, and the pressure switch settings so the new tank matches the old.
- Remove the old tank. Unbolt or unscrew the mounting bracket and set the tank aside. It is heavier than it looks, so support it while unbolting.
- Inspect the nipple and fittings. If the old nipple or union is corroded or cracked, replace it now. This is the cheapest time to do it.
- Set the precharge on the new tank. With the tank empty, set the air side to about 2 PSI below your pump cut-in (commonly 26 PSI for a 28/40 switch). See the precharge section below.
- Mount the new tank on its bracket and connect the nipple with Teflon tape, hand-tight plus a firm wrench turn.
- Reconnect the plumbing and torque all fittings. Reinstall the pressure switch and any check valve you removed.
- Restore power and water, then cycle the system. Check every joint for leaks and confirm pressure builds and holds correctly.
Setting the Air Precharge and Pressure Switch
The precharge is the air pressure in the tank when it is empty, and it is the setting most homeowners get wrong. The rule of thumb: precharge = cut-in pressure minus 2 PSI. For a standard 28/40 switch that means a 26 PSI precharge. Set it too low and the bladder over-expands, reducing usable water; set it too high and you lose water capacity and the pump runs more. To set it, the tank must be drained and the pump off, then you read and adjust the air side through the air valve with a tire gauge. For the full gauge-by-gauge procedure, see our guide on how to precharge a well pressure tank.
| Parameter | Typical Setting | What It Means |
|---|---|---|
| Air precharge | Cut-in minus 2 PSI (e.g. 26) | Air-side pressure with tank empty |
| Pump cut-in | 28 PSI | Pressure at which the pump turns on |
| Pump cut-out | 40 PSI | Pressure at which the pump turns off |
| Pressure differential | 12 PSI | Gap between cut-in and cut-out |
If your pressure gauge reads differently than expected after the swap, our well water pressure gauge guide explains how to read the dial and tell a bad gauge from a real pressure problem.
5 Common Mistakes to Avoid
The five that cost homeowners the most time and money
1. Skipping the precharge. The most common error. A new tank installed at factory precharge that does not match your switch settings will short-cycle or underperform. Always set it to cut-in minus 2 PSI.
2. Buying the wrong size. Too small and the pump short-cycles; too large and it over-pumps and wastes water. Match the tank to your pump horsepower and flow demand.
3. Forgetting to cut the power. Working on a live system can damage the pump and is a safety hazard. Always break the breaker first.
4. Cross-threading or over-torquing the nipple. A cracked nipple or cross-threaded union leaks. Tape, hand-start, then a firm (not brutal) wrench turn.
5. Ignoring the real cause. A worn check valve, a stuck pressure switch, or a failing pump can look exactly like a bad tank. If the new tank still short-cycles, the fault is elsewhere.
How Long Does a Well Pressure Tank Last?
A bladder tank typically lasts 10 to 20 years depending on water chemistry, how hard the pump works, and the quality of the bladder. Older cast-iron "sand and gravel" tanks can last longer as a shell, but their internal diaphragm still fails on a similar schedule and needs replacing. Two habits extend tank life: checking the precharge twice a year (topping it off when it drifts low), and keeping the tank out of direct heat. When the air side no longer holds or water comes out of the air valve, the bladder is done and replacement is the sensible fix rather than repeated re-precharging.
See also
Frequently Asked Questions
Do I need to replace the whole tank, or just the bladder?
If only the bladder is failed and the steel shell is sound, you can replace just the bladder and save the cost of a new tank. But because bladder replacement is fiddly labor and a new tank is often only slightly more, most homeowners replace the whole unit. If the shell is rusted, dented, or weeping, a full replacement is the only safe option.
What size pressure tank do I need for my well?
Size the tank to your pump and your flow demand. For a 1/2 HP submersible pump an 8-gallon tank is the standard fit; for a 1/3 HP or smaller pump or a low-flow home a 4-gallon tank works. When in doubt, match the size of the tank you are replacing.
How do I know my tank’s air precharge setting?
Set the precharge to 2 PSI below your pump’s cut-in pressure. For a standard 28/40 switch that is 26 PSI. Measure it on the air side with the pump off and the tank drained, using a tire gauge on the air valve.
Can I replace a well pressure tank myself?
Yes, on a standard vertical bladder system this is a very doable DIY job. You need basic hand tools, a drain hose, a tire gauge, and a free afternoon. The only step that can be tricky is setting the precharge correctly, so follow the numbers above and double-check with the gauge.
Why does my well pump keep turning on and off?
Short cycling is most often a waterlogged pressure tank with no air cushion. But it can also be a failing check valve, a stuck or mis-set pressure switch, or a worn flow switch. Rule out the tank first, then check the check valve and switch if the new tank still cycles fast.
#WellPressureTank #WaterWell #WellMaintenance #PressureTank #WellPump #HomeownerTips #WellWater #DIYPlumbing #WellDrilling #WaterPressure #BladderTank #Precharge #WellSystem #HomeMaintenance #WaterWellOwners