Have you ever found yourself staring at a well pump system, wondering how to upgrade or repair parts of it? Particularly, installing or replacing a well pump pressure switch can seem daunting at first. But don’t worry, with a little guidance, you’ll find it’s not as complicated as it seems. This friendly guide will demystify the process for you, making it manageable and straightforward.

Understanding the Well Pump Pressure Switch
Before jumping into the installation process, it’s crucial to grasp exactly what a well pump pressure switch does and why it’s essential for your well system. The pressure switch is a vital component that regulates the pressure in your water system, ensuring that water flows smoothly and effectively from your well to your home.
What is a Well Pump Pressure Switch?
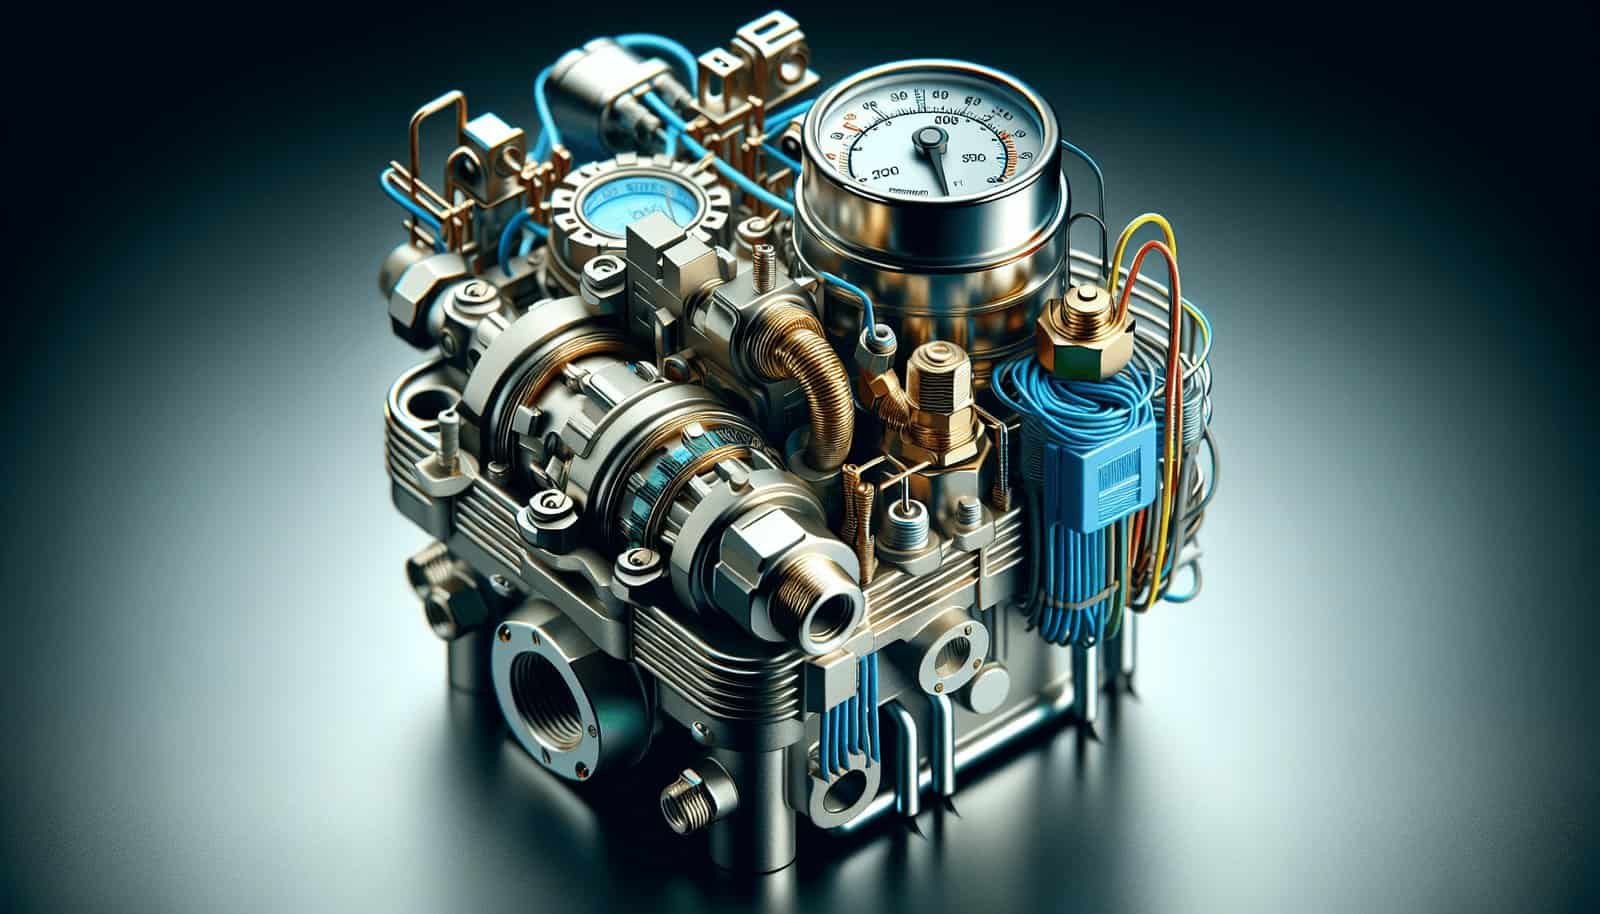
The pressure switch acts as a communication device between your water system and the pump, telling the pump when to turn on or off. It maintains the appropriate pressure level by turning on the pump when the water pressure falls below a set point and turning it off when the desired pressure is reached.
Why Do You Need to Replace It?
Over time, a pressure switch may succumb to wear and tear, which can lead to inconsistent water pressure, increased energy use, or unexpected system shutdowns. Identifying when it’s time for a replacement is key to maintaining a functioning water system.
Symptoms of a Faulty Pressure Switch
Some common signs that your pressure switch may need replacement include erratic water pressure, pump short cycling (turning on and off rapidly), or water leaking around the switch area. Identifying these symptoms early can help prevent more extensive damage.
Preparing for Installation
Preparation is half the battle. Ensuring you have the right tools and a clear understanding of what needs to be done will make the installation smoother and less stressful.
Gathering Your Tools and Materials
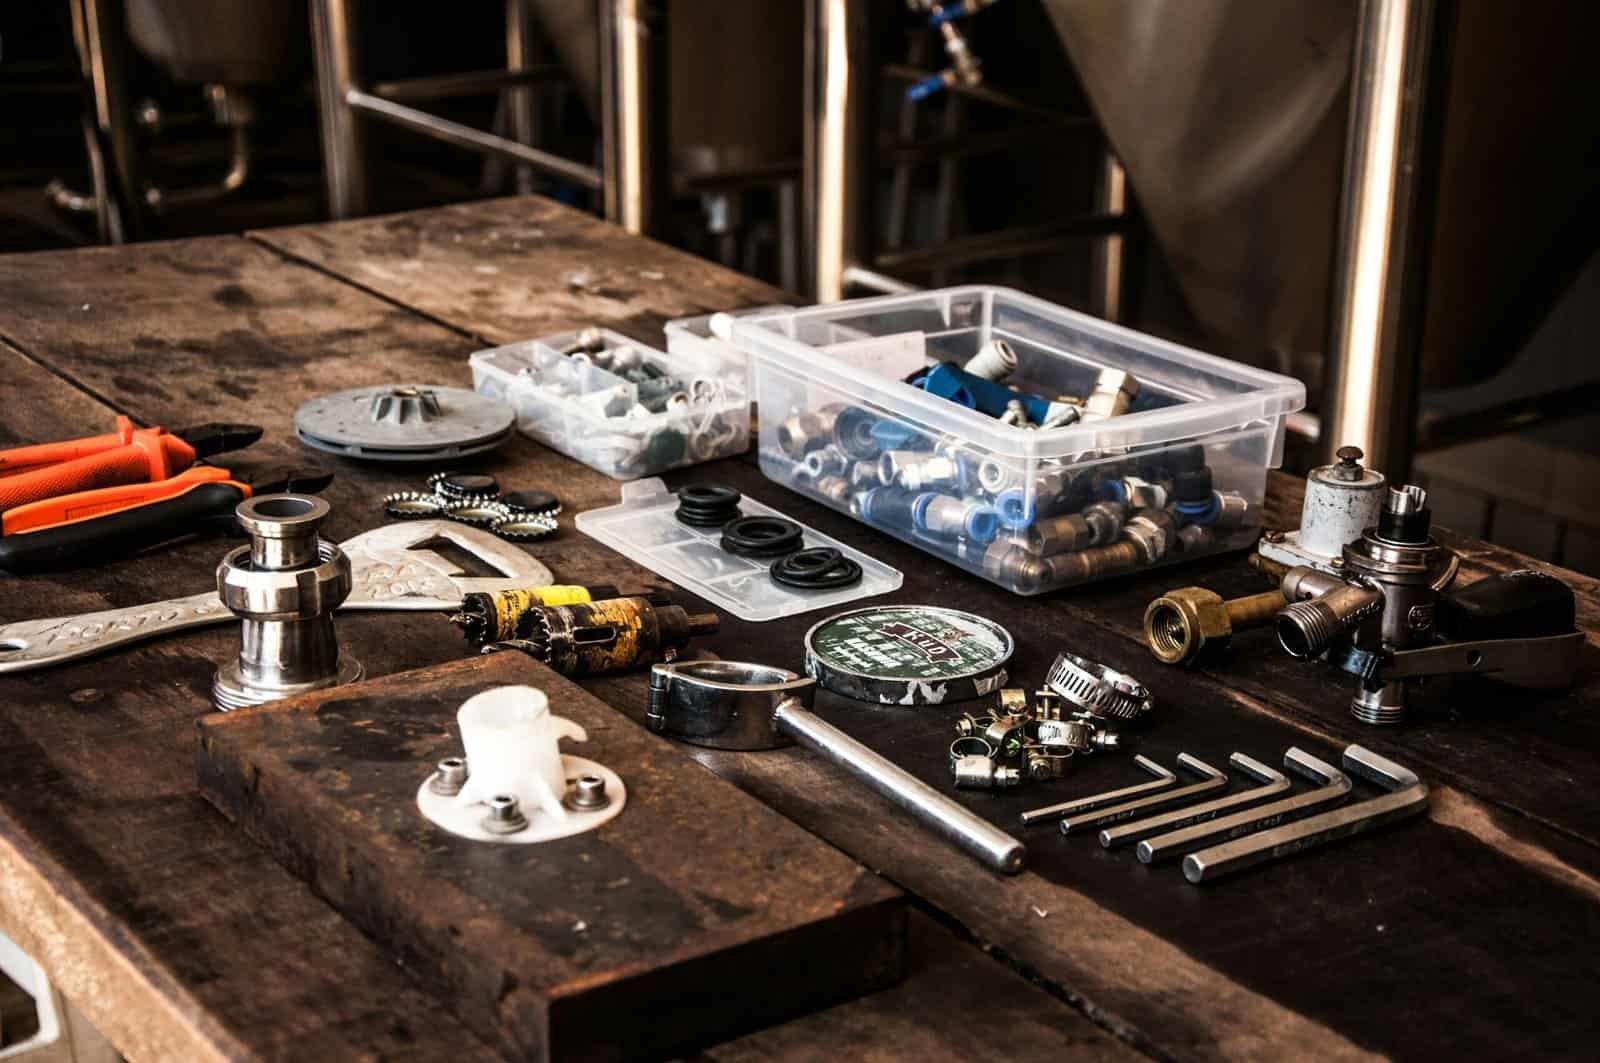
Here’s a handy checklist of tools and materials you’ll need:
| Tools and Materials | Purpose |
|---|---|
| Adjustable Wrench | For loosening and tightening nuts and bolts. |
| Screwdriver Set | For removing terminal screws on the old switch. |
| Voltage Tester | To ensure no electricity is flowing. |
| Pipe Tape | To seal threaded connections. |
| New Pressure Switch | The replacement part. |
| Safety Goggles and Gloves | For personal protection. |
Safety First
Before starting, make sure you prioritize safety. Turn off the power supply to the pump by switching off the circuit breaker. Use a voltage tester to confirm that there’s no electricity running to the switch. Wearing safety goggles and gloves can protect you from potential hazards.
Understanding Pressure Switch Ratings
Not all pressure switches are created equal. Ensure that the new switch matches the specifications of your pump. Check the pressure rating, which usually comes in two numbers indicating the cut-in (low pressure) and cut-out (high pressure) settings, like 30/50 psi or 40/60 psi.

Step-by-Step Installation Guide
Now that you’re prepared, let’s walk through the step-by-step process of installing your new well pump pressure switch.
Step 1: Remove the Old Pressure Switch
- Turn Off the Power: Ensure the power to the well pump system is off. Double-check using a voltage tester.
- Release Pressure: Open a faucet to let out any built-up pressure in the system. This helps to avoid a sudden discharge of water.
- Disconnect the Wires: Take note of how the wires are connected to the current switch. It might be handy to take a picture for later reference. Carefully remove them using a screwdriver.
- Remove the Pressure Switch: Using an adjustable wrench, detach the old pressure switch from the piping system.
Step 2: Install the New Pressure Switch
- Attach the New Switch: Start by wrapping pipe tape around the male threads of the pressure switch. This provides a good seal to prevent leaks.
- Secure the New Switch: Using the wrench, attach the new pressure switch to the piping. Ensure it is tight but avoid over-tightening, which can damage the threads.
- Reconnect the Wires: Refer to your earlier notes or the photo you took, and connect the wires to the terminal screws on the new switch. Ensure each wire is securely fastened.
Step 3: Test the Installation
- Restore Power: Turn the power back on at the circuit breaker.
- Check for Leaks: Examine the connections for any signs of leaking. If leaks are present, tighten the connections further.
- Monitor the Pressure: Observe the pressure gauge to ensure it reaches the desired cut-in and cut-out settings, indicating the switch is working correctly.

Troubleshooting Common Issues
Even with careful installation, you might encounter occasional hiccups. Knowing how to troubleshoot common problems can save you time and frustration.
Pressure Switch Doesn’t Turn On
If the pump doesn’t start when the water pressure falls below the cut-in point, check the power supply and ensure all electrical connections are secure. Verify that the switch settings align with your system’s requirements.
Short Cycling Issues
If the pump turns on and off too quickly, this typically indicates a problem with the pressure tank or incorrect settings on the switch. Adjusting the cut-in and cut-out pressure settings might resolve the issue.
Leaks at Connection Points
If you notice leaks, ensure that pipe tape is applied correctly and the connections are sufficiently tightened. In some cases, replacing old piping or fittings might be necessary.

Maintenance Tips for Longevity
Installing your pressure switch is the beginning of ensuring consistent operation of your water system. Regular maintenance can extend the life of your switch and system.
Regular Inspections
Schedule regular inspections to ensure the pressure switch and surrounding components are in good condition. Detecting potential issues early can prevent costly repairs.
Keep it Clean
Keep the area around the pressure switch clean and free of debris. Dust and grime can hinder performance and accelerate wear.
Check Pressure Settings
Regularly verify that the pressure settings are still suitable for your needs and make adjustments if necessary. Over time, your household water demand may change, necessitating a recalibration.
Professional Inspections
Consider having a professional inspect your well system periodically. Professionals can detect issues you might overlook and offer tailored advice for maintaining efficiency.

Conclusion
By replacing your well pump pressure switch on your own, you’ve not only acquired a useful skill but also saved valuable resources. While the process may initially seem complex, breaking it down into these manageable steps makes it achievable even for beginners. Regular maintenance and timely replacements ensure the longevity and efficiency of your well system, offering you peace of mind and a consistent supply of water in your home.
Feeling empowered yet? Remember, being proactive about home maintenance not only keeps your systems in top shape but also helps you become more intimately connected with the workings of your home. So take pride in your newfound knowledge and the comfortable water pressure you’ve ensured for your household.
