Are you ready to protect your water supply from freezing this winter?
How Do I Winterize My Water Well?
Why winterize your water well?
You rely on your well for clean water, and freezing temperatures can damage the system components that deliver that water. Winterizing prevents burst pipes, frozen pumps, contaminated water, and costly repairs so you can maintain safe, reliable water service all season.
Risks of not winterizing
If you fail to winterize, pipes can crack from ice expansion and the pump or pressure tank can be permanently damaged. You may also face contamination issues if warm air and animals enter an unsealed wellhead, creating health risks and expensive sanitation work.
When to winterize
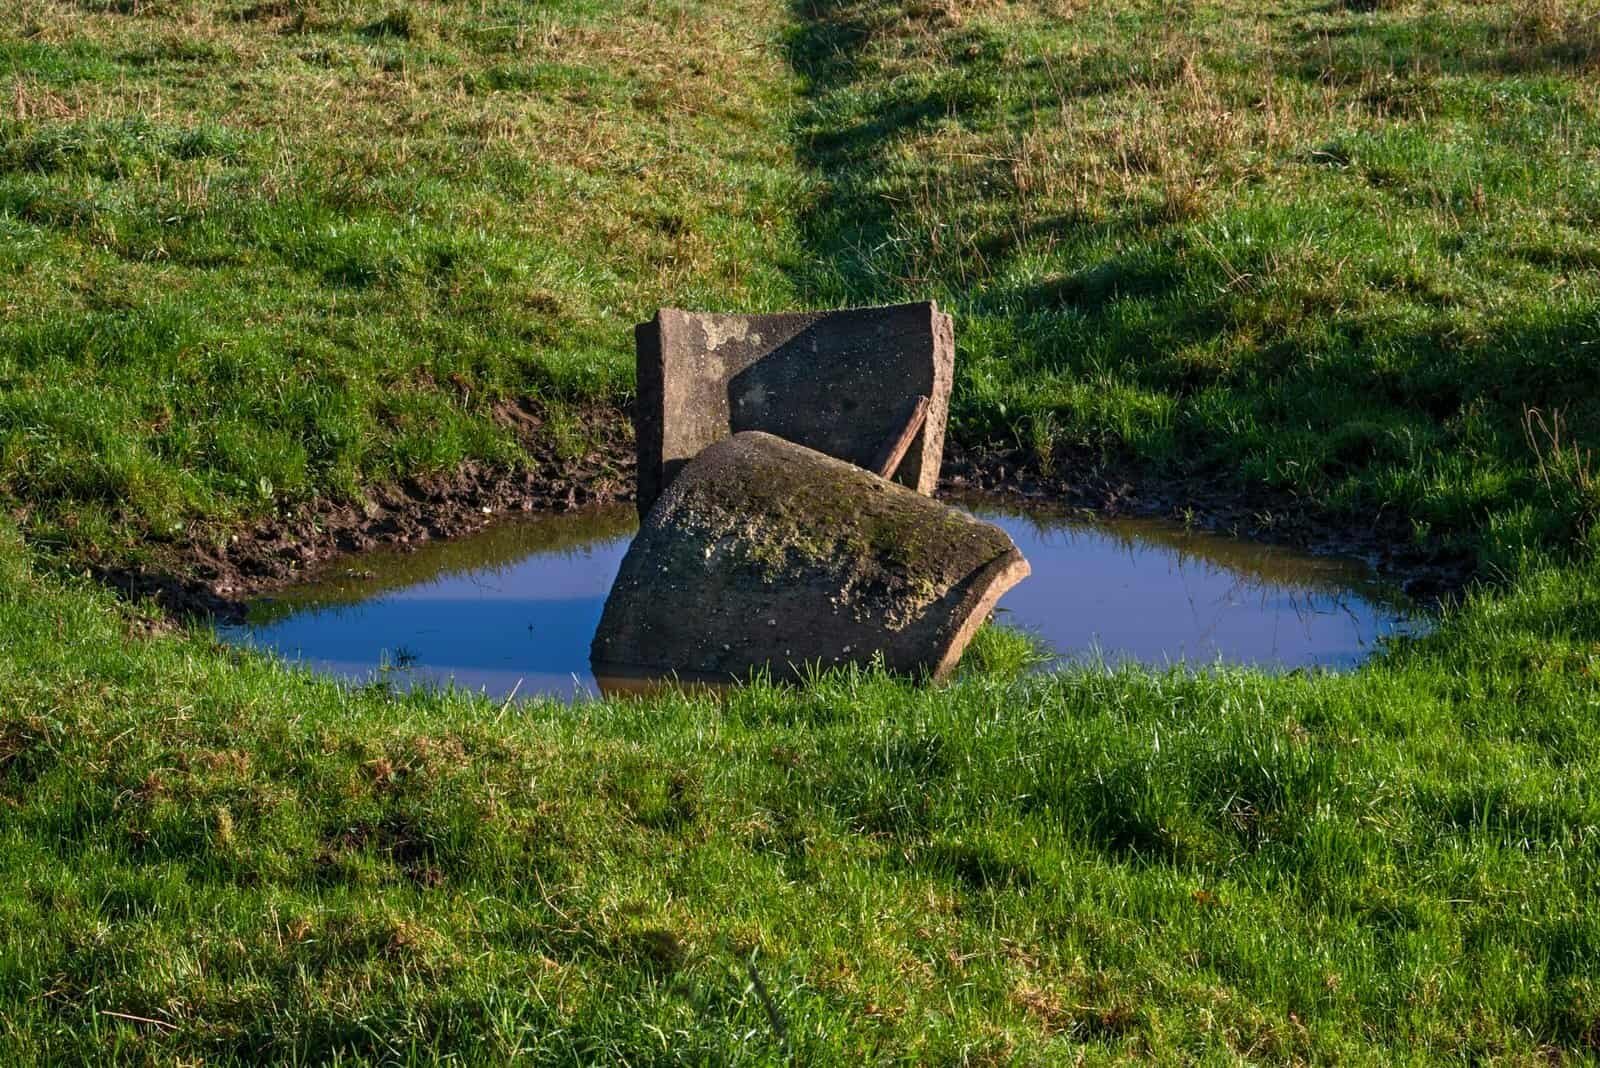
You should winterize before the ground and air temperatures consistently approach freezing in your area. Aim to complete winterization in early fall, once daytime temperatures begin to drop and before the first major frost.
Consider your climate
If you live where winters are mild, basic insulation and sealing may be sufficient for most years. In harsh climates with deep freezes, you’ll need more robust measures such as heated well houses, buried lines, or professional-grade insulation.
Consider your well depth and type
Deep drilled wells are generally more frost-resistant than shallow wells because the water source is well below the frost line. Shallow or dug wells and exposed piping are more vulnerable and require extra protection.
Types of wells and how winterization differs
Different well systems demand different winterization approaches, so understanding your system helps you choose the right methods. Below are common well types and the primary considerations for each.
Drilled wells
Drilled wells typically have a casing that extends above ground and a sealed well cap; these are less susceptible to freezing if properly sealed and insulated. You still need to protect exposed piping, pressure tanks, and any above-ground pump equipment.
Dug or shallow wells
Shallow water sources and dug wells can be affected by near-surface freezing of the casing and intake lines. Insulating the casing, keeping the well cap secure, and installing heat where appropriate are critical to prevent freezing.
Artesian and spring-fed systems
Artesian and spring-fed systems may have unique outlet points and above-ground conveyance that require insulation and sometimes rerouting below the frost line. You also need to protect springs from contamination when accessing and piping the water.
Hand pumps and point-of-use pumps
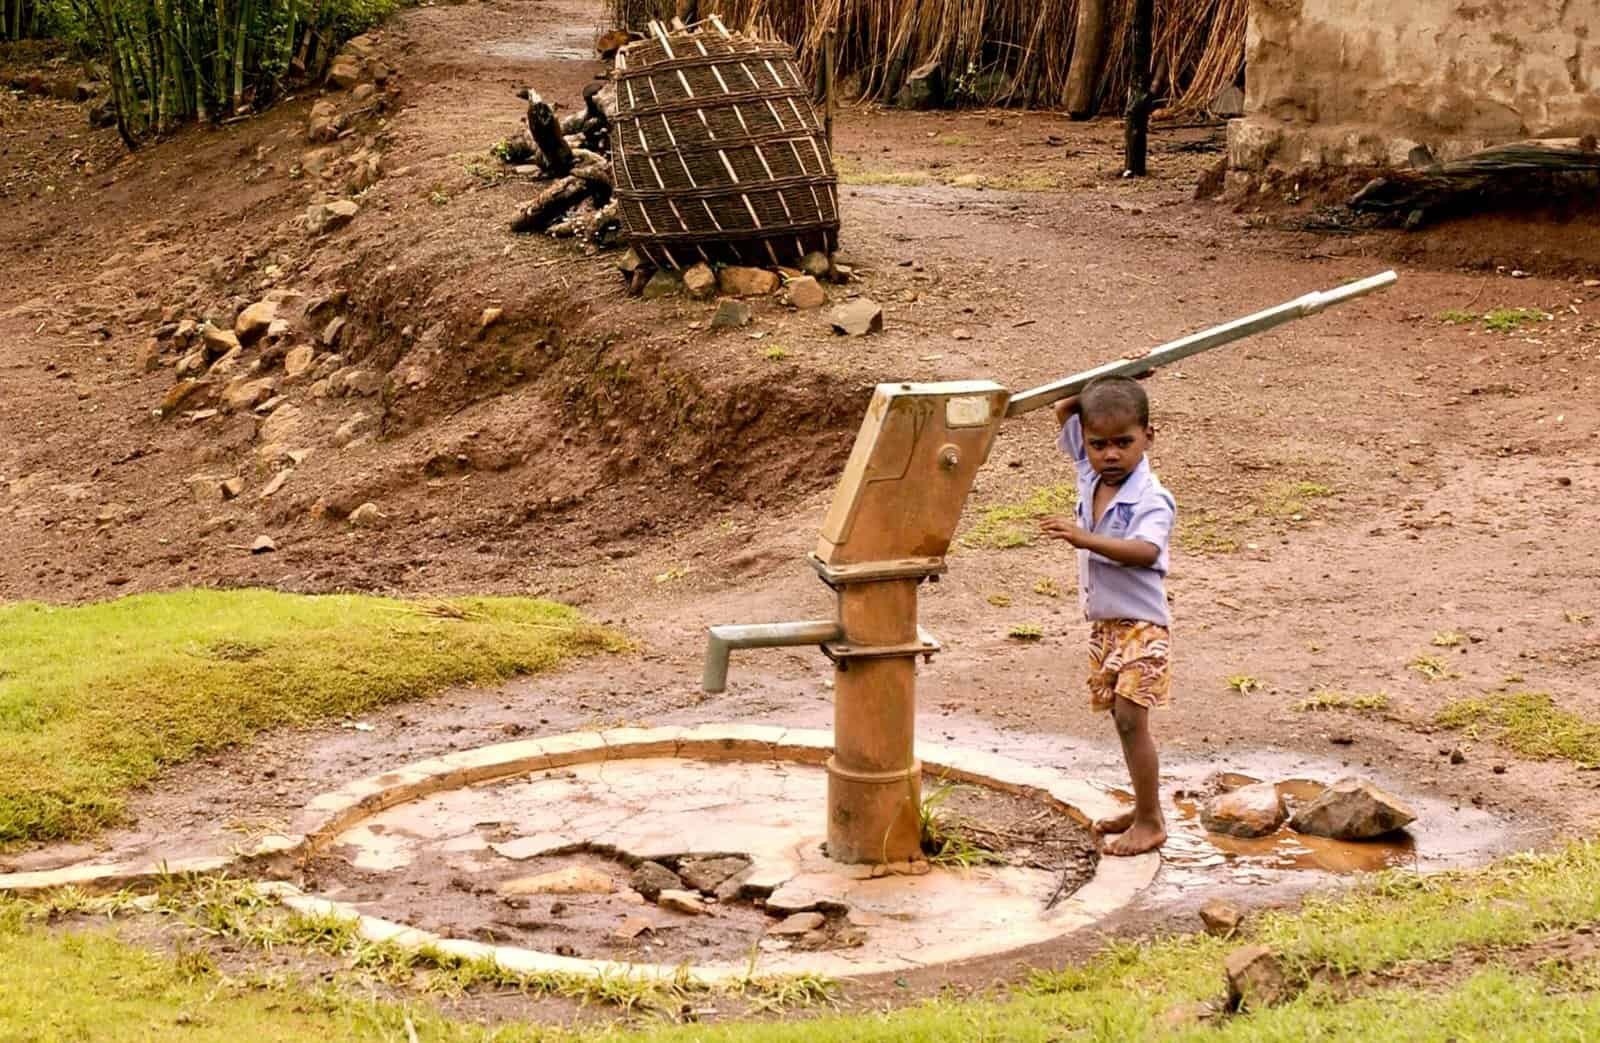
Manual or point-of-use pumps on seasonal properties must be drained and protected because they are vulnerable to freezing when not in regular use. Often you can remove and store hand pumps indoors or use pipe insulation and heat tape when leaving them in place.
Pre-winter inspection
Before you start winterization, walk through a systematic inspection to identify vulnerabilities and prioritize fixes. A thorough inspection avoids missed problem spots and helps you gather the right materials.
Table: Pre-Winter Inspection Checklist
| Item to inspect | Action to take | Why it matters |
|---|---|---|
| Well cap and casing seal | Check for cracks/gaps; replace or reseal | Prevents contamination and cold air entry |
| Exposed pipes | Inspect insulation/heating | Freezing causes pipe bursts |
| Pressure tank | Check for leaks and insulation | Protects tank and maintains system pressure |
| Pump and electrical connections | Inspect wiring and control box | Prevents electrical failures and shorting |
| Well house | Inspect insulation, vents, and doors | Keeps internal systems warm and dry |
| Filters & water treatment | Bypass or remove if draining | Avoid damage/contamination during draining |
Tools and materials you’ll need
Having the right tools and materials on hand will make winterizing faster, safer, and more effective. Gather pipe insulation, heat tape, weatherproof sealants, tools, and safety equipment before you begin.
Table: Common Tools and Materials
| Item | Purpose | Notes |
|---|---|---|
| Pipe insulation (foam sleeves, fiberglass) | Thermal protection for exposed pipes | Choose thickness for climate |
| Heat tape/cable (thermostat-controlled) | Prevents ice formation on pipes | Use UL-listed products for water pipes |
| Insulating blankets | Wrap pressure tanks and valves | Secure with straps or tape |
| Silicone or butyl sealant | Seal well cap and small gaps | Use potable-water-safe sealants |
| Wrenches, pliers, screwdriver | General maintenance and valve operation | Keep non-sparking tools near electrical equipment |
| Antifreeze (propylene glycol, if used) | Protects systems not carrying potable water | Use only food-grade if potential contact with drinking water |
| Protective gloves & eye protection | Safety during work | Electrical safety is essential |
| Thermostatically controlled heater | Heat small well houses | Energy-efficient and safer than constant heat |
| Moisture barrier & insulation board | Floor and wall insulation | Keeps well house interiors above freezing |
Step-by-step: Winterizing the pump and pressure tank
This section walks through the core steps to protect the pump and pressure tank, which are central to your water system. Follow each step carefully and keep safety in mind, especially when working with electrical components.
Step 1 — Turn off power to the pump
Before doing any work, shut off the circuit breaker for the well pump at your main electrical panel or at a disconnect near the well. This prevents electrical hazards and inadvertent pump activation while you work on the system.
Step 2 — Relieve system pressure
Open a faucet at the highest and lowest points in your system to relieve pressure and drain residual water. This reduces the amount of water that could freeze inside valves, fittings, or the pump housing.
Step 3 — Drain the pressure tank if applicable
If your pressure tank has a drain plug, remove it to let the tank empty. For bladder tanks, you can depress the auto-fill or pressure switch to allow drainage until the tank is empty; take care to follow manufacturer instructions.
Step 4 — Bypass or remove water treatment devices
Bypass or disconnect water softeners, filters, and treatment units that could hold water and freeze. Follow manufacturer instructions for winter storage or professional advice for systems that require specialized procedures.
Step 5 — Insulate and protect the tank and controls
Wrap the tank with an insulating jacket and protect the pressure switch and electrical connections with enclosures or insulation. Use weatherproof covers and ensure heat tape used near electrical components is installed correctly and rated for pump systems.
Step 6 — Use heat tape or thermostatic heat where needed
Apply UL-listed heat tape to vulnerable pipe runs and secure it per manufacturer directions, then cover with insulation. Thermostatically controlled heating cables are safer and more energy efficient than constant-on options.
Protecting above-ground pipes and connections
Pipes that run above ground or near the surface are the first to freeze, so addressing them is a priority. Proper insulation and heat protection are inexpensive ways to avoid costly repairs.
Insulation options and best practices
Wrap pipes with foam sleeves or fiberglass insulation rated for outdoor use, and protect insulation with UV-resistant tape or jacket. Ensure joints and fittings are fully covered, and consider adding a weatherproof outer layer for exposed runs.
Table: Pipe Protection Options
| Protection method | Best use cases | Pros | Cons |
|---|---|---|---|
| Foam pipe sleeves | Short, easily-accessible runs | Cheap and quick | Can compress or degrade outdoors |
| Fiberglass wrap + vapor barrier | Irregular shapes and joints | Better thermal performance | Requires careful installation |
| Heat tape + insulation | Pipes with high freeze risk | Effective against freeze | Uses electricity; must be installed correctly |
| Buried replacement | Long-term solution | Eliminates exposure | Expensive and requires excavation |
Handling external valves and hydrants
Drain and insulate exposed valves and hydrants, and consider installing frost-free hydrants for repeated winter use. Drainable valves should be left open so residual water can escape and not pool where it will freeze.
Winterizing the wellhead and casing
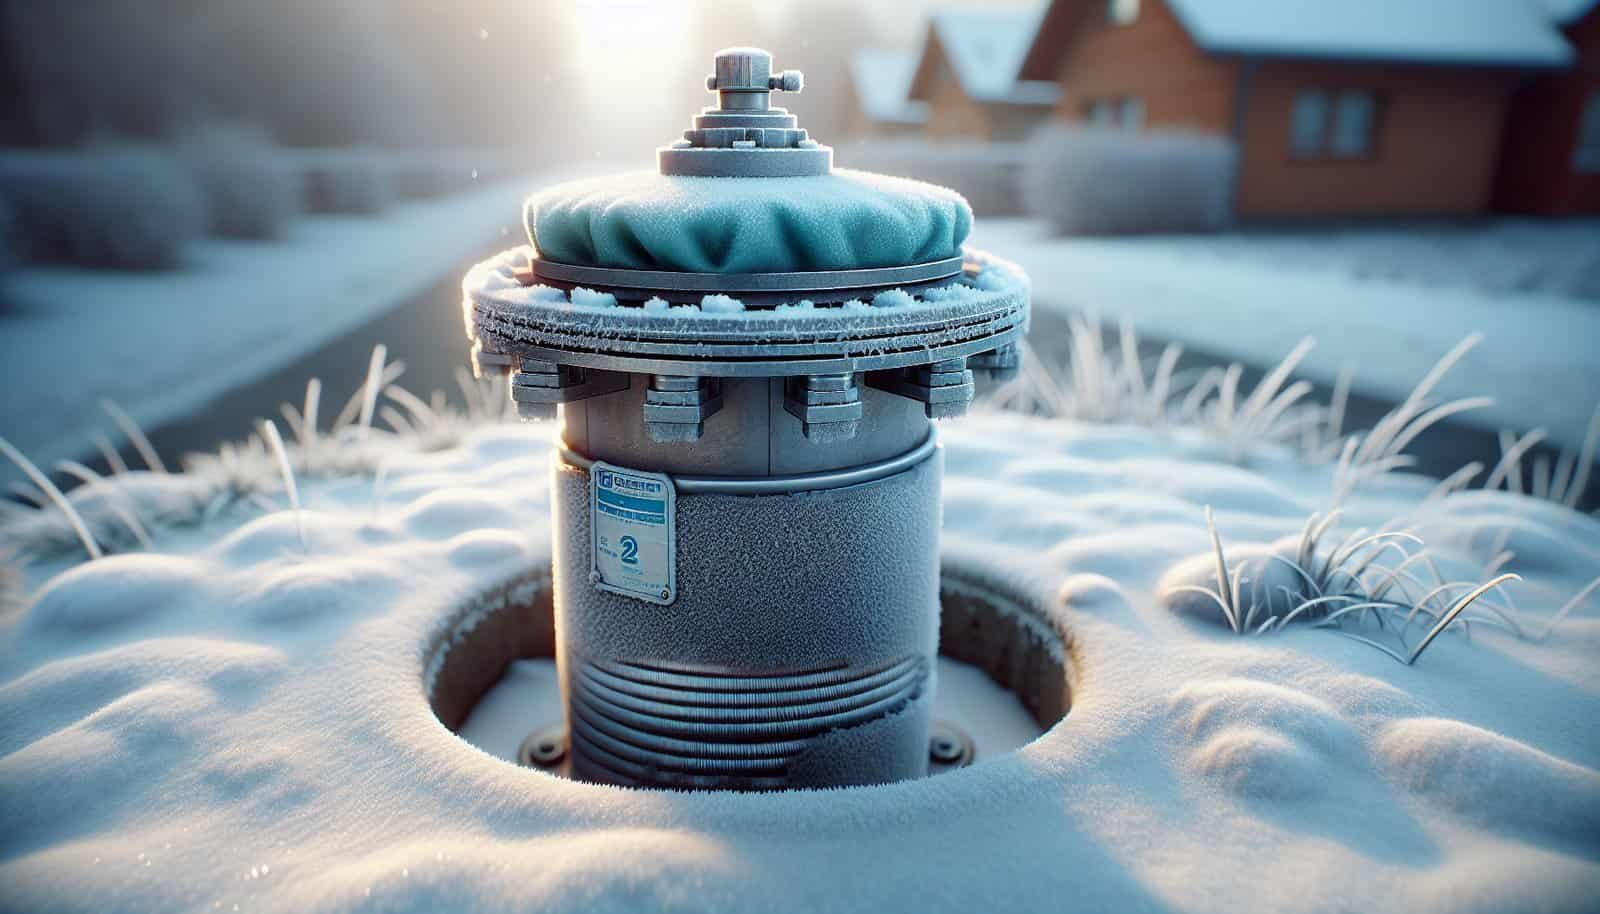
The wellhead is your first line of defense against contamination and freezing, so inspect and secure it thoroughly. Proper sealing, insulation, and sometimes added ventilation control will maintain function and safety.
Sealing and securing the well cap
Make sure your well cap is intact and sealed against vermin and cold air. Replace cracked caps and reseal with potable-water-safe sealants if you find gaps or deterioration.
Insulating the casing above grade
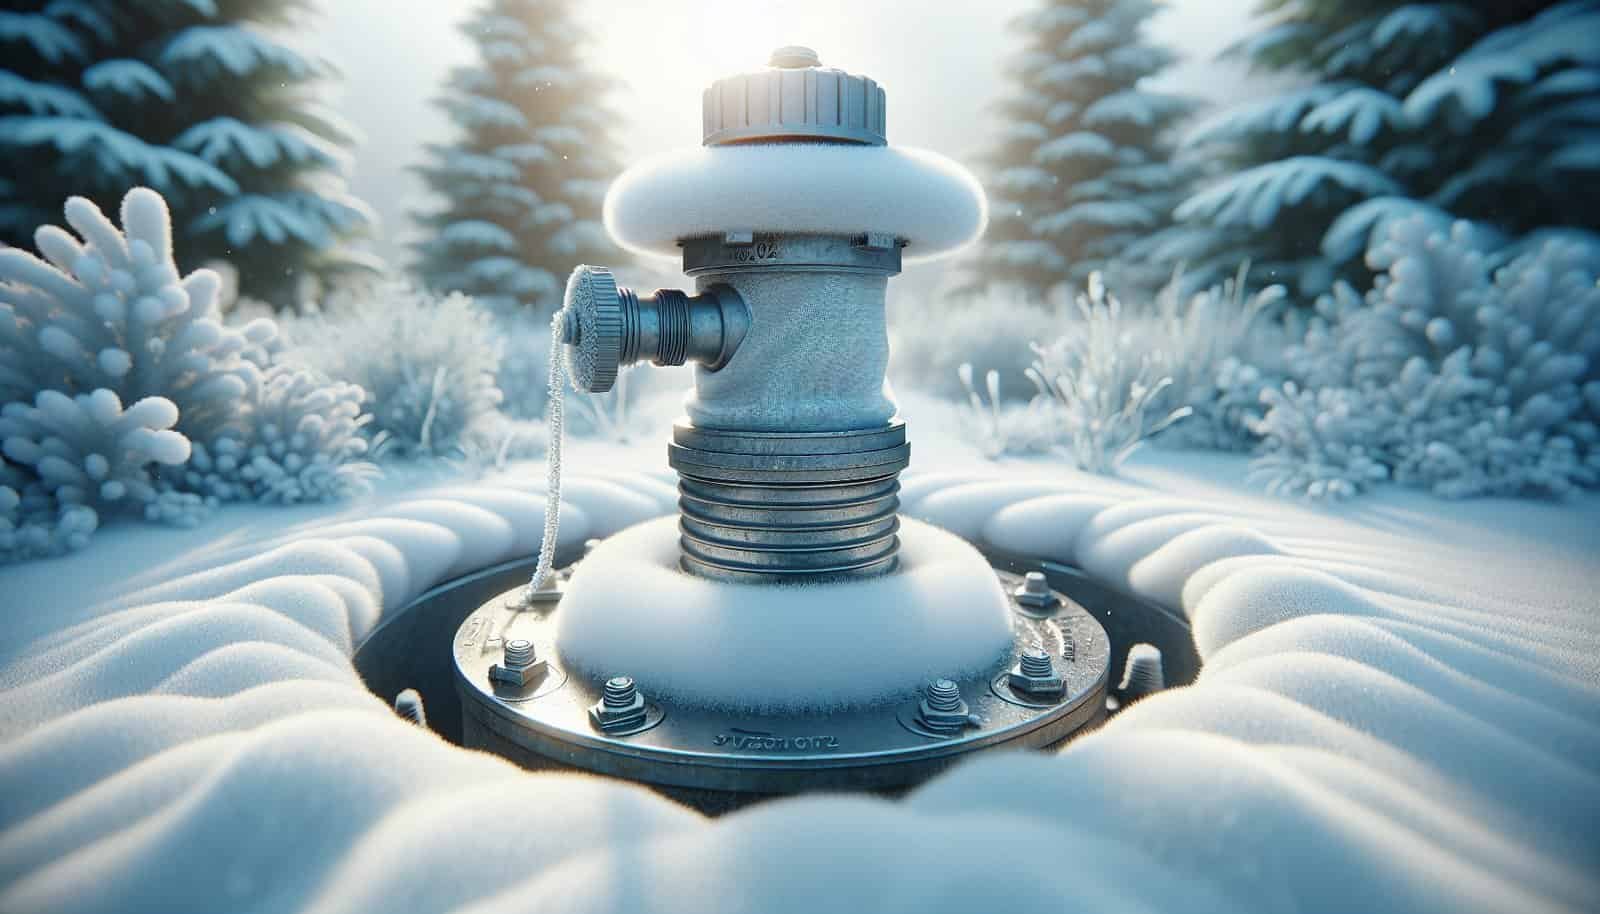
Wrap the portion of the well casing that extends above ground with an insulating sleeve or box to reduce heat loss through the metal. For small well houses or covers, add an inner insulating layer and a tight-fitting outer shell to block wind and moisture.
Winterizing a well house
If your system is in a well house, it offers great protection but needs its own winter plan. Proper insulation, heating, and ventilation will keep pumps and controls functional without creating moisture issues.
Insulate walls and floor
Insulate walls and the floor with rigid foam or fiberglass to maintain a stable internal temperature. A moisture barrier under the insulation prevents condensation that could freeze on components.
Add thermostatically controlled heat
Install a small, safe, thermostatically controlled heater to keep the interior above freezing when needed. Place the heater off the floor and away from flammable materials to reduce risks.
Seal drafts and vents
Seal gaps around doors, windows, and ties to prevent cold air infiltration, while maintaining necessary ventilation to avoid stale air and mold. Consider insulated doors and weatherstripping for durable protection.
Using antifreeze — when and how
Antifreeze for wells is a specialized topic. Use food-grade propylene glycol only if you must protect non-potable sections of your system where the antifreeze cannot contact drinking water.
When antifreeze may be used
Antifreeze is appropriate in drain-back systems, certain irrigation lines, or for protecting equipment that does not contact potable water. Never pour automotive ethylene glycol into any portion of a potable water system, as it is toxic.
Application precautions
If you use antifreeze, choose a product labeled for potable water contact when there’s any chance of mixing with drinking water. Carefully flush and sanitize the system in spring following manufacturer and local health department guidelines to prevent contamination.
Draining vs recirculating vs adding heat — choosing a strategy
You can protect your system by draining vulnerable parts, recirculating warm water, or adding heat to keep components above freezing. Each method has pros and cons depending on the system design, usage pattern, and energy availability.
Draining pros/cons
Draining is cost-effective and reduces freeze risk without ongoing energy costs, but it requires that the system can be fully drained and that you can tolerate a temporary water shutoff. Some components can’t be drained easily and may still need heat or antifreeze.
Recirculating pros/cons
Recirculating warm water requires a pump and energy but can keep systems that are difficult to drain functional throughout winter. It’s not always practical for seasonal properties and can increase electricity bills.
Adding heat pros/cons
Adding heat—through a well house heater or heat tape—provides continuous protection and is convenient, but it consumes energy and must be installed correctly to avoid fire or electrical hazards. Thermostatically controlled options minimize energy use by switching on only when temperatures approach freezing.
Spring startup: getting your well back online
When temperatures warm, follow a careful startup procedure to avoid debris, contamination, or pump damage. A methodical approach will restore water safely and reveal any winter damage.
Table: Spring Startup Summary
| Step | Action | Notes |
|---|---|---|
| Inspect | Remove insulation covers and inspect for damage | Look for cracks, leaks, and animal intrusion |
| Reconnect filters/treatment | Reinstall or un-bypass filters and water softeners | Replace filter cartridges if stored |
| Power on pump | Turn on power and listen for unusual sounds | If pump struggles, shut off and inspect |
| Purge lines | Run cold and hot faucets to flush air and debris | Start with tap nearest pump |
| Test water quality | Check clarity, smell, and test for bacteria if concerned | Disinfect if any contamination is suspected |
Detailed spring reopening steps
Begin by restoring power only after you confirm no visible damage to wiring or components. Gradually open valves and run taps to clear trapped air; watch for unusual noises or leaks and address them before regular use.
Water testing and disinfection
If you suspect contamination after winter, test for bacteria and nitrates and disinfect using chlorination if needed. Follow state or local public health guidelines for shock chlorination and retesting before using the water for drinking.
Troubleshooting common winter problems
Even with precautions, problems can occur. Knowing common symptoms and basic remedies helps you act quickly to minimize damage and restore water service.
Frozen pipe indicators
You may notice no water flow or sputtering flow at taps, bulging insulation, or frost build-up on pipes. If you suspect a freeze, locate the frozen section and apply controlled, gentle heat; avoid open flames and high heat sources.
Low pressure or intermittent flow
Low pressure can indicate a partially frozen line, trapped air, or a failing pump. Check for visible iced sections, verify pump operation, and inspect pressure switch settings and relief valves.
Noisy pump or frequent cycling
Noise or short cycling can indicate a damaged pressure tank bladder, air charge loss, or a stuck pressure switch. Test the tank air charge and adjust per manufacturer recommendations, and inspect for waterlogged tanks.
Discolored or foul-smelling water
This can signal contamination or biofilm disturbed during startup. Flush the system and test the water; if bacteria are found, perform shock chlorination and retest before using the water.
Safety precautions
Working with wells involves electrical systems, confined spaces, and potentially contaminated water, so prioritize safety at every step. Use personal protective equipment and consult professionals for electrical or complex plumbing work.
Electrical safety
Always disconnect power before working near the pump or control box, and use a voltage tester to confirm power is off. When installing heat tape or heaters, follow electrical codes and consider hiring a licensed electrician.
Avoid contaminating the well
Keep tools and materials clean and avoid introducing foreign substances into the casing or wellhead. Seal any openings and clean up spills promptly.
Professional help when needed
If you are uncertain about electrical work, system complexity, or water contamination, hire a licensed well contractor or plumber. Professionals can perform tasks that are dangerous or require specialized equipment.
DIY or hire a pro?
Simple insulation, sealing, and small repairs are reasonable DIY projects if you’re comfortable with basic tools and safety practices. For complicated systems, electrical work, buried lines, or if you detect contamination, hiring a professional is the safer, more reliable choice.
Factors favoring a professional
If your system uses complicated pumps, pressure systems, or integrated treatment devices, a pro can ensure proper winterization and compliance with local regulations. A professional can also diagnose hidden issues that could become costly in winter.
Cost-benefit considerations
DIY work saves money up front but can lead to bigger expenses if done incorrectly; professional labor adds cost but reduces risk. Evaluate your skills honestly and consider a professional inspection if you haven’t maintained your system recently.
Typical costs and material estimates
Costs vary widely by region, well type, and the scope of protection. Below is a general range so you can budget and compare DIY vs professional options.
Table: Typical Cost Estimates
| Item/Service | Estimated cost (USD) |
|---|---|
| Pipe insulation materials | $20–$150 |
| Heat tape and thermostat | $30–$200 |
| Insulated pressure tank jacket | $20–$120 |
| Small well house heater | $50–$300 |
| DIY basic winterization (materials only) | $50–$500 |
| Professional winterization service | $150–$800 |
| Buried re-route of piping (excavation) | $1,000–$5,000+ |
Maintenance schedule and seasonal timeline
Keeping a consistent schedule simplifies winterization and reduces the chance of missing vital steps. Regular maintenance throughout the year extends system life and keeps winter damage risk low.
Table: Seasonal Maintenance Timeline
| Season | Tasks |
|---|---|
| Late summer / early fall | Inspect and repair well cap, test pump, gather materials |
| Early fall | Insulate pipes, install heat tape, insulate well house |
| Pre-freeze | Drain nonessential systems, bypass filters if needed |
| Winter | Monitor well house temperature and check for leaks weekly |
| Early spring | Remove protective coverings, inspect, start pump, test water |
Frequently asked questions
This section answers common questions so you can act quickly and confidently when winterizing your well.
Can I use automotive antifreeze in my well?
Automotive antifreeze is toxic and should never be used in potable water systems. Use food-grade propylene glycol only in non-potable sections or consult a professional for safe alternatives.
How deep should I bury my water lines to avoid freezing?
Depth varies by region; consult local building codes or county extension services for frost line depth. Burying below the local frost line is the most reliable long-term solution.
Is heat tape safe to leave on all winter?
Use UL-listed, thermostat-controlled heat tape designed for water pipes, and follow manufacturer installation instructions. Heat tape that is improperly installed, damaged, or not rated for the application can be a fire risk.
How do I know if my pressure tank is waterlogged?
If you hear frequent short cycling or see pressure swings, the tank may be waterlogged or have lost its air charge. Test and recharge the air charge per the manufacturer’s instructions or have a technician service the tank.
When should I test my water after winter?
Test your water early in the spring after you’ve flushed the system and before using it for drinking if you suspect contamination. If you performed any chlorination, follow retesting protocols and wait until disinfectant levels fall to safe thresholds.
Final checklist
Use this concise checklist to confirm you’ve covered the essentials before the freeze and during winter checks.
Table: Final Winterization Checklist
| Action | Done? |
|---|---|
| Inspect and seal well cap | [ ] |
| Drain vulnerable components | [ ] |
| Insulate exposed pipes and pressure tank | [ ] |
| Install heat tape/thermostatic heater where needed | [ ] |
| Bypass or store filters/treatment units | [ ] |
| Shut off power to pump when draining (if required) | [ ] |
| Monitor well house temperature weekly | [ ] |
| Perform spring-startup inspection and water test | [ ] |
Closing notes and recommended next steps
Now that you know the key steps, assess your system and prioritize actions based on exposure, well type, and weather risk. If you’re comfortable with basic repairs, gather materials and schedule a weekend to complete the work; if your system is complex or you’ve found damage, contact a licensed well contractor to ensure safe, reliable winter protection.
