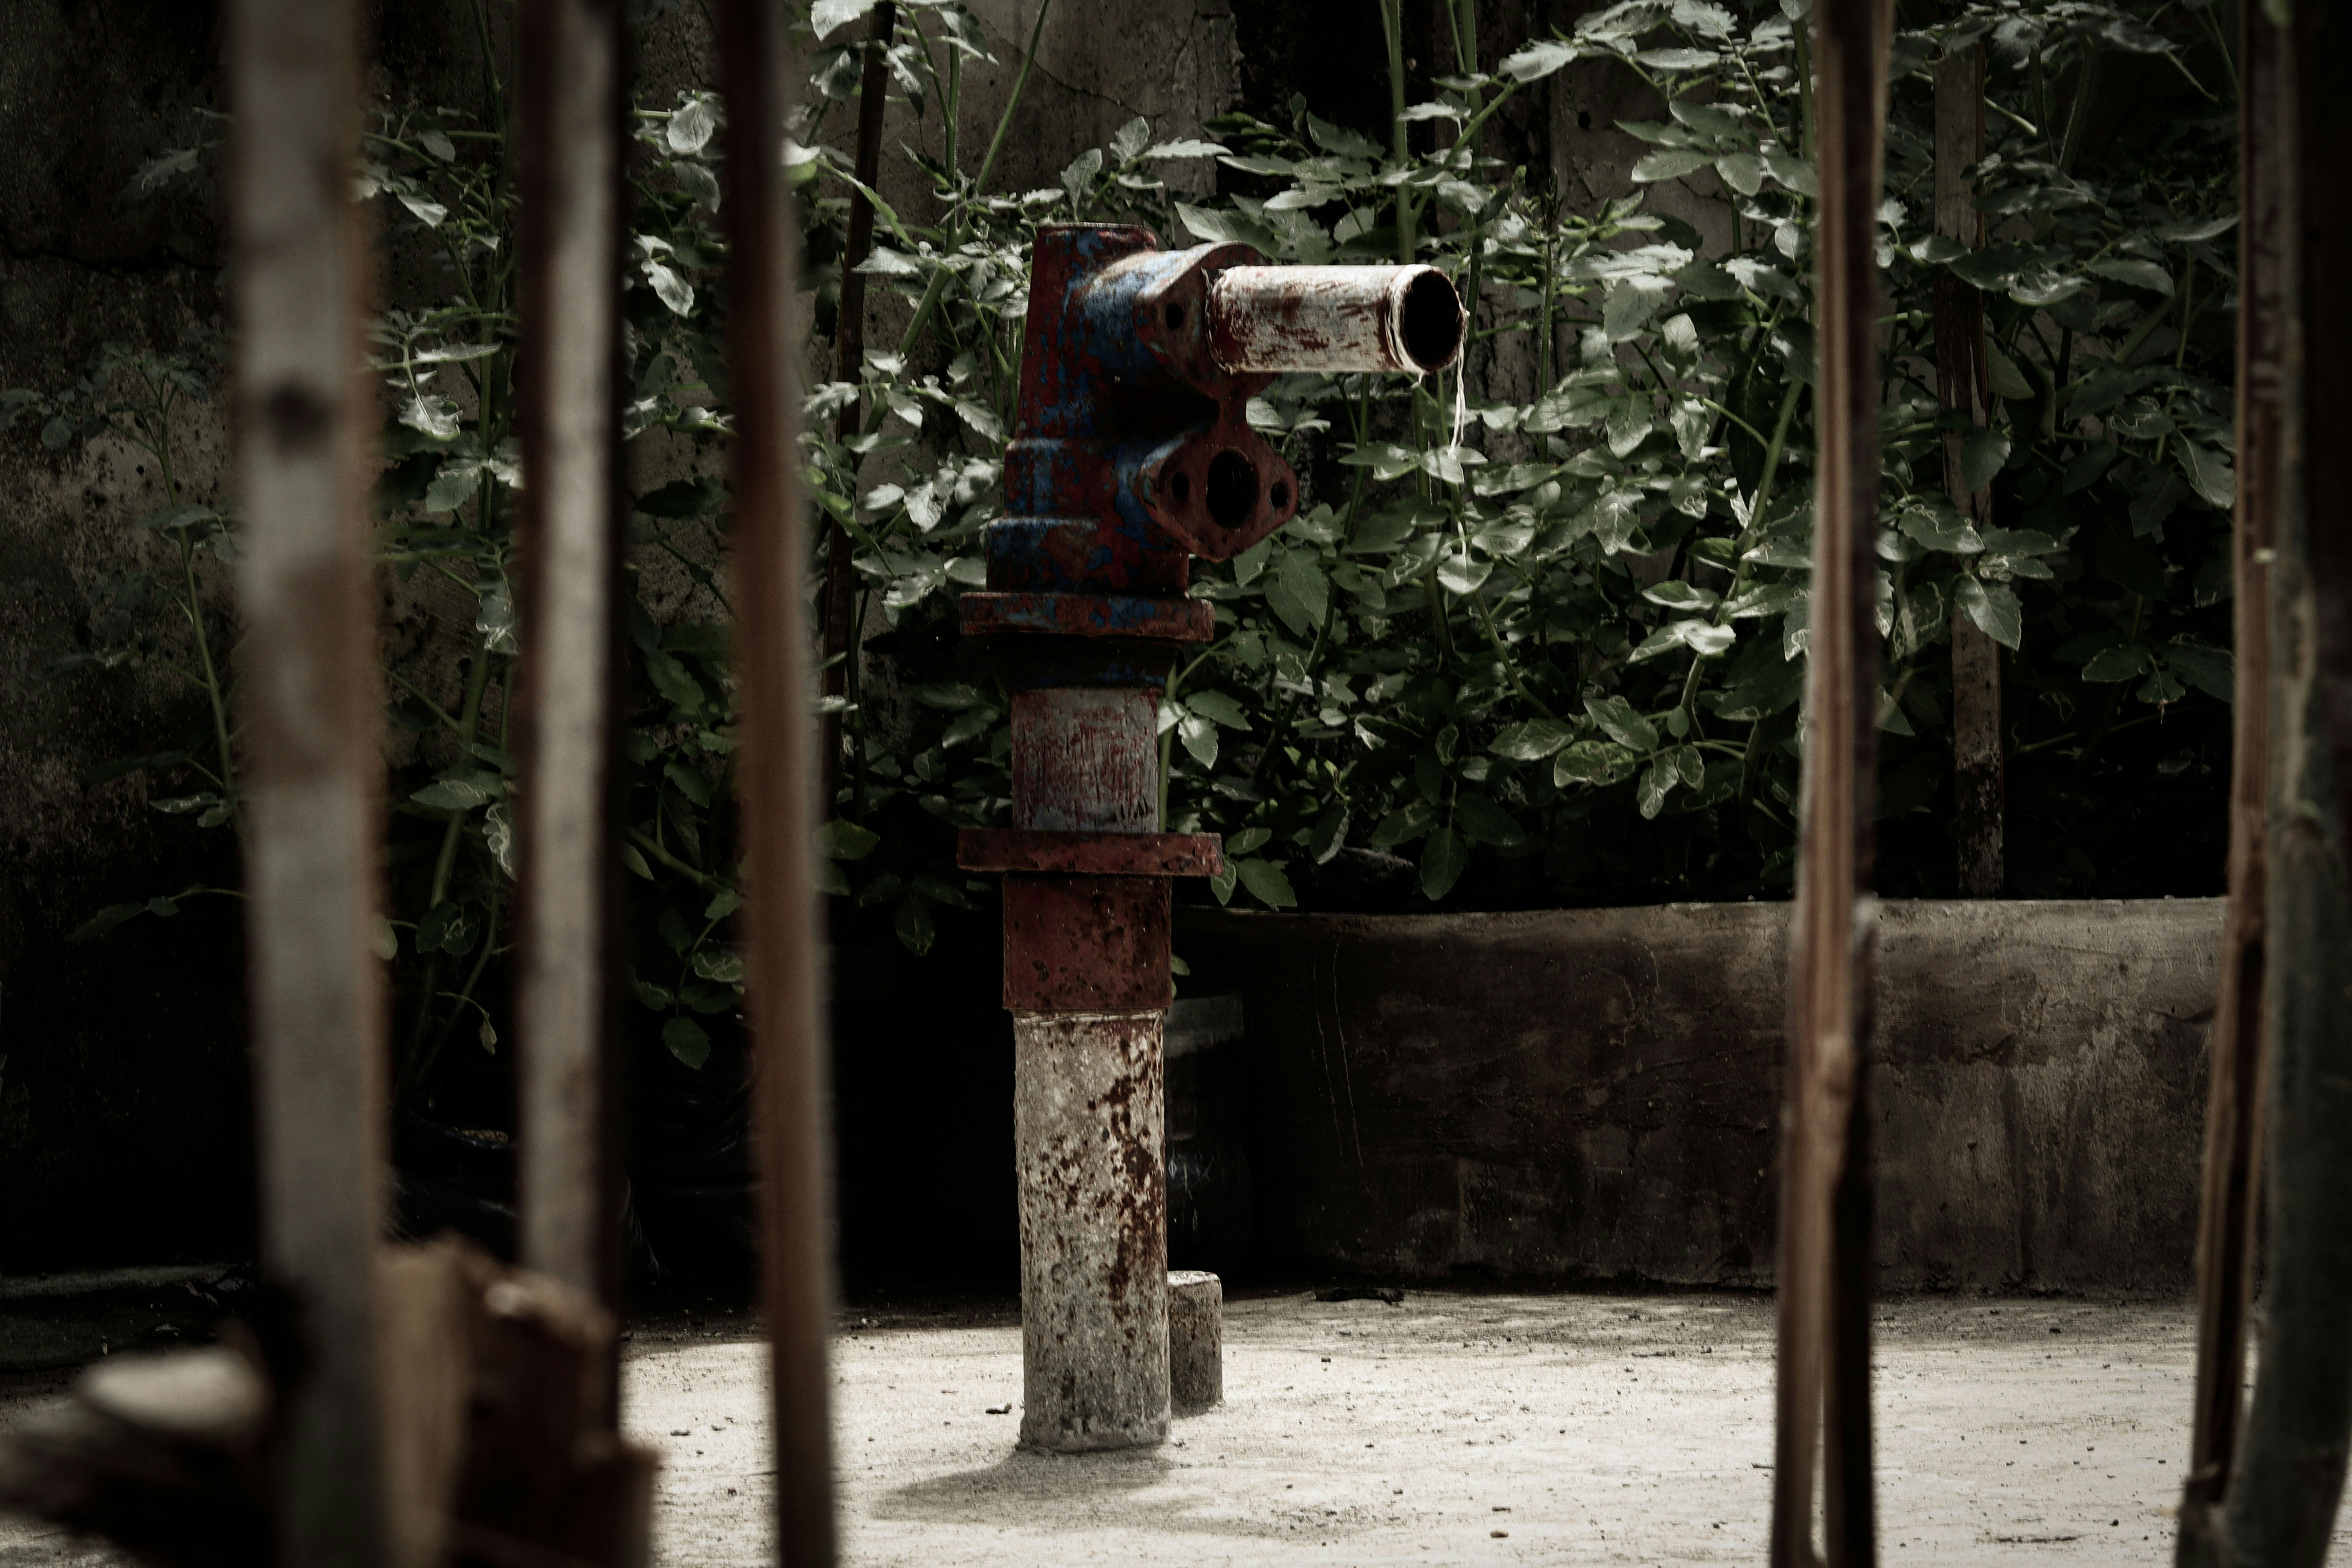
Do you know when your well pump last had a full checkup and basic maintenance?
How Do I Maintain My Water Well Pump?
Keeping your well pump properly maintained protects your water supply, extends the life of equipment, and prevents costly emergency repairs. In this guide you’ll get clear, practical steps you can do yourself, what to watch for, when to contact a pro, and a straightforward maintenance schedule to follow.
Why regular maintenance matters
You’ll reduce the risk of sudden pump failure by catching small problems early. Regular upkeep also keeps water quality high and helps you avoid contamination, reduced pressure, or complete loss of supply.
Basics of well pump systems
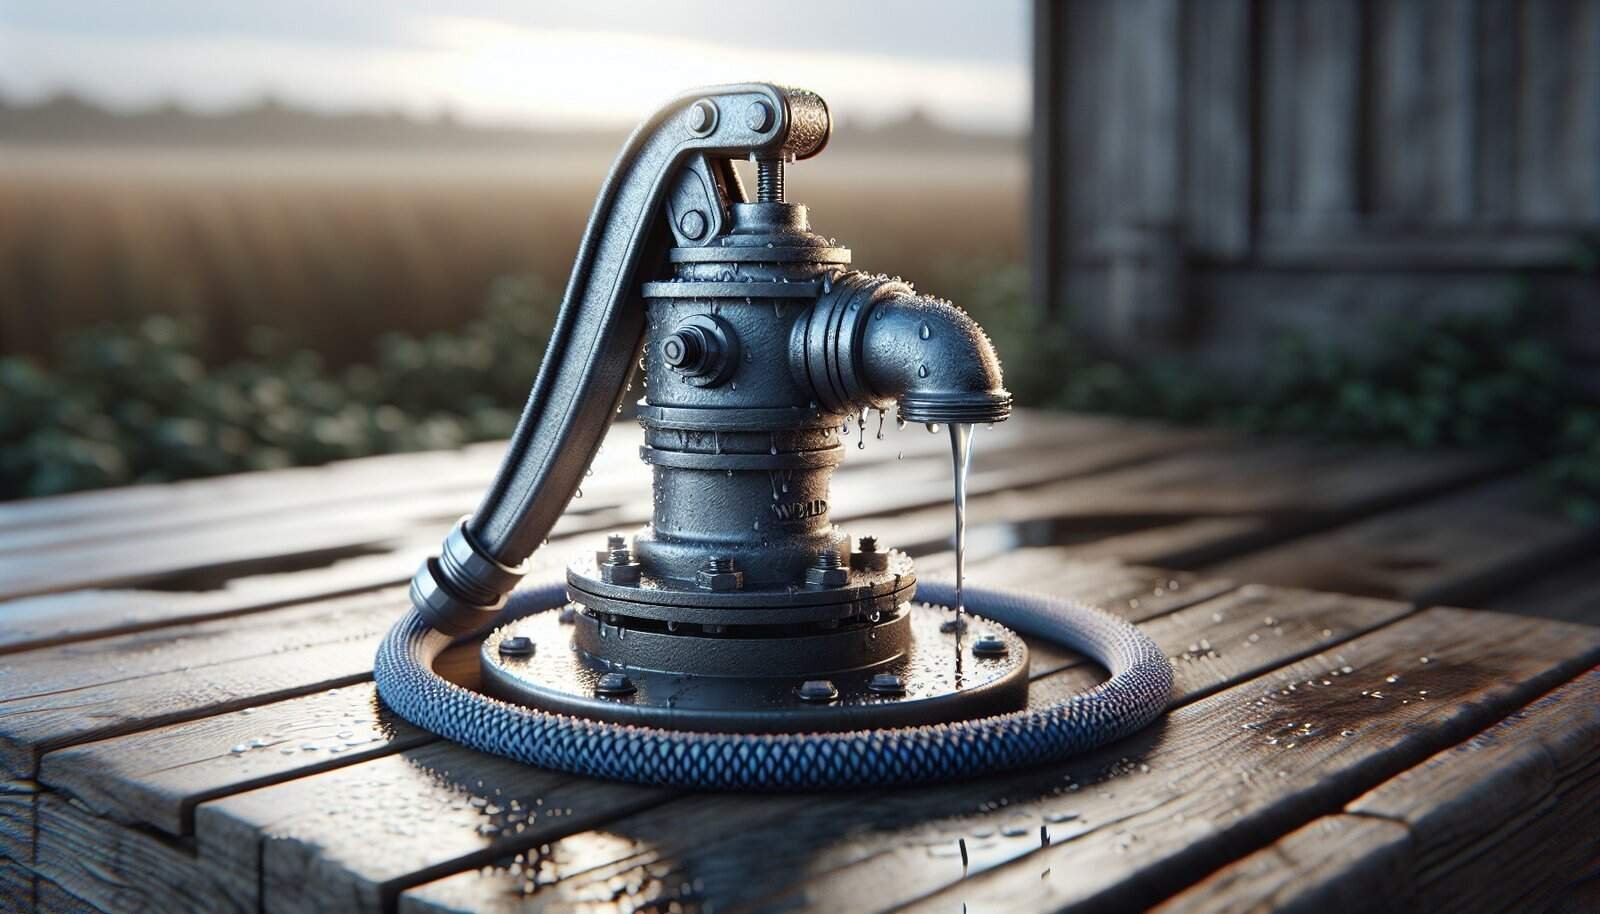
Understanding the main parts of your well system makes maintenance less intimidating. Your system typically includes the pump (submersible downhole or jet pump at the surface), pressure tank, pressure switch, control box, piping, check valve(s), and the wellhead/plug at the top of the well.
You’ll benefit from knowing whether your pump is submersible or a surface jet pump, because the maintenance tasks and failure modes differ. A basic familiarity with the system helps you describe issues accurately if you need a technician.
Safety first
Electricity and water are a dangerous combination, so always shut power to the pump at the breaker before touching any electrical components. If you’re unsure about electrical work, hire a licensed electrician or well contractor; it’s safer and often required by code.
Avoid entering the well or removing pump components underwater unless you’re trained and have the right equipment. Confined-space entry, contaminated water, and heavy gear make pump pulls hazardous for untrained people.

Recommended maintenance schedule
A consistent schedule keeps tasks from being forgotten and helps you catch trends (like gradually increasing run times). The table below gives a quick reference for tasks, frequency, and whether you can do it yourself or should hire a pro.
| Task | Frequency | DIY or Pro |
|---|---|---|
| Check system pressure and watch pump cycles | Monthly | You |
| Visual inspection of wellhead and area | Monthly | You |
| Check pressure gauge and record readings | Monthly | You |
| Test water clarity, smell, taste | Quarterly | You |
| Check pressure tank air charge (bladder tanks) | Quarterly | You |
| Clean pressure switch contacts and housing | Every 6 months | You (careful) or Pro |
| Inspect electrical connections and control box | Annually | Pro recommended |
| Full water test (bacteria, nitrates, etc.) | Annually | You (sample) / Lab |
| Chlorination/disinfection after contamination or annually if needed | As needed / Annually | You or Pro |
| Pump performance test (flow rate, GPM) | Annually | You or Pro |
| Check well cap and sanitary seal | Annually | You |
| Replace pressure switch or check valve | Every 3–5 years or as needed | Pro |
| Pull and inspect pump (submersible) | Every 10–15 years or if problems | Pro |
| Electrical motor inspection | Every 3–5 years | Pro |
You’ll find a mix of monthly, quarterly, annual, and longer-term tasks that together keep the system healthy. The split between DIY and professional tasks prioritizes safety and regulatory compliance.
Monthly tasks
Every month you should glance over the system to catch obvious problems before they worsen. You’ll want to watch pump cycling, note any unusual noises, and check the area around the well for drainage or contamination sources.
Check the pressure gauge on the tank and record the values when the pump stops and restarts. Regular tracking helps you spot slow changes that indicate bladder failure, leaks, or reduced pump performance.
- Watch for short cycling (pump turning on/off rapidly) — that usually means a pressure tank or switch problem.
- Look for puddles, wet soil, or broken seals around the wellhead — these can be contamination paths.
- Note unusual pump noise or vibration when it runs — these can be early signs of mechanical failure.
Quarterly tasks
Quarterly checks let you test water quality and the pressure tank air charge without too much hassle. These tasks add an extra layer of protection for water safety and system efficiency.
Test water for clarity, odor, and basic color changes. If something seems off, collect a sample and send it to a certified lab for bacterial and chemical testing.
- Check and adjust the air charge in pre-pressurized (bladder) tanks if needed. The tank’s air charge should be 2 psi below the pump’s cut-in pressure; check this with the tank drained and power off.
- Inspect piping, fittings, and visible valves for corrosion or leaks.
- Clean any debris around the well cap and ensure the wellhead is secure.
Biannual tasks (every 6 months)
Every six months you should look more closely at moving parts that face wear or dirt ingress. This prevents small issues from leading to failures.
Clean the pressure switch cover and check for corrosion or debris under the cover. Replace the switch if the contacts are burned, pitted, or the unit is several years old.
- Lubricate any serviceable moving parts per manufacturer instructions (some modern pumps are sealed and have no service lubrication points).
- Test the low-water cutoff (if present) and any other safety devices to ensure they operate correctly.
Annual tasks
An annual service should cover water testing, full electrical inspection, and a performance baseline measurement. These steps give you a snapshot of system health year to year.
Schedule a professional electrical and motor inspection if you’re not comfortable working with pump wiring. This helps catch overheating, insulation breakdown, or failing relays.
- Have a full water test done that includes coliform bacteria, nitrates, and any local contaminants of concern. A lab test is more reliable than a home test for bacterial issues.
- Measure flow rate and static pressure and log the results for comparison in future years.
Every 3–5 years tasks
Some parts have predictable lifespans; replacing them on a schedule avoids emergency failures. Every 3–5 years you should inspect or replace components prone to wear.
Consider replacing the pressure switch, check valve, or piping sections that show corrosion or wear. Proactive replacement is cheaper and less disruptive than emergency work.
- Consider having a pro perform a pump motor electrical analysis every 3–5 years. This can reveal insulation wear and motor inefficiencies before they fail.
- If your pump has been in service for over 10 years, plan financially for pump replacement; wear increases failure risk with age.
Pressure tank maintenance
The pressure tank is a shock absorber for the system that keeps the pump from cycling too often. Its maintenance is essential to reduce pump wear and keep steady pressure.
If your tank has a bladder, check the air charge by turning off power, draining water from the tank, and using a tire gauge on the air valve. The air pressure should be 2 psi below the pump’s cut-in pressure. If you have a non-bladder (galvanized) tank, check for waterlogging and consider replacing it with a bladder tank for better performance.
- Listen for frequent short cycling — this typically means the tank’s air charge is low or the tank is waterlogged.
- Replace aging tanks proactively; life expectancy varies, but many tanks last 5–15 years depending on water quality and use.
Water testing and quality
Regular water testing keeps you informed about health risks and helps you determine when to disinfect or treat the water. Your testing schedule should reflect your water source and local risks.
At minimum, test for coliform bacteria and E. coli annually. Also test for nitrates, especially if you live near agricultural areas, and test for metals, hardness, or specific contaminants based on known local problems. If you notice taste, odor, or discoloration, test immediately.
- Use certified labs for accurate results and follow sample collection instructions carefully to avoid false positives.
- If bacterial contamination shows up, you’ll likely need to shock-chlorinate the well and then retest to confirm safety.
Chlorination (shock disinfection)
If contamination appears, or if you’ve done work on the well, you’ll often need to disinfect the system. Shock chlorination requires using the correct chlorine concentration and procedures.
You’ll mix a specified amount of household bleach or commercial chlorine, introduce it to the well, circulate it through all outlets until you detect a chlorine smell, and let it sit for 8–24 hours. After the contact time, flush the system until chlorine is gone and retest water for bacteria.
- Follow safety instructions: use gloves and eye protection and avoid mixing chlorine with other chemicals.
- If you’re unsure about concentrations or the procedure, ask a licensed well contractor to perform the disinfection and sampling.
Electrical and control box maintenance
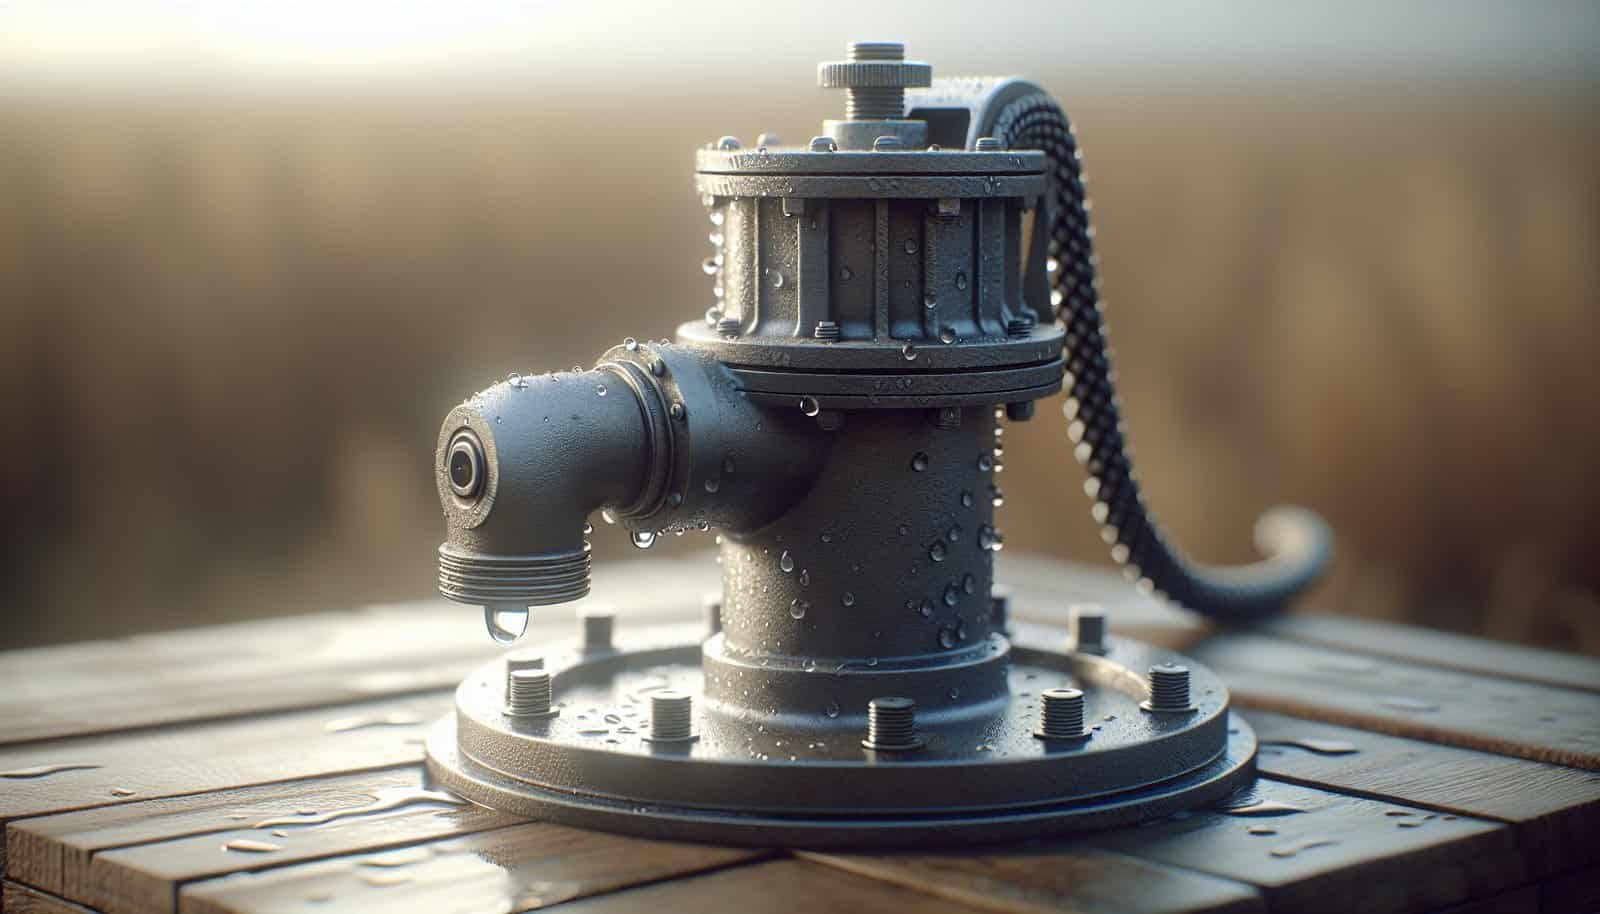
Electrical issues are a common cause of pump failure. Proper inspection and maintenance reduce the likelihood of motor burnout and unsafe conditions.
Have a professional check wiring, motor amperage, capacitors, relays, and the control box annually if you don’t have the training to do this safely. For DIYers with electrical experience, visually inspect for corroded terminals, frayed wires, or burned connectors, but do not attempt major electrical repairs without proper qualifications.
- Check the circuit breaker and any fuses for proper operation and correct rating.
- Ensure lightning arrestors or surge protectors are present in areas prone to storms to protect the motor and control electronics.
Wellhead and surface maintenance
A secure, intact wellhead prevents surface contamination from entering the well. Make sure the wellcap is sealed, the casing is intact, and drainage slopes away from the well.
Keep the area clear of chemicals, livestock, and machinery. Maintain 10–20 feet of clear, graded surface around the well that drains away, and don’t store fuel, pesticides, or fertilizers nearby.
- Replace cracked or missing well caps immediately. A damaged cap allows insects, rodents, and surface water into the well.
- Secure any wiring and pipes against mechanical damage and frost heave in colder climates.
Pump performance monitoring
Monitoring pump performance gives you early warning of declining capacity or efficiency. A few simple measurements let you calculate flow rate and spot issues.
Measure flow by timing how long it takes to fill a known volume container (bucket or storage tank). Calculate gallons per minute (GPM) by dividing volume by time. Compare to the pump’s rated output and past measurements to spot drops in performance.
- Monitor pump run time for typical household cycles; longer run times often indicate decreased pump capacity or deepening well water levels.
- Increased pump start current or tripped breakers signal motor or electrical problems.
Troubleshooting common problems
A systematic approach helps you identify many common problems and decide whether you can fix them or need professional help. Below is a table of common symptoms, likely causes, quick DIY checks, and recommended actions.
| Symptom | Likely cause(s) | DIY checks | Action |
|---|---|---|---|
| Pump runs but no water | Dry well, broken pipe, clogged intake, failed impeller | Check other water sources, listen for pump cavitation, check pressure gauge | Call well contractor to check water level and pull pump if needed |
| Pump won’t start | Tripped breaker, blown fuse, bad control box, burnt motor | Check breaker and reset, inspect control box for lights or errors | If breaker trips again, call electrician/pro |
| Short cycling (on/off rapidly) | Waterlogged tank, bad pressure switch, leak in system | Turn power off and drain tank, check air charge; inspect pipes for leaks | Replace or recharge tank; replace switch if faulty |
| Low pressure or reduced flow | Partially clogged intake, worn impeller, low water level | Run faucet test, check multiple fixtures, measure flow rate | Clean or replace pump components; consider well recharge assessment |
| Strange noises or vibration | Bearings failing, cavitation, loose mountings | Listen at pump and pressure tank while running | Call pro for motor/pump inspection; tighten mountings if safe |
| Rotten egg smell | Hydrogen sulfide from bacteria | Test water, note conditions | Shock chlorinate and retest; consult pro for persistent issues |
| Cloudy or discolored water | Iron, manganese, sediment, pipe corrosion | Let water settle in a container, test for iron/manganese | Install filtration or treat with oxidizing filter; clean or flush well |
You’ll find that many DIY checks are simple visual or audible inspections, but diagnosing and repairing many issues requires professional tools and expertise. Use the checklist above to determine urgency and next steps.
When to call a professional
Call a qualified well contractor or licensed electrician if you encounter any of the following: motor burning smell, repeated tripped breakers, inability to restore water after simple checks, suspected well contamination, or if you need the pump pulled. Professionals have the equipment to measure static water level, perform motor tests, and safely pull and replace a submersible pump.
You’ll also want professional help when replacing pumps, deep components, or undertaking tasks that require confined-space procedures or heavy lifting. A pro will also advise about code compliance and proper permits where required.
Cost and budgeting
Planning for maintenance costs helps avoid sticker shock. Routine annual checks and small parts replacement are relatively inexpensive, whereas pump replacement or major repairs are more costly.
- Routine maintenance visit: $100–$300 depending on region and complexity.
- Pressure tank replacement: $200–$800 depending on size and type.
- Pressure switch replacement: $50–$200 for parts and $100–$300 labor.
- Submersible pump replacement (parts & labor): $800–$3,500+ depending on depth and pump size.
- Well drilling or major rehabilitation: several thousand to tens of thousands of dollars.
You’ll reduce total lifetime costs by addressing small issues early, replacing worn components on schedule, and keeping good records to avoid repeated diagnostic trips.
Parts lifespan and replacement guidelines
Understanding expected lifespans helps you plan. Pumps and tanks don’t last forever, and water conditions accelerate wear.
- Submersible pump: typically 8–15 years, depending on motor quality and water conditions.
- Surface/jet pump: typically 6–12 years, variable with duty cycle and environment.
- Pressure tank (bladder): 5–15 years depending on quality and water conditions.
- Pressure switch: 3–7 years; inspect regularly and replace if contacts or diaphragm show wear.
- Check valve: 3–10 years depending on type and water quality; failure causes water loss and pump cycling.
You’ll want to budget for replacement after the expected lifespan and consider upgrades (like stainless steel piping or a larger tank) to improve reliability.
Record keeping and maintenance log
Keeping a written or digital log of all maintenance, tests, and repairs helps you spot long-term trends and supports resale of the property. Your log should include dates, readings (pressure at cut-in/cut-out, flow rate), water test results, and any replaced parts.
Record vendor contact info, warranty details, and invoices for equipment and services. You’ll be grateful for these notes if a problem recurs or if you need to prove regular maintenance to buyers.
Seasonal considerations
Seasonal changes affect your well setup. In cold climates, insulate above-ground piping and the pressure tank to prevent freezing. In periods of heavy rain, be vigilant for surface contamination and poor drainage around the wellhead.
- Summer droughts can lower static water levels and increase pumping strain. Monitor well depth and pump run times during hot months.
- Winterize external plumbing and isolate external faucets if freezing is a risk. Insulate or heat enclosures for pressure tanks located outside the home.
You’ll want to schedule checks before extreme seasons to prevent avoidable issues.
Upgrades and modern monitoring
Technology can make maintenance easier by adding remote monitoring and alarms. Consider a smart well monitor that tracks pump runtime, cycles, and fault conditions and sends alerts to your phone.
Upgrading to a larger pressure tank or VFD (variable frequency drive) system reduces cycling and improves efficiency in some setups. If you’re considering upgrades, discuss options with a licensed contractor to determine cost-effectiveness and compatibility.
- Smart monitors can detect slow failures early and reduce surprises.
- VFDs can extend pump life by soft-starting and modulating speed for consistent pressure.
DIY vs professional work: what you can do safely
You can handle visual inspections, basic pressure tank air checks, simple switch cleaning, and sample collection yourself. For anything involving heavy lifting, pulling a pump, complex electrical work, or suspected contamination requiring disinfection, you should hire a licensed pro.
Always turn off power before working on the system and use protective equipment. When in doubt, call a technician; the slight cost of a pro is small compared with the expense and danger of a major mistake.
Final checklist: your immediate actions after reading this
You’ll get more value from maintenance if you take a few concrete steps now. Use this short checklist to start.
- Record current pressure gauge readings and pump cycle behavior. Write them down.
- Inspect the wellhead, cap, and nearby area for damage or contamination sources. Fix minor issues or schedule repairs.
- Schedule an annual water test at a certified lab and note the date in your calendar.
- Check the pressure tank air charge if you have a bladder tank; record the results.
- If you don’t have a maintenance log, start one today and make a habit of updating it after each check or repair.
Summary and closing tips
Maintaining your water well pump is a mix of routine DIY checks and scheduled professional inspections. You’ll protect water quality, reduce emergency repairs, and extend equipment life by doing simple monthly checks, quarterly water observations, annual lab testing, and professional electrical inspections when needed.
Stay proactive: keep records, respond quickly to changes in pressure or water quality, and don’t hesitate to call a qualified contractor for electrical work or when the pump needs to be pulled. A little regular attention goes a long way toward reliable water for years to come.

