
Are you confident that your water well pump will keep supplying clean, reliable water when you need it most?

How Do I Maintain My Water Well Pump?
Keeping your well pump in good working order protects your water supply, prevents expensive repairs, and extends the life of the system. Below, you’ll find a practical, friendly, step-by-step guide that explains what to check, when to check it, how to perform routine tasks, and when to call a professional.
Why well pump maintenance matters
Your well pump is the heart of your household water system if you rely on a private well. Regular maintenance prevents sudden failures, reduces bacterial contamination risks, and keeps pressure steady for showers, appliances, and irrigation. You’ll also avoid emergency service fees and conserve water by fixing leaks early.
Types of well pump systems
Before you start maintenance, it helps to know which pump you have. Different systems have different needs.
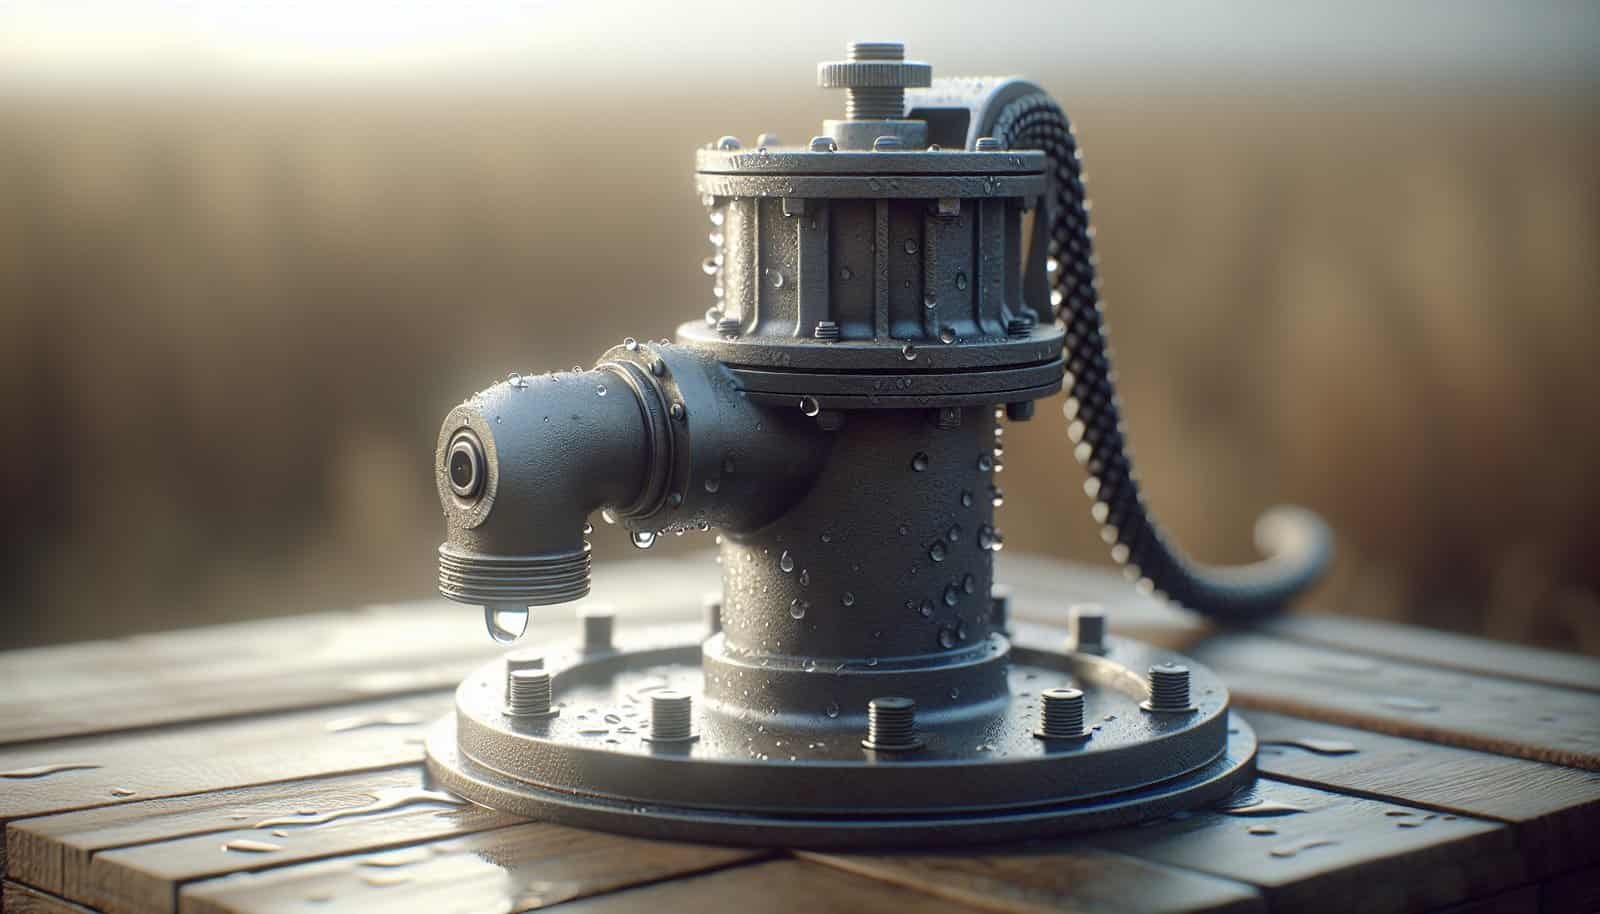
Submersible pumps
Submersible pumps sit underwater in the well casing and push water to the surface. Because they’re submerged, they’re generally quiet and efficient. You’ll focus on electrical components, pressure tank performance, and water quality checks for submersible pumps.
Jet pumps (above-ground)
Jet pumps sit above ground and pull water from the well. They’re more exposed to weather and require attention to suction lines, foot valves, and pressure switch settings. Frost protection may be necessary in colder climates.
Other systems (solar, turbine, hand pumps)
If your system is solar-powered, manual, or uses a turbine, you’ll have additional or alternate maintenance items, such as battery care or mechanical lubrication.
Basic safety precautions
Never work on a pump without taking safety measures. You’ll want to avoid electric shock, mechanical injury, or contamination of the well.
- Turn off power at the breaker before touching electrical components.
- Use insulated tools and wear rubber-soled shoes.
- Keep chemicals and gasoline away from the well area.
- If you must enter a pit or cramped area, ensure proper ventilation and a second person is aware of your work.
- If you smell gas or detect dangerous wiring, stop and call a professional.

Tools and supplies you should have on hand
Having the right tools makes routine maintenance easier and safer. Keep these on hand:
- Basic hand tools: wrenches, screwdrivers, pliers
- Multimeter for electrical testing
- Pressure gauge and a spare pressure switch connector
- Replacement fuses and spare relay or pressure switch assembly
- Flashlight or headlamp
- Chlorine bleach for shock disinfection (if needed)
- Gloves, safety glasses, and a mask
- Teflon tape and pipe compound
- Bucket and clean hoses for flushing
- Record book to log maintenance and test results
Recommended maintenance schedule
A predictable maintenance schedule helps you stay on top of necessary tasks. Use the table below as a baseline you can adapt to your local conditions and water usage.
| Frequency | Tasks |
|---|---|
| Monthly | Check pressure gauge and observe pump cycling. Look for leaks at fittings. Inspect visible wiring and listen for unusual noises. |
| Every 3 months | Test water clarity and odor. Check pressure tank air charge (if bladder/gas tank). Inspect well cap and seal. Clean debris around wellhead. |
| Every 6 months | Inspect pressure switch contacts and clean if corroded. Test for short cycling. Check for signs of rust or corrosion. Verify that automatic controls and floats are functioning. |
| Annually | Test water for bacteria (coliform/E. coli) and nitrates. Inspect and test electrical components with multimeter. Check and service pressure tank. Schedule professional well inspection and video camera survey if recommended. |
| Every 3–5 years | Change worn parts: check valve, foot valve, pressure switch (if failing), tank bladder (if leaking). Consider professional pump performance check (flow rate, drawdown). |
| As needed | Shock chlorination after contamination or well work. Winterize or protect in cold climates. Replace failing pump immediately. |

How to check the pressure tank and pressure switch
The pressure tank and switch control the pump’s on/off cycles. Problems here often cause short cycling or loss of pressure.
Checking the pressure tank air charge
You’ll test the air charge on the pressure tank to ensure the pump doesn’t run more often than needed.
- Turn off the pump at the breaker.
- Drain water from the tank until the pressure drops to about 20–30 psi (or slightly lower than the pump’s cut-in).
- Use a tire gauge on the air valve (Schrader valve) at the top of the tank to measure the air pressure.
- The air charge should be 2 psi below the pump’s cut-in pressure (for example, for a pump that starts at 30 psi, the air charge should be 28 psi).
- Add air with an air compressor or bicycle pump if needed. Replace or repair a bladder tank that continuously loses air.
Inspecting the pressure switch
The pressure switch turns the pump on and off based on tank pressure.
- Turn off power to the pump.
- Remove the switch cover and look for corrosion, pitting, or debris between contacts.
- If contacts are dirty, carefully clean them with fine sandpaper or a contact file. Do not attempt to file live contacts.
- Verify settings with a mechanic’s gauge; ensure cut-in and cut-out pressures match your system needs.
- Replace the pressure switch if it’s worn or the pump cycles erratically after cleaning.
Monthly visual and functional checks
A brief monthly inspection can catch small issues before they become big problems.
- Watch the pump cycle: Note the length and frequency of cycles. Short cycles (less than one minute) can mean a small pressure tank or a leak.
- Listen for abnormal noises: Grinding, screeching, or rattling likely indicates mechanical wear or debris.
- Inspect fittings and pipes for leaks.
- Check the well cap for tight fit and visible signs of contamination or animal entry.
- Examine wiring for frayed insulation, burnt contacts, or loose connections.

Water testing and quality maintenance
Testing your water regularly verifies safety and identifies problems early. You’ll want to follow these guidelines:
What to test for and how often
- Bacteria (total coliform and E. coli): Test annually, or immediately if someone becomes ill or after repairs.
- Nitrates: Test at least every 1–3 years, more often if you live near agricultural operations.
- pH, hardness, iron, manganese, and total dissolved solids (TDS): Test every 2–3 years or if you notice staining, scale, or taste changes.
- Volatile organic compounds (VOCs) and other contaminants: Test if nearby industrial or fuel-storage contamination is possible.
Professional labs provide sample containers and instructions. Keep records of results and any treatments you apply.
Shock chlorination (disinfection)
If bacteria are found or after well repairs, shock chlorination may be necessary. This is a temporary disinfecting step and should be done carefully.
- Estimate the well volume to calculate appropriate bleach dosage (commonly a household bleach solution is used; follow local guidance).
- Turn off the power and pour the bleach solution into the well with water to circulate.
- Run each faucet until you smell chlorine, then let the system sit for 12–24 hours.
- Flush the system until chlorine is gone to avoid damaging plumbing and to make water safe for use.
- Retest water before resuming normal use.
If you’re uncomfortable with this process, hire a licensed well contractor to disinfect the well.
Troubleshooting common problems
When you face problems, a structured troubleshooting approach saves time and prevents unnecessary replacements.
Quick-reference troubleshooting table
| Symptom | Likely cause(s) | What to do |
|---|---|---|
| No water at any tap | Power outage, tripped breaker, blown fuse, failed pump motor, bad pressure switch | Check power, reset breaker, test for voltage at pump, call pro if motor failed |
| Low water pressure | Clogged intake, failing pump, low tank air charge, clogged filter, partial pump failure | Check filters, measure flow rate, test tank pressure, clean or replace parts |
| Pump short-cycles (turns on/off rapidly) | Small pressure tank, waterlogged tank, leak in pressure side, stuck pressure switch | Check tank air charge, inspect for leaks, inspect pressure switch |
| Pump runs continuously | Closed valve on discharge line, insufficient well yield, stuck check valve | Check system valves, inspect well yield or call pro for drawdown test |
| Noisy pump | Air in system, worn bearings, cavitation, loose mounting | Bleed air from system, check pump mounts, call pro for internal pump work |
| Brown/Discolored water | Iron, manganese, or sediment in well | Flush line, test water, install filtration or well cleaning |
| Foul smell or taste | Bacterial contamination, organic matter | Test water, shock chlorinate, call pro if persistent |

Detailed troubleshooting steps
If you have no water
- Check household power: Confirm the circuit breaker or fuse for the well pump is on.
- Inspect the pressure gauge: If the gauge reads zero or fluctuates abnormally, the tank or pump may be disconnected.
- Test the pressure switch: If the switch doesn’t click or the motor won’t start, test for voltage at the switch. If voltage is present but the pump won’t run, the motor likely needs repair or replacement.
- Listen at the pump motor: No humming or spinning could indicate motor failure or a burned winding. Professional service is typically required.
If you have low pressure
- Check for clogged screens or filters: Clean or replace filters and any sediment screens.
- Inspect inlet lines for partial blockages: Remove and flush any strainers.
- Test pump flow: Measure gallons per minute (GPM) to compare with pump rating. Reduced flow suggests wear or partial clogging downhole.
- Check tank air charge: Undercharged tanks lead to poor pressure response.
If the pump is short-cycling
- Short cycling stresses the motor and shortens pump life. Look for a waterlogged tank (no air cushion), a failed check valve causing water to drain back to the well, or leaks on the pressure side. Correcting the tank air charge or fixing leaks usually resolves the cycling.
When to call a professional
Some tasks are best left to licensed well contractors:
- Pump removal/installation and replacement
- Motors with electrical faults beyond basic tests
- Deep well performance testing (drawdown and recovery)
- Video inspection of the well casing and screen
- Complex disinfection or remediation for persistent contamination
- Any job requiring confined entry or heavy lifting
Hiring licensed professionals ensures code compliance and safe, effective repairs. Get at least two estimates and ask for references, licensing, and insurance verification.
Winter protection and cold climate considerations
Freezing temperatures can damage above-ground components and pipes. Protect your system with these steps:
- Insulate any exposed pipes and pressure tanks in unheated areas.
- If the well house is unheated, use a small thermostatically controlled heater or add insulation and a tight-fitting door.
- For jet pumps in cold climates, permanently mount them in a heated area or insulated enclosure.
- If you’ll be away, maintain a minimum heat level or drain exposed piping to prevent burst pipes.
Replacing parts and when it makes sense to replace the pump
Pumps eventually wear out. Consider replacement if:
- The motor has failed and repair costs approach replacement cost.
- The pump is older than its expected life (submersible pumps often last 10–15 years, depending on water quality and usage).
- Efficiency has dropped substantially, raising your energy costs.
- Repeated repairs are needed for the same issues.
When replacing, match the new pump’s capacity and pressure rating to your system. Confirm well depth, flow rate, and electrical supply before ordering.
Keeping good records
Document every maintenance action, test result, repair, and part replacement. Record:
- Dates and details of inspections
- Water test results
- Pump model, serial number, and installation details
- Contractor service reports and invoices
Records help diagnose future issues and provide proof of proper maintenance for insurance or resale.
Cost considerations and budgeting
Expect to budget for both routine and unexpected expenses.
- Annual water testing: $50–$200 depending on tests
- Pressure switch replacement: $100–$300 (parts and labor)
- Pressure tank replacement: $300–$1,200
- Pump replacement (submersible): $1,000–$5,000 depending on depth and horsepower
- Professional inspections and cleaning: $150–$500
Plan an annual maintenance budget and set aside funds for major repairs every 5–10 years.
Environmental and legal considerations
Follow local regulations regarding well construction, disinfection, and water treatment. Avoid disposing of solvents, fuels, or pesticides near the wellhead. If contamination is suspected, notify local health authorities and follow their guidance for testing and remediation.
Upgrades and improvements to consider
As you maintain your system, you might consider upgrades that improve performance:
- Add a water softener or iron filter if hardness or iron is a problem.
- Install a variable-frequency drive (VFD) for large systems to improve efficiency and reduce cycling.
- Upgrade to a larger pressure tank to reduce cycling and prolong pump life.
- Add a water-quality monitor for continuous detection of contaminants or turbidity.
Step-by-step monthly maintenance checklist
Use this practical checklist to keep routine tasks quick and consistent.
- Check breaker and pump power status.
- Observe pump cycle time and frequency; note any changes.
- Inspect the pressure gauge; record reading at idle and when pump runs.
- Listen for abnormal sounds while pump operates.
- Look for leaks at joints, valves, or seals.
- Check wellhead area for cleanliness and proper cap seal.
- Remove debris and vegetation near the well area.
Step-by-step annual maintenance checklist
An annual routine will reduce the likelihood of surprise problems.
- Test water for bacteria, nitrates, and contaminants specific to your area.
- Inspect and test the pressure switch, pressure tank, and control box.
- Measure tank air charge and adjust if necessary.
- Clean or replace filters and strainers.
- Schedule a professional well inspection and pump performance test.
- Review records from the past year and note any recurring issues.
Troubleshooting case study examples (brief)
- Case: Short cycling after summer increase in water use. Diagnosis: Tank air charge had slowly dropped. Fix: Recharged tank air to correct level and checked for leaks.
- Case: Brown water after heavy rains. Diagnosis: Surface water entered well due to damaged well cap and poor grading. Fix: Repaired cap, re-graded area, and shock chlorinated the well.
- Case: Pump hums but won’t start. Diagnosis: Start capacitor failure (jet pump) or burned motor winding (submersible). Fix: Replaced capacitor for above-ground pump; hired contractor for motor replacement in submersible.
Final tips for long-lasting performance
- Keep your wellhead area clear and secure to prevent contamination.
- Follow a documented maintenance schedule and stick to it.
- Treat water quality issues early; small fixes now prevent bigger problems.
- Use licensed professionals for electrical and downhole work.
- Keep spare parts for small, common failures like fuses and pressure switch parts.
Summary
Maintaining your water well pump is about consistent, proactive care. By checking the pressure tank and switch, testing your water, performing monthly inspections, and scheduling annual professional evaluations, you’ll protect your water supply and extend your pump’s life. When in doubt, test, document, and call a licensed expert for tasks beyond routine maintenance. Your attentiveness now saves you time, money, and stress later.
If you want, I can help you create a printable maintenance checklist tailored to your pump type and local climate, or guide you step-by-step through a pressure tank air charge check. Which would you prefer?