Are you concerned that bacteria might be getting into your well water and making you or your family sick?
How Do I Prevent Bacteria In My Well Water?
You rely on your well to supply safe water, so preventing bacteria is essential for health and peace of mind. This article walks you through why bacteria appear, how to keep them out, how to monitor water quality, what to do if your well casing cracks, and practical daily steps you can take to protect your water supply.
Why bacterial contamination matters
Bacterial contamination can cause gastrointestinal illness and other infections, and it signals that other contaminants might be getting into your water. You deserve to know how to minimize risks and act quickly when problems arise.
Understand the types of bacteria you might find
Knowing what bacteria can appear in well water helps you respond correctly.
- Total coliforms: These are a group of bacteria present in soil and surface water. Their presence indicates a potential pathway for contamination.
- Fecal coliforms and E. coli: These indicate contamination from animal or human fecal material and pose a more direct health risk.
- Heterotrophic plate count (HPC): These aren’t usually direct health threats but can indicate general microbial activity and treatment performance.
Each of these test results tells you something different, and interpreting them properly helps you decide whether to take emergency steps or schedule repairs and treatment.
How bacteria typically enter a well
Bacteria can get into a well through several routes. Understanding these helps you prioritize prevention.
- Surface runoff entering improperly sealed wellheads after heavy rain.
- Cracked or corroded casings allowing groundwater or surface water infiltration.
- Faulty or missing well cap or sanitary seal at the top of the well.
- Backflow from plumbing or cross-connections inside your house.
- Nearby septic systems or animal waste sources leaking into groundwater.
- Flooding that temporarily submerges the wellhead.
- During construction or maintenance when equipment isn’t clean.
Knowing these points helps you target practical fixes, from improving the wellhead seal to protecting the well from surface drainage.
What happens if my well casing cracks?
A cracked well casing is a high-risk problem. The casing is the pipe that lines the well bore and protects the water supply by keeping surface water, soil, and contaminants out. If it cracks:
- Contaminant pathways open: Surface water and soil can move down into the well, bringing bacteria, nutrients, and chemicals with them.
- Pressure changes and flow patterns may shift: This can allow contaminated water from upper layers to reach the screened zone.
- Increased risk after rain or flooding: Heavy precipitation can push more contaminated surface water into the well.
- Treatment and cleaning may be temporary fixes: Chlorination or filtration can remove bacteria temporarily, but the structural problem remains.
- Long-term solution often required: You may need casing repair, section replacement, or complete re-drilling to restore sanitary integrity.
If you suspect casing damage, stop drinking the water until testing and repairs are completed, and follow the emergency steps described later.
Signs that your well casing may be damaged
You should inspect and respond to these warning signs if you see them:
- Cloudy or discolored water after rain events.
- Recurring positive coliform or E. coli tests.
- Unusual microbial growth in filters or water softener tanks.
- Mud, silt, or debris in the water not explained by other causes.
- Visible damage, rust, or gaps at the wellhead, or a loose/missing well cap.
- Rapid changes in water clarity, taste, or odor.
If you notice these, arrange testing immediately and restrict water use for drinking until the issue is resolved.
Preventive well construction and location practices
Good prevention starts with how the well is sited and constructed. If you’re installing a new well or evaluating your existing well, pay attention to these details.
- Location: Place wells uphill and at least the recommended distance away from septic systems, livestock yards, fuel tanks, and chemical storage. Local codes specify minimum separation distances — follow them.
- Casing material and depth: Use appropriate, corrosion-resistant casing materials and extend casing above the ground surface by at least the local code requirement to keep surface runoff away.
- Well abandonment: Old, unused wells should be properly sealed to prevent them from acting as contamination conduits.
These construction choices reduce the chance that bacteria will have a direct path into your water supply.
Wellhead protection: caps, seals, and surfaces
Your wellhead is a critical barrier. Make sure it’s in good condition.
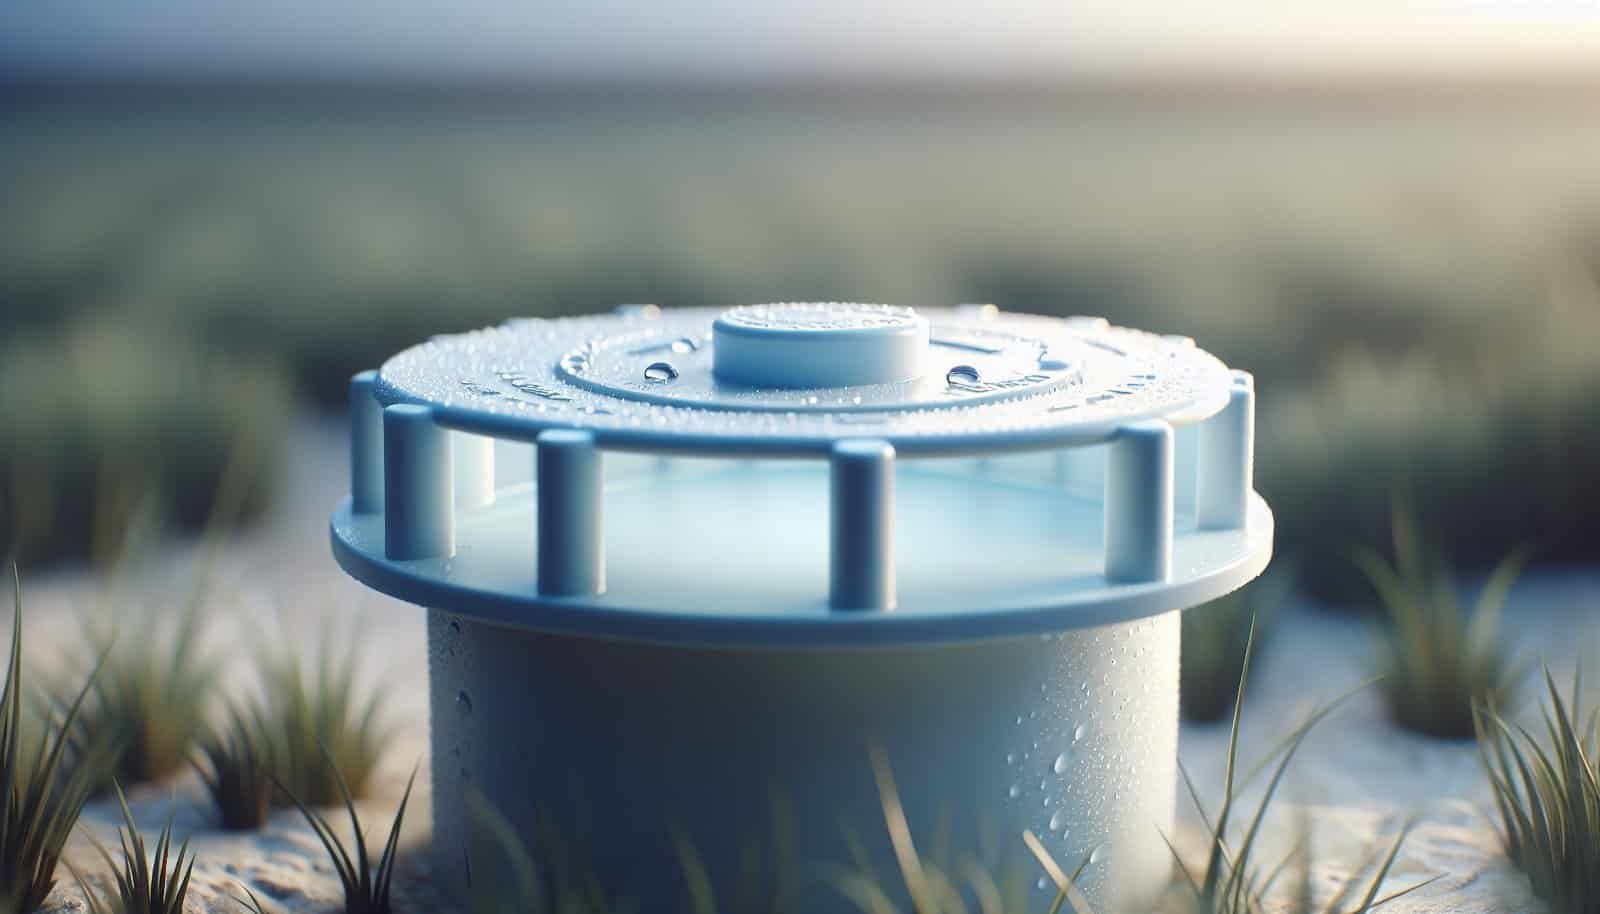
- Sanitary well cap: Ensure the well has an approved sanitary cap that seals the casing and keeps insects and small animals out.
- Grouting and sanitary seal: Concrete or bentonite grout around the casing should be intact to block surface flow along the casing wall.
- Elevation and drainage: The top of the casing should be elevated above the surrounding ground and placed on a well-drained pad so water runs away from the well rather than toward it.
- Locked or secured cap: Prevent tampering and accidental damage by securing the cap and restricting access to the top of the well.
A well-protected headspace reduces the chance that microbes or contaminants will enter during storms or routine surface activities.
Regular testing schedule and monitoring
Routine monitoring is one of the best preventive strategies. Test frequency and what to test for depends on your situation.
- Test annually for total coliforms and E. coli at minimum.
- Test after events: heavy rain, flooding, well repair, power outages affecting pumps, or any unusual water quality changes.
- Consider periodic testing for nitrates, VOCs, and other local contaminants based on your area and land use.
- If you change to any treatment system (UV, chlorination), schedule post-install testing to confirm performance.
Table: Recommended testing frequency
| Situation | What to test | Frequency |
|---|---|---|
| Routine household use | Total coliforms, E. coli | At least once per year |
| After heavy rain/flooding or repairs | Total coliforms, E. coli | As soon as possible (test immediately and again after treatment) |
| New well or new pump | Total coliforms, E. coli, HPC | Before regular use and within a month after installation |
| Suspected contamination or illness | Total coliforms, E. coli, specific pathogen tests if advised | Immediately, follow up after corrective actions |
| Agricultural or septic proximity | Nitrates, pesticides, total coliforms | At least annually or per local recommendations |
Keeping a log of tests, dates, and results makes it easier to spot trends and act quickly when you see changes.
Shock chlorination: when and how to do it
Shock chlorination is a common initial response to bacterial contamination. It disinfects the well, piping, and storage tanks temporarily.
- When to use it: After a positive coliform or E. coli test, after flooding, or after repairs. It’s also used during new well development or when repairs introduce contamination.
- What it does: A high concentration of chlorine is introduced to the well and plumbing to kill bacteria. It’s effective for many kinds of microbial contamination but not for circumventing structural casing problems.
- How to do it: Follow a published protocol or hire a licensed contractor. The general steps are:
- Calculate well volume and the amount of chlorine needed (often 50–200 ppm for shock application).
- Mix household bleach or a specialized chlorine solution.
- Pour into the well, circulate through the plumbing until chlorine odor is present at every tap, let sit for a specified contact time (commonly 6–24 hours), then flush until chlorine is below safe levels.
- Retest water after flushing and again a week later to verify bacteria are gone.
Precautions: Chlorination can produce high chlorine residuals and byproducts, so avoid using the water for cooking until flushed, and never inhale concentrated fumes or mix with other chemicals. If you’re unsure, call a professional.
Continuous and long-term disinfection options
If your water is repeatedly contaminated or your well is near risk sources, consider ongoing treatment systems.
Table: Pros and cons of common continuous disinfection/treatment options
| Treatment | What it removes/controls | Pros | Cons |
|---|---|---|---|
| Continuous chlorination (feed system) | Bacteria, some viruses; effective residual | Low cost, continuous protection, residual disinfectant in the water | Chemical taste/odor, byproduct formation, requires monitoring and refill |
| UV disinfection | Bacteria, viruses, protozoa (if designed properly) | No chemicals, effective at inactivating microbes | No residual protection (risk from post-treatment contamination), requires clear water and power |
| Point-of-use filters (e.g., 0.2 µm) | Bacteria and particulates at drinking taps | Direct protection at taps, relatively inexpensive | Requires maintenance and regular cartridge replacement |
| Chlorine + filtration hybrid | Broad protection | Residual + particulate removal; flexible | More complex, requires maintenance |
| Ozonation | Bacteria, organic compounds | Strong oxidant, no long-lasting chemicals | Complex, costly, requires operator skill; no residual |
Choose a system based on your contamination pattern (intermittent vs continuous), budget, and maintenance willingness. For recurring contamination, continuous disinfection with a residual (like chlorination) provides ongoing protection, while UV is excellent if you can ensure no post-treatment contamination.
Plumbing, backflow prevention and household measures
Your home plumbing can introduce or spread contamination if not set up properly.
- Backflow prevention: Install appropriate backflow devices to prevent water from fixtures or irrigation systems from siphoning contaminants into your plumbing.
- Separate outside taps: Make sure hose bibs have vacuum breakers or anti-siphon devices.
- Maintain plumbing: Replace corroded or old pipes, and avoid complex cross-connections that can be a contamination pathway.
- Point-of-use treatment: Use certified filters at kitchen taps for drinking water if you have intermittent bacterial issues while you address the source.
By controlling what happens inside your plumbing, you can reduce the chance that an isolated issue turns into a household exposure.
What to do immediately if you get a positive test for bacteria
If a lab confirms total coliforms or E. coli in your water, take these steps right away.
- Stop using the water for drinking, cooking, brushing teeth, or preparing baby formula unless you boil or use bottled water.
- Boil water for at least 1 minute (3 minutes at high altitude) for safe drinking and cooking until the problem is resolved.
- Do not use the water for ice, baby formula, or dental hygiene unless boiled or bottled.
- Arrange for shock chlorination or contact a licensed well contractor for advice and repair.
- Retest after disinfection and repairs to confirm the problem is resolved.
If anyone in the household becomes ill with gastrointestinal symptoms, contact your healthcare provider and inform them your water tested positive for fecal bacteria so they can advise appropriate diagnostics and treatment.
Locating contamination sources near your well
You have the right to investigate what may be contributing to contamination.
- Inspect nearby septic systems for proper function and distance to your well.
- Check for animal husbandry, livestock, or barnyard runoff near the well.
- Watch landscaping and drainage: grade the ground so water flows away from the well.
- Review pesticide, fertilizer, or chemical storage practices and distances from the well.
- If contamination persists, consider getting professional hydrogeologic or sanitary surveys to determine groundwater flow and contamination pathways.
Addressing the source is often as important as fixing the well itself. If runoff from a neighbor’s property is contributing, you may need to coordinate with local authorities or the neighbor to resolve issues.
Well maintenance checklist
A simple checklist helps you keep preventive care consistent.
- Inspect well cap and casing annually for cracks or openings.
- Keep the area around the well clean and free of animal access and chemical storage.
- Maintain at least the minimum separation distances from septic systems and potential contaminants.
- Test water annually for coliforms and E. coli; test more often if you notice changes.
- Service pumps and pressure tanks per manufacturer recommendations.
- Record all maintenance, tests, and repairs in a log.
Consistent maintenance helps you catch small issues before they become health hazards.
Dealing with cracked casing: step-by-step
If you find or suspect a cracked casing, follow these steps.
- Stop using water for drinking until tested and cleared.
- Arrange bacteriological tests immediately and after any temporary disinfecting (boil water in the meantime).
- Contact a licensed well contractor to inspect the casing and wellhead.
- Based on the contractor’s assessment, choose repair options:
- Seal and grout if the crack is limited and accessible.
- Replace the damaged casing section if feasible.
- Re-drill a new well if the damage is extensive or repair is impractical.
- After structural repair, perform shock chlorination and retest water until results are safe.
- Consider long-term treatment if risk factors remain (continuous chlorination, UV, etc.).
Address the structural issue promptly — temporary disinfection without fixing the casing is not an adequate long-term solution.
Hiring a professional and permits
Some repairs or installations legally require licensed contractors and permits.
- Use licensed well drillers and pump installers. They follow codes and use correct materials and methods.
- Check local regulations: Many jurisdictions require permits for well drilling, major repairs, and abandonment.
- Get written estimates and references, and verify contractor credentials and insurance.
- Keep documentation of permits and work performed for future reference and resale value.
Following regulations protects you legally and ensures proper methods are used.
Financial considerations and insurance
Repairing or replacing a well can be expensive, but protecting your water is essential.
- Repair costs vary widely: minor wellhead repairs cost a few hundred dollars; re-drilling can be thousands to tens of thousands depending on depth and geology.
- Check whether your homeowner’s insurance or a private well warranty covers certain damages (often it does not cover preventative maintenance or groundwater contamination).
- Budget for annual testing and routine maintenance; these costs are small compared to major repairs.
- Look into state or local grant programs or cost-share opportunities for well replacement in some areas.
Planning and budgeting make it easier to act quickly when problems arise.
Practical tips to reduce contamination risks around your property
Making changes around your yard can reduce contamination risk.
- Keep livestock and animal shelters downhill from the well and maintain fenced distances.
- Route roof and surface drainage away from the wellhead, using swales or grading if necessary.
- Store fuels, pesticides, and chemicals well away from the well and on impermeable surfaces.
- Don’t bury or leave rubbish near the well that could decompose and leach contaminants toward groundwater.
- Establish a clear well protection zone with no heavy machinery or vehicle traffic that could damage the casing.
Simple landscaping and storage choices can reduce the frequency of bacterial problems.
Common misconceptions
Clearing up myths helps you make smarter choices.
- Myth: Boiling water fixes structural problems. Truth: Boiling kills bacteria temporarily but does not repair casing cracks or stop future contamination.
- Myth: Filter pitchers eliminate all bacteria. Truth: Most consumer pitchers are not designed to remove bacteria; only certified point-of-use microbiological filters work for that purpose.
- Myth: Once disinfected, a well is safe forever. Truth: Without addressing the contamination source or structural problems, bacteria can return.
Knowing the limits of quick fixes helps you invest in durable, effective solutions.
Record keeping and trend analysis
Keeping records helps you see gradual changes before they become emergencies.
- Log dates of tests, results, maintenance, repairs, and weather events that might correlate with contamination.
- Trends such as seasonal spikes after rains can reveal surface flow problems.
- If contamination recurs at predictable times, you can plan preventive actions in advance.
Records help you and professionals make informed decisions and optimize interventions.
When to ask for help from public health authorities
If your well is contaminated, public health agencies can advise you.
- Contact local health departments when you have repeated positive tests or if household members become ill.
- Health departments can advise on immediate precautions, testing, and whether a boil-water notice is warranted.
- They may provide information on local contractors, grant programs, and regulatory requirements.
Public health input can guide safe, legally appropriate actions.
Long-term thinking: what to plan for
Think about long-term measures to keep your water safe for years.
- Consider alternatives like connecting to public water if that becomes a viable option and reduces risk.
- Plan for eventual pump replacement, electrical issues, and aging infrastructure.
- Budget for regular testing and potential treatment system replacement parts.
- If you plan to sell your property, document well maintenance and any tests to reassure buyers.
Proactive planning reduces stress and costs down the line.
Quick response checklist (what to do right now)
- If test shows bacteria: Stop using water for consumption, boil or use bottled water, retest after disinfection.
- If you suspect a cracked casing: Limit water use, contact a licensed well contractor, arrange tests, and avoid using water until cleared.
- For routine prevention: Inspect wellhead yearly, maintain drainage, test annually, and keep records.
This checklist gives you immediate, practical action steps to protect your family while you arrange professional solutions.
Final thoughts and next steps
Keeping bacteria out of your well water is a combination of good construction, regular testing, vigilant maintenance, and prompt action when problems appear. You can prevent many issues with relatively simple steps: maintain the wellhead, avoid contamination sources nearby, and keep a testing schedule. If you see signs of casing damage or repeated contamination, act quickly to repair structural problems rather than relying only on temporary disinfection.
If you want, tell me your state or local area and I can point you to specific testing labs, local regulations, and resources in your region to help you get started.
