Have you ever wondered about the steps involved in replacing the components of a well pump? It may seem like a daunting task, but with the right guidance, you can handle it with confidence. Whether you’re a seasoned DIY enthusiast or just curious about how water gets to your faucet, understanding well pump components can be tremendously helpful.

Understanding Well Pumps
Before you can tackle replacing its components, it’s important to grasp what a well pump does and the types available. This foundation will make the replacement process clearer and more logical.
What Is a Well Pump?
A well pump is an essential part of your water supply system. If you rely on a well for your home’s water supply, the pump is responsible for bringing water from the ground to your home. Without a functioning pump, water would not reach your faucets or fixtures, disrupting daily life.
Types of Well Pumps
Various well pumps exist, each suited to different needs and well depths.
Jet Pumps: These are typically used in shallow wells (up to 25 feet). They can be mounted above ground and are known for their ease of maintenance.
Submersible Pumps: Ideal for deeper wells, submersible pumps are placed within the well and are generally more efficient since they push water upward rather than pulling it.
Hand Pumps: While less common in modern systems, these pumps can be used as a backup in case of power failure. They require manual effort to extract water.
Understanding which type you have helps you know where to start when replacing parts or considering a full replacement.
Identifying Faulty Components
To replace components effectively, you must first identify which part is causing the issue. Familiarizing yourself with the common signs of failure can save both time and effort.
Common Signs of Well Pump Issues
No Water: The most obvious sign. If you’re not getting water, the pump might not be working.
Low Water Pressure: If water arrives but not at normal speed or pressure, a failing pump or clogged components might be the cause.
Strange Noises: Unusual sounds can indicate that a pump component is worn out or damaged.
Short Cycling: This refers to the pump turning on and off too frequently. It can be a sign of a pressure switch issue or waterlogged pressure tank.
Tools You May Need
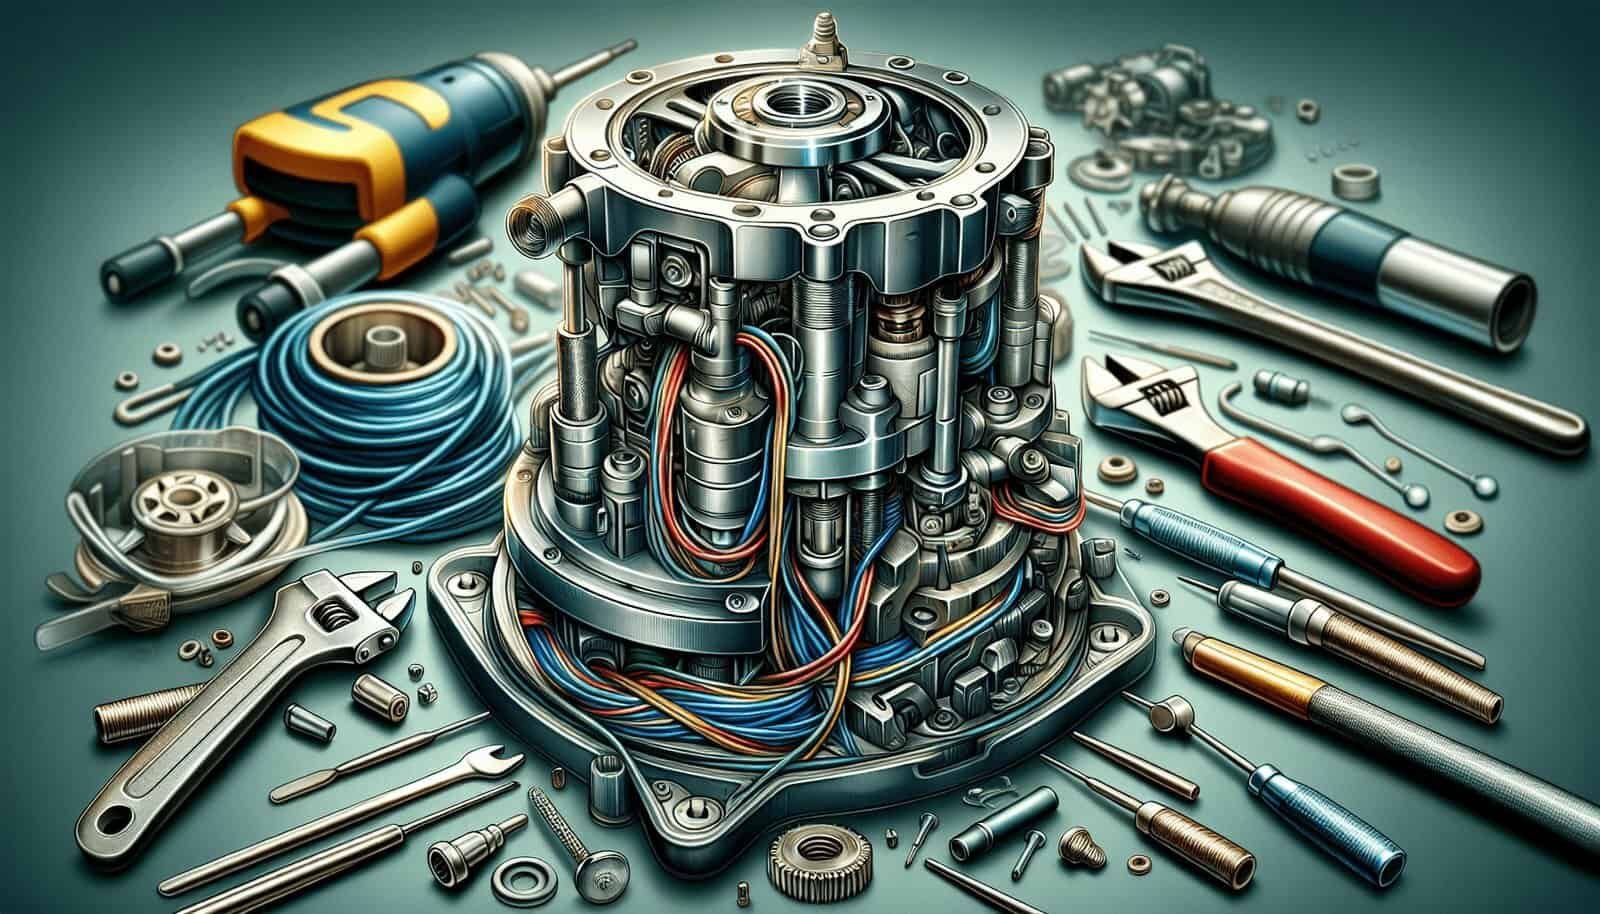
A successful well pump repair or replacement involves using the right tools. Here’s a quick rundown of what you might need:
| Tool Name | Purpose |
|---|---|
| Pipe Wrench | Loosening and tightening pump components |
| Multimeter | Checking electrical connections and voltages |
| Teflon Tape | Ensures watertight seals |
| Screwdriver Set | Removing and securing various parts |
| Pliers | Holding and manipulating small components |
With these tools ready, you’re prepared to tackle most well pump component issues.

Replacing Pump Components
Replacing different components requires a unique approach. Let’s explore the steps for replacing some common well pump parts.
Pressure Switch Replacement
The pressure switch is crucial for the pump’s operation, regulating when the pump should turn on and off to maintain pressure.
- Turn Off Power: Always start by cutting power to the pump to avoid electrical hazards.
- Drain the System: Ensure the system is completely drained before working on the switch.
- Remove the Old Switch: Carefully disconnect the wires and plumbing attached to the old switch.
- Install the New Switch: Attach the new pressure switch, paying close attention to wire and pipe placement.
- Test the System: Restore power and test the new switch by running water.
Check Valve Replacement
The check valve prevents water from flowing back into the well. If it fails, water pressure can be lost.
- Identify Valve Location: It’s typically near the well pump itself.
- Depressurize the System: As with the pressure switch, ensure there’s no pressure in the system.
- Remove the Faulty Valve: Unscrew the old check valve using the pipe wrench.
- Install New Valve: Screw in the new valve tightly and ensure no leaks are present.
- Restore Pressure and Test: Repower your system and monitor for any issues to confirm the replacement was successful.
Wiring Issues
Faulty wiring can cause intermittent pump failures or a complete pump shutdown. Repairing or replacing wiring can restore proper function.
- Safety First: Always turn off the power to avoid electrical shock.
- Inspect Wiring: Look for signs of wear, like fraying or corrosion.
- Rewire as Necessary: Replace damaged wires using a multimeter to ensure all electrical connections are sound.
- Secure Connections: Ensure all wires are tightly secured to prevent future issues.
- Test: Once rewiring is complete, restore power and verify the pump functions properly.
Replacing the Entire Pump
If individual part replacements don’t resolve the issue, replacing the whole pump might be necessary.
- Evaluate your Needs: Ensure you choose a pump that matches your system’s requirements.
- Turn Off Power and Water: As always, prioritize safety by cutting off relevant utilities.
- Disconnect Old Pump: Carefully remove all connections to the old pump, including electrical and pipe connections.
- Install New Pump: Place the new pump as per manufacturer instructions, reconnecting all necessary components.
- Test the Setup: After reinstating power, run water to ensure everything functions correctly.

Preventative Maintenance
To extend the life of your well pump and its components, regular maintenance is vital.
Regular Inspections
Scheduled checks can identify small issues before they become big problems. Inspect the pump, wiring, and pressure settings to ensure optimal operation.
Cleaning and Flushing
Debris can build up and impair performance over time. Flushing your system can mitigate such problems and improve efficiency.
Professional Services
While many tasks can be handled on your own, some situations require professional expertise. Engage a qualified technician for more complex issues or annual inspections.

Troubleshooting Common Problems
Sometimes, understanding how to troubleshoot common problems can save you from unnecessary replacements.
Loss of Prime
For jet pumps, losing prime means the pump is unable to draw water. Re-priming, or restoring water inside the pump, can restore operation. Pour water into the accessible prime plug area and restart the pump.
Overflowing
An overflowing is usually due to a malfunctioning pressure tank. Check if the tank has waterlogged or if the bladder inside is ruptured. Repairing or replacing the tank may be needed.
Sudden Surge in Electricity Bills
If your electricity bills spike, it may be an indication that the pump is working too hard. This could stem from mechanical failure, requiring component replacement to return the pump to standard efficiency.

Final Thoughts
Replacing well pump components requires patience and a systematic approach. While tackling the task yourself can be rewarding and cost-effective, it’s also perfectly okay to seek professional help when needed. As you embark on this project, remember that preparation and safety are your best companions. So, next time you find yourself facing issues with your well pump, you have the roadmap to guide you efficiently and safely to a solution. After all, ensuring a steady water supply is crucial to any household’s comfort and functionality.
