Have you ever wondered how pure the water from your well truly is? Ensuring the safety and quality of your well water is crucial for your health and the well-being of those who rely on it. If you’re using well water, understanding how to test for bacterial contamination is essential.

Understanding Well Water
Well water is a natural resource that many rely on for their daily needs, from drinking to cooking and even bathing. Unlike municipal water systems, which are regularly tested and treated, the responsibility of testing well water falls on you, the well owner. This means keeping a close eye on its quality to ensure it remains safe for consumption.
Why Test for Bacterial Contamination?
Bacteria are microorganisms that can be found in water, and while not all bacteria are harmful, certain types can cause serious health issues. Bacterial contamination usually occurs through surface water runoff, septic system leakage, or other environmental factors. Knowing what you are dealing with is the first step to ensuring that your water is safe.
Common Bacteria in Well Water
Contaminants can vary, but there are a few usual suspects when it comes to bacteria in well water. Understanding these bacteria will help you identify potential issues:
- Coliform Bacteria: Acts as a primary indicator of water quality. Their presence suggests there could be more harmful pathogens.
- Escherichia coli (E. coli): A type of coliform bacteria, often associated with human and animal fecal waste. Some strains can lead to severe health problems.
- Fecal Streptococci: Indicates fecal pollution and can be linked to gastrointestinal illnesses.
- Legionella: Known to cause Legionnaires’ disease, this bacteria can thrive in well water under certain conditions.
When to Test Your Well Water
Testing your well water annually is generally recommended, but there are specific circumstances where additional testing should be considered. Such instances include:
- After Heavy Rainfall or Flooding: These events can introduce contaminants into your well.
- Newly Constructed Wells: Ensure your newly dug well is safe and free from bacteria from the get-go.
- Experiencing Unexplained Health Symptoms: Symptoms like gastrointestinal illness in household members should prompt immediate testing.
- Changes in Water Taste, Odor, or Color: Physical changes in your water quality can indicate a potential problem.

Testing Methods for Bacterial Contamination
Multiple methods and tools are available for testing well water for bacterial contamination. Each has its specific use, accuracy, and cost implications.
Home Testing Kits
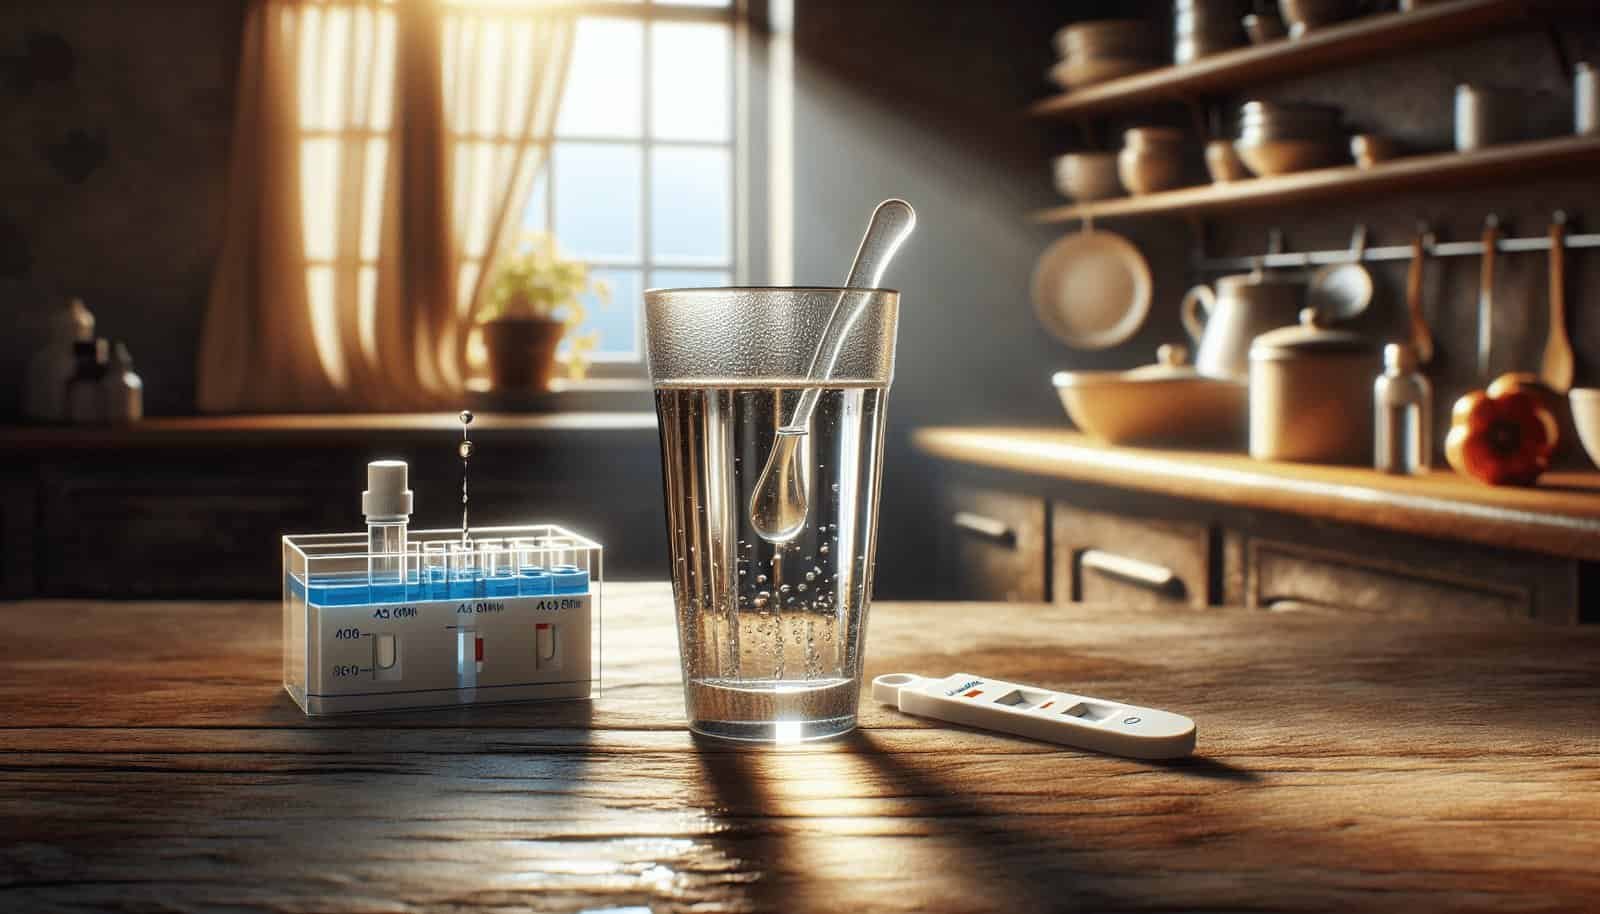
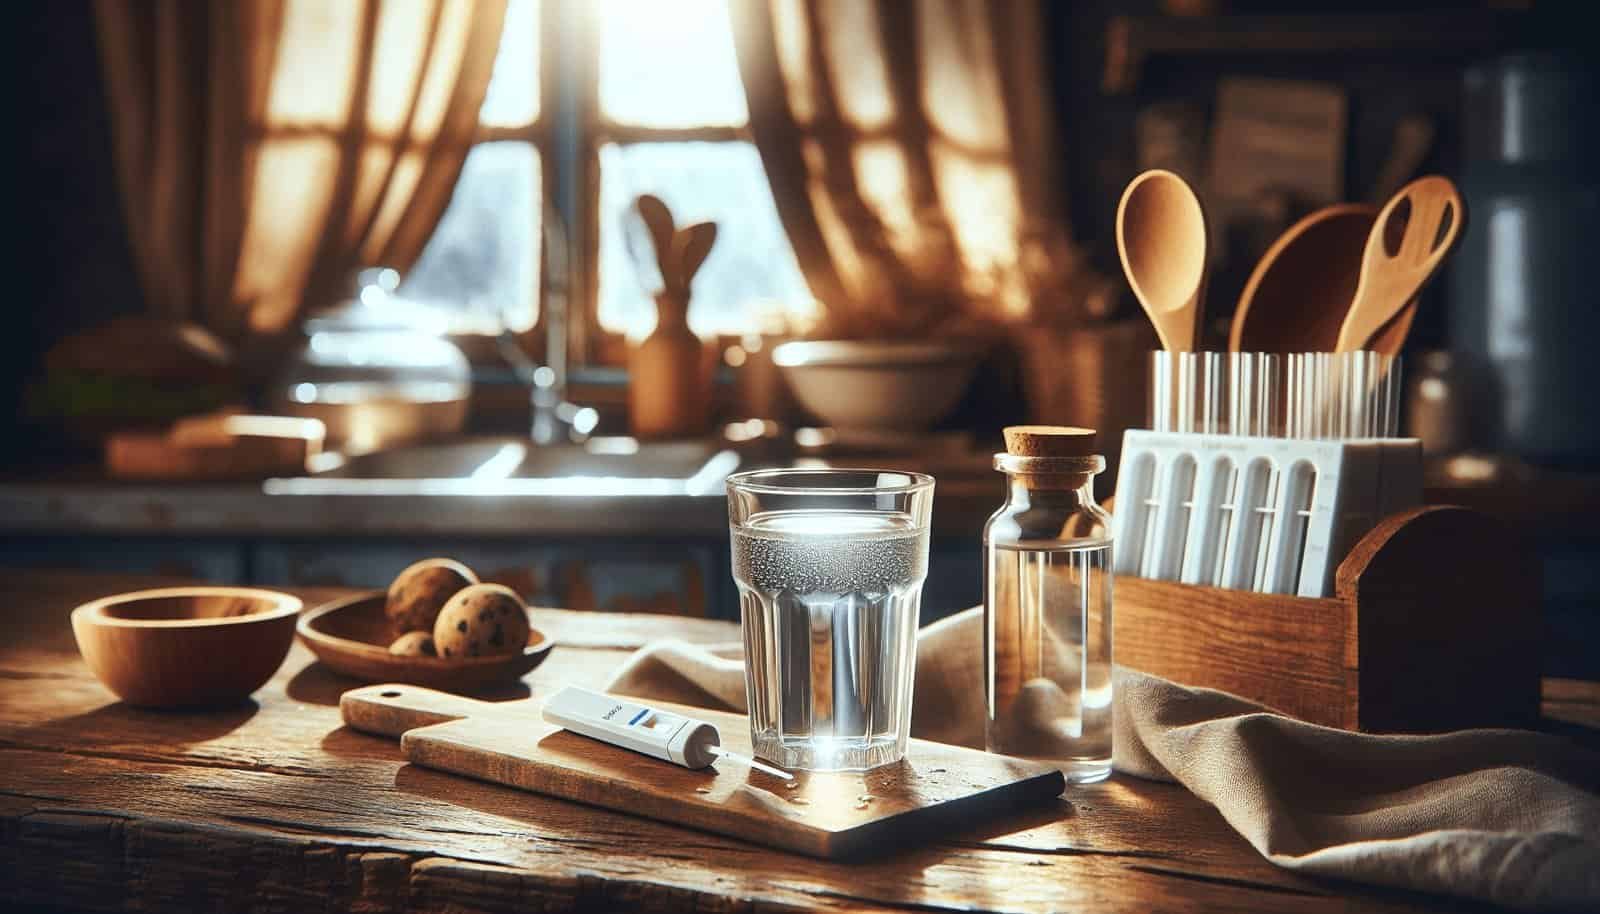
Home testing kits offer a convenient and quick way to test well water for bacterial contamination. These kits generally involve collecting a water sample and applying reagents that will indicate the presence of certain bacteria.
Pros:
- Easy to use with simple instructions
- Provides immediate preliminary results
Cons:
- Limited in scope compared to professional testing
- Not as accurate as laboratory testing
Professional Laboratory Testing
Sending a water sample to a certified laboratory is perhaps the most accurate method for testing your well water.
Pros:
- Detailed and comprehensive results
- Can detect a wide range of bacteria
Cons:
- More expensive than home kits
- Results are not immediate, as samples need to be sent and analyzed
On-Site Sampling by Professionals
For those who prefer expert handling, hiring professionals to come to your site and collect samples is another route.
Pros:
- Collection conducted by professionals ensuring no contamination
- Experts can offer immediate insights and recommendations
Cons:
- Higher costs involved
- Scheduling may take time
How to Collect a Water Sample for Testing
Whether you are using a home kit or sending a sample to a lab, proper sample collection is critical to obtaining accurate results. Here’s a step-by-step guide:
Step 1: Preparation
Identify a Suitable Collection Point: Choose a clean faucet, ideally one without any filters or screens.
Sanitize the Collection Area: Use alcohol or bleach to clean the faucet and surrounding area to remove any external bacteria.
Run Cold Water: Let cold water flow for 2-3 minutes to clear any stagnant water in the pipes.
Step 2: Collection
Prepare the Sample Container: Most kits or labs provide a sterile container. Avoid touching the inside of the container or lid to prevent contamination.
Fill the Container: Carefully fill the container as per the instructions provided, leaving a small air gap at the top to allow for mixing during the testing process.
Label the Sample: Clearly mark the sample with the date and time of collection, and any other required information per lab instructions.
Step 3: Submission
Seal and Store Appropriately: Ensure the container is securely sealed to prevent leakage.
Submit for Testing: If using professional lab services, ensure the sample is sent promptly. Some bacteria can die off, or multiply, affecting the test results if there’s a delay.

Understanding the Results
Interpreting the test results can be daunting, especially if you’re unfamiliar with the terminology. Here’s a simplified breakdown to help you understand what the results mean:
Negative for Coliform: This indicates that no coliform bacteria are present, usually a good sign of water safety.
Positive for Total Coliform: Indicates potential contamination. Further testing for specific bacteria like E. coli may be needed.
Positive for E. coli: This is a significant health concern and requires immediate action to remedy contamination.
Presence of Other Bacteria: Depending on the type and concentration, this could call for further investigation or specific treatment.
Addressing Bacterial Contamination
Discovering bacterial contamination in your well water is naturally concerning, but it’s important to understand that there are effective ways to address these issues.
Short-Term Solutions
Boiling Water: One of the simplest and most immediate methods to kill bacteria in your drinking water is boiling. Bring water to a rolling boil for at least one minute.
Disinfecting with Bleach: Unperfumed household bleach can be used to temporarily disinfect water. It’s best used under guidance since the concentration and exposure time can vary.
Long-Term Solutions
Install Water Treatment Systems: Devices such as UV purifiers, chlorination systems, or reverse osmosis units can help maintain water safety.
Regular Maintenance and Inspection: Regularly inspect your well system and immediate environment for potential sources of contamination.
Consulting with a Professional
If tests reveal significant contamination or if you are unsure about self-treating the contamination, consulting with a water expert or professional is recommended. They can provide insights beyond what testing can reveal, advise on the best treatment options, and recommend preventive steps.

Prevention Tips
While regular testing is vital, there are additional measures you can take to minimize the risk of bacterial contamination:
Maintain Proper Well Siting and Construction: Ensure your well is a safe distance from potential sources of contamination like septic systems and livestock yards.
Keep Well Sealed: Properly sealing the well cap and casing prevents surface contaminants from entering.
Landscaping and Drainage: Redirect surface water away from the well to prevent runoff from entering.
Conduct Scheduled Inspections: Regular inspections and prompt maintenance can significantly reduce contaminant exposure.
Conclusion
Understanding and testing your well water for bacterial contamination helps safeguard your health. By knowing when and how to test, collecting samples accurately, interpreting results, and acting on any findings, you take charge of your water quality. Whether for peace of mind or health necessity, regular testing and proper treatment are essential steps in ensuring the water that comes into your home is as safe as it can be.

