Have you ever wondered what goes into installing a well on your property? It’s a fascinating process, and while it can be complex, taking the right steps will ensure that you not only have access to fresh water but do so safely and sustainably.

Understanding Well Installation
Before drilling begins on your property, it’s essential to know the basics of well installation. A well provides water by reaching an underground aquifer and must be installed correctly to avoid contamination and ensure a steady water supply. The safest way to install a well involves considering environmental factors, property size, and professional expertise.
Why Install a Well?
There are numerous benefits to installing a well on your property, making it a popular choice for many homeowners. First, a well can reduce your dependency on municipal water sources, potentially leading to cost savings. Well water can also be less processed, offering a pure, mineral-rich source of water. Additionally, for properties in remote locations, a well may be the most viable option for accessing water.
Well Types and Their Considerations
Taking a moment to understand the types of wells can be beneficial before embarking on installation. Generally, the most common types include dug wells, driven wells, and drilled wells. Each type has different installation methods, depths, and suitability based on geographic and soil characteristics.
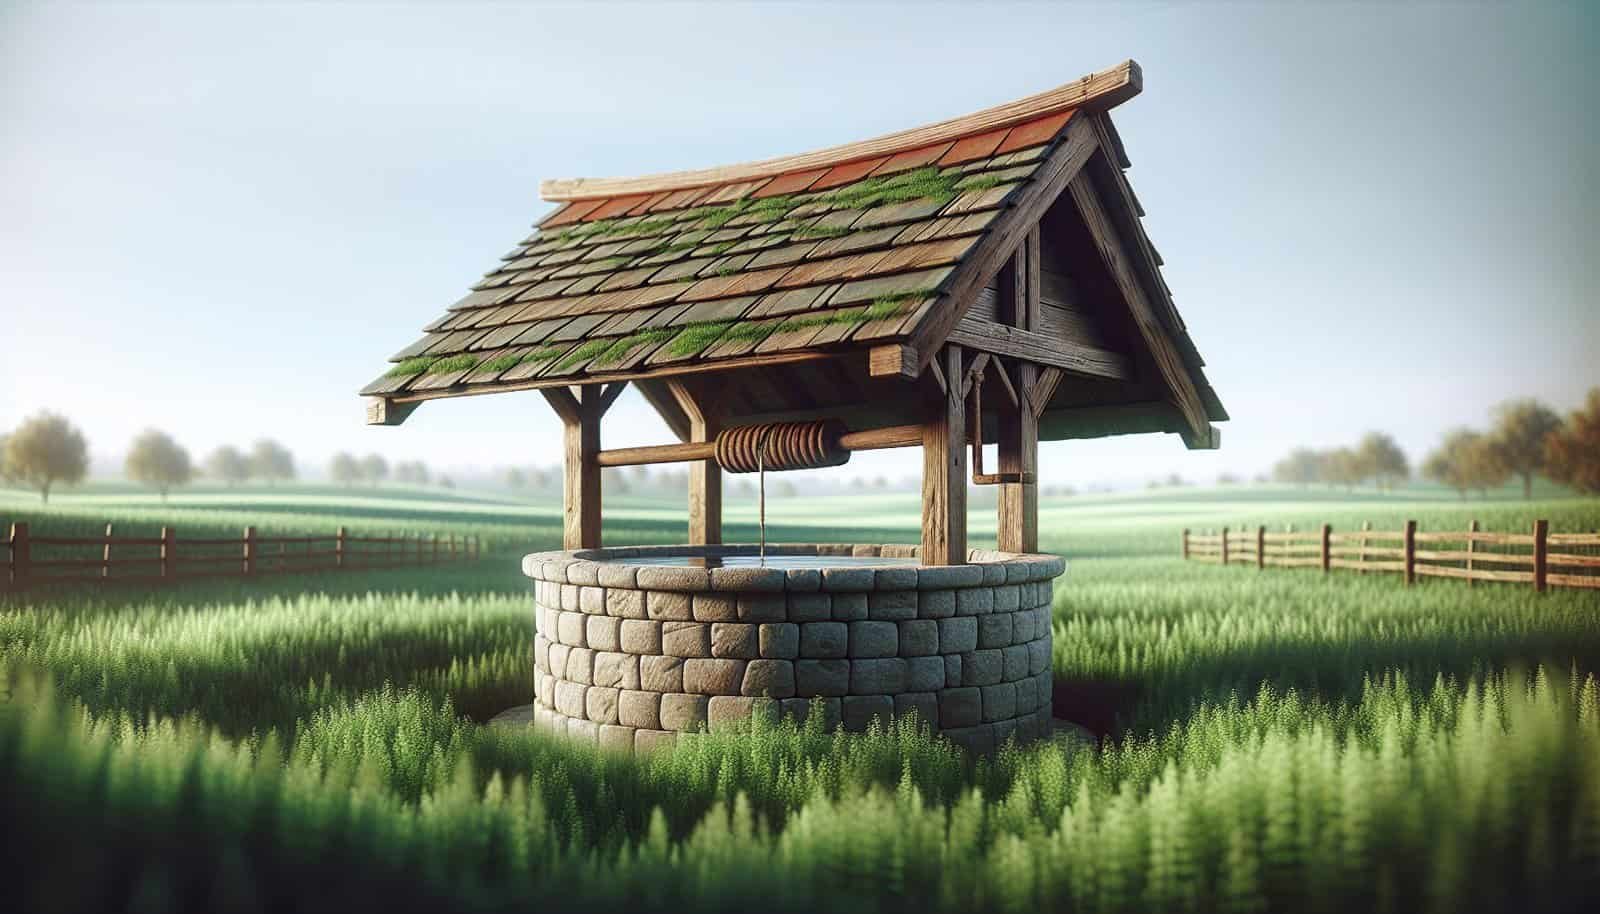
Dug Wells: These are traditional wells and are usually shallow, making them susceptible to contamination. They’re typically not recommended for drinking water supplies.
Driven Wells: These wells are deeper than dug wells and work best in areas where the soil is soft. However, they still have limitations when it comes to water purity and supply.
Drilled Wells: These are the most reliable and are used to access deeper aquifers. They require specialized equipment and professional expertise, which makes them a more expensive option, but they provide a safer and more consistent water supply.
Selecting the Right Spot
Choosing the right location for your well is crucial in ensuring safety and effectiveness. The location should be away from septic tanks, chemical storage, or any source of contamination. Local regulations will often dictate how far a well needs to be from these hazards, which underscores the need to consult with local authorities or experts.
Factors to Consider:
| Factor | Description |
|---|---|
| Distance from Contaminants | At least 100 feet away from potential contamination sources like septic tanks. |
| Geological Survey | Understanding the soil and rock conditions can impact the depth and type of well. |
| Accessibility | Ensure that the site is accessible for maintenance and repair activities. |
| Legal Regulations | Compliance with local regulations to avoid fines and ensure quality water supply. |
The Well Installation Process
With a good understanding of what a well involves, it’s time to delve into the installation process. This can be broken down into several key steps, each crucial to ensuring a safe and functional well.
Step 1: Site Assessment and Planning
Assessing your site is the first step in the installation process. A professional will help determine the best placement, considering all necessary factors. During this stage, a hydrogeologist may conduct tests to find the most abundant water source.
Step 2: Permitting
Permitting is an essential step in the installation process. Every locale will have different regulations regarding well installation, and a licensed contractor can help navigate these legal waters. Permits ensure the well complies with safety and health requirements, protecting you against future liabilities.
Step 3: Drilling
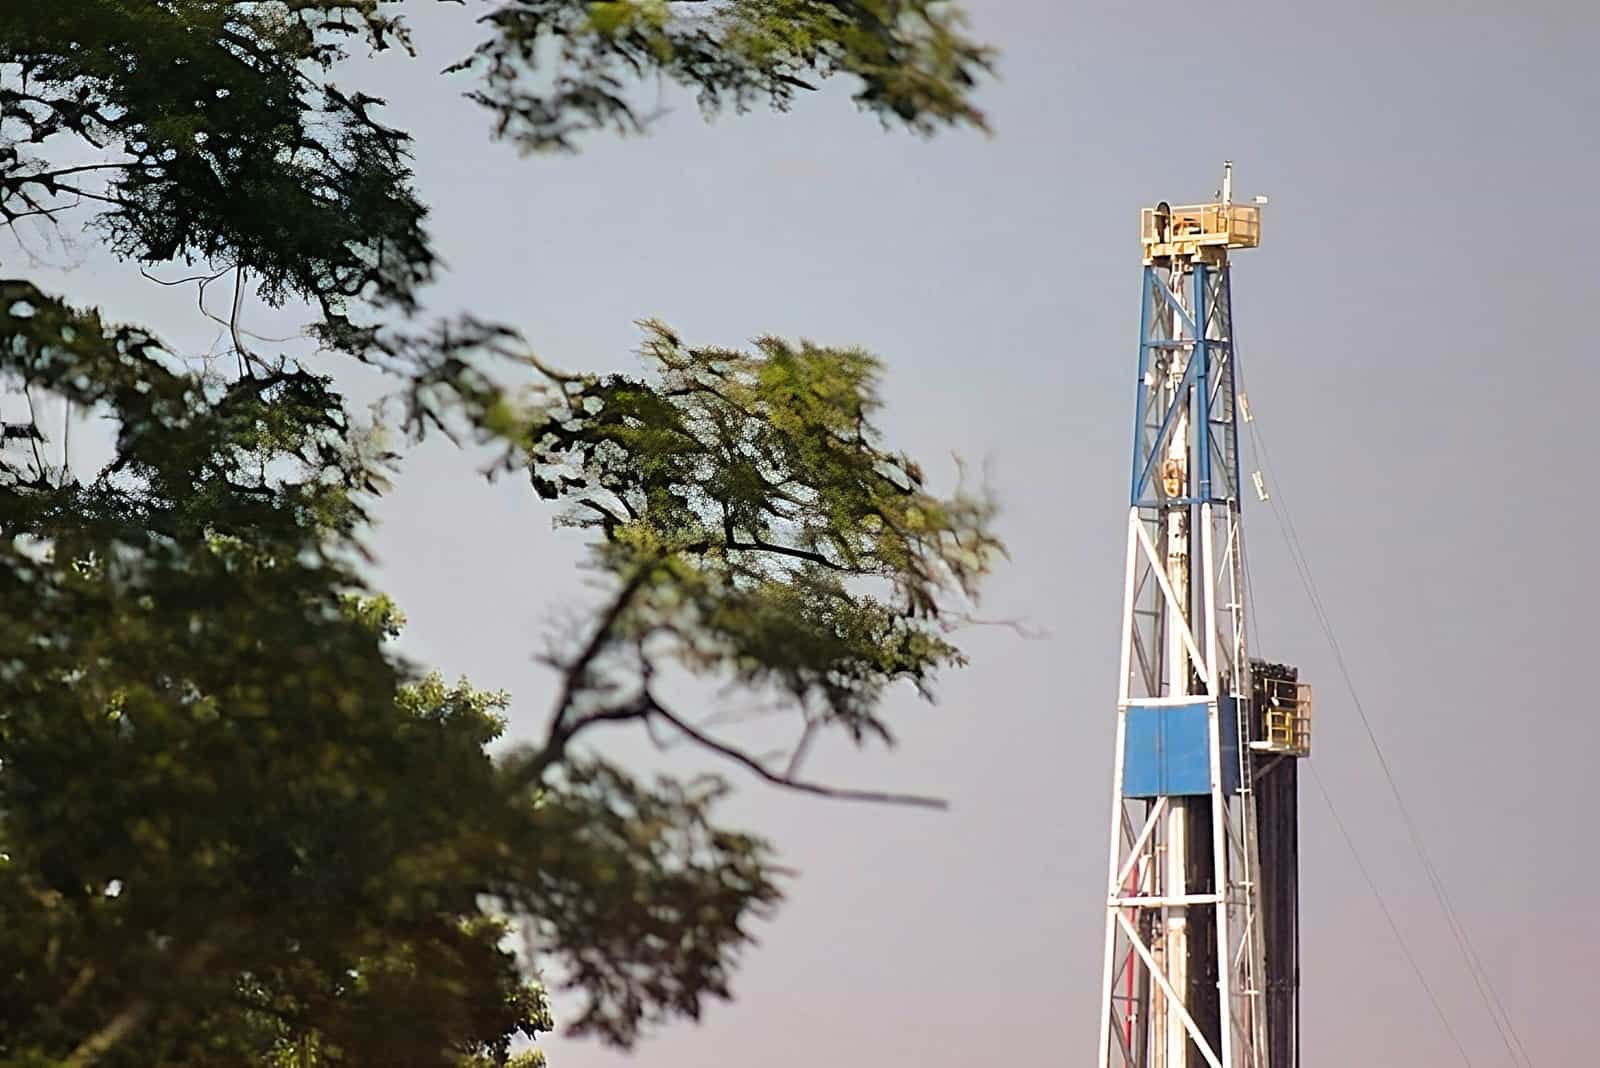
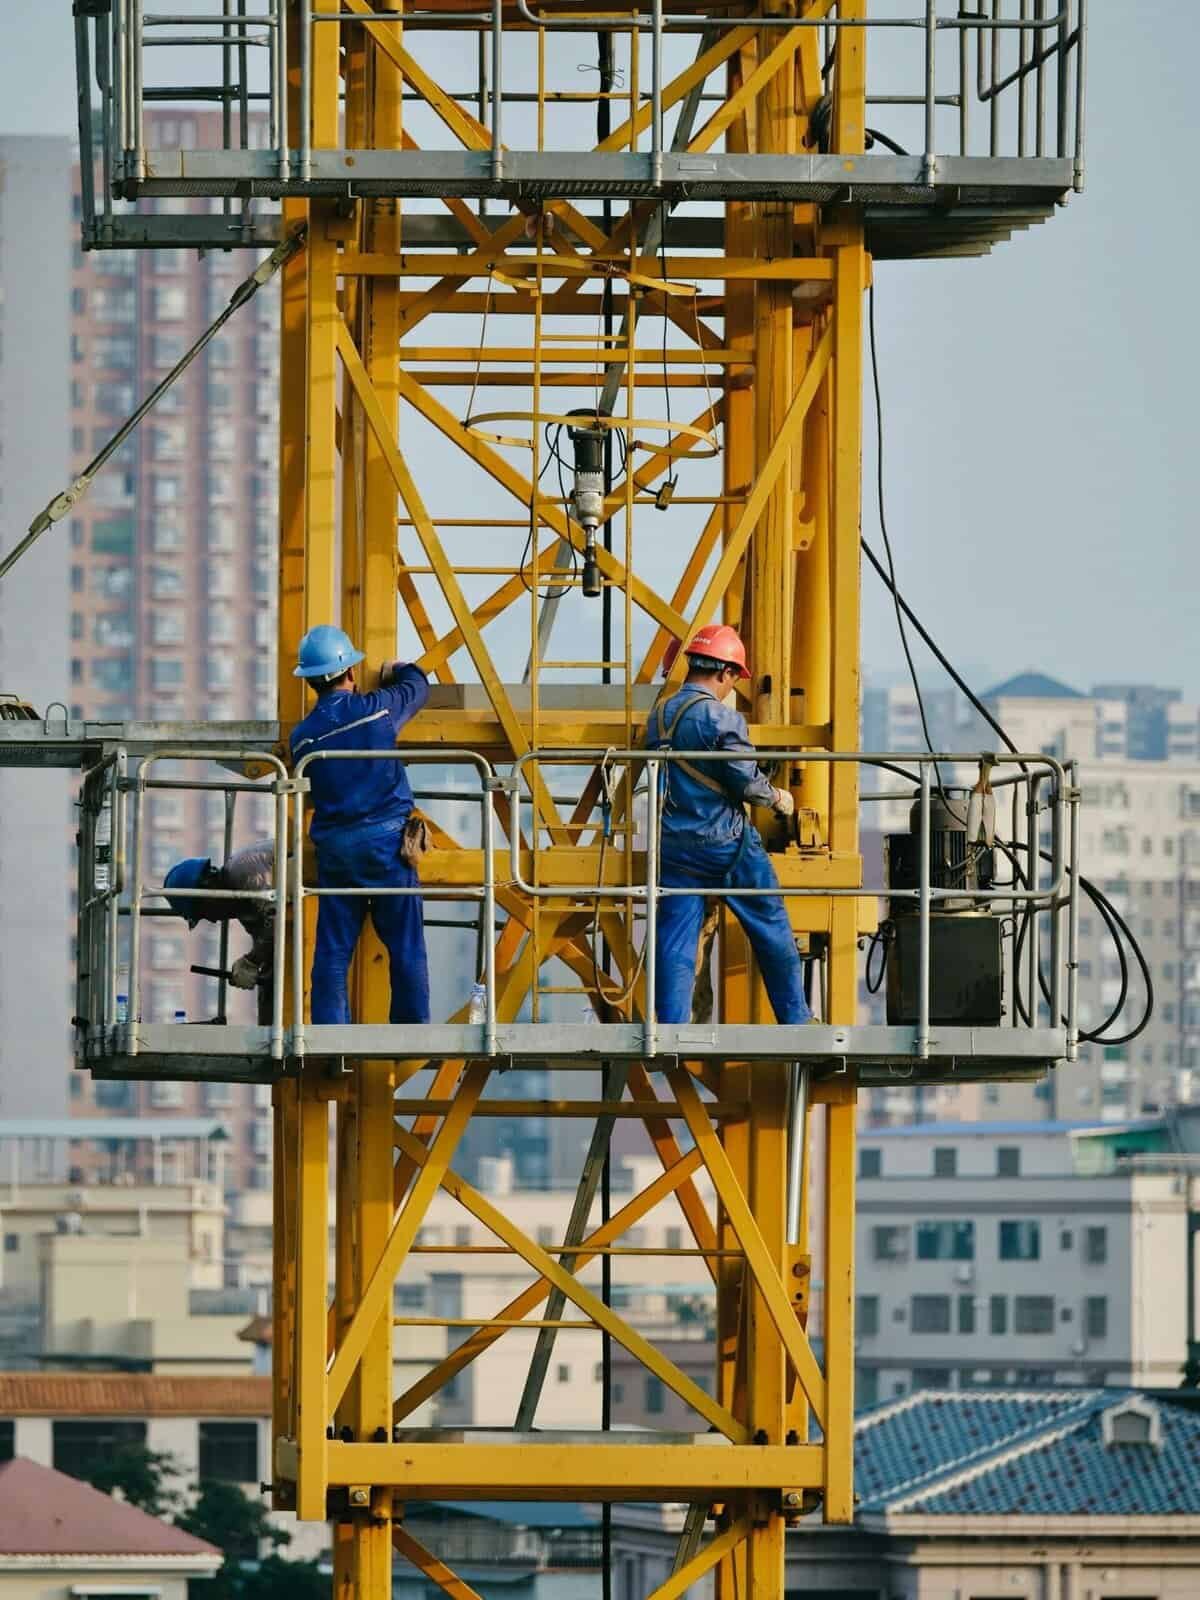
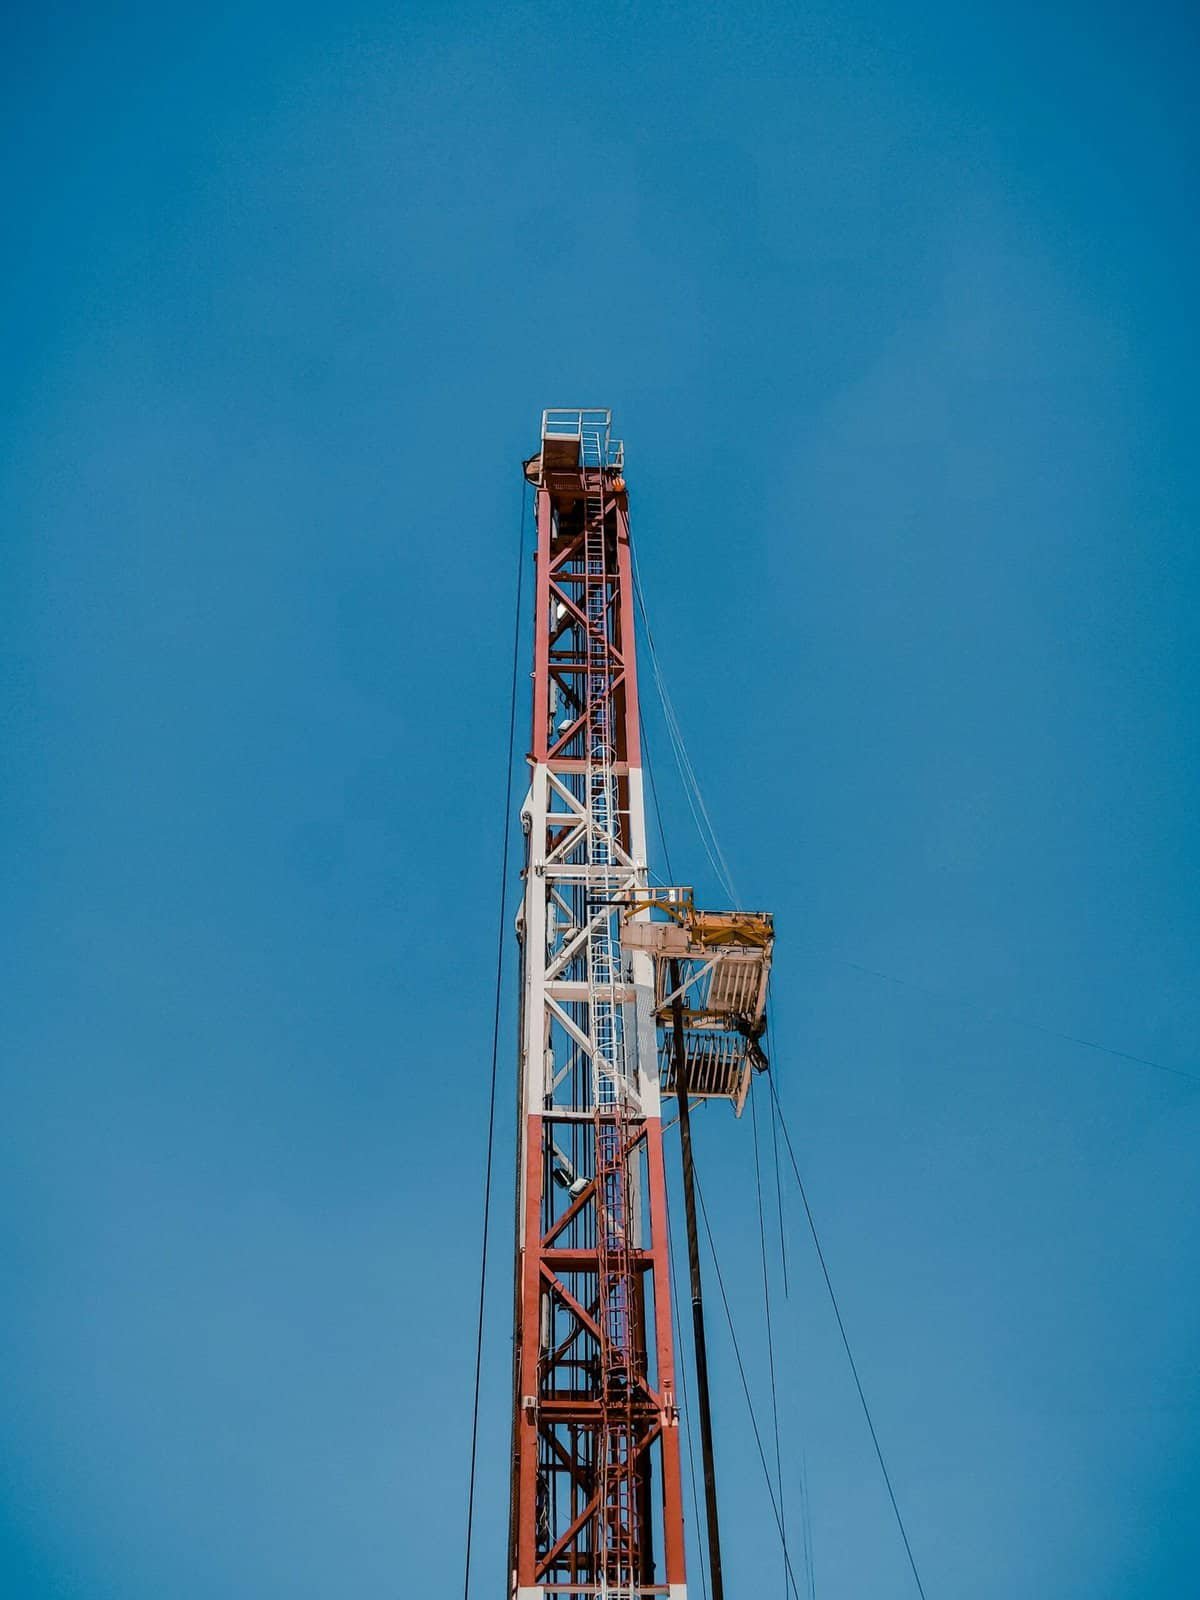
Once you have the necessary permits, drilling can begin. The time it takes to drill a well varies based on location, depth, and drilling conditions. This is the most technical part of the process, and hiring experienced professionals is crucial to ensure safety and efficiency.
Step 4: Installation of Casing and Well Screen
After drilling, casing and well screens are installed. The casing prevents the sides of the well from collapsing and protects the water from contamination. The well screen filters out sand and sediments, ensuring a cleaner water supply.
Step 5: Developing and Pump Installation
Well development is the next phase, which involves pumping the well to remove fine particles left during drilling. After this, a pump is installed to deliver water to the surface. Choosing the right pump depends on the depth of the well and the water demand of your property.
Step 6: Water Testing
Once the well is operational, testing is fundamental to confirming the quality of water. Regular testing for contaminants such as bacteria, nitrates, and chemicals is necessary to maintain a safe water supply.

Maintaining Your Well
A well is a long-term investment, which means maintenance is key to ensuring it continues to provide safe water. Regular inspections, water testing, and attention to the condition of the pump system will help maintain the well’s functionality and safety.
Routine Inspections
Regular inspections are paramount in identifying potential issues before they become significant problems. Annual checks by a professional ensure the structural integrity of the well and its components. Inspections also include examining the pump system to ensure it operates efficiently.
Water Testing Schedule
A pivotal aspect of maintaining your well is water testing. Water quality can change over time due to environmental factors, making it essential to schedule regular tests. Depending on your location, annual or bi-annual testing is typically recommended.
Pump Maintenance
The pump is the heart of your water supply system, and keeping it in good condition is critical. Regular servicing can prevent failures and extend its lifespan. A yearly check-up by a professional will help detect wear and tear early.

Ensuring Safe Water Treatment
Even with the safest installation practices, treating your well water is essential to ensure it remains safe to use. Choosing an appropriate water treatment system and maintaining it properly will safeguard against potential contaminants.
Choosing a Water Treatment System
Selecting the right water treatment system can depend on the specific needs identified through water testing. Common treatment systems include water softeners, UV disinfection systems, and reverse osmosis units. Each addresses different types of impurities:
- Water Softeners: Useful for dealing with hard water, which is high in calcium and magnesium.
- UV Lights: Effective for killing bacteria and viruses without using chemicals.
- Reverse Osmosis: Removes a wide range of contaminants, offering high-quality drinking water.
Maintaining Water Treatment Systems
Once a suitable treatment system is in place, maintenance ensures it continues to function and deliver safe water. Replacing filters, checking for leaks, and cleaning components are routine jobs that can prolong the effectiveness of the system.
Benefits of Continuous Monitoring
Continuous monitoring can provide peace of mind when it comes to water safety. Many modern systems include electronic monitors that can alert you to changes in water quality, providing real-time insights into your water’s condition.

DIY vs. Professional Assistance
The decision to install a well using a DIY approach or hiring professionals depends on multiple factors, including complexity, budget, and expertise.
Advantages of Hiring Professionals
While the idea of saving money through a DIY installation may be attractive, it’s usually wiser to hire professionals. They bring expertise, knowledge of local regulations, and appropriate equipment, which all contribute to a safer, quicker installation. Moreover, professionals offer warranties on their work, protecting your investment long-term.
Risks of DIY Installation
Attempting to install a well on your own can lead to complications. Without extensive knowledge and proper equipment, you may encounter issues such as contamination, incorrect drilling, and non-compliance with regulations. These problems might end up costing more to fix than the initial savings.

Conclusion
Installing a well on your property can provide you with a reliable water supply, offering both economic savings and independence from municipal sources. Ensuring its safe installation and maintenance means adhering to the right practices, consulting with experts, and committing to regular water testing and system maintenance. By taking these steps, you can enjoy the benefits of well water for years to come.
This comprehensive understanding of well installation provides you with the knowledge to make informed decisions, ensuring your investment leads to safe and sustainable water access. Whether you’re in the initial planning stages or maintaining an existing well, remember that expertise and diligence are your best friends in achieving a safe water supply.
With each step clearly outlined, you can move forward with confidence, knowing the health and safety of your water source are in good hands.
