Are you worried about contamination, physical damage, or unexpected costs from your wellhead?
What’s The Best Way To Protect My Wellhead?
You depend on your well to supply safe water, so protecting the wellhead is one of the smartest investments you can make. This section outlines overall strategies to protect the wellhead from contamination, mechanical damage, and environmental risks so you can keep your water safe and your system reliable.
Why wellhead protection matters
Keeping the wellhead secure and sanitary prevents contaminants from entering your water supply at the most vulnerable point. A protected wellhead reduces the risk of bacterial contamination, chemical infiltration, and physical damage that can lead to expensive repairs or health hazards.
Key components of a protected wellhead
A well-protected head typically includes a secure sanitary cap, a sealed casing, proper drainage away from the well, and clear separation from contamination sources. Maintenance and monitoring are essential to make sure those protections continue to work over time.
Basic physical protections for your wellhead
Physical protections are the first and most obvious way to safeguard your well. These measures prevent accidental damage, limit access by animals or people, and reduce the likelihood that surface water or pollutants will reach the well.
Secure, sanitary well caps and seals
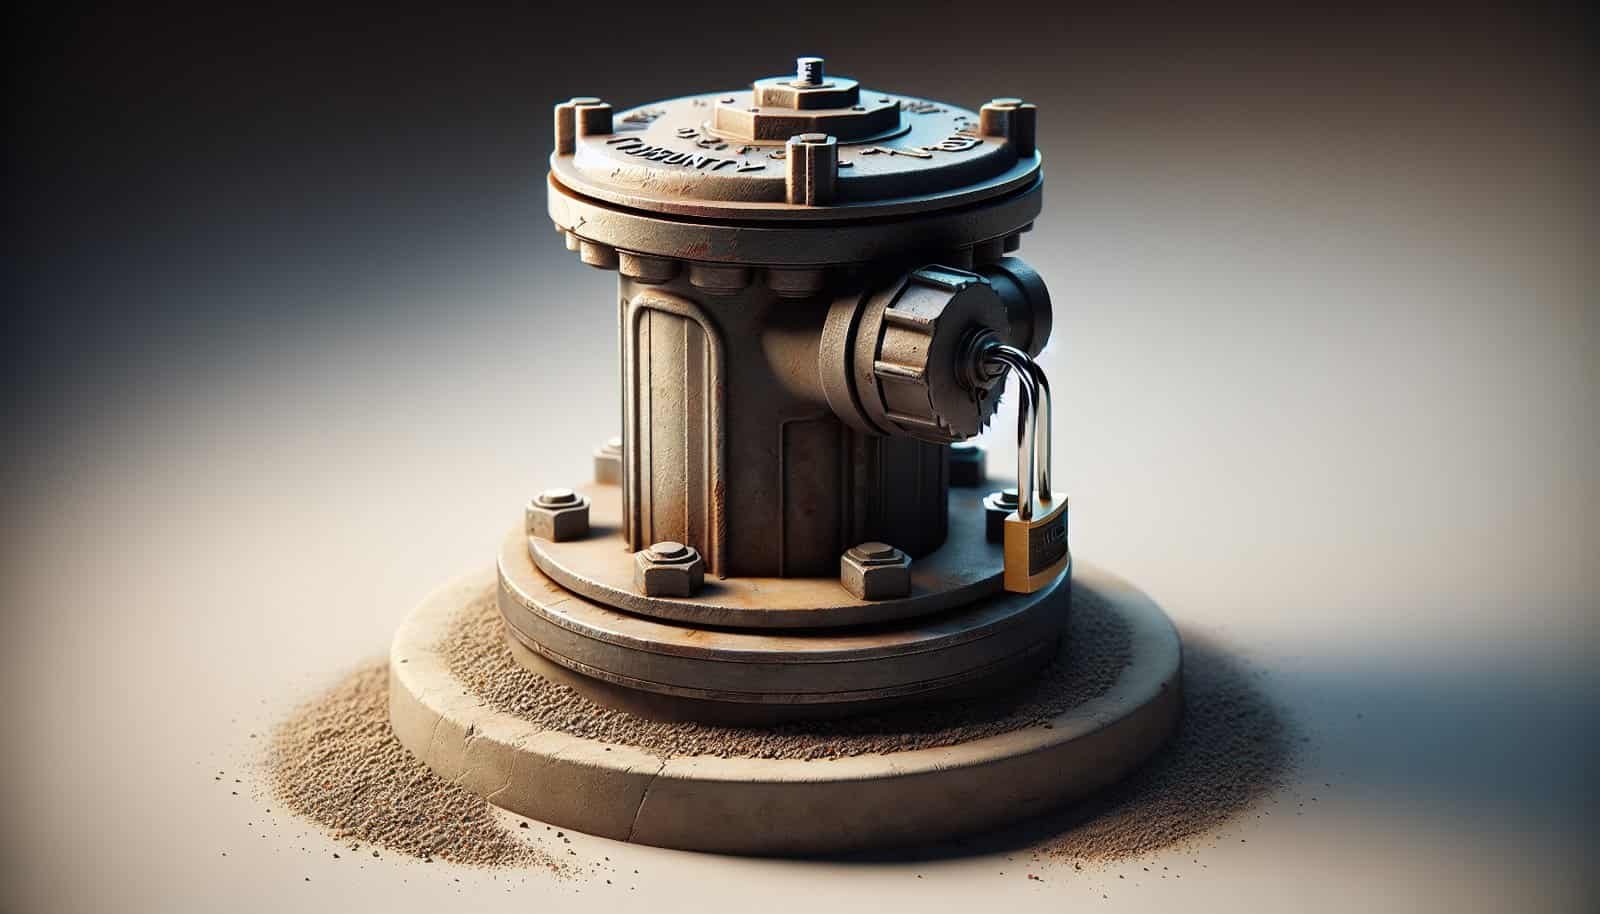
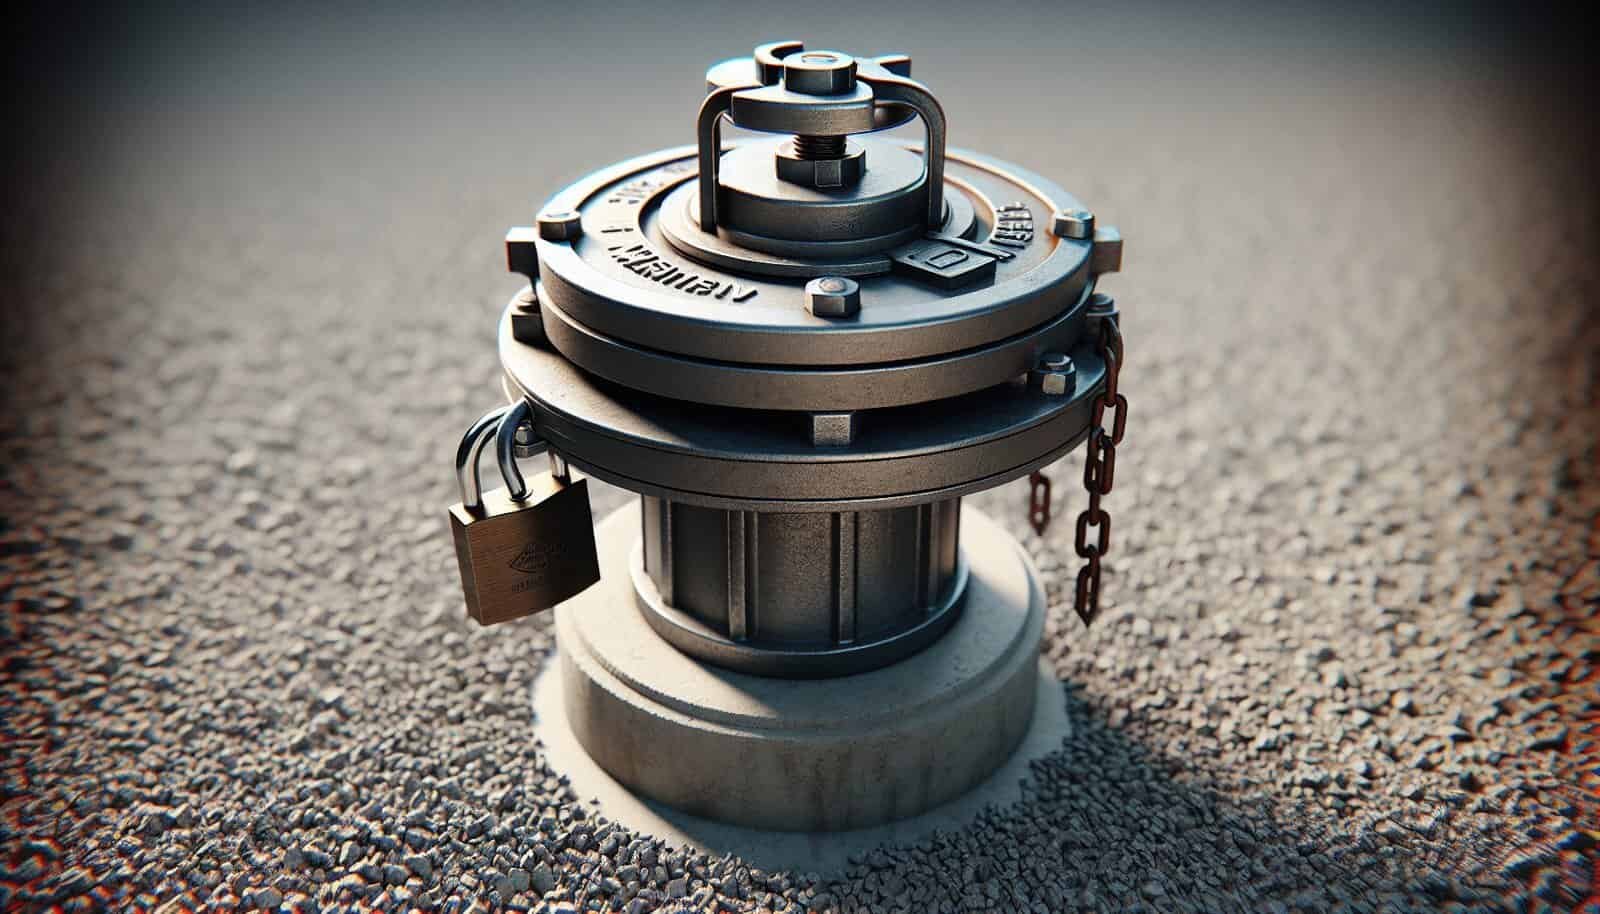
Install a sanitary well cap and a certified well seal to stop surface water, insects, small animals, and debris from entering the casing. These caps are threaded and gasketed, or use a grout seal that meets local codes, and should be locked or otherwise tamper-resistant.
Proper casing length and condition
Make sure the well casing extends far enough above ground and is in good condition. Your casing should be free of cracks or corrosion and be long enough to prevent surface runoff from pooling around the wellhead. If the casing is damaged or corroded, replace it using a licensed well contractor.
Frost protection and pitless adapters
If you live in a cold climate, use a pitless adapter or other frost-proof installation to protect pumps and piping from freezing. Avoid underground pits that can collect contaminated water; modern pitless adapters routed through a sealed entry are safer and easier to maintain.
Fencing and physical barriers
If the well is in a high-traffic area or near livestock, consider a locked fence or physical barrier to reduce the chance of collision damage and accidental contamination. Signage that identifies the well location and warns against tampering can also help.
Sanitary and site protections
Taking steps around the well site helps minimize risks from human activity, surface water, and sources of contamination.
Grading and drainage
Grade the land around the well so water flows away from the casing. Surface runoff should never pool near the wellhead; a small berm or gravel apron can help divert water. Proper drainage decreases the chance that stormwater carrying contaminants will find its way into your well.
Setback distances from contamination sources
Maintain recommended separations from potential contaminant sources (septic systems, fuel tanks, chemical storage, livestock areas). Typical recommended setbacks are listed below, but local regulations vary, so confirm requirements with your health department.
| Source of contamination | Typical recommended minimum distance |
|---|---|
| Septic tank | 50 feet (15 m) |
| Septic drainfield | 100–200 feet (30–60 m) |
| Fuel storage tanks | 50–100 feet (15–30 m) |
| Livestock pens/manure piles | 50–100 feet (15–30 m) |
| Pesticide or fertilizer storage | 100 feet (30 m) |
| Property boundary/roadway | Varies; check local codes |
Preventing animal and insect intrusion
Seal the cap and casing, and maintain a gravel ring around the well to discourage burrowing animals. Keep vegetation trimmed and remove debris that could provide cover for animals or allow insect nests near the wellhead.
Maintenance and inspection schedule
Routine inspection and maintenance are what keep protective measures effective. Create a schedule and stick to it so small problems don’t become major issues.
Visual inspections
Inspect the wellhead annually and after major storms or flooding. Look for cracked casing, damaged caps, pooling water, or evidence of tampering. If you see anything unusual—rust, gaps, loose seals—contact a licensed well professional.
Water testing
Test your water regularly for bacteria (total coliform and E. coli), nitrates, and other contaminants of local concern. At minimum, test for bacteria annually and whenever you notice a change in taste, smell, appearance, or after any well repair. If agricultural or industrial contamination is a concern, test more frequently and for additional compounds.
Recordkeeping
Keep records of inspections, water tests, maintenance, and any repairs. These records are helpful for diagnosing recurring problems, selling property, or meeting local code requirements.
Responding to specific threats
Different threats require different responses—knowing what to do can protect your well quickly and effectively.
After flooding or heavy rains
If your well is inundated or the surrounding area floods, have the water tested before you use it for drinking. You may need to disinfect the well by shock chlorination, followed by multiple tests to confirm the contamination is gone.
After repairs or pump replacement
Any time you open or work on the well, disinfect the system afterward and test for coliform bacteria. Improper repairs can introduce contaminants, so professional disinfection ensures safe water.
If you suspect contamination
Stop using the water for drinking and contact your local public health department or a certified well contractor. Use bottled or boiled water for drinking, cooking, and brushing teeth until you have test results and follow recommended corrective actions.
Can you install a UV system for your water well?
Yes—you can install a UV disinfection system on well water, but certain conditions must be met first for it to be effective. This section explains what UV does, what it doesn’t do, and how to integrate it into a well system.
What UV disinfection does
UV light inactivates microorganisms (bacteria, viruses, and protozoa) by damaging their DNA or RNA so they cannot reproduce. A properly sized and maintained UV system delivers a UV dose measured in mJ/cm² to reduce microbial counts and help protect your family from waterborne pathogens.
What UV does not do
UV does not remove chemical contaminants (nitrates, arsenic, pesticides), dissolved metals (iron, manganese), hardness minerals, or particulates. It won’t improve taste or odor from dissolved organics, and it provides no residual disinfectant in the distribution system.
When UV is appropriate for well water
A UV system is appropriate when:
- Your water is microbiologically contaminated (positive coliform/E. coli tests) or you want preventive disinfection.
- Turbidity and particulate matter are low (preferably <1 ntu).< />i>
- Iron, manganese, or hardness have been addressed to prevent fouling of the UV quartz sleeve.
- You want a chemical-free primary disinfection method or a supplemental barrier to pathogens.
Sizing and selecting a UV system
Correct sizing and pre-treatment are crucial. Choose a UV system based on flow rate, required UV dose, and water quality.
UV dose and flow rate
Manufacturers publish UV dose ratings at specific flow rates. For drinking water, many systems aim for a disinfection dose of at least 30–40 mJ/cm² for bacteria and viruses and higher doses for robust cyst inactivation. Make sure the rated flow of the unit matches or exceeds your system’s peak flow.
Pre-filtration requirements
Install pre-filters if turbidity, sediment, or iron/manganese levels can block or foul the UV lamp’s quartz sleeve. Typical pre-treatment includes:
- Sediment filters (5 µm or finer recommended)
- Iron and manganese removal if levels are high
- Water softeners or anti-scale devices if hardness causes scaling
Certification and performance standards
Look for units certified to NSF/ANSI standards. NSF/ANSI 55 covers UV microbiological systems with two classes:
- Class A: Designed to disinfect/sterilize and inactivate all microorganisms (for potable water)
- Class B: Designed for supplemental treatment of bacterially contaminated water
Choosing a certified Class A system offers a higher assurance of performance for primary disinfection.
Installation basics for a UV system on a well
You can install a household UV system yourself if you’re comfortable with basic plumbing and electrical work, but many people prefer a licensed installer, especially when pre-treatment and electrical safety are factors.
Typical installation sequence
- Pressure tank and pump feed the system.
- Sediment pre-filter(s) installed upstream to remove particles.
- UV reactor installed on a straight run of pipe with sufficient access for lamp replacement and sleeve cleaning.
- Pressure relief and bypass valves provided for maintenance.
- Electrical connection to a properly grounded outlet with GFCI protection.
- Lamp-failure alarm or flow switch installed to alert you if the lamp fails or flow stops.
Plumbing and electrical considerations
Use a straight pipe run before and after the UV chamber to maintain flow stability and ensure the correct exposure. Ensure your power supply meets the unit’s requirements and include a dedicated GFCI-protected outlet and a secure mount for the control box. Follow local electrical and plumbing codes.
Bypass and isolation valves
Install a bypass with isolation valves so you can service the UV unit without shutting down the rest of your water system. Keep the bypass closed unless absolutely necessary; running water around the UV unit removes the disinfection step.
Maintenance of a UV system
Maintenance keeps the UV system effective. Regular tasks are easy but critical.
Lamp replacement
Replace the UV lamp according to the manufacturer’s recommended interval (typically every 9–12 months) because UV output diminishes over time even if the lamp still lights.
Quartz sleeve cleaning
Mineral deposits and sediment can coat the quartz sleeve, reducing UV transmission. Clean the sleeve as needed; the frequency depends on water quality. If you have hard or iron-rich water, check monthly at first.
Monitor alarms and lamp hour counters
Pay attention to lamp-out alarms, hour counters, or lamp-life indicators. Test alarms periodically to be sure they’re working. If the lamp fails or the alarm indicates low output, stop using the water for drinking until the unit is repaired and the water is tested.
Replace filters and pre-treatment media
Change sediment filters on schedule and regenerate or replace softeners, iron filters, and other media according to manufacturer guidance. Failing pre-treatment will shorten the UV system’s life and reduce effectiveness.
Cost considerations
Costs vary widely depending on water quality, system capacity, and whether you hire a professional. Typical ranges help you budget.
Typical costs
- Point-of-entry UV unit (residential): $300–$1,500
- Pre-filtration and treatment components: $100–$2,000+ (depends on complexity)
- Professional installation: $300–$1,500+
- Annual maintenance (lamp + service): $75–$300
Total installed cost for a properly pre-treated, professionally installed UV system is often $800–$3,500 depending on the size and complexity.
UV vs. chlorination and other disinfectants
Each disinfection method has advantages and disadvantages. Choosing one depends on your needs, water chemistry, and whether you need residual disinfection.
UV advantages
- Chemical-free disinfection (no taste or residuals)
- Immediate inactivation of microorganisms without adding chemicals
- Low operating cost aside from lamp replacements
UV limitations
- No residual effect—downstream contamination after the unit is not prevented
- Ineffective if turbidity or particulates are high
- Does not remove chemicals, metals, or nitrates
Chlorination advantages
- Provides a residual disinfectant in the distribution system
- Effective and inexpensive for continuous disinfection
- Helps control bacteria in storage tanks and long piping runs
Chlorination limitations
- Adds chemicals and possible taste/odor issues
- Requires careful dosing and monitoring
- Some pathogens (e.g., Cryptosporidium) are more resistant to chlorine than to UV
Combined approaches
Many well owners use a combined approach—pre-filtration and UV for point-of-entry pathogen control, and a small continuous chlorine feed for residual disinfectant if there’s a long distribution system or storage tank. The combination gives you immediate inactivation and ongoing protection.
Testing after installation or remediation
After installing a UV system or performing any disinfection, test your water to confirm safety.
Recommended tests
Test for total coliform and E. coli soon after installation or disinfection—typically 7–10 days after shock chlorination or UV startup. Repeat tests afterward to ensure sustained safety. Also test for turbidity, iron, manganese, and any local contaminants of concern to confirm pre-treatment effectiveness.
Ongoing testing frequency
- Bacteria (total coliform and E. coli): annually and after repairs or power outages
- Nitrates: annually (or more often if at risk)
- Lead and other local contaminants: as recommended by your health department
When to call a professional
Some jobs require professional expertise or local licensing, and calling a pro can save time and prevent code violations.
Call a licensed well contractor if:
- You need casing replacement, well rehabilitation, or deep repairs.
- The wellhead or pump work requires excavation or electrical wiring beyond basic service.
- You’re unsure about local code requirements or permitting.
Call a certified water treatment specialist if:
- Your water chemistry is complex (iron, manganese, hardness, high turbidity).
- You need a comprehensive treatment plan that includes multiple treatment stages.
- You want a professional to size and install a UV system and pre-filtration.
Checklist: Protecting your wellhead and integrating UV
This checklist helps you perform a complete protection and UV integration plan.
| Task | Action |
|---|---|
| Inspect physical condition | Check cap, casing, seals, and surrounding area; repair as needed. |
| Ensure proper grading | Grade soil away from the well and install gravel apron. |
| Maintain setbacks | Verify distances from septic, fuel, livestock, and chemical storage. |
| Install sanitary cap | Replace rusty or loose caps with sanitary, lockable caps. |
| Pre-treatment | Install sediment filter, iron removal, or water softener as needed. |
| Select UV unit | Choose NSF-certified unit sized for peak flow and required dose. |
| Install UV properly | Mount on straight pipe run with proper electrical protection and bypass valves. |
| Test water | Test for coliform, nitrates, and site-specific contaminants. |
| Maintain system | Replace lamp yearly, clean sleeve, change filters, and check alarms. |
| Keep records | Log inspections, tests, and maintenance actions. |
Troubleshooting common UV problems
Knowing common issues and fixes helps you keep the system working.
Reduced flow or pressure
Check pre-filters for clogs and replace as needed. Clean or backwash filter media if present. A bypass might be temporarily used, but do not bypass UV permanently.
Lamp failure or alarm
Replace the lamp and verify the starter and ballast. Clean the quartz sleeve. If alarms persist, check wiring and the control module.
Cloudy water after installation
If turbidity increased, check whether pre-filtration was disturbed during installation. Re-test and flush the system. Your water may require more robust pre-filtration.
Final recommendations and best practices
Protecting your wellhead is a combination of good design, proper siting, regular maintenance, and appropriate treatment choices.
- Start with sound physical and sanitary protections at the wellhead.
- Test your water regularly and after any changes or events.
- Use pre-filtration to protect UV and other equipment.
- Choose a UV system certified for potable water and sized for your flow.
- Perform routine maintenance—lamp replacement and sleeve cleaning are essential.
- Consider a combined approach if you need residual protection in the distribution system.
- Consult local codes and professionals when in doubt.
If you follow these steps, you’ll minimize risks to your well and improve the reliability and safety of your drinking water. If you’d like, you can tell me about your well’s location, flow rate, and water test results and I can help you think through specific system options and protections tailored to your site.
