Are you confident that the cap on your well is protecting your water supply as well as it should?

What’s The Safest Type Of Well Cap To Use?
You need a well cap that keeps contaminants out, prevents pests from entering, resists weather and tampering, and meets local codes. This article helps you understand the safest types of well caps, what features matter most, and how to choose, install, and maintain the cap that best protects your water.
Why a proper well cap matters
A well cap is the first line of defense between the underground aquifer and the surface environment, so it plays a critical role in keeping your water safe and potable. If the cap is damaged, loose, or improperly vented, you risk bacteria, chemicals, insects, rodents, and surface water entering your well and contaminating your supply.
Common risks to private wells
You should know the main ways contamination and damage occur: surface water pooling around the well, cracks or missing seals, animal/insect entry, and human tampering. Each of these can let microbes, sediments, or chemicals into the water, increasing health risks and treatment costs.
Types of well caps and how they perform
Choosing a cap starts with understanding the common types available and how they stack up against your needs and local code requirements. Below are the most common well caps and what they do best.
Sanitary (airtight) well caps
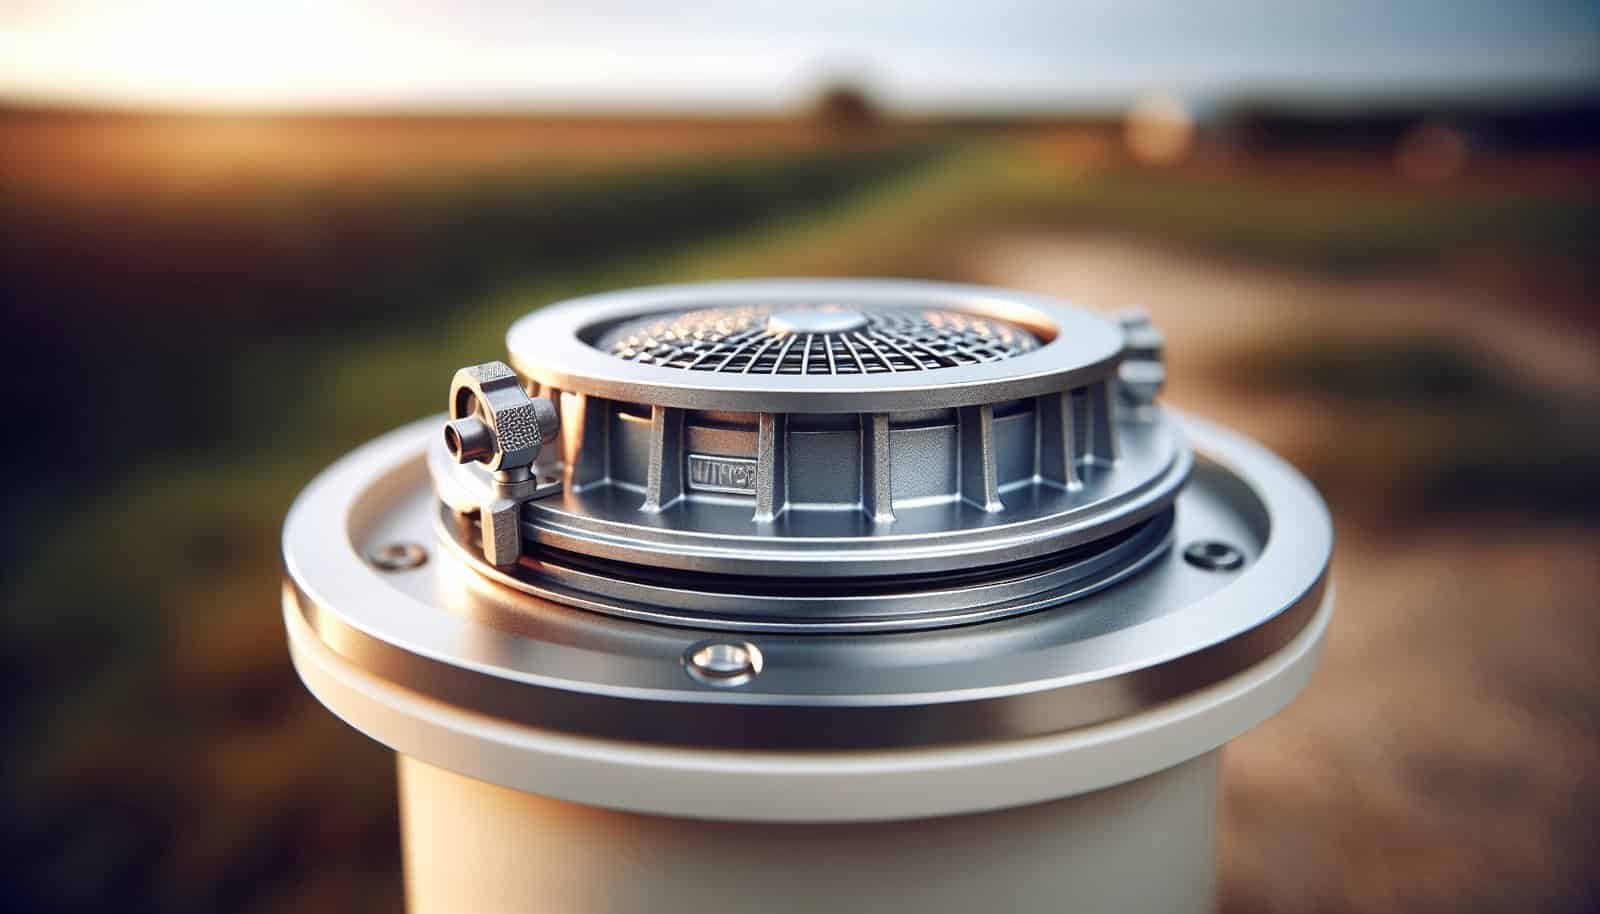
Sanitary well caps create an airtight seal on the well casing and are often recommended for drilled wells. You should consider these caps when contamination risk is moderate to high because they prevent surface water and insects from entering and typically include a gasket and bolt-down design.
Sanitary caps can include a pressure relief or screened vent to prevent vacuum formation while keeping pests out. They are commonly made from heavy-duty plastics or metals and are designed to meet recognized sanitary standards.
Vented well caps with screened vents
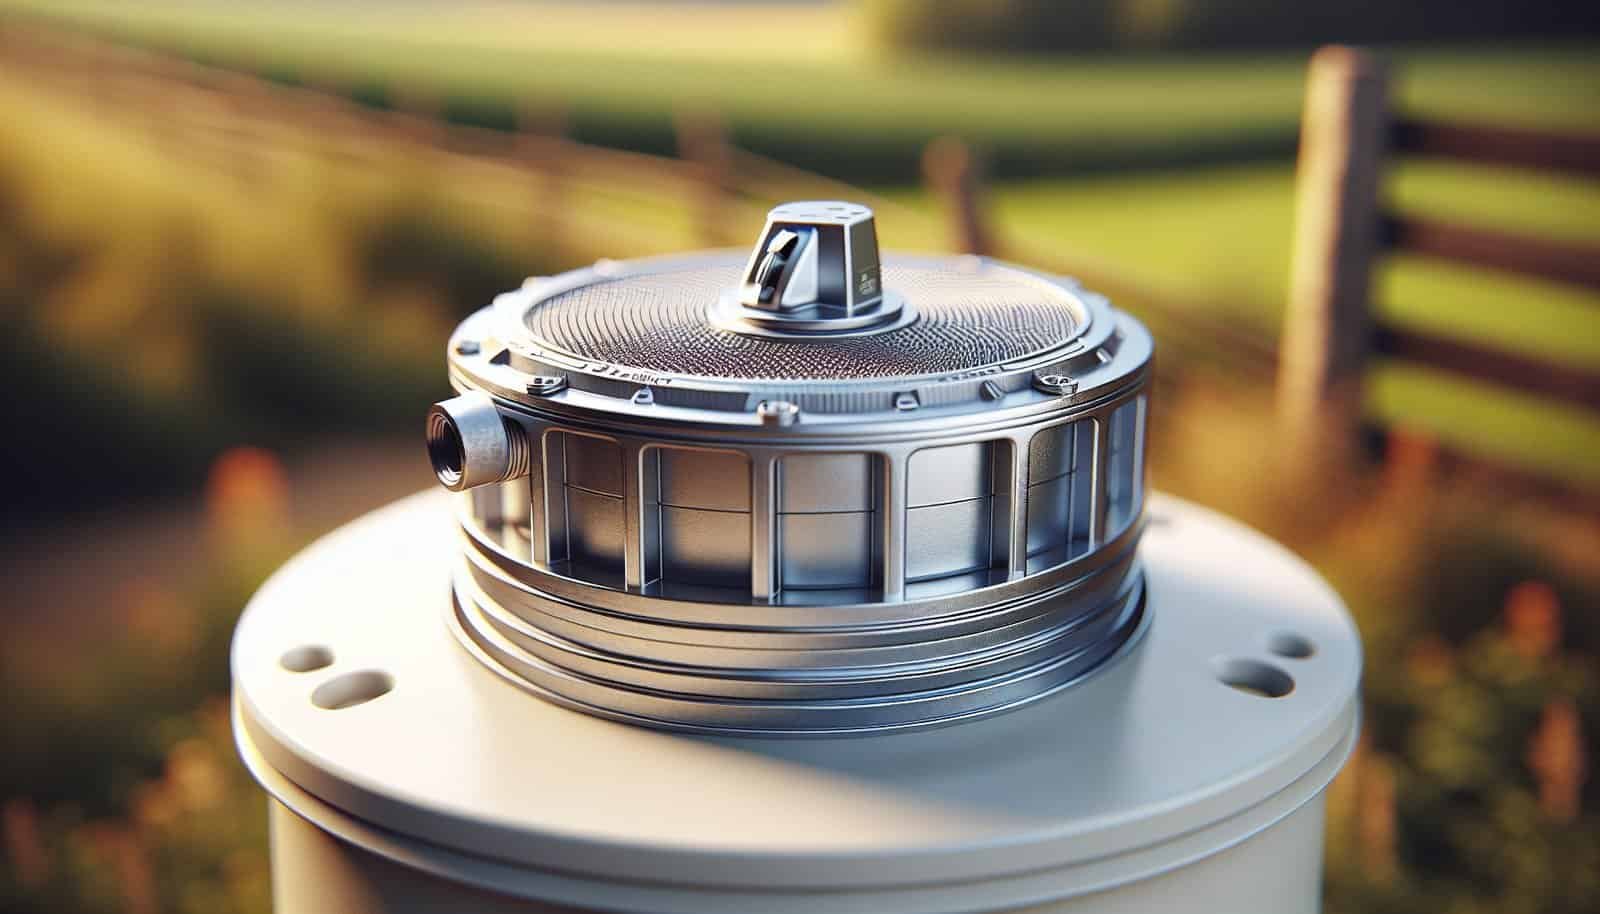
Vented caps allow air exchange while using a stainless-steel screen to block insects and debris. You will want a vented cap if your pump system needs atmospheric ventilation, but make sure the screen is durable and positioned to avoid water flow into the vent.
Vents must be screened, and their openings should face away from areas where splash or runoff can enter. If not properly designed or installed, vented caps can be a weak point for contamination.
Lockable bolt-down caps
Lockable, bolt-down caps deter tampering and unauthorized access to the well, providing both security and an effective seal. If safety or vandalism is a concern where you live, a lockable cap gives you control over who can open the well.
These caps are available with keyed locks or tamper-resistant bolts; you should use stainless steel hardware to minimize corrosion.
Threaded screw-on caps
Threaded caps can be convenient because they screw onto the casing without bolts, but their safety depends on thread integrity and a good gasket. You should only use high-quality threaded caps that include a continuous gasket and are tightened to the recommended torque.
Over time, contaminant entry can occur if threads corrode or the gasket degrades, so these require regular inspection.
Cast-iron or metal caps
Metal caps, such as cast iron or stainless steel, are durable and resistant to impact and animals. You should pick corrosion-resistant alloys in environments where rust or chemical exposure is a concern.
Metal caps can be heavier and require careful handling during installation, but they provide robust mechanical protection.
Plastic (polyethylene, HDPE) caps
High-density polyethylene (HDPE) and other heavy-duty plastics offer excellent chemical resistance and won’t rust. If you prefer a lightweight and corrosion-free option, plastic caps with reinforced design can be a safe and cost-effective choice.
Quality plastic caps include gaskets and bolt-down features and can last many years if UV stabilization and mechanical strength are sufficient.
Rubber well seal or gasket-type caps
Rubber or elastomeric seals are used under many caps to create a watertight seal between the cap and well casing. You will want a cap with a durable, ozone-resistant gasket material such as EPDM or silicone for longevity.
These seals are critical to preventing surface contamination and should be replaced when cracked, flattened, or showing signs of aging.
Comparison table: common well cap types
The table below summarizes the main choices to help you compare key features quickly.
| Type | Typical Material | Best For | Advantages | Disadvantages | Typical Cost Range (USD) |
|---|---|---|---|---|---|
| Sanitary airtight cap | HDPE, polyethylene, stainless steel | Drilled wells, high contamination risk | Airtight seal, screened vents available, meets sanitary codes | Needs correct gasket and bolts | $30–$150 |
| Vented cap with screen | Plastic or metal with stainless screen | Vent-required systems | Allows venting, pest protection if screened | Screen can clog or be bypassed by splash | $20–$120 |
| Lockable bolt-down cap | Metal or reinforced plastic | Security-sensitive sites | Tamper-resistant, secure | More expensive, needs keys/bolts | $40–$200 |
| Threaded screw-on cap | Plastic or metal | Quick install or replaces old caps | Easy to install | Gasket failure risk over time | $15–$80 |
| Cast-iron or steel cap | Cast iron, stainless steel | High-impact environments | Durable, resistant to animals | Prone to rust if not stainless | $50–$300 |
| Rubber gasket/stopper | Rubber, EPDM | Sealing existing casings | Excellent seal | Not structural; needs cap overtop | $5–$40 |
Key features that make a well cap safe
When evaluating caps, you should prioritize several features that consistently reduce contamination and damage risk. These features affect performance over time and your maintenance workload.
Airtight gasket and seal
A continuous, durable gasket is essential to keep surface water and contaminants out. You should choose caps with high-quality, ozone- and UV-resistant gaskets that compress uniformly and are easy to replace.
Bolts or locking mechanism
Bolt-down or locking caps provide mechanical security against tampering and can create a tighter seal than simple screw-on caps. You should use stainless steel bolts and check torque and corrosion periodically.
Screened venting
If ventilation is required, vents must be screened with fine stainless-steel mesh to stop insects and small debris. You should ensure vents are oriented or protected to prevent direct splash or pooling water from entering.
Corrosion and UV resistance
Material choice matters: stainless steel or high-quality plastics resist corrosion and sun damage. You should look for UV-stabilized plastics or stainless alloys appropriate for your local environment.
Proper fit and compatibility
The cap must match your casing diameter and thread or bolt pattern to ensure a good seal. You should measure the casing and choose caps specifically designed for that size and type.

Standards, codes, and certifications
You should verify local health department or state well construction codes before choosing a cap, because requirements vary by jurisdiction. Some caps are built to standards like NSF/ANSI for drinking water system components; look for certifications if available.
National and local codes may specify venting, gasket types, and tamper-resistant features for new wells or replacements. If you have a private well, your state or county environmental health office is usually the best source for exact requirements.
Choosing a cap based on well type
Your well’s construction influences the right cap choice, so consider the type of well when making your selection. Different well types have distinct vulnerability profiles.
Drilled wells (cased and sealed)
For drilled wells, sanitary, bolt-down caps with a gasket and screened vent are often the safest choice. You should ensure that the cap attaches to the casing in a way that maintains the seal required by code.
Drilled wells typically use steel or PVC casings; pick caps that match the casing material and diameter.
Dug or bored wells
Dug wells often have larger, irregular openings and are more susceptible to surface water and animal intrusion. You should consider custom covers, secure concrete or metal collars, and strong lockable caps for these wells.
These wells may require more extensive sealing and surface drainage control to mitigate contamination risk.
Driven point wells
Driven wells often have smaller diameter casings and may use threaded caps or special adapters. You should use caps specifically sized for driven points and ensure vents and seals are compatible.
Because driven points are shallow, protecting against surface contamination is especially important.

Installation best practices
Correct installation is as important as cap selection because improper mounting can defeat even the best cap. You should follow manufacturer instructions and local code requirements.
- Clean the casing top and remove old sealant and debris before installing the new cap.
- Inspect and replace the gasket, making sure it seats evenly.
- Tighten bolts to recommended torque but avoid over-tightening, which can compress and damage gaskets.
- Ensure vents are oriented and protected from direct runoff and splash.
You should also document the installation date and cap type for future maintenance records.
Inspection and maintenance schedule
Regular inspection prevents problems from becoming contamination risks, and you should inspect the cap at least twice a year and after severe storms or any unusual events. Look for cracked gaskets, loose bolts, corroded metal, clogged vents, and signs of animal or insect entry.
If you see any damage, replace gaskets or the entire cap immediately and test water quality if contamination is suspected. Annual water testing is also recommended even for well systems that appear physically sound.

Common problems and simple fixes
Many issues you’ll encounter have straightforward remedies. You should be proactive about small repairs to avoid major contamination.
- Cracked gasket: Replace the gasket with an appropriate EPDM or silicone seal.
- Loose or missing bolts: Replace with stainless steel bolts and tighten to spec.
- Clogged vent screen: Clean or replace the screen and ensure it faces away from runoff.
- Rodent or insect entry: Replace cap with a screened vented or airtight cap and add a collar or flashing if needed.
- Corroded cap: Replace with a corrosion-resistant material like stainless steel or HDPE.
If you suspect contamination, shock chlorinate the well and retest the water according to guidance from your local health department.
Winter and freezing considerations
Cold weather can warp plastic caps and crack seals, leading to leaks and contamination, so you should select caps and gaskets rated for your climate. Insulating the wellhead and ensuring the cap and bolts are in good condition before freeze cycles helps prevent damage.
If you insulate, make sure ventilation requirements aren’t blocked. For wells in areas with frequent freeze-thaw cycles, durable metal or UV-stabilized thicker plastics are often preferable.

Security and tampering prevention
You should prevent unauthorized access by using lockable caps, tamper-resistant bolts, and sometimes fencing or signage around the wellhead. Security helps reduce accidental contamination, vandalism, and liability issues.
Keep keys or bolt patterns documented and limit access to those who need it. For wells in remote areas, consider periodic checks or motion-activated cameras if tampering is a recurring issue.
Water testing after cap repairs or replacements
After you replace or repair a well cap, you should test the water to confirm nothing entered the well during the process. At minimum, test for total coliform bacteria and E. coli; additional testing for nitrates, turbidity, and volatile organic compounds may be appropriate based on land use around the well.
If bacteria are present, follow state health department guidance for disinfection and retest until results are safe. Maintaining records of tests helps you track trends and impacts of maintenance.
Cost considerations: initial cost vs long-term protection
Higher-quality caps may cost more upfront but save you money by preventing contamination, reducing treatment needs, and lasting longer. You should weigh initial cost, expected lifespan, maintenance needs, and local regulations when budgeting.
DIY installation reduces labor cost but increases the importance of following correct procedures to avoid problems that could cost much more to fix later.
When you should call a professional
There are times when professional help is the safer and more cost-effective option. You should call a licensed well contractor or state-certified professional if:
- You need to modify the well casing or install a new sanitary seal.
- The wellhead shows signs of structural damage or contamination.
- You’re unsure about compatibility between cap and casing.
- Local code requires a licensed installation or inspection for certain cap types.
Professionals can also perform proper sampling, shock chlorination, and documentation required by local authorities.
DIY: step-by-step guide to replacing a well cap
If you decide to replace a cap yourself, follow these steps carefully and consult your local code and the cap manufacturer instructions. Use proper PPE and avoid standing water around the wellhead.
- Collect required tools: adjustable wrench, screwdriver, torque wrench (if specified), new gasket or cap, stainless steel bolts, and cleaning supplies.
- Turn off power to any pump or electrical equipment tied to the well if needed for safety.
- Clean the casing top with a brush and a mild household cleaner; remove old sealant and debris.
- Remove the old cap or bolts carefully and inspect the top of the casing for damage or corrosion.
- Measure the casing diameter and confirm the new cap is the correct size and type.
- Place the new gasket into the cap groove and lightly lubricate with a manufacturer-approved lubricant (if recommended).
- Set the cap on the casing, align bolt holes, and insert stainless bolts; hand-tighten all bolts first.
- Tighten bolts in a crisscross pattern to the specified torque; do not over-tighten.
- Check the vent orientation and screen condition; ensure there is no direct path for surface water to splash into the vent.
- Record the installation date and cap type in your maintenance log and test the water if any debris may have entered during the repair.
If you encounter unexpected damage to the casing or wellhead, stop and consult a professional.
Frequently asked questions (FAQ)
Q: How often should you replace a well cap? A: Replace the cap or gasket when you see cracking, corrosion, or loose components, and at a minimum inspect twice yearly. Typical caps last many years, but gaskets often need replacement every few years depending on material and climate.
Q: Can a vented cap be as safe as an airtight cap? A: Yes, if the vent is properly screened and positioned to avoid splash and if the cap meets sanitary standards. Some systems require venting, so a screened vented cap is often the best compromise.
Q: Is a metal cap always better than plastic? A: Metal is mechanically strong but must be corrosion-resistant; high-quality plastics resist corrosion and are lighter. Choose material based on environmental exposure and expected mechanical stresses.
Q: What should I do if my water tests positive for bacteria after a cap replacement? A: Follow your local health department’s procedures for shock chlorination and retesting. Stop using the water for drinking until tests confirm it’s safe.
Q: Are there legal requirements for well caps? A: Many states and counties have minimum standards for well caps and wellhead protection. You should consult your local health or environmental agency for exact rules.
Q: Can you make a well cap tamper-proof on your own? A: You can install tamper-resistant bolts and a lockable cap, but be careful to ensure emergency access is still possible for maintenance and firefighting requirements if relevant.
Final recommendations and a top pick
Overall, the safest type of well cap is a sanitary, bolt-down cap made of corrosion-resistant material (stainless steel or high-quality HDPE) with a durable EPDM or silicone gasket and a screened vent if venting is required. You should prioritize a cap that meets local codes, offers a good mechanical seal, and includes pest-resistant screening.
If you must choose a single option for most private drilled wells, pick a sanitary, lockable, bolt-down cap with a replaceable gasket and stainless-steel hardware. This combination balances contamination protection, security, and longevity.
Quick checklist to pick your cap
- Confirm local code and permit requirements.
- Measure casing diameter and thread/bolt pattern.
- Choose corrosion-resistant material (stainless or UV-stabilized HDPE).
- Ensure a durable gasket (EPDM/silicone) is included.
- Select a bolt-down or lockable option for security.
- If ventilation is required, select a screened vent oriented away from splash.
- Plan for inspections at least twice per year and water testing after any work.
You have control over much of your well’s safety by selecting the right cap and keeping up a simple maintenance schedule. Choosing a sanitary, well-fitting, and secure cap will significantly reduce contamination risk and protect your water for years to come.
