
Complete Well Water Maintenance Schedule: Monthly, Seasonal and Annual Tasks for Well Owners
Your well system is the most important piece of infrastructure in your home, yet most well owners only think about it when something goes wrong. The difference between a well that lasts 30 years and one that fails in 10 is not luck. It is consistent, proactive maintenance. This guide gives you a complete maintenance schedule organized by frequency so you never miss a critical task.
Proper maintenance does two things. It keeps your water safe to drink. It extends the life of your equipment and saves thousands in repairs. A well-maintained pump can last 15 years or more. A neglected pump often fails within 5-8 years. The math is simple. Spend 30 minutes a month on maintenance and save $3,000-5,000 every decade.
Monthly Maintenance Tasks
These are quick checks that take 10-15 minutes each month. Do them on the same day each month, ideally the first Saturday. Set a recurring calendar reminder. The key is consistency — monthly checks take less time than a failed pump repair.
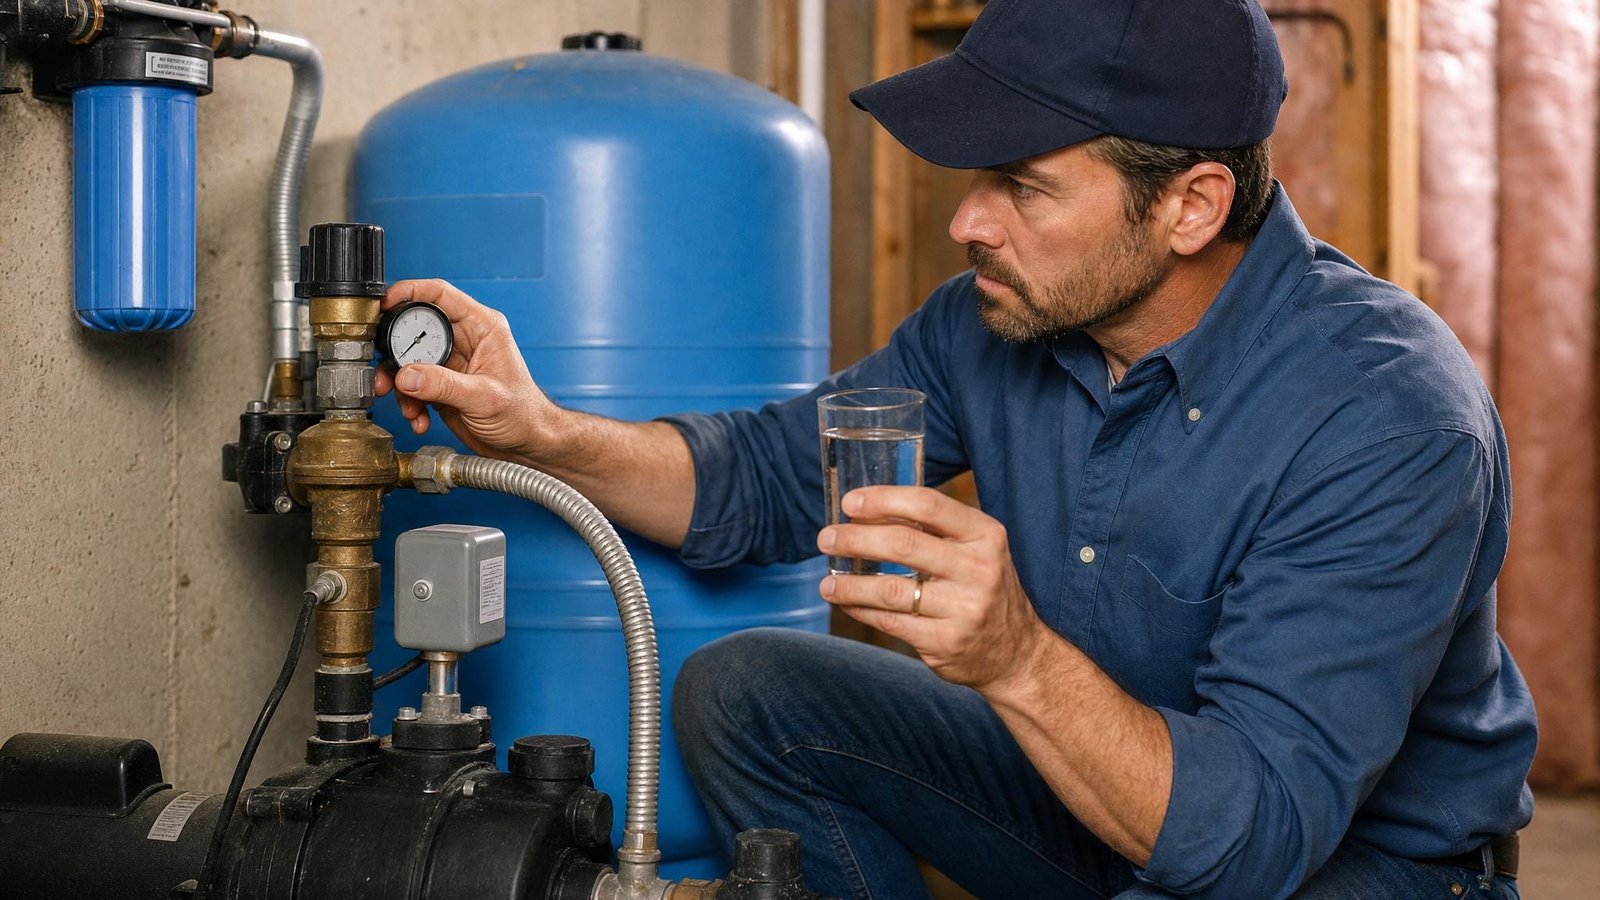
Check water pressure. Look at your pressure gauge. Normal range is 40-60 PSI. If pressure drops below 40, your pump is struggling or your pressure tank needs recharging. If pressure spikes above 70, your pressure switch may be malfunctioning. Document the reading so you can track changes over time. Keep a log — trends matter more than individual readings.
Listen for unusual noises. Walk near your pump and listen. A healthy pump hums steadily. Grinding, screeching, or frequent cycling on and off every few minutes indicates a problem that needs attention. Listen at the same time each month so you can compare. A pump that has changed its sound pattern is telling you something.
Check for water quality changes. Look at your water clarity. Take a sip. Smell it. Any change from your normal baseline is a red flag. Cloudy water, a rotten egg smell, or a metallic taste all signal that something has changed in your system. Don’t ignore subtle changes — gradual shifts are often more significant than sudden ones.
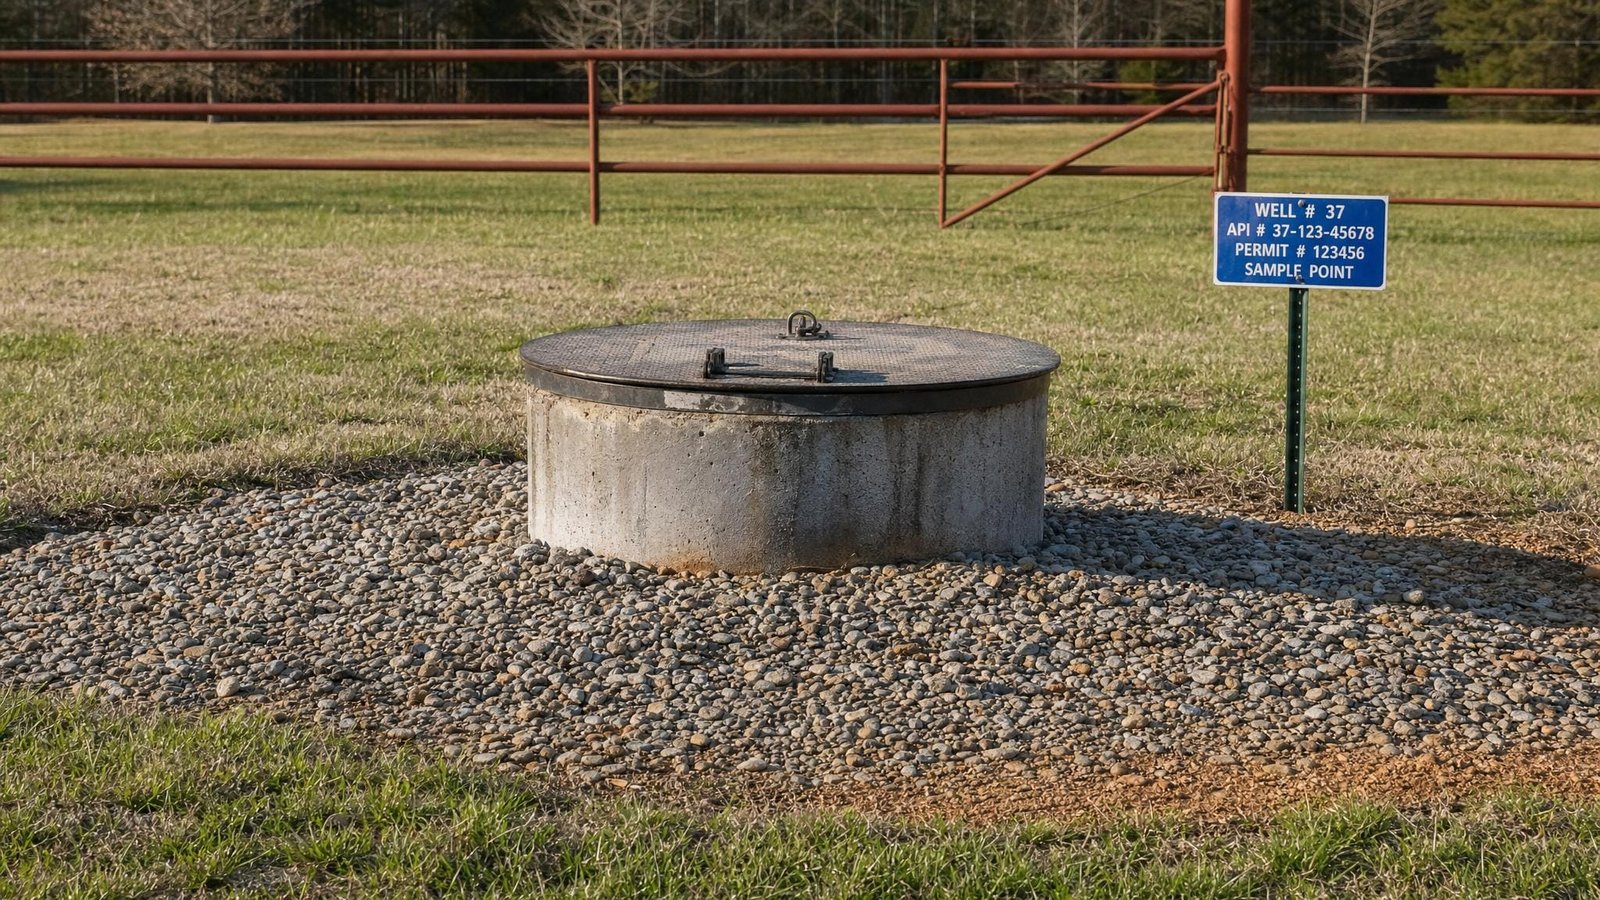
Inspect the wellhead. Look at the seal around your well casing. The sanitary seal should be intact, with no cracks or gaps. Ensure the cap is secure and that surface water cannot flow toward the wellhead. Check for any new vegetation or debris near the wellhead that could indicate settling or drainage issues.
Check the electrical connections. Look at your pump’s electrical panel for corrosion, loose wires, or burnt smells. If you see anything suspicious, do not touch it. Call a professional immediately. The panel should be dry and clean — moisture ingress is the most common electrical problem.
Monitor your water usage. Check your water meter if you have one. A sudden increase in usage (with no change in habits) can indicate a leak in your plumbing or well system. Compare your reading to the same month last year — your usage should be roughly consistent.
Quarterly Maintenance Tasks
Every three months, perform these more thorough checks that take about 45 minutes each. These tasks catch problems that monthly checks might miss.
Test your water quality. Test for bacteria (coliform), nitrates, and pH levels. You can use a home test kit or send samples to a certified laboratory. For home testing kits, the LaMotte Well Water Test Kit covers the essentials. Send lab samples every two years or anytime you notice a change. Document your results — trends over time tell you more than any single reading.
Inspect the pressure tank. Check the air charge on your pressure tank using an automotive tire gauge through the Schrader valve at the top of the tank. The air pressure should be 2 PSI below your cut-in pressure. If a tank is waterlogged, it needs recharging or replacement. A waterlogged tank causes short cycling, which destroys your pump faster than anything else.
Clear the drainage area. Ensure water draining from your pressure tank relief valve flows away from the wellhead. Standing water near the well is a contamination risk. Grade the ground to slope away from the well by at least a 6-inch drop over 6 feet. Check for erosion patterns around the wellhead.
Check the pump control box. Open the control box and look for corrosion on the contacts. Corroded contacts cause arcing, which can damage your pump motor. Clean contacts with electrical contact cleaner if needed. Tighten any loose connections. The control box should be dry, clean, and tightly sealed.
Test the pressure switch. Manually trigger the pressure switch to ensure it cycles the pump on and off correctly. Listen for the click and watch the pressure gauge respond. If the pump does not cycle properly, the switch needs adjustment or replacement. A failing pressure switch is one of the cheapest and most common well problems.
Annual Maintenance Tasks
These comprehensive tasks should take 2-3 hours. Hire a professional for any task you are uncomfortable performing yourself. Annual maintenance is where you invest in prevention before problems become emergencies.
Professional well inspection. Hire a licensed well contractor to perform a complete inspection annually. They will check the well log, flow rate, water level, pump performance, and overall system integrity. Most inspections cost $200-400 and prevent $5,000+ in future repairs. An annual inspection is the single best thing you can do for your well’s long-term health.
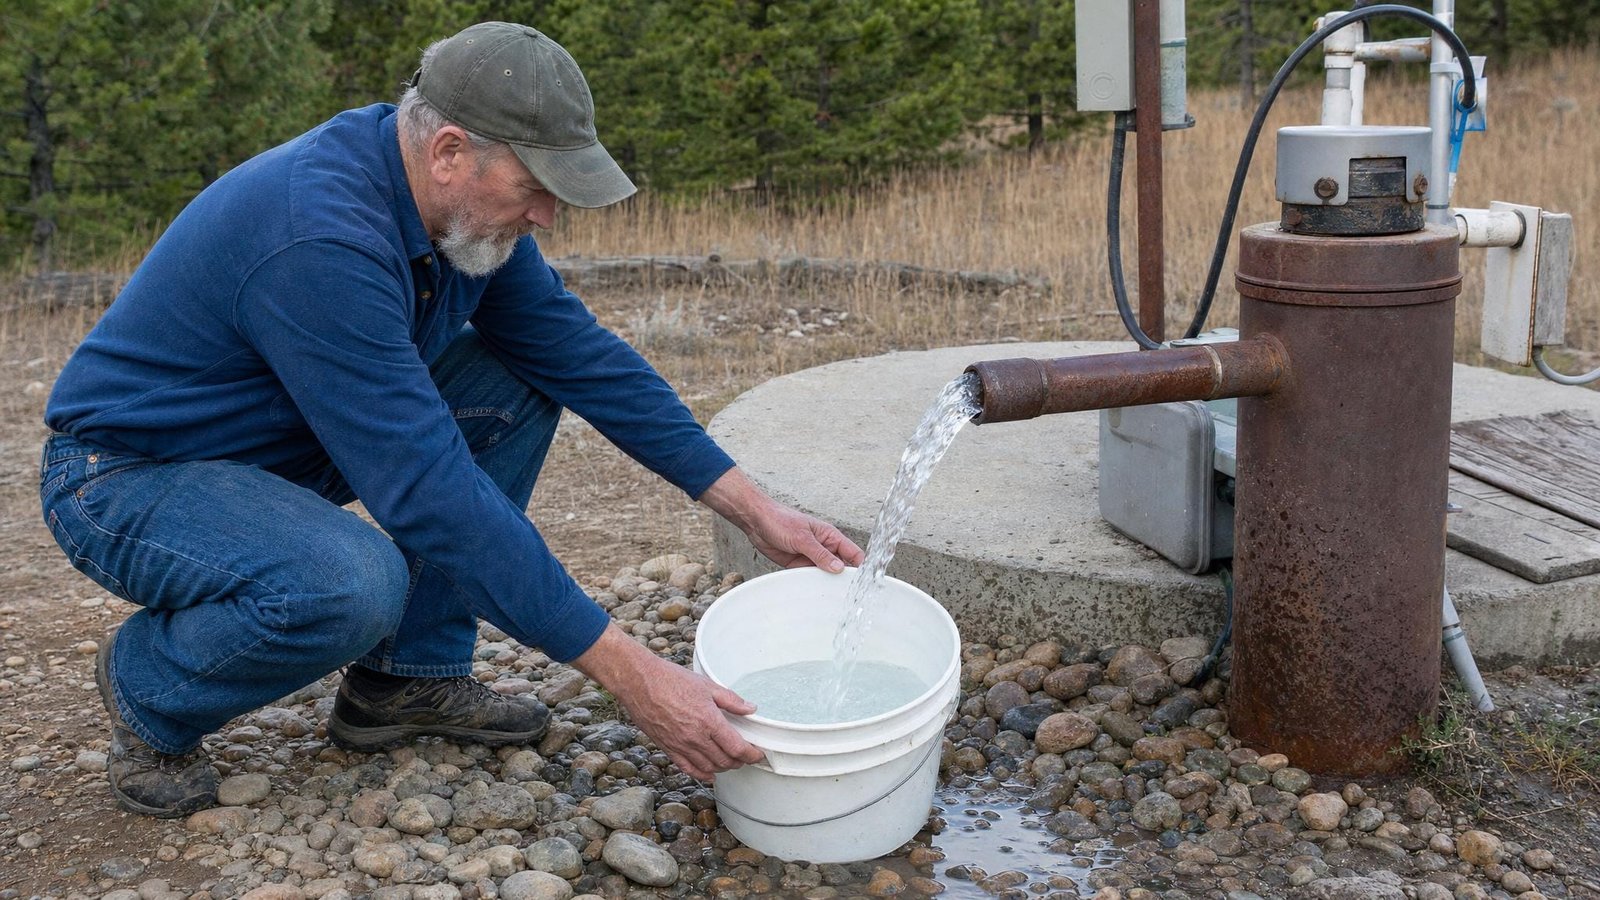
Measure your flow rate. Fill a 5-gallon bucket from your faucet and time it. Your home needs approximately 6-8 GPM for basic use. Less than 3 GPM means you have a problem. Measure flow at multiple faucets. If one fixture has lower flow than others, the problem is likely in your plumbing, not your well. Track flow rate over years — gradual decline is normal, sudden drops are not.
Test your water for a complete panel. Every year, send a water sample to a certified lab for a comprehensive analysis including bacteria, nitrates, nitrites, lead, arsenic, iron, manganese, and hardness. The cost is approximately $50-150 depending on the panel. This is the single most important health-related maintenance task you perform. Your family’s health depends on it.
Inspect and repair the well cap. Check your well cap for damage, corrosion, or missing bolts. Replace any damaged components. The well cap is your primary defense against surface contamination entering the well. A loose or cracked cap can allow anything from rainwater to rodent droppings into your water supply.
Flush your water treatment systems. If you have a sediment filter, carbon filter, or water softener, flush and replace components according to manufacturer recommendations. Sediment filters typically need replacement every 6 months. Carbon filters every 12 months. Water softener resin every 8-10 years. Running a dirty filter is worse than no filter — it can actually push contaminants through.
Inspect the well casing exterior. Walk around the wellhead and look at the concrete apron or pad. Check for cracks, settling, or erosion. The apron should slope away from the well at least 2 inches per foot. Repair any cracks with hydraulic cement to prevent surface water from reaching the well seal.
Spring Season Maintenance Tasks
Spring brings melting snow and heavy rains that increase contamination risk. This is the most critical season for well owners because the ground is saturated and surface water has the greatest potential to reach your well.
Clear snow and debris from the wellhead area. Remove any accumulated snow, leaves, or mud from around the wellhead. Ensure proper drainage away from the well. In spring, the ground is often saturated, so pay special attention to water flow patterns. Standing water around the wellhead is your biggest enemy this season.
Test water after the first major rain. Heavy spring rains can push contaminants toward your well. Test water quality within 48 hours of the first significant rainfall. If you detect coliform bacteria, shock chlorinate your well immediately. Keep test kits ready for this purpose.
Inspect and repair the sanitary seal. Check the grout or bentonite clay seal between the casing and the borehole. Spring rains can erode or crack this seal. Repair any gaps with bentonite clay grout. The sanitary seal is your well’s first line of defense against surface contamination.
Check frost protection. If you live in a cold climate, ensure your wellhead heater or insulation is working before the last freeze. Replace any damaged insulation. Test your frost-free hydrant for proper drainage. The transition from winter to spring can bring unpredictable temperature swings.
Inspect the well pit interior. If you have an accessible well pit, clean out any debris, leaves, or sediment that accumulated during winter. Check for signs of water intrusion or corrosion. The well pit should be dry and clean.
Summer Season Maintenance Tasks
Summer is high-demand season when your well works hardest. Water tables drop, pumps run longer, and the heat puts additional strain on your system.
Monitor water levels closely. Summer drought can lower your water table. Monitor your water level weekly. If your water level drops more than 5 feet below normal, reduce your water usage and contact a well professional to assess your well capacity. Prolonged low water levels can cause the pump to suck in air, which damages the motor.
Check pump performance under load. Run multiple fixtures simultaneously. Monitor pressure stability. If pressure drops significantly during peak usage, your pump may be undersized or wearing out. Pay attention to the pump’s runtime — if it’s running 30-50% longer than last summer, something has changed.
Inspect sprinkler and irrigation connections. Ensure your irrigation system has a backflow preventer to prevent contaminated water from siphoning back into your well. This is a critical safety device that many well owners forget about. A missing backflow preventer is a direct contamination risk.
Check pump ventilation. Ensure the well pit (if applicable) has adequate ventilation. A hot, enclosed pump motor works harder and wears faster. Install a vent pipe or fan if the pit gets hot during summer months.
Monitor for algae growth. In above-ground storage tanks or exposed piping, summer heat accelerates algae growth. Clean or treat any algae with food-safe hydrogen peroxide. Never use chemical algaecides near a well — they can contaminate your water supply.
Fall Season Maintenance Tasks
Fall is the best season for well maintenance because weather is favorable and you are preparing for winter. Think of fall maintenance as setting up your well for a safe winter.
Perform your annual comprehensive inspection. Fall is ideal for the full system inspection because temperatures are mild and you have time to address any issues before winter. This is the time to call your well professional for the annual check.
Winterize all exterior plumbing. Disconnect and drain all outdoor hoses. Turn off and drain outdoor faucets. Install insulation on exposed pipes. This prevents frozen pipes from damaging your plumbing system and potentially your well. Leave the outdoor faucets slightly open after winterizing so they don’t freeze shut.
Replace your sediment filter. Fall is the perfect time to replace your annual sediment filter after the rainy season. A dirty filter reduces flow and strains your pump. Check the filter at least quarterly — replace it whenever pressure drop across it exceeds 10 PSI.
Check and top off your water softener salt. Ensure your softener has adequate salt before winter. Running out of salt during winter can lead to hard water problems throughout your house. Keep an extra bag of salt on hand for emergency top-offs.
Inspect the wellhead insulation. Check your wellhead heater and insulation. Make sure all connections are tight and all insulation is intact. Add insulation to any areas where you see the casing exposed. The wellhead is the most vulnerable point for cold damage.
Clear leaves and debris. Remove fallen leaves and any other debris from around the wellhead. Wet leaves around the well can hold moisture against the casing, accelerating corrosion.
Winter Season Maintenance Tasks
Winter requires vigilance against freezing and increased strain on your system. The goal is to keep everything from freezing and monitor for problems that cold weather reveals.
Monitor for freezing. Check your wellhead heater daily during extreme cold. Ensure insulation is intact. If water pressure drops, a pipe may be frozen. Turn off the pump immediately to prevent motor damage. A frozen pump motor can crack the housing and cause irreparable damage.
Increase water flow slightly. Let a faucet run slowly during extreme cold to prevent pipes from freezing. This is a small water cost compared to the $2,000-5,000 repair bill for a burst pipe. Open the faucet just enough for a thin stream — don’t waste water.
Check your pressure tank insulation. Ensure your pressure tank is properly insulated. A cold tank can cause pipes to freeze near the tank. Add insulation if needed. The pressure tank should be insulated, but never wrap electrical components.
Plan your annual professional inspection. Schedule your professional well inspection before winter ends. The first thaw is the best time because the ground is soft enough for drilling and the contractor can see erosion patterns from the wet season.
Monitor water usage. Frozen ground means less recharge and a lower water table. Use less water until spring thaw. If you notice your pump running longer or more frequently than usual, reduce usage immediately and contact a professional.
Yearly Maintenance Calendar Summary
| Task | Frequency | Time Required | Estimated Cost | Who Does It |
|---|---|---|---|---|
| Check water pressure and quality | Monthly | 10-15 minutes | $0 | You |
| Inspect wellhead and electrical | Monthly | 10 minutes | $0 | You |
| Test water quality | Quarterly | 30 minutes | $20-50 | You |
| Check pressure tank air charge | Quarterly | 15 minutes | $0 | You |
| Replace sediment filter | Every 6 months | 30 minutes | $15-30 | You |
| Professional well inspection | Annual | 2-3 hours | $200-400 | Professional |
| Complete water panel test | Annual | 1 hour | $50-150 | Lab |
| Replace carbon filter | Annual | 1 hour | $30-80 | You |
| Electrical system check | Annual | 1 hour | $100-200 | Electrician |
| Winterize exterior plumbing | Annually (Fall) | 1 hour | $20-50 | You |
| Well casing inspection | Annually | 30 minutes | $0 | You |
Annual total cost (DIY): approximately $200-400 when you do the monthly and quarterly checks yourself. Add the professional inspection and electrician visit for a total of $500-800 per year for complete well maintenance.
Common Problems and Solutions
Pump cycles on and off frequently. Usually a waterlogged pressure tank. Recharge the air charge or replace the tank. This is the most common well problem and costs $150-300 to fix. If the problem persists after fixing the tank, the pressure switch may need adjustment.
No water pressure. Check your circuit breaker first. If the breaker is fine, your pump may have failed. Diagnose with a multimeter to confirm. A pump replacement costs $1,500-5,000. Always check the breaker and pressure switch before assuming the pump is dead.
Sandy water. Indicates well screen damage or sand encroachment. Stop using the water immediately. Call a well contractor for inspection. If your pump is sucking in sand, it will destroy itself rapidly.
Rotten egg smell. Hydrogen sulfide bacteria in your well. Shock chlorination followed by aeration and carbon filtration is the standard fix. Test first to confirm the source before treating.
Low flow rate. Could be a worn pump, clogged well screen, or dropping water table. Test your flow rate and compare to your baseline. Gradual decline is normal over time. Sudden drops require investigation.
Cloudy or discolored water. Usually air in the lines (if it clears after running) or sediment intrusion (if it doesn’t). Check your pressure tank. If cloudy water persists, test for bacteria and consult a professional.
Cost Savings from Preventive Maintenance
Here is the ROI of preventive maintenance. A neglectful approach costs: pump replacement $3,000, well deepening $5,000-15,000, water treatment installation $2,000-4,000, and medical costs from contaminated water (hard to quantify but real). All of this is preventable with $300-600 per year in routine maintenance.
Think of it this way. Your well maintenance costs roughly $30-50 per month. A single pump replacement costs $1,500-4,000. That’s 30-80 months of maintenance. One avoided pump replacement pays for a decade of preventive care.
Your well is the most important investment in your home’s infrastructure. Treat it that way, and it will provide clean water for decades. Ignore it, and it will remind you through broken pipes, contaminated water, and expensive repairs.
DIY vs Professional Tasks
Knowing what you can do yourself vs what requires a professional saves money and prevents dangerous mistakes:
| Task | DIY | Call Professional |
|---|---|---|
| Check water pressure and quality | ✅ Every month | |
| Inspect wellhead and casing | ✅ Monthly | |
| Check pressure tank air charge | ✅ Quarterly | |
| Test water (home kit) | ✅ Quarterly | |
| Replace sediment filter | ✅ Every 6 months | |
| Test water (lab panel) | ✅ Collect sample | ✅ Send to lab |
| Electrical system check | ✅ Visual inspection only | ✅ Annual by electrician |
| Professional well inspection | ✅ Annual | |
| Pump replacement | ⚠️ If well under 150 ft | ✅ If well over 150 ft |
| Well casing repair | ✅ Always | |
| Well deepening/redevelopment | ✅ Always | |
| Surge protector installation | ⚠️ If comfortable with electrical | ✅ Recommended |
Final Verdict
Regular well maintenance doesn’t have to be complicated or time-consuming. The monthly checks take 15 minutes. The quarterly checks take 30 minutes. The seasonal work is mostly observation and preparation. The annual professional inspection is an investment that saves you thousands in emergency repairs.
Your action plan for this month:
- This week: Set a calendar reminder for your first monthly check
- This month: Buy a home water test kit and test your water
- This quarter: Schedule your annual professional well inspection
- This year: Replace your pressure tank if it’s older than 10 years
- Going forward: Never skip a monthly check. Consistency is everything.
A well-maintained well is a quiet well. If you’re constantly aware of your well because something seems off, that’s your cue to act. Most well problems are preventable with consistent, scheduled maintenance. Start today, stay consistent, and your well will serve you for decades.