
Introduction
If your well pump has died, you’re looking at a bill of $1,000 to $3,000 — sometimes more for deep wells. Replacing a well pump yourself can save you hundreds or even thousands, and it’s entirely within reach if you’re comfortable with basic tools and careful work. This guide walks you through every step of the process, from diagnosing the failure to testing your new installation.
Before you start, let’s be clear about what this involves. You’ll be working with heavy equipment, electrical wiring, and water under pressure. Safety matters at every step. But for anyone who’s comfortable using basic hand tools and following detailed instructions, a pump replacement is a doable DIY project that pays for itself the day you save that professional labor bill.
Why Well Pumps Fail
Understanding why your pump failed helps prevent the same problem with your new pump. Well pumps are the heart of your private water system, and they fail for a handful of predictable reasons:
Normal wear. Most submersible pumps last 8-15 years with no warning. The impellers, wearing sleeves, and bearings gradually degrade from constant rotation. When a pump hits the end of its life, it doesn’t always shut off gracefully — it often just stops working one day. Plan for replacement around the 10-year mark.
Corrosion. Mineral-heavy water eats internal components from the inside out. If you have high iron, manganese, or sulfur content in your water, your pump’s lifespan will be shorter. Corrosion weakens the motor housing and seals, leading to water ingress and motor failure.
Running dry. A faulty pressure switch or low water table can cause the pump to run dry, overheating the motor. Submersible pumps are cooled by the surrounding water, so running dry kills them quickly. Install a dry-run protector to prevent this.
Power surges. Lightning and electrical spikes fry control boxes and motors. A single lightning strike within a mile can send thousands of volts through your wiring. Without surge protection, your pump is vulnerable to random events you can’t control.
Sediment abrasion. Sand and grit from the well abrade impellers and wearing sleeves, reducing efficiency and eventually causing premature failure. Wells with sand production above 200 mg/L typically kill pumps faster.

Types of Well Pumps and Which You Might Have
Submersible Pumps
The most common type in residential wells. The motor and pump are sealed together and lowered down the well casing on a drive pipe. They’re quiet, efficient, and can deliver high volumes of water. Submersibles are the default for wells deeper than 25 feet.
Lifespan: 8-15 years
Cost (parts only): $300-$1,200 for a new pump
Best for: Most residential deep-well applications
Difficulty: Moderate — requires pulling threaded pipe section by section
Jet Pumps
Situated above ground, usually in a basement or utility room. They create suction to pull water up from the well. Less efficient than submersibles but easier to access for maintenance and replacement. Jet pumps use either a standard jet set (in the well) or a shallow-well jet kit (at ground level).
Lifespan: 5-12 years
Cost (parts only): $150-$500
Best for: Shallow wells under 25 feet
Difficulty: Easy — bolt-on replacement at ground level
CNV (Constant Variable Speed) Pumps
The newer technology in residential wells. These pumps use a variable frequency drive to maintain constant pressure regardless of demand. They run at lower speeds, consume less electricity, and last longer than traditional pumps. However, they’re more expensive and more complex.
Lifespan: 10-20 years
Cost (parts only): $800-$2,500
Best for: Homeowners who want consistent pressure and energy savings
Difficulty: Moderate to hard — electronic components add complexity
“If your well is deeper than 25 feet, you almost certainly have a submersible pump. This guide focuses on submersible pump replacement since that’s the most common DIY challenge.”
Tools and Materials You’ll Need
Here’s the complete list. Get everything ready before you start — there’s no midcourse trip to the hardware store when you’re halfway through pulling pipe.
Essential Tools
- Well pit cover or access panel removal tool — to access the well seal
- Pipe wrenches (two) — 14-18 inch pipe wrenches for loosening pipe fittings. You need two: one to hold the fitting stationary and one to turn the nut
- Channel lock pliers — for hose clamps and smaller fittings
- Screwdrivers — both Phillips and flathead for the control box and junction box
- Wire strippers and electrical tape — for reconnecting pump wiring
- Voltage tester / multimeter — to verify power is off and test the new pump
- Teflon tape or pipe thread sealant — for threaded connections
Replacement Parts
- New submersible pump — match the horsepower, flow rate, and depth rating to your old pump
- Replacement drop pipe or stainless steel cable — to match your old length (galvanized steel or PVC pipe)
- New well seal/gasket kit — often overlooked but essential. The old seal is likely cracked and won’t reliably keep out surface contaminants
- Cable clamps — usually included with the pump for attaching the lift cable to the pipe
- Jack strap or well head hook — to support the pump while you work
Supporting Items
- Rubber gloves and safety glasses — always wear these
- Shop vacuum or wet/dry vac — to pull water out of the well pit before working
- Work light or headlamp — well pits are dark
- A friend or helper — well work is one person’s job and two people’s headache. The pump and pipe can weigh 50-100 pounds combined
- Bucket and rags — for water spills
- Measuring tape — for measuring pipe length and pump depth
Step 1: Turn Off Power and Verify It’s Dead
Before touching anything, locate the electrical panel that feeds the well pump and turn off the breaker. Use a voltage tester on the pump wires to confirm there’s zero power. Don’t trust the label on the breaker — verify with the tester.
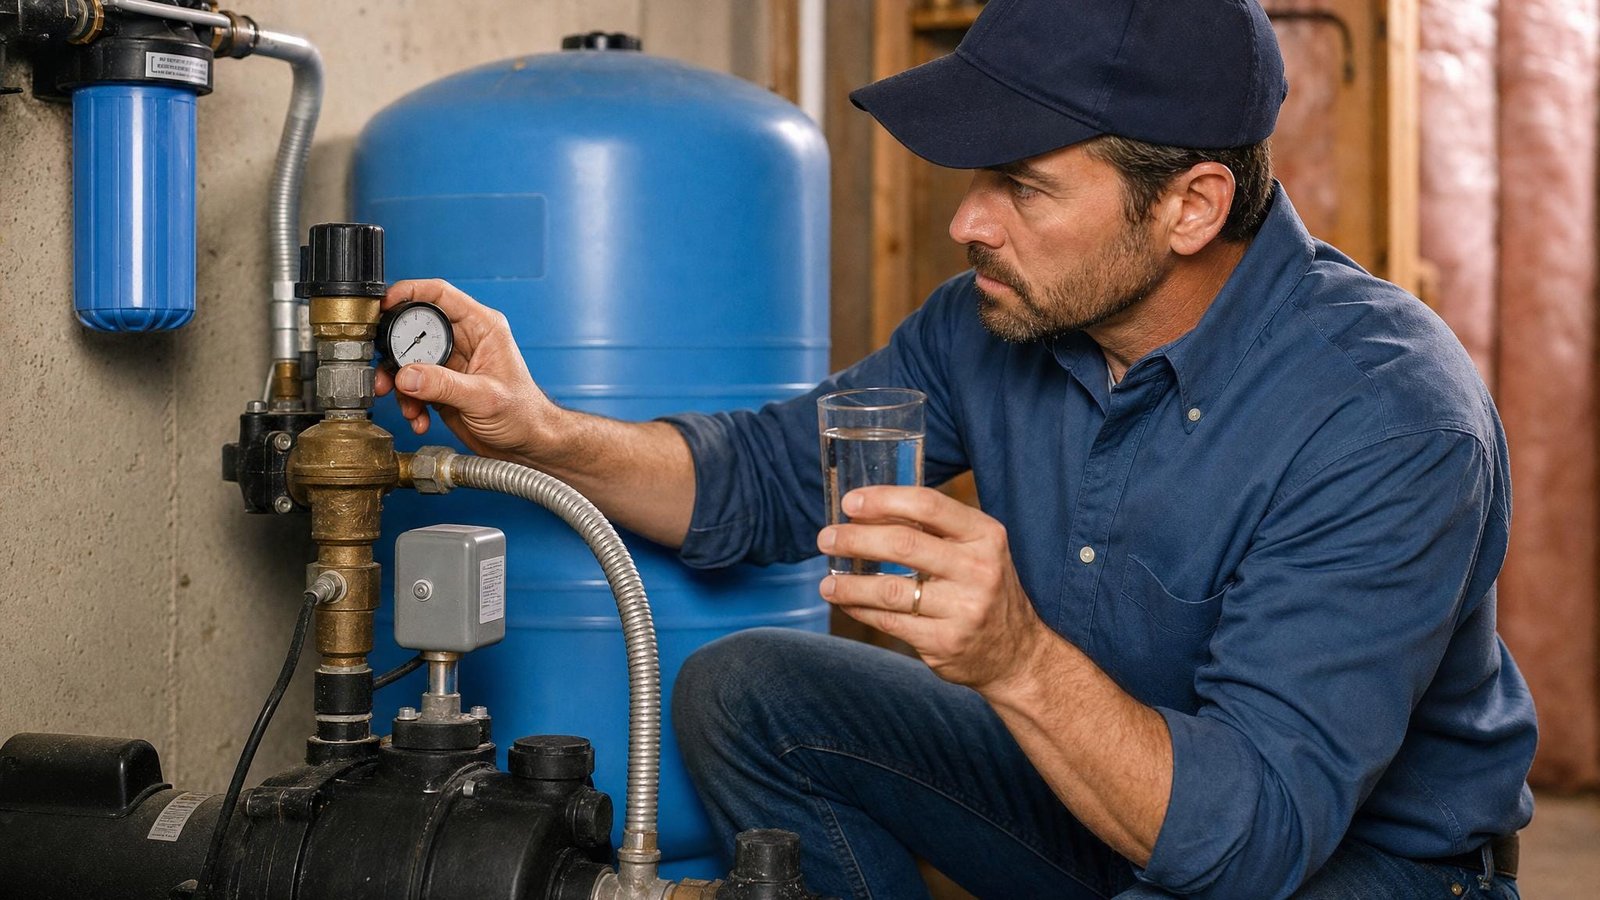
Next, check the pressure gauge on the system. If it reads zero even after the pump has been running for a while, the pump likely isn’t moving water. If the gauge stays steady at 40-60 psi and the pump never kicks on, the problem may be the pressure switch or control box, not the pump itself. Test the pressure switch before committing to a full pump replacement.
“Double-check: replace the pressure switch first ($30-50 part) before spending $500-1,200 on a pump. A bad switch is a very common failure that mimics pump death.”
At the well head, disconnect power at the junction box. Take a photo of the wiring configuration before disconnecting anything. You’ll reference this photo when reconnecting.
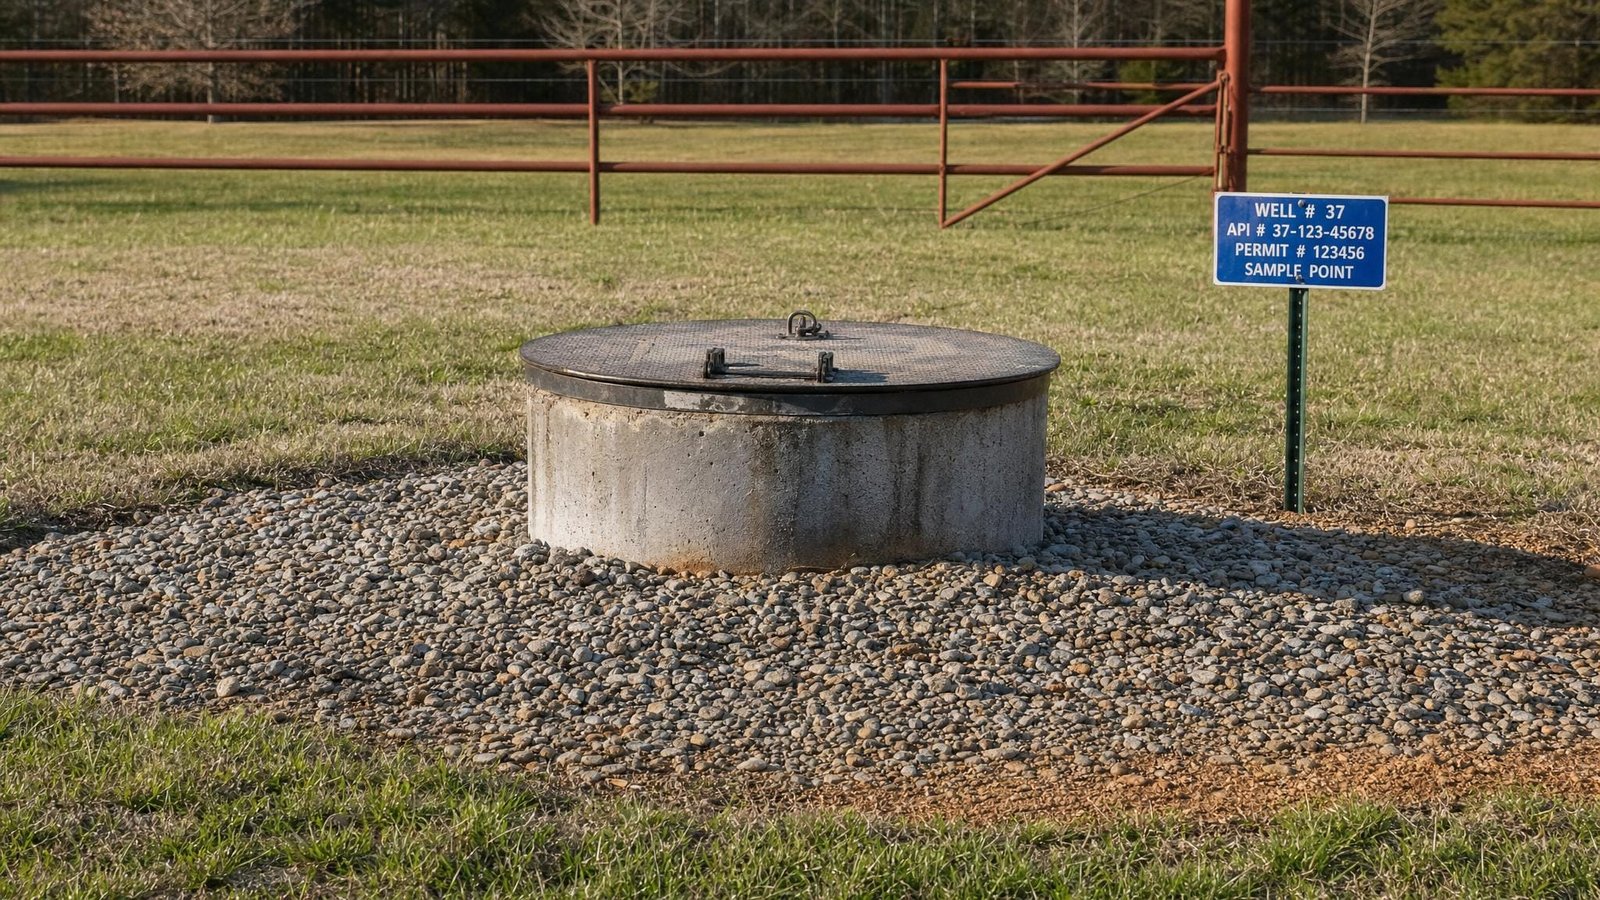
Step 2: Access the Well Head
Most residential wells have the pump wired into the house through a conduit that exits near the well head — a sealed lid over the well casing, typically in a basement, crawlspace, or well pit. Remove the lid carefully and note the seal condition.
Disconnect the electrical wiring at the junction box. Remove the pressure tank’s supply line from the well head fitting. Use two pipe wrenches — one to hold the fitting and one to turn the nut. The well head is under residual pressure, so have a bucket ready for any water that escapes.
Remove the well pit cover if your well has one. The well pit is a below-grade chamber that houses the pump connections. Clear out any standing water with your shop vac before proceeding.
Step 3: Pull the Old Pump
This is the most physically demanding part of the project. Remove the drop pipe section by section. Most residential wells use one-inch or 1¼-inch galvanized steel or PVC pipe. The pipe threads connect to the pump’s drive pipe.
Unscrew the coupling at the well head first, then pull each section of drop pipe. Mark each section with tape so you remember the order. As you pull the pipe, watch for sediment in the water — heavy sediment buildup in the well might indicate a sand point failure and could complicate the pump installation.
The pump should come up on the stainless steel cable attached to it. If the cable is frayed or corroded, it will snap — consider replacing the cable as you install the new pump. Have someone help you; the pump and pipe can weigh 50-100 pounds combined.
Once the pump is out, measure its depth (how far down the well it sat). You’ll need this measurement for positioning the new pump. Also measure the pump’s length, diameter, and weight for comparison with your replacement.
Step 4: Inspect the Well Before Installing the New Pump
This is the critical step most people skip. Before dropping the new pump back down:
- Measure the static water level with a water-finding tape or a simple string with a weight. This tells you how far the pump needs to be lowered. Subtract 10-20 feet to position the pump above the well bottom.
- Inspect the well casing for cracks, corrosion, or misaligned joints. A damaged casing can collapse or let contaminants in. If you find any issues, call a well professional before proceeding.
- Measure the depth to the bottom of the well. Your new pump should sit at least 10-20 feet above the bottom of the well to avoid sucking up sediment.
- Check the well seal at the top of the casing. If it’s cracked or deteriorated, replace it now — this is your primary defense against surface contaminants.
Step 5: Install the New Pump
Reassemble the drop pipe in reverse order, starting from the bottom of the well. Attach the stainless steel cable to the pump using cable clamps (usually included with the pump). Then attach the cable to the top of the drop pipe, then to a jack strap or hook at the well head.
Thread the drop pipe into the well casing and tighten all connections with pipe wrenches. Apply Teflon tape to all threaded fittings. Be careful not to overtighten PVC pipe — it can crack. Use a pipe wrench and a back-up wrench, not a pipe on a pipe.
Lower the pump slowly into the well, feeding the cable through the well seal. The pump should sit at the same depth as the old one (use your tape mark from Step 3). Adjust the cable length if needed — most well seals have an adjustable cable clamp.
Install the new well seal/gasket kit on top of the well casing. The seal should be tight against the casing to prevent surface water from entering. Hand-tighten the seal clamp, then use a wrench for the final turn. Don’t overtighten — you’re compressing a gasket, not clamping a pipe joint.
Step 6: Wire the Pump and Test
Reconnect the electrical wiring. Submersible pumps typically use a three-wire or four-wire connection. Match the color codes: black to black (hot), white to white (neutral), green to ground. If your pump has a separate control box, wire it per the manufacturer’s instructions.
Use wire nuts and electrical tape for all connections. For a more reliable connection, use push-on wire connectors (like Wago lever nuts) instead of traditional wire nuts — they’re less prone to loosening over time and make future troubleshooting easier.
Turn the breaker back on and watch what happens:
- Within 10-30 seconds, the pump should start running and water should begin flowing
- Pressure should build to 40-60 psi (or whatever your pressure switch is set to)
- Listen for unusual noises — grinding, rattling, or screaming indicates a problem
- Check for leaks at every fitting while the pump is under pressure
Run water in your house for 15-20 minutes. If the water is clear and pressure is steady, you’re done. If water is cloudy or sandy, the well may need development (flushing) before it’ll run clear. Continue running water until it runs clear — this can take 30 minutes to several hours depending on how much sediment has settled.
When to Call a Professional
Don’t attempt DIY if:
- The well is deeper than 150 feet — the weight and complexity of the pipe make it extremely difficult to manage alone
- The pump is stuck in the well — if you’ve been pulling for 30+ minutes and it won’t budge, stop. Someone is going to lose the pump down the well. A professional well driller can retrieve stuck pumps with specialized equipment for $200-500
- You see cracks in the well casing — this requires professional repair or well rehabilitation
- You’re uncomfortable working with electrical wiring — 230V can kill you
- The well head is sealed with cement or a proprietary seal you can’t open without damaging
“Spending $300-500 on a professional for a stuck pump is infinitely cheaper than drilling a whole new well at $10,000-25,000.”
Cost Breakdown: DIY vs Professional
| Item | DIY Cost | Professional Cost |
|---|---|---|
| New submersible pump | $300-1,200 | $300-1,200 (included in labor) |
| Cable and fittings | $50-100 | $50-100 |
| Well seal kit | $25-75 | $25-75 |
| Surge protector (recommended) | $50-150 | $50-150 |
| Labor | $0 (your time) | $700-2,100 |
| Total | $425-1,525 | $1,150-3,300+ |
Potential savings: $500-2,000+ depending on well depth and pump size.
Maintenance to Extend Pump Life
Once your new pump is installed, keep it running longer with these maintenance practices:
- Test your water quality annually. High mineral content accelerates corrosion. Know what’s in your water.
- Listen for unusual noises and address them early. A pump that starts making noise is telling you something is wrong.
- Install a surge protector for your well pump. A Type 2 protector at the control box is cheap insurance.
- Replace the pressure tank if it’s waterlogged. A waterlogged tank causes short cycling, which destroys your pump from frequent starts and stops.
- Keep the area around the well head clear and accessible so you can service it easily.
- Have a professional inspect the well and pump every 3-5 years. Catching small problems early prevents expensive emergencies.
- Monitor your flow rate. If your water output gradually decreases, the pump is wearing. Address it before it fails completely.
Troubleshooting After Installation
If something goes wrong after your new pump installation, here are the most common issues and fixes:
| Problem | Most Likely Cause | Fix |
|---|---|---|
| Pump won’t start | Tripped breaker or bad connection | Reset breaker, check wiring at junction box |
| Pump runs but no water | Pump not primed or air lock in pipe | Primer vent valve, or drain air from system |
| Low water pressure | Pump set too deep or worn impeller | Adjust pump depth, or check pump specifications |
| Sandy water for days | Well sediment disturbed by pump removal | Continue running water until clear |
| Pump cycles frequently | Waterlogged pressure tank | Recharge tank air charge or replace tank |
| Burning smell from control box | Corroded contactor contacts | Clean or replace contactor |
| Pump hums but doesn’t start | Capacitor failure (jet pumps) or seized motor | Replace capacitor or call professional |
Final Verdict
Replacing a well pump yourself is a serious project, but with careful planning, the right tools, and respect for the work involved, it’s one of the most rewarding DIY projects a well owner can tackle. You’ll save money, gain confidence in your home’s systems, and know exactly when your pump needs attention before it fails completely.
The key to success is preparation: get all parts before starting, measure everything carefully, never skip the well inspection step, and don’t hesitate to call a professional if you encounter something beyond your skill level. Your well is a critical piece of home infrastructure, and taking the time to do it right the first time is always worth it.
💡 Pro tip: While you have the well head open, install a whole-house surge protector at the pump disconnect. It costs less than an hour of professional labor and could save you $2,000+ in pump replacement down the road.