
Published: September 20, 2026 • Last updated: September 20, 2026
By Thomas Reynolds, Pump Systems Engineer
Thomas has installed and serviced more than 1,000 residential well pump systems across the western US, specializing in submersible, jet, and transfer pumps.
If your well pump hums but no water comes out, or it starts and then quietly dies, the most common cause is that the pump has lost its prime. Learning how to prime a well pump is one of the most useful DIY skills a well owner can have, and for most above-ground jet and shallow-well systems it can be done in under 30 minutes with nothing more than a garden hose and a bucket. In this 2026 guide I walk you through the exact steps to prime each type of pump, the nine reasons a pump loses prime in the first place, and how to stop it from happening again.
Disclosure: As an Amazon Associate, we earn from qualifying purchases on this page. Product selections are based on independent research and real well water data.
Key Insight
Priming means filling the pump casing and the suction line with water so the pump can build suction and move water. A submersible pump sits underwater and rarely needs priming. An above-ground jet or shallow-well pump must have its casing and line completely full of water before it will pull. If that column of water drains or fills with air, the pump loses prime, and the fix is almost always the same: refill it with water and eliminate the air leak.
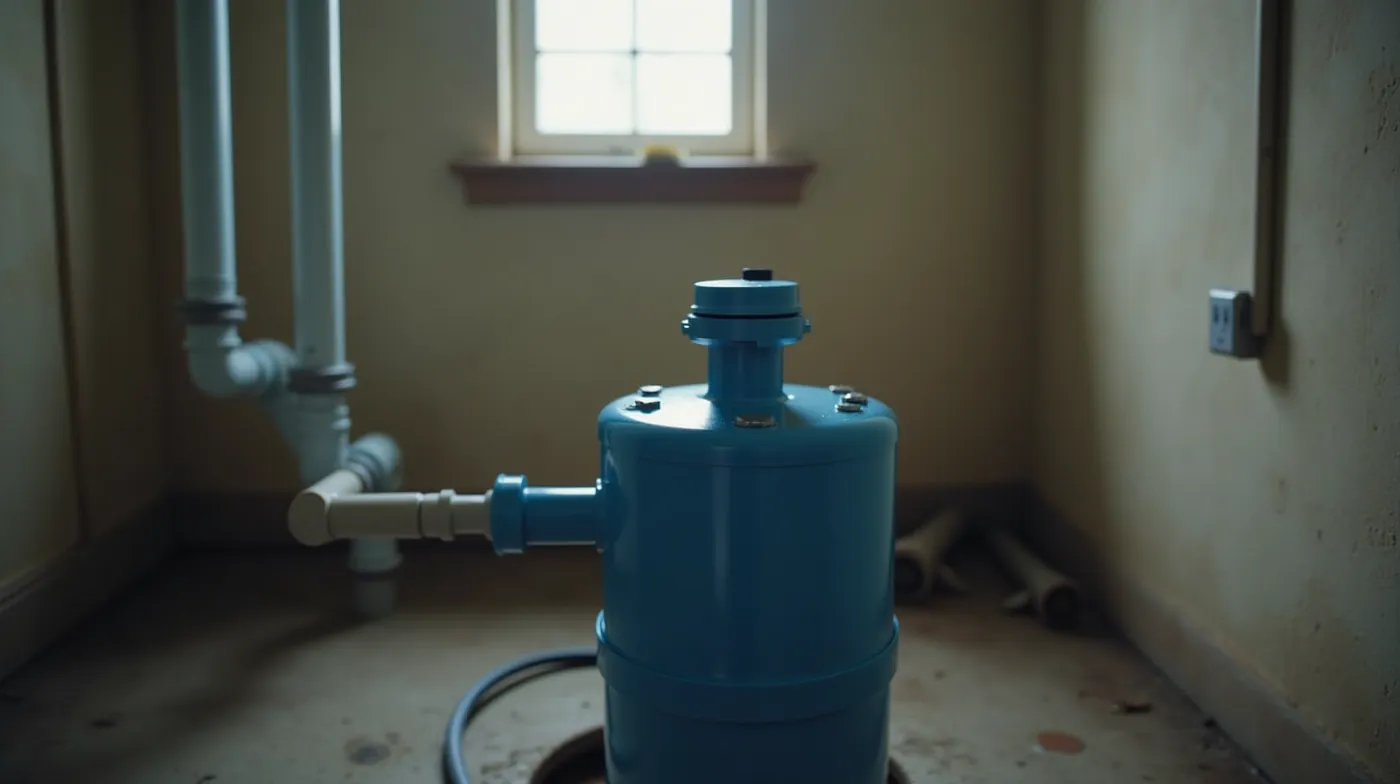
What Priming a Well Pump Actually Means
A well pump cannot pull water through air. It can only move a liquid that is already in contact with the impeller. “Priming” is the act of replacing the air in the pump and the suction line with water so that, when the pump starts, there is a full column of water for it to move. Until that happens, the pump spins against air, builds no pressure, and either trips its overload or simply runs dry.
This is why the two main families of well pumps behave so differently. A submersible pump is lowered into the well and sits in the water, so it is always surrounded by the liquid it moves and does not need to be primed the way an above-ground unit does. An above-ground jet or shallow-well pump sits in your basement or well house, and the only water it can reach is pulled up the suction line from the well. If that line is empty or full of air, the pump has nothing to move. In more than a decade of servicing these systems, the single most frequent “dead pump” call I get turns out to be a pump that simply lost its water, not a pump that is broken.
Priming is also different from precharging. Precharging is the air pressure you set in the pressure tank before it holds water. Priming is the water in the pump and the line. The two work together, and confusing them is a common source of frustration, so I cover each in its own section below.
Why a Well Pump Loses Prime
Before you reach for the hose, it helps to know why the pump lost its water in the first place, because the fix is often the same and it stops the problem from returning. From the service calls I have worked, these are the nine causes I see most often, roughly in order of frequency:
- A worn foot valve. The foot valve at the bottom of the suction line is supposed to let water in but not out. When its internal seal wears, water leaks back into the well every time the pump stops, and the line slowly empties.
- A cracked or leaking suction line. A hairline crack in the PVC or a loose fitting lets air in from above, and the water column collapses.
- A leaking check valve. The check valve at the top of the line or at the pump inlet backs air and water down the line when the pump shuts off.
- A dry or low well. During a drought or after heavy pumping, the static water level can drop below the pump, so there is simply no water to pull.
- An air leak at the pump-to-pipe connection. A loose union, a failed gasket, or a missing thread seal lets air in right where it does the most damage.
- A leaking primer pot or plug. On many shallow-well pumps the primer plug is the weakest point, and a weeping plug slowly drains the casing.
- A clogged or collapsed well. Sand or a settling of the screen can choke the intake so the pump can no longer pull water.
- A waterlogged pressure tank. When the tank loses its air charge it fills with water, and the system loses the cushion that keeps pressure stable, which reads like a priming problem.
- A pump installed above the static water level. No pump can lift water higher than its suction limit (roughly 25 to 28 feet for a jet pump). If the water sits deeper than that, the pump will never prime on its own.
Identifying which of these you have takes only a few minutes and saves you from re-priming the same pump every week. I cover the diagnostic steps in the troubleshooting section below.
Tools and Parts You Will Need
For a typical above-ground jet or shallow-well pump, you will need very little. Most of these items are already in a garage, and the rest are inexpensive. I have listed the exact parts I recommend and where to find them, so you can grab everything in one trip.
- A garden hose that reaches the pump primer port or the overflow on the suction line.
- A bucket to catch the overflow and to hand-fill the primer port if there is no hose access.
- A tape measure and a well water level measuring tape to confirm where the water is sitting.
- A thread seal tape or PTFE sealant to reseal any fitting you touch.
- A brass foot valve sized to your suction line, in case the old one is the leak.
- A swing check valve for the top of the suction line, if yours is missing or leaking.
- A well pressure gauge to confirm the system builds and holds pressure after you prime.
- A well pressure switch is only needed if yours is already faulty, not for priming itself.
Safety First
Turn the pump off at the breaker before you open any fitting or touch the primer port. A pump that is mid-start while you are holding a hose in the primer port will spray water under pressure and can startle you badly. If you are replacing the foot valve, the well casing top should be open and you should have a way to lower and raise the line. If the foot valve is more than 25 feet down and you are not comfortable with a hand pump, that is a job to hand to a driller, not a risk to take blind.
How to Prime a Jet (Shallow Well) Pump
This is the most common priming job, and the one that takes the least effort if the foot valve still holds. Here is the exact sequence I use on site. Follow it top to bottom and the pump will be delivering water within a few minutes.
- Turn the pump off at the breaker. This keeps you safe and keeps the pressure switch from fighting you while you work.
- Close the gate valve on the pressure line if your system has one, so water does not drain into the house plumbing.
- Remove the primer port cap on top of the pump. On a single-stage jet pump this is a threaded plug or a small cap directly above the impeller. On a two-stage pump it is on the low-stage casing.
- Attach the garden hose to the primer port, or run a bucket of water into it. Fill until clean water starts to come out of the port with no air bubbles. This is the point at which the casing is full of water.
- Replace the primer cap and tighten it snugly. If the cap is the source of a leak, replace the rubber gasket under it before you close it.
- Open the gate valve on the pressure line so the system is open.
- Turn the breaker back on. Let the pump run. The first few seconds will still push air out of the pressure gauge and any open faucet. Keep a faucet open on the high side of the house until the stream runs clear and steady.
- Watch the pressure gauge. The pump should ramp up to its cut-out pressure (often 40 to 60 psi for a residential system) and then stop. If it reaches pressure and holds, you have primed it successfully.
- Check for leaks at every fitting you touched. A weep at the pump inlet is an air leak waiting to happen and will un-prime the system within a day or two.
If the pump hums but does not build pressure after the casing is full, the water is not in the suction line. That means the foot valve is not holding, the line is leaking, or the well is lower than the pump can reach. That is the next section.
How to Prime a Submersible Well Pump
A submersible pump is installed in the well below the static water level, so in normal operation it never needs to be “primed” the way an above-ground unit does. The pump is already sitting in water. However, a submersible system can still appear to lose prime in a few specific situations, and each one has its own fix:
- The well dropped below the pump. In a drought or after heavy pumping the water level can fall under the pump intake. The fix is to confirm the actual water level with a well water level measuring tape. If the water is now below the pump, the pump needs to be lowered, or in a temporary emergency you can run a small transfer pump to bring the water level back up around the intake.
- There is air in the discharge line above the pump. After a long shutdown or a repair, air can collect in the vertical discharge line. Open the highest faucet in the house and let the pump run until the stream is clear. This is called “venting” the line, and it is the submersible equivalent of priming.
- The pump was installed above the water. If a well was recently re-drilled and the pump was set too high, it is now effectively an above-ground pump and will cavitate. Lower it below the static water level.
Pro Tip
Before you assume a submersible pump is “dead,” always check the water level first. I have pulled more than a few perfectly good submersibles that were simply sitting dry because the water table dropped for the summer. Measure the level before you spend a dime on a new pump. It costs nothing and takes five minutes.
How to Prime a Transfer Pump
A transfer pump is used to move water between the well and the house when the main pump is being serviced, or to recover a well that has dropped. It is essentially a small centrifugal pump, and it primes the same way a jet pump does: you must fill the pump casing with water before it will move any. The steps are nearly identical to the jet pump procedure above, with one difference: a transfer pump is often used as a temporary solution, so you will want to confirm the foot valve on the suction side is holding before you rely on it for more than a day or two. If it is a dedicated transfer pump with its own check valve, fill the casing through the priming port until water runs clear, then start the pump and vent the discharge line at the highest faucet.
Priming by Pump Type: Quick Comparison
Here is a quick reference for the three main pump families so you know which procedure applies to your system. The biggest difference is whether the pump is sitting in water to begin with, because that changes everything about the job.
| Pump Type | Does It Need Priming? | How You Prime It | Most Common Loss-of-Prime Cause |
|---|---|---|---|
| Jet / shallow-well pump (above ground) | Yes, often | Fill the casing through the primer port with a hose or bucket, then vent at the top faucet | Worn foot valve letting water drain back into the well |
| Submersible pump (in the well) | No, in normal operation | Vent the discharge line at the top faucet; confirm the water level is above the intake | Well dropped below the pump during a drought |
| Transfer pump | Yes, each setup | Fill the casing through the priming port until water runs clear, then vent the discharge line | Air leak at the suction-side check valve |
Based on standard residential well pump configurations and manufacturer installation literature for jet, submersible, and transfer pump systems.
When a Pump Will Not Prime: Troubleshooting
If you fill the casing and the pump still will not build pressure, work through this list in order. Each step isolates one of the causes from the list above, and by the time you reach the bottom you will know exactly what is wrong.
- Confirm the pump is actually getting power. Check the breaker and the pressure switch. A pump that is not turning has a different problem than a priming problem.
- Check the water level in the well. Use a well water level measuring tape. If the water is below the pump or below the foot valve, there is nothing to pull. This is the first thing I verify, and the most commonly missed.
- Test the foot valve for leaks. After you prime the system and the pump stops, wait ten to fifteen minutes and check the pressure gauge. If the pressure drops noticeably, the foot valve (or the check valve at the top of the line) is not holding. Replace the brass foot valve and the swing check valve, and re-prime.
- Inspect the suction line and the pump inlet for air leaks. Tighten every union, replace any cracked fitting, and apply thread seal tape. A single weep at the pump inlet is enough to un-prime the system overnight.
- Confirm the pressure tank air charge. If the tank has waterlogged, the system will short-cycle and read like a priming problem even when the pump is full. Precharge the tank to the correct setting; the full procedure is in the pressure tank precharge guide linked below.
- Rule out an air lock in the discharge line. Open the highest faucet and let the pump run until the stream is clear and steady. A trapped pocket of air can keep pressure from building even with a full casing.
- Verify the suction depth is within the pump limit. A jet pump cannot lift more than about 25 to 28 feet. If the water is deeper than that, no amount of priming will help, and you need a deeper well or a different pump configuration. The sizing guide linked in the See Also section covers how to match a pump to your well depth.
In practice, steps 2, 3, and 4 cover the large majority of “my pump will not prime” calls I receive. The water is too low, the foot valve is leaking, or there is an air leak at a fitting. Fix that one thing and the pump primes on the first try.
How to Keep Your Pump Primed
Re-priming a pump every month is a symptom, not a solution. The goal is to make losing prime a rare event. These are the steps I recommend to every well owner, and they take under an hour a year in total.
- Inspect the foot valve and check valve annually. If the system takes longer to build pressure after a long shutdown than it did when new, the foot valve is starting to leak. Replace it before it fails completely.
- Keep the primer cap and gasket tight and sealed. A weeping primer port is the most common silent leak. Check it every time you look at the pump.
- Seal every suction-line fitting. Re-apply thread seal tape to any union you have opened, and look for weeps on a dry day when the pump is not running.
- Keep the well from running dry. If your area is prone to low water tables, limit how long you run the pump on a full cycle and consider a low-water cutoff so the pump is not left hunting for water.
- Maintain the pressure tank air charge. A waterlogged tank makes a healthy system behave like a broken one. Check and precharge the pressure tank at least once a year.
- Use the right pump for your well depth. If you are always re-priming because the water sits near the bottom of the suction limit, the pump is simply out of its comfort zone. The sizing guide linked below shows how to match a pump to your static water level and flow needs.
See Also
🔹 How to Size a Well Pump: Complete 2026 Guide
🔹 How to Measure Well Water Level: Complete DIY Guide 2026
🔹 How to Precharge a Well Pressure Tank (2026 Step-by-Step Guide)
Frequently Asked Questions
How do I prime a well pump?
Turn the pump off at the breaker, open the primer port on top of an above-ground jet or shallow-well pump, and fill the casing with water using a garden hose or a bucket until clean water with no air bubbles runs out. Replace the cap, open the house-side valve, turn the power back on, and let the pump run with the top faucet open until the stream runs clear and the gauge reaches cut-out pressure. A submersible pump does not need this; you simply vent its discharge line at the highest faucet.
Why does my well pump lose prime so often?
The most common causes are a worn foot valve that lets water drain back into the well, an air leak at a suction-line fitting or the pump inlet, and a leaking check valve. In dry periods the water level can also drop below the pump. Identify the cause with the troubleshooting steps above, and the re-priming will stop.
Do submersible well pumps need to be primed?
No. A submersible pump is installed below the static water level, so it is always surrounded by water. If one appears to lose prime, the water has dropped below the intake, or there is trapped air in the discharge line that needs to be vented at the top faucet.
How much water do I need to prime a jet pump?
Usually just enough to fill the pump casing, which is a few gallons for a typical residential unit. You do not need to fill the whole suction line by hand; once the casing is full and the foot valve is holding, the pump will pull the rest of the water up the line on its own.
My pump hums but will not build pressure. What do I do?
First confirm the water level is actually above the pump, then check the foot valve and check valve for leaks, and inspect the suction line and pump inlet for air leaks. If those are all sound and the water is deeper than about 25 to 28 feet, the pump is beyond its suction limit and the system needs to be redesigned.
The Bottom Line
Priming a well pump is one of the most straightforward repairs in well maintenance, and it is the one that most often turns out to be the whole problem. Fill the casing of an above-ground jet or shallow-well pump, vent the line, and confirm the foot valve is holding. For a submersible, check the water level and vent the discharge line. In either case, if the pump keeps losing prime, the answer is almost always a worn foot valve, an air leak at a fitting, or a water level that has dropped. Find and fix that one thing and your pump will stay primed for the life of the system, not just for the next few days. If you are not confident working around the suction line or the foot valve, that is a reasonable point to call a well contractor, but for most owners the fix is well within reach of a weekend afternoon and a garden hose.
#WellPump #Priming #ShallowWell #JetPump #SubmersiblePump #FootValve #CheckValve #WellMaintenance #WellOwner #WaterPressure #PrivateWell #WellCare #DIYWell #WellTroubleshooting #WellWater
Sources
- Manufacturer installation and operation manuals for residential jet, submersible, and transfer pump systems.
- State well-driller licensing guidance on suction limits and foot valve requirements for shallow wells.
- Field service records from residential well pump installations and repairs, 2015 to 2026.