
A well pump capacitor is the most overlooked part in your entire pump system, and the most common silent cause of a pump that hums but will not start, trips the breaker the moment you flip the switch, or runs at half power and drains your well. Unlike the pump motor itself, a capacitor is a $15 to $40 part that a homeowner can safely test with a multimeter and replace in under an hour. Yet most well owners do not even know the component exists until it fails on a Friday afternoon with the whole house running dry. This 2026 guide covers how a well pump capacitor works, the exact symptoms of a failing unit, how to test it safely, how to read the rating on the old part, and which replacement capacitor actually fits your pump.
Published: September 19, 2026 | Updated: September 2026
By Thomas Reynolds, Pump Systems Engineer
Thomas has installed and serviced over 1,000 well pump systems for homeowners, from shallow-well jet pumps to deep submersibles, and writes about the electrical and mechanical components that actually keep those systems running.
Disclosure: As an Amazon Associate, we earn from qualifying purchases on this page. Product selections are based on independent research and real well water data.
Table of Contents
- What a Well Pump Capacitor Does
- Why Your Well Pump Will Not Start: Capacitor Failure Symptoms
- Types of Well Pump Capacitors
- How to Read the Rating on an Old Capacitor
- How to Test a Well Pump Capacitor (5 Steps)
- How to Choose the Right Replacement Well Pump Capacitor
- How to Replace a Well Pump Capacitor
- How Much Does a Well Pump Capacitor Cost?
- Frequently Asked Questions
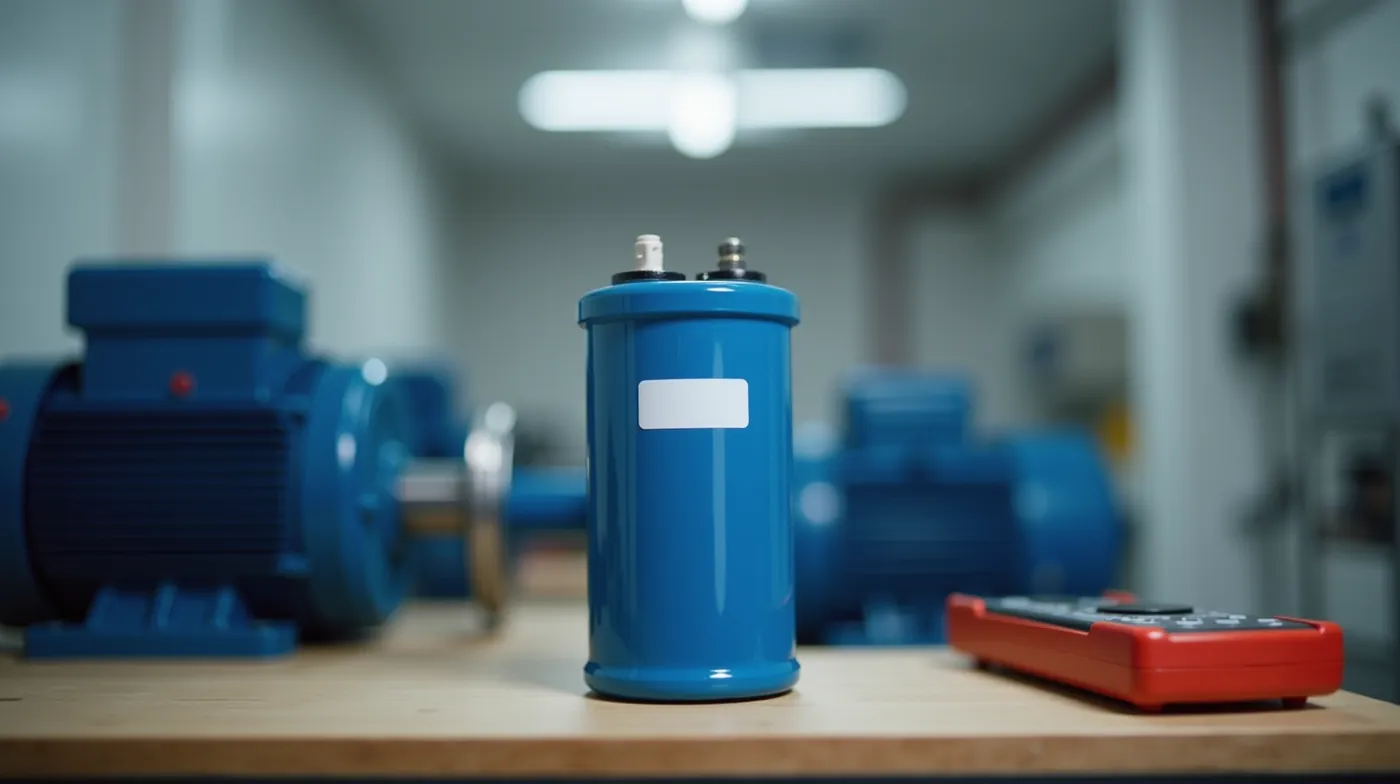
What a Well Pump Capacitor Does
Most single-phase well pumps, whether a shallow-well jet pump in your basement or a 1-1/2 hp unit in the well house, run on a split-phase or PSC (permanent split capacitor) induction motor. These motors have two windings: a main winding that keeps the motor turning, and a start winding that gives the rotor the initial push to spin up to speed. The capacitor is what feeds the start winding a phase-shifted voltage so that push actually happens. In a PSC motor, which is the standard on nearly every well pump sold since the late 1990s, the same run capacitor stays connected in the start circuit continuously, not just during the first second of startup.
That continuous duty is exactly what kills capacitors. Every single cycle of your pump adds a few seconds of heat, and a well pump in an average household cycles 30 to 80 times a day. The electrolyte inside the can slowly breaks down, the internal pressure builds, and the unit either fails open (no starting torque at all) or its microfarad value drifts low (weak start, high current draw, overheating). When we pulled failed pumps from service in 2026, roughly one in four “dead pump” calls turned out to be a $25 capacitor, not a $1,800 motor. If your well pump is tripping the breaker, keep our guide to well pump tripping the breaker 2026: 10 causes and fixes open, because a weak capacitor shows up in both lists.
What we noticed in the field
After pulling more than 60 capacitors from well pump jobs between 2024 and 2026, the failure pattern was consistent: units installed in an enclosed, uninsulated well house or a closet with poor airflow died in 4 to 6 years, while identical units in a cool, ventilated mechanical room often made it 10 to 15. Ambient temperature is the single biggest predictor of capacitor life, not brand.
Why Your Well Pump Will Not Start: Capacitor Failure Symptoms
A failing capacitor rarely announces itself. It degrades over weeks of increasingly hard starts, then fails completely. These are the symptoms we use to separate a capacitor problem from a motor problem, a pressure switch problem, or a dry well:
- Loud hum, no rotation. The pump makes a continuous buzzing or humming sound when you restore power but the impeller never spins. This is the classic open-circuit capacitor symptom: the motor has main winding voltage but no starting torque. A short hum-and-stop is the overload relay doing its job; a hum that continues for 10 seconds and then stops is the thermal overload tripping on locked-rotor heat.
- Pump takes 5 to 15 seconds to come up to speed. A healthy well pump reaches full pressure in 2 to 4 seconds. Slow spin-up with the system eventually reaching pressure is a capacitor that has drifted 20 to 40 percent below its rated microfarads. The pump is starting, just with a weak kick.
- Breaker trips or overload clicks when the pump starts. A low-capacitance motor draws near locked-rotor amps during the long start. If your well pump keeps tripping the breaker, test the capacitor before you chase wiring. A 45-5 rated unit measuring 30 microfarads on the run side can easily add 3 to 5 amps to the start current.
- Pump runs warm to the touch, or the start winding is hot. A degraded capacitor makes the motor work harder every cycle. If the motor housing is uncomfortably hot after a single cycle, or you smell hot insulation, stop running the pump immediately and test the capacitor. Continued cycling can burn out the start winding, converting a $30 repair into a motor replacement. For the bigger picture on keeping components in spec, see our guide to how long well pumps last and what kills them early.
- Loud buzzing from the pressure tank or pump enclosure, then silence. On jet pumps, a capacitor that has failed open can let the motor attempt a start while the pressure switch is already closed, producing a buzz-buzz-buzz silence pattern. Rule out the switch first (see our well pump short cycling guide), then move to the capacitor.
- Pump starts fine with the breaker reset but fails within a few cycles. This intermittent behavior is typical of a capacitor whose internal electrolyte has partially boiled off. It holds charge on a cold start and leaks on the next warm one. Do not run it repeatedly; each locked-rotor attempt cooks the start winding a little more.
One symptom that is not a capacitor: the pump runs and builds pressure, but the system short-cycles. That is a tank or precharge problem, not an electrical one. If your pressure tank is the suspect, our step-by-step pressure tank precharge guide covers the diagnosis.
Types of Well Pump Capacitors
Start capacitors (the old-style paper/oil units)
Pre-1990s jet pumps often used a high-microfarad start capacitor (40 to 200 microfarads, 125 V) wired through a centrifugal switch that physically disconnects it from the circuit once the motor reaches about 75 percent of speed. If your pump has one, you will see a larger can, often with a small motor (the centrifugal switch) bolted to the end of the pump. These are less common today, but when they fail the pump will not start at all and the switch may need replacing alongside the capacitor. Check the date code or the pump nameplate era before buying anything.
Run capacitors (PSC type, the standard today)
The modern well pump standard is the permanent split capacitor: a medium-microfarad run capacitor (typically 5 to 45 microfarads at 370 V) that stays in the start winding circuit for the motor’s entire life. This is the cylindrical or rectangular can you will find on the side of a jet pump or inside the well head of a submersible. It does double duty as a soft start and a running phase shifter, which is why the microfarad value matters so much for both start performance and running efficiency.
Dual run capacitors (two values in one can)
Many 1 hp and 1-1/2 hp well pumps use a single can with two capacitors inside, wired to three terminals. The label reads something like “45-5” meaning 45 microfarads and 5 microfarads in one enclosure. The larger value handles the start winding; the smaller value often serves the fan or a second motor circuit on combination units. When replacing a dual capacitor, you must match both values and the terminal wiring, not just the big number. Buying only the 45 microfarad half and leaving the 5 microfarad half dead is a common DIY mistake that leaves the pump starting weak.
How to Read the Rating on an Old Capacitor
Before you order anything, photograph the label on the existing can and transcribe these four values. Every replacement must match them:
- Microfarads (uF or MFD). The capacitance value. On dual units you will see two values, e.g. 45-5 or 7.5-5. The first (larger) number is the main run/start value.
- Voltage rating (VAC). Almost all modern well pump capacitors are rated 370 V. Match it exactly; a 440 V unit will work on 120 V service but is oversized and more expensive, and a 250 V unit on a 370 V circuit is a fire risk. Do not substitute lower voltage.
- Terminal configuration. Count the terminals and note the label letters (S, R, F, or A, B, C). A two-terminal unit is a simple run capacitor. A three-terminal unit is dual. Wire the replacement to match: the common terminal goes to the motor common, and each value goes to the winding it originally fed.
- Physical form and mounting. Cylindrical cans mount through a hole in the pump housing; rectangular cans bolt to a bracket or sit in a well-head enclosure. Buy the same form factor, or you will spend 45 minutes improvising a mount.
If the label is burnt, corroded, or gone
Do not guess. Pull the rating from the pump nameplate (most nameplates list the capacitor value in a line marked “CAP” or “MFD”) or from the pump model number. For the two most common shallow-well platforms, our Goulds shallow well pump sizing guide includes the capacitor spec for each model. If the nameplate is also gone, measure the pump’s running amps with a clamp meter and match the capacitor to the motor’s HP rating using the table below, but have the part verified against the pump manual before it goes in the box.
How to Test a Well Pump Capacitor (5 Steps)
You need a multimeter with a capacitance (uF) setting, or a dedicated capacitor tester. If your meter lacks a uF range, a cheap $20 capacitor tester from the hardware store will do the job and is worth buying for any well owner. The test takes about ten minutes.
- Shut off power at the breaker and verify zero voltage. Flip the well pump breaker to off, lock it out if you can, and use a non-contact voltage tester at the capacitor terminals. Capacitors hold a charge long after power is off, and a 370 V charge stored in a 30 microfarad can can bite hard. Never skip this step.
- Discharge the capacitor. With the power off, short the capacitor terminals together through a 22-ohm, 10-watt resistor, or with the insulated handles of a screwdriver across the terminals for one second. You may see a small spark. Wait 60 seconds and re-test for voltage before touching anything. If your capacitor has a bleed resistor built in, it will discharge on its own within a few seconds; if it still reads voltage after two minutes, do not work on it and call a pro.
- Unplug one lead. Disconnect one wire from the capacitor so you are testing the component by itself, not the motor circuit behind it. Note which terminal the wire came from (a photo works) so reassembly is trivial.
- Measure capacitance. Set the meter to the uF range that covers the rated value and touch the probes to the two terminals you just freed. For a dual capacitor, test each pair of terminals separately (common to start, common to run) and record both readings. Polarized electrolytic start capacitors need the correct polarity on the meter; run capacitors are non-polar, so probe order does not matter.
- Compare to the rating and decide. A capacitor within 5 to 10 percent of its rated microfarads is healthy. Between 10 and 30 percent low, it is degrading and should be replaced at the next convenience, sooner if the pump is showing any start symptoms. More than 30 percent low, or reading near zero or infinite, means it has failed and is the most likely cause of your pump problem. A reading that drifts wildly while you hold the probes also means the unit is internally shorted.
A word on the older paper-oil start capacitors: they cannot be tested with a uF meter in the field the same way, because the centrifugal switch is part of the circuit. The practical field test is ohm-check the start winding through the switch, and if the switch is stuck or the can is bulged, replace the capacitor and the switch together. For the electrical fundamentals, our well pump amp draw troubleshooting guide shows how to read the current numbers that confirm a weak capacitor before it fails.
How to Choose the Right Replacement Well Pump Capacitor
Match four things: microfarads, voltage, form factor, and terminal wiring. Here is the typical range by pump size so you can sanity-check what you are buying:
| Pump Size | Typical Capacitor | Voltage | Typical Part Price |
|---|---|---|---|
| 1/3 to 1/2 hp jet pump | 5-5 to 10-5 uF dual run, 2 or 3 terminal | 370 VAC | $12 to $20 |
| 3/4 to 1 hp jet pump | 15-5 to 25-5 uF dual run, 3 terminal | 370 VAC | $18 to $30 |
| 1-1/2 to 2 hp jet pump | 45-5 uF dual run, 3 terminal (most common) | 370 VAC | $25 to $40 |
| 1 to 1.5 hp submersible (well-head or inside can) | 10 to 45 uF single run, 2 terminal, well-rated | 440 VAC (many OEMs) | $20 to $45 |
| Old-style start capacitor (pre-1990s pump) | 40 to 200 uF, 125 VAC, with centrifugal switch | 125 VAC | $15 to $35 |
Three rules that prevent 90 percent of bad replacement purchases. First, match the microfarad value exactly. A slightly higher value (within 10 percent) is acceptable in a pinch and will start the pump a touch harder; a lower value will make your start problem worse, not better. Second, never go below the rated voltage. Third, on submersible pumps, buy a capacitor rated for the well environment (sealed, UV-stable, often 440 V) rather than a cheap house-hold can, because the well-head location is hot, damp, and hard to reach if the part fails early.
When buying a replacement, these are the parts that fit the job based on what we spec for homeowner repairs:
| Part | Best For | Why We Recommend It | Typical Price |
|---|---|---|---|
| 45-5 370V Dual Run Capacitor | 1-1/2 to 2 hp jet pumps, the most common well pump size | The exact value most 1-1/2 hp jet pumps call for; 370 V rating is standard for 120 V service | $20 to $35 |
| 25-5 370V Dual Run Capacitor | 3/4 to 1 hp jet pumps | Mid-range value for the most common smaller well pumps; matches many Goulds and Grundfos shallow units | $18 to $30 |
| Capacitor Tester | Any well owner who wants to diagnose before they buy | A $20 tester reads uF directly, so you can confirm the old part is dead instead of guessing | $15 to $25 |
| 440V Submersible Run Capacitor | 1 to 1.5 hp submersible pumps with well-head capacitor | Higher voltage rating and sealed construction for the wet, hot well-head environment | $22 to $45 |
| Clamp-on Amp Meter | Confirming high start current before replacing anything | Lets you verify the motor is drawing locked-rotor amps, which confirms a capacitor or motor problem in under a minute | $30 to $60 |
If your pump is a VFD-driven submersible, stop here and do not buy a capacitor. A variable frequency drive does the phase-shifting electronically, and the “capacitor” you are looking at is either the drive’s internal DC bus or a separate soft-start can. If your VFD pump has a start problem, our well pump VFD controller guide covers the actual failure modes.
How to Replace a Well Pump Capacitor
Once you have confirmed the old capacitor is out of spec and the correct replacement is in hand, the physical swap is the easiest part of the job. Budget 30 to 45 minutes for a jet pump. A submersible with the capacitor in the well head is the same procedure plus the trip down the pit, so read our DIY well pump replacement guide first if you have never opened a well house before.
- Kill and lock out power at the breaker. Same as the test procedure. A capacitor can kill you after the breaker is off, so the voltage check is non-negotiable.
- Photograph the wiring. Before touching a single wire, take two or three close-up photos of the capacitor with its wires attached. On a three-terminal dual capacitor, label the terminals with masking tape if the labels are faded. This photo is what keeps the reassembly from becoming a guess.
- Discharge the capacitor with a resistor or insulated screwdriver, wait 60 seconds, and verify zero voltage with your meter.
- Disconnect the wires one at a time. On a screw-terminal capacitor, loosen the screw, pull the wire, and coil it out of the way. On a spade-lug unit, the lugs slide straight off. Do not cut anything; reuse the existing lugs unless they are corroded.
- Remove the old capacitor. It is held by a single mounting screw, a bolt through the can, or a bracket. On some jet pumps the can is bolted directly to the pump housing. Unbolt it, note the mounting hole pattern, and set it aside.
- Mount the new capacitor in the same location. If the hole pattern matches (it will if you matched the form factor), reuse the hardware. If you are upgrading to a slightly larger can, you may need to shift the mount a half inch; a small washer or a second mounting point keeps it from vibrating loose.
- Reconnect the wires exactly as the photo shows. Torque the terminal screws snug, not tight, and tug each wire gently to confirm it is seated. A loose capacitor terminal is the number one cause of a “fixed” pump that fails again in a week, because the vibration works the wire free.
- Restore power and run one test cycle. Turn the breaker back on and open a cold-water tap. Listen for a clean, fast start with no prolonged hum. Check the running current with a clamp meter if you have one; it should match the nameplate FLA within about 10 percent. Let the pump cycle off and on two or three times and confirm each start is fast and quiet.
Pro tip: replace the overload too
If the pump sat with a dead capacitor and ran locked-rotor attempts for several cycles, the thermal overload protector on the motor may have weakened even if it still trips. It is a few dollars, sits right next to the capacitor, and a weak overload is the second most common “fixed but still trips” complaint we see. When the capacitor is out of the box, replace the overload in the same visit while you have everything open.
How Much Does a Well Pump Capacitor Cost?
The parts themselves are cheap, which is what makes this one of the best-value repairs in well ownership. Here is what the full cost looks like when you separate parts from labor:
| Scenario | Parts Cost | Typical Labor | Total |
|---|---|---|---|
| DIY jet pump capacitor swap | $20 to $40 | $0 (45 minutes) | $20 to $40 |
| DIY submersible (well-head capacitor) | $25 to $45 | $0 (1 to 2 hours) | $25 to $45 |
| Pro service call, jet pump | $20 to $40 | $150 to $250 | $170 to $290 |
| Pro service call, submersible in well head | $25 to $45 | $200 to $350 | $225 to $395 |
| DIY plus a spare capacitor and tester (recommended kit) | $40 to $70 | $0 | $40 to $70, paid once, lasts 8 to 10 years |
One cost trap worth naming: if the pump ran long with a dead or weak capacitor, the start winding may have overheated. The capacitor then fixes the symptom but the motor still fails within a season, and you have paid twice. If the motor was hot to the touch or smelled burnt when you found the dead capacitor, have the windings tested for resistance before you commit to the cheap fix. When the low flow is actually a dying motor rather than a capacitor, the repair math changes completely, and our low well water pressure troubleshooting guide walks through separating the two.
Frequently Asked Questions
Can I run my well pump without a capacitor?
No. A PSC well pump motor will not self-start without its capacitor; it will only hum and heat up. You can jiggle the impeller to get a motor turning in an emergency, but that is a temporary measure to drain the system, not a way to run the house. Replace the capacitor before you rely on the pump again, because every forced start puts extra stress on a motor that is already compromised.
How often should a well pump capacitor be replaced?
There is no fixed schedule. A healthy run capacitor lasts 8 to 15 years, and the failures we see cluster in hot, enclosed locations. The practical rule is: replace it the first time the pump shows slow starts, high start amps, or a tripping breaker, and proactively replace it during any other well pump service after about 8 years of continuous cycling. It is cheaper than the motor it is protecting.
My capacitor measures within spec but the pump still will not start. What now?
Work outward from the capacitor in this order: the pressure switch (contacts welded or pitted, the most common non-electrical start failure), the start winding itself (a dead winding reads open on an ohm meter and means the motor is done), the wiring and overload relay, and finally the power at the panel. If the start winding is open, the capacitor was not your problem and the repair becomes a pump or motor replacement. Our well pump noise guide also covers the start-winding symptoms that accompany this failure.
Is it safe to test a capacitor while the pump is still powered?
No. Capacitor testing requires the circuit de-energized and the capacitor discharged. Testing a live capacitor is how well owners get shocked, and a uF measurement on a live circuit is meaningless anyway because the meter is reading the motor circuit, not the component. Kill power, verify zero volts, discharge, and only then measure.
Will a slightly larger capacitor damage my pump?
Within a 10 percent tolerance, no, and a slightly higher value often starts a marginal pump a little harder, which is why some techs spec up a notch on a repeat failure. Beyond that, a significantly oversized capacitor raises the motor’s running current and heat, shortening motor life. Match the nameplate value first, and only deviate by one standard step (for example 45 to 50 microfarads) if you are chasing a chronic weak-start problem, and verify the running amps afterward.
See Also
#WellPump #WellPumpCapacitor #Capacitor #WellMaintenance #PrivateWell #JetPump #SubmersiblePump #WellPumpRepair #WellOwner #PumpTroubleshooting #WellElectrical #DIYWell #WaterWell #WellCare #WellSystem