
Disinfecting a well is one of the most common – and most misunderstood – tasks a private well owner will face. If your water test came back positive for coliform bacteria or E. coli, if you just had the pump, pressure switch or a section of casing repaired, or if a heavy storm sent surface runoff toward your wellhead, you need to kill the bacteria already sitting in the water column and on the inside of your casing. The standard fix is shock chlorination – what most people call “chlorinating a well” – and done properly it takes one afternoon of work plus a day of waiting.
In this guide we walk through the complete process for 2026: how to calculate the exact bleach dose for your well diameter, the step-by-step chlorination method, how to verify it worked with a lab retest, and what to do when the water still fails. The dosing figures below come from U.S. EPA private well guidance and match what drilling contractors use on residential wells in the field, so you are not guessing with your family’s water supply.
By Lisa Martinez, Water Quality Specialist
Lisa holds a degree in Environmental Science and specializes in private well water safety and treatment. She has helped hundreds of homeowners interpret water quality reports and design treatment systems for private wells.
Disclosure: As an Amazon Associate, we earn from qualifying purchases on this page. Product selections are based on independent research and real well water data.
Last updated: October 16, 2026
Table of Contents
- When Do You Need to Disinfect a Well?
- What You Will Need: Chemicals, Tools and Safety Gear
- How Much Chlorine to Use? Dosing by Well Diameter
- How to Disinfect a Well: The 7-Step Method
- How to Test the Water After Disinfection
- How to Flush and Remove the Chlorine
- How Often Should You Disinfect a Well?
- Shock Disinfection vs Continuous Chlorination
- When to Call a Professional
- FAQ: How to Disinfect a Well
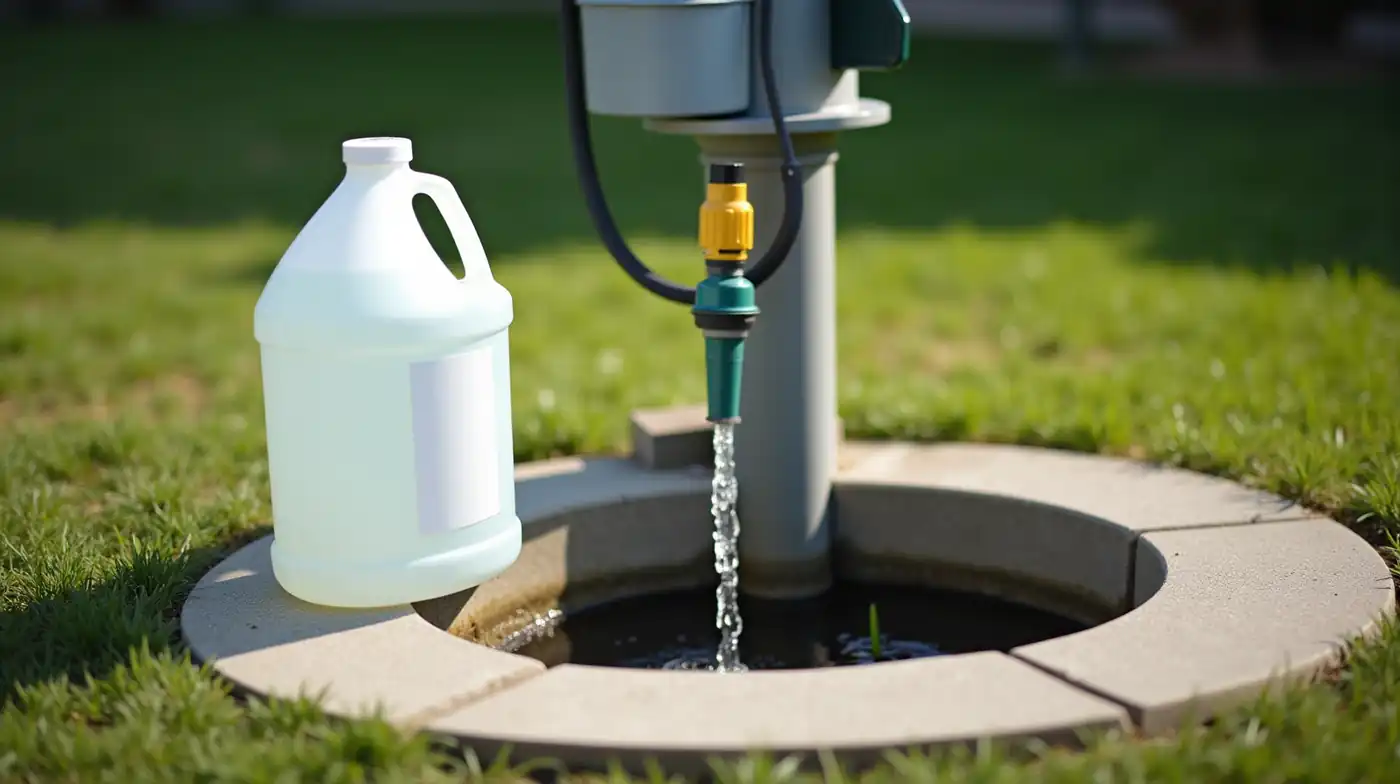
When Do You Need to Disinfect a Well?
A well does not need to be disinfected on a fixed schedule the way a pressure tank bladder needs checking. You disinfect it in response to a specific event. Based on the water quality reports we review, these are the five situations that call for shock chlorination:
- Positive bacteria test. Coliform or E. coli on a routine or state-required test. This is the most common reason, and the one to treat as urgent.
- After pump or well repair. Any work inside the well, on the pump, or on the pressure system opens the water column to the outside.
- New well or after deepening. A newly drilled well should be disinfected before first use to clear bacteria introduced during construction.
- Surface contamination events. Heavy rain, flooding, or a failing septic system that drained toward the wellhead.
- Long period of inactivity. A well that sat unused for several months can develop biofilm on the casing walls.
What the EPA Says
The U.S. EPA recommends disinfecting a private well whenever a water test detects coliform bacteria or E. coli, and it lists shock chlorination as the standard home treatment method. The agency’s guidance page, How To Disinfect A Private Well, is the source for the dosing figures used throughout this guide.
Act Fast on E. coli
If your report shows E. coli (not just generic coliform), treat the water as unsafe until a retest comes back negative. Boil the water or use bottled water for drinking in the meantime – E. coli indicates recent surface contamination and can cause serious illness, especially in young children, pregnant women, and elderly household members.
What You Will Need: Chemicals, Tools and Safety Gear
Disinfecting a well is a low-cost project if you do it yourself. The entire materials list below usually runs under $100. Everything ships from Amazon or a local hardware store – the main expense is the time you spend circulating the water.
| Item | Why You Need It | Typical Cost |
|---|---|---|
| Unscented household chlorine bleach (6-8.25%) | The disinfectant. Use plain, unscented bleach only – no “fresh spruce” or added fragrance. | $4-8 per gallon |
| Well water test kit (coliform/E. coli) | To retest after flushing and confirm the disinfection worked. | $20-50 |
| Chlorine test strips | To verify 1-2 ppm free chlorine at the tap after circulation, and to confirm the flush. | $8-15 |
| Nitrile gloves | Skin protection when handling full-strength bleach solution. | $10-15 |
| Chlorine feeder / injection system (optional) | Handy for the injection step on deep wells, and the core of a continuous chlorination setup. | $40-90 |
Safety First
Work in a ventilated area, wear gloves, and keep bleach away from children and pets. Never mix chlorine bleach with ammonia, acids, or any other cleaner – the combination releases toxic chlorine gas. Store leftover solution in a labeled container out of direct sunlight, where it breaks down quickly.
How Much Chlorine to Use? Dosing by Well Diameter
The single most common mistake in home well disinfection is using too little bleach. Your dose depends on two numbers: the casing diameter (most residential wells are 4 or 6.5 inches) and the depth of water in the well (from your well report or pump contractor). The EPA method is designed to leave 1-2 ppm of free chlorine at the tap after circulation – enough to kill bacteria in the well and on the casing walls, but not so much that you flush for days.
| Casing Diameter | Bleach per 40 Feet of Water | Example: 200 ft of Water | Example: 400 ft of Water |
|---|---|---|---|
| 4 inches | 1 gallon | 5 gallons | 10 gallons |
| 6.5 inches | 2 gallons | 10 gallons | 20 gallons |
| 8 inches | 3.4 gallons | 17 gallons | 34 gallons |
| 10 inches | 5 gallons | 25 gallons | 50 gallons |
Dosing figures per U.S. EPA private well guidance, using 6-8.25% household bleach. Round up, not down, if your water depth falls between values.
Pro Tip: Find Your Casing Size Fast
If your well report is lost, the inside diameter of the wellhead cap or the size of the pump will usually give it away. A 1/2 HP submersible fits a 4-inch well; most 3/4 to 1.5 HP pumps run in 6.5-inch casings. When in doubt between two sizes, use the larger dose – a little extra chlorine flushes out in under an hour, while an under-dosed well is a failed disinfection you will have to repeat.
How to Disinfect a Well: The 7-Step Method
Here is the complete sequence we use on residential wells. Allow 2-3 hours of active work, then a 12-hour wait, then 30-60 minutes of flushing. Wear your gloves from start to finish.
- Stop using the water and close the supply. Shut off automatic irrigation, the water softener, and any appliance that will pull water from the house side. The goal is to keep the chlorine in the well, not circulating through your plumbing.
- Measure the bleach dose. Pour the amount from the dosing table into a clean 5-gallon bucket (or a larger container for deep wells). For systems with a pressure tank, you can mix the full dose directly in the tank instead.
- Pour the bleach into the well. The standard route for deep wells is through the open wellhead: attach a long, flexible hose to a bucket and feed the solution down the casing so it passes the pump and reaches the bottom. For shallower systems, pouring into the pressure tank works – the pump will circulate it down on the next cycle.
- Circulate the solution. Open the farthest outdoor spigot and run it until you smell chlorine at the tap – typically 1-3 minutes. Then run each indoor faucet for 30 seconds so the treated water reaches every line in the house.
- Let it sit for at least 12 hours. The EPA minimum contact time is 12 hours. Do not use water from the well during this period. In practice we schedule the injection in the morning and start flushing the next afternoon.
- Check the residual. After the wait, draw water at the tap and test with chlorine test strips. You should read 1-2 ppm. If you read zero, the solution never circulated – check for a stuck check valve, then repeat the injection before starting a new 12-hour clock.
- Flush the well. Run the farthest outdoor spigot until the chlorine smell is gone – usually 30-60 minutes for a typical residential well – and run every indoor tap for 2-3 minutes. Test the final water; you want it at or near 0 ppm before normal use resumes.
Field Note from the Trench
On a 2026 job we visited, the homeowner had “disinfected” her well three times with no success. The check valve below the pump was stuck open, so every injection drained out through the house side instead of filling the well. If chlorine never shows up at the farthest tap after circulation, the problem is almost always a stuck or missing check valve – a $20-40 part that ruins an otherwise correct chlorination.
How to Test the Water After Disinfection
Chlorine smell at the tap tells you the solution circulated. It does not tell you the bacteria are gone. The only confirmation of a successful disinfection is a negative coliform retest. Collect a fresh sample from the tap closest to the well (or your kitchen sink after running 2 minutes) in a sterile container and run it through a lab panel or a home well water test kit that includes the standard plate coliform test.
- Negative result: the disinfection worked. Resume normal use and return to your standard retesting cadence (see the frequency table below).
- Positive again, first retry: repeat the full chlorination once with the correct dose and 12-hour contact time. A second attempt catches the most common failures – under-dosing and short contact time.
- Positive twice: stop self-treating. Repeated failures point to a pathway problem – a casing breach, a cracked seal, or a failing septic system nearby – which is a drilling contractor’s call, not a bleach problem.
What “Success” Looks Like
Success is a retest that shows no coliform bacteria in 100 mL of water, taken after the flush is complete. If your state runs a voluntary well assistance program (most do), the retest is often free – check with your state health department before paying a lab.
How to Flush and Remove the Chlorine
Flushing is simple, but skipping it is the #1 complaint we hear after home disinfections – a week of water that tastes like a pool. Follow the sequence:
- Run the farthest outdoor spigot for 15-20 minutes. This is the main draw that pulls the treated water out of the well.
- Run every indoor faucet for 2-3 minutes, including hot water taps, so treated water does not sit in dead-end lines.
- Bypass or flush your softener and any iron filter. Chlorine depletes softener resin and can oxidize filter media. Run a regeneration cycle after the flush is done.
- Confirm with test strips that the tap reads at or near 0 ppm before you resume normal use.
Water with residual chlorine during the flush is safe to drink – that is literally its job. The EPA notes that the high residual present during shock treatment poses no health risk; you are flushing for taste, not safety. If the taste lingers in one fixture but not others, you have a dead-end line holding treated water: run that fixture until it clears.
How Often Should You Disinfect a Well?
A well that tests clean does not need periodic chlorination. Repeated shock treatment without a positive result only wastes bleach and pushes residual chlorine through your whole house. Disinfect in response to events, and retest on a schedule:
| Situation | Disinfection Action |
|---|---|
| Positive coliform or E. coli test | Disinfect immediately, then retest after flushing |
| New well, deepening, or pump replacement | Disinfect before first use |
| Any repair work inside the well | Disinfect after the repair is complete |
| Routine maintenance, last test negative | No disinfection needed; retest every 1-2 years |
| Near livestock, septic system, or flood zone | Test annually; disinfect only if a test is positive |
Shock Disinfection vs Continuous Chlorination
One-time shock treatment is the right answer for most homes. But if your well tests positive for coliform every year, a one-off chlorination is whack-a-mole – and a continuous chlorination system becomes worth the investment. Here is how the two approaches compare:
| Attribute | One-Time Shock Chlorination | Continuous Chlorinator System |
|---|---|---|
| Chlorine level | 1-2 ppm at tap during treatment, then flushed to 0 | 0.2-0.5 ppm maintained in the house water 24/7 |
| Best for | Occasional positives, post-repair, new wells | Chronic coliform, wells near contamination sources |
| Upfront cost | $25-75 in bleach and test supplies | $300-1,200 installed (feed system, tank, injection point) |
| Ongoing cost | Bleach only when a positive test forces a treatment | $50-150/year in bleach, plus a dechlorination filter |
| Trade-off | Nothing permanent – bacteria can return | Continuous taste/odor; needs a carbon filter downstream |
If you are weighing a permanent setup, our best well water chlorinator systems of 2026 buyer guide covers sizing, injection point options, and the dechlorination pairing you will need.
When to Call a Professional
Homeowners handle most disinfections successfully, but these situations are outside the DIY lane:
- E. coli positive twice after correctly dosed chlorination with proper contact time.
- Bacteria return within weeks of a successful disinfection – that is a pathway problem, not a dose problem.
- Chlorine never reaches the tap after circulation – likely a stuck check valve or a short well that needs a contractor’s rig.
- Other quality issues dominate: sulfur odor, heavy iron, or sand production. Chlorine will not fix those, and running a chlorination on top of them wastes the effort.
- Visible damage at the wellhead – cracked seals, corroded fittings, or a settling cap that no longer seals.
The Rule We Give Every Homeowner
Chlorine kills what is in the water. It cannot fix what is getting in. If bacteria keep coming back after a confirmed successful disinfection, the problem is a pathway – a casing breach, a cracked sanitary seal, or a nearby failing septic system. At that point a professional well inspection is the only next step that will actually solve it.
FAQ: How to Disinfect a Well
How long does it take to disinfect a well?
Plan for 2-3 hours of active work (injecting, circulating, checking the residual), a 12-hour minimum wait, and 30-60 minutes of flushing the next day. Most homeowners finish the whole job within 24 hours of starting.
How much bleach do I need for a 4-inch well?
One gallon of 6-8.25% household bleach per 40 feet of water in the well, per EPA guidance. A 4-inch well with 200 feet of water takes 5 gallons; a 400-foot well takes 10.
Can I drink water while my well is being chlorinated?
Yes. The elevated residual present during shock treatment is not a health risk – it is the same active ingredient in regulated public water systems, just at a temporary, higher level. You flush after treatment for taste, not because the water is unsafe.
What if my water still tastes like chlorine days after the flush?
That usually means a small amount of treated water is sitting in a dead-end line, or a chlorinator feed line is still connected and dripping. Check both, run the affected fixture for a few minutes, and if the taste persists, an inline activated carbon filter removes residual chlorine quickly.
How much does it cost to disinfect a well?
DIY, the full job – bleach, test strips, a coliform retest kit – runs $25-75 in most regions. A professional service typically charges $300-800 depending on well depth, location, and whether a rig is needed to get the solution into the well.
See Also
Keep reading:
– Chlorine taste in well water: causes and removal guide – if the taste lingers after your flush, start here.
– Coliform in well water: causes, testing and removal – what a positive test actually means before you reach for the bleach.
– Best well water chlorinator systems of 2026 – the permanent answer if bacteria keep coming back.
#WellWater #PrivateWell #WellDisinfection #ShockChlorination #ChlorinatingAWell #WaterWell #WellMaintenance #WellCare #WaterQuality #WellOwner #WaterSafety #WellWaterTesting #WellPump #WaterTreatment #HomeownerGuide
Sources: U.S. EPA, How To Disinfect A Private Well; U.S. EPA Private Well Program. Dosing and contact times reflect EPA guidance; cost figures reflect 2026 regional market rates.