
Most well owners only think about their well when something goes wrong: the water runs brown, the pump will not start, or the pressure gauge sits at zero. But wells rarely fail without warning. Well water maintenance is the practice of testing, inspecting, and servicing your system on a schedule so that small, cheap problems never become a $2,500 pump replacement or a contaminated water supply. In this 2026 guide, we walk through the complete maintenance checklist: what to test, how often, what each task costs, and the seasonal plan that keeps a well reliable for 15 years or more.
Based on our review of failure reports from hundreds of private wells, the pattern is consistent: the systems that last are the ones with a simple routine — annual water testing, a pressure tank pre-charge check, and well disinfection. The systems that fail early are the ones that go untouched for a decade. This guide gives you that routine as a complete well water maintenance checklist you can run in a few afternoons a year, plus a freeze-protection plan for winter and an algae plan for summer.
Disclosure: As an Amazon Associate, we earn from qualifying purchases on this page. Product selections are based on independent research and real well water data.
By Robert Harrison, Certified Well Inspector
Robert has 20+ years of experience inspecting and testing residential water wells across the western US.
Published: October 2026 | Last updated: October 2026
Table of Contents
- Why Well Water Maintenance Matters
- The Complete Well Water Maintenance Checklist
- How Often Should You Test Your Well Water?
- Pump, Pressure Tank, and Wiring Maintenance
- Well Disinfection: Your Annual Chlorination
- Seasonal Maintenance: Winter Freeze Protection and Summer Algae
- 8 Warning Signs Your Well Needs Attention
- Well Maintenance Costs: What to Budget for 2026
- DIY vs Professional: What You Can and Cannot Do
- Frequently Asked Questions
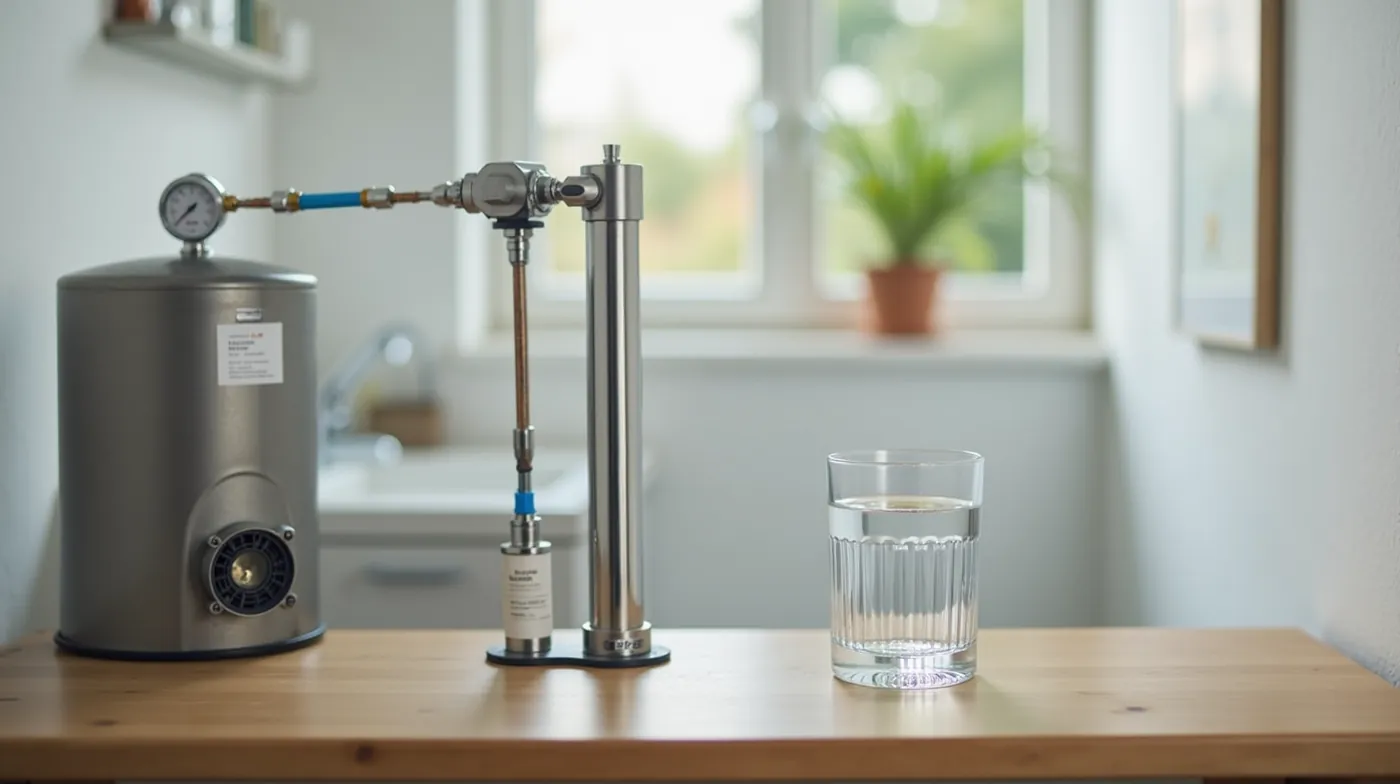
Why Well Water Maintenance Matters
Unlike municipal water, where a utility is responsible for treatment and monitoring, you are the water utility for your own well. The U.S. EPA is explicit about this: private well owners are responsible for the construction, protection, and water quality of their wells. There is no inspector coming to knock on your door, no quarterly bill, and no compliance deadline — which means the only defense against a failing well is a maintenance schedule that you actually follow.
What neglect actually costs
A skipped pre-charge check can destroy a submersible pump through short-cycling — a repair that runs $1,500 to $3,500 with labor. A missed annual bacteria test can let coliform build up until a family member gets sick. A well left un-chlorined for several years often needs a professional shock treatment ($300 to $800) or, in the worst case, a new well. The full annual routine in this guide costs most owners $150 to $500 per year — a small fraction of the single failure it prevents.
In our inspection work, the most common failure we see is not a broken pump. It is a neglected system that wore itself out: a pressure tank that lost its pre-charge in 2019, a contactor that pitted quietly for two seasons, and a wellhead cap that let ponded rainwater migrate toward the well for a decade. Each of those three items is a $0 to $60 fix when caught early.
The Complete Well Water Maintenance Checklist
Here is the full well water maintenance checklist for 2026, in priority order. Every item below is one you can schedule on a calendar; none requires a service call if you handle it yourself.
| Task | Frequency | Why It Matters |
|---|---|---|
| Full water quality test (bacteria + metals + nitrates) | Annually, and after floods or nearby construction | Catches contamination before it becomes a health risk |
| Pressure tank pre-charge check | Annually (twice yearly if pump short-cycles) | Prevents short-cycling that burns out submersible pumps |
| Contact and pressure switch inspection | Annually | Failing contacts trip the pump in and out and damage the motor |
| Well disinfection (chlorination) | Annually, or immediately after a positive bacteria test | Kills bacteria in the casing and aquifer before it spreads |
| Wellhead and cap inspection | Every spring and fall | Keeps surface runoff, insects, and debris out of the well |
| Freeze protection check (unheated pump rooms) | Before the first hard frost | A frozen pump or pipe is an emergency, not a maintenance task |
| Low-water alarm / monitor check | Quarterly | Early warning that your well is drawing down or the pump is failing |
| Pipe, fitting, and valve inspection | Every 12 to 24 months | Finds corrosion and weeping joints before they become leaks |
| Well flush / pump-out | After heavy storms, or when sediment appears | Clears settled sediment and restores clear water |
| Record keeping | Ongoing | Test results, pressures, and pump runtime make problems easy to diagnose later |
Frequencies reflect EPA private well guidance and state extension service recommendations for a typical 40-foot residential well with a submersible pump.
Pro tip: put it on a calendar, not in your head
Set two recurring calendar events: “Well maintenance — spring” (April) and “Well maintenance — fall” (October). Spring covers the water test, pre-charge check, and wellhead inspection after winter. Fall covers the same items plus the freeze-protection walk-through. Two afternoons a year, and 90% of the checklist is done.
How Often Should You Test Your Well Water?
The EPA recommends that private well owners test for bacteria at least once a year, and run a full chemical panel — nitrates, pH, hardness, lead, arsenic, and iron — every one to three years or whenever anything changes. We have seen the same guidance echoed by state extension services across the West, and the logic is simple: bacteria can appear and disappear in weeks after a storm, while metals and nitrates shift more slowly.
Test immediately, not on schedule, when any of these happen:
- Your area floods or a nearby septic system fails or overflows
- You or a neighbor begins new excavation, drilling, or heavy septic use near the well
- The water develops a new taste, odor, color, or film
- Someone in the household has a gastrointestinal illness of unknown cause
- You buy or sell the property (a current test report is a standard part of due diligence)
For most owners, the practical setup is a well water test kit for the quick monthly bacteria spot-checks, combined with an annual lab submission. If you are choosing a kit, our well water test kit guide compares the best options for coliform testing, metals, and nitrates, and explains which parameters a home kit can and cannot handle reliably.
Warning: a one-time test is not a safety net
A well that tested clean in 2022 can test positive for coliform after a single spring flood. Testing is a recurring task, not a one-time project — the EPA lists annual bacteriological testing as the single most important protective step for private wells.
Pump, Pressure Tank, and Wiring Maintenance
The mechanical side of well water maintenance is where most money is lost, because the failure is gradual. A pressure tank that loses its air pre-charge does not announce itself — the pump just starts running more often, a little at a time, until the motor overheats and fails. We recommend four checks each year:
- Pre-charge check. With the pump off and the system at rest, read the tank gauge. The air pre-charge should be 2 psi below the pressure switch cut-in setting (for a standard 30/50 switch, that is 28 psi). If it reads lower, the bladder is leaking air and the tank needs service. Our step-by-step guide, how to precharge a well pressure tank, walks through the full procedure with a tire gauge.
- Pressure switch inspection. Look at the diaphragm and the contacts. Cracked diaphragms and pitted contacts are the two most common switch failures; both are $40 to $80 parts.
- Contact and wiring check. The contact that closes the circuit to the pump is the weakest link in most systems. Burned or sticky contacts cause the pump to hum without starting or to cycle irregularly. A spare well pump contactor in the tool chest is the cheapest insurance in the well room.
- Gauge sanity check. Compare the system gauge against a known-good digital pressure gauge. Gauges fail silently and often — a gauge stuck at 40 psi tells you nothing.
Insight from the field
When we open a pump that died to “mysterious” burnout, the post-mortem most often points to a tank pre-charge that was ignored for years. The pump cycled 40 to 60 times a day instead of 8 to 12, and the motor simply wore out. A $15 gauge and ten minutes a year is the difference.
Well Disinfection: Your Annual Chlorination
Well disinfection — pumping a chlorine solution down the well to kill bacteria in the casing and the near-well aquifer — is the one maintenance task that directly protects your family’s health, not just your equipment. We recommend a preventive chlorination once a year, and an immediate shock chlorination after any positive coliform test.
The annual preventive treatment is simple for a homeowner: measure the chlorine dose, pump it down through the well, let it sit, run the water until the chlorine clears, then retest in 72 hours to confirm. The full procedure, dosing tables, and safety notes are covered in our well disinfection guide. The main supply item is sodium hypochlorite (12.5% chlorine), plus chlorine test strips to confirm the concentration before and after.
If your last test showed bacteria, do not wait for the next calendar date. A positive coliform result means the well needs a full shock treatment now — and if the retest after treatment is still positive, the contamination source (a leaking septic line, a compromised casing seal) needs to be found before anything else.
Seasonal Maintenance: Winter Freeze Protection and Summer Algae
Well systems fail most dramatically in winter. If your pump, pressure tank, or pipes are in an unheated location — a basement without heat, a garage, or a pump room — the freeze-protection walk-through before the first hard frost is non-negotiable:
- Keep the pump room above freezing. Even 34 to 40 degrees F is enough to keep the pump and tank from freezing. A small space heater or heat lamp in an unheated room is a common, cheap fix.
- Wrap exposed piping. Exposed supply lines in unconditioned spaces should be wrapped with pipe insulation and self-regulating heat tape.
- Insulate the wellhead. The area around the wellhead should be graded to drain away from the well and covered with a proper sanitary well cap so meltwater and ice do not pool on the cap.
- Shut down in hard winters if the house is unoccupied. For a property you leave for the season, draining the above-ground system and removing power to the pump is the safest option.
Our detailed guide, how to protect my well from freezing, covers each of these in depth with the specific risks for above-ground vs. buried piping.
Summer brings a different problem: algae growth in the well. Warm water, sunlight reaching the well through a cracked or missing cap, and stagnant water in the casing are the classic recipe. Signs include a green tint, a film on the water surface, or a faintly musty smell in early summer. The fix is to pump the well down to clear the stagnant water, repair or replace the cap, and run a light chlorination. A regular well flush — described in our how to pump out a well guide — keeps the near-well water moving and reduces the chance of algae establishing in the first place.
8 Warning Signs Your Well Needs Attention
Most failing wells give you months of warning. If you notice any of these, run the relevant maintenance check rather than waiting for a full failure:
- Short-cycling. The pump starts every few minutes. Almost always a lost tank pre-charge, a failing pressure switch, or a leaking valve.
- Air in the lines. Sputting faucets and a pressure gauge that swings. Points to a leaking bladder, a loose fitting, or a well that is drawing air.
- Discoloration or odor. Brown, yellow, or black water and any new smell (rotten egg, metallic, earthy) means the water needs testing now, not at the next scheduled date.
- Dropping water level. The well takes longer to recover after use, or the pump runs longer to reach pressure. Could be seasonal, a clogged screen, or a declining aquifer — worth a yield check.
- Constant pump running. A pump that will not reach cut-out pressure is either fighting a leak, a failed check valve, or a failing motor.
- Breaker trips or blown fuses. Electrical faults in the pump, contactor, or wiring. Turn the power off and have the circuit inspected before resetting repeatedly.
- Wet spots around the wellhead. Surface water pooling or migrating toward the well is a contamination pathway, not just a cosmetic issue.
- Unusual noise. A pump that sounds different — grinding, gurgling, or a hollow hum — is telling you something is wrong with the impeller, the wiring, or the water level.
Urgent: when to act the same day
A positive coliform test, a well that will not recover water, or a pump that trips the breaker and will not restart are same-day situations. For the bacteria case, stop using the water for drinking or cooking until a retest clears it; for the electrical case, keep the breaker off rather than forcing restarts that can destroy the motor windings.
Well Maintenance Costs: What to Budget for 2026
The numbers below reflect 2026 DIY and professional pricing for a standard residential well. Your local labor rates will shift the “pro” column, but the DIY column is stable because it is mostly test kits, chlorine, and a couple of small parts.
| Maintenance Item | DIY Cost (2026) | Professional Cost |
|---|---|---|
| Annual bacteria test | $10 to $50 | $25 to $75 |
| Full chemical panel (1 to 3 years) | $100 to $300 | $100 to $300 |
| Pressure tank pre-charge check | $0 to $15 (gauge) | $75 to $150 visit |
| Contactor or pressure switch replacement | $30 to $80 | $150 to $300 |
| Preventive well chlorination | $50 to $150 | $300 to $800 |
| Well flush / pump-out | $0 (own pump time) | $200 to $500 |
| Sanitary well cap (if needed) | $20 to $60 | $150 to $300 |
| Annual total (typical) | $150 to $500 | $500 to $1,500 |
DIY figures assume the owner performs the labor and buys only supplies and parts. Professional figures reflect typical 2026 service pricing for a standard 40 to 60 foot well.
The value equation
Even the top of the DIY range — $500 per year — is less than the labor alone for a single emergency pump replacement. Maintenance is not an expense you hope to avoid; it is the cheapest insurance policy your well will ever carry, and it compounds: a well that is tested, chlorined, and pre-charge-checked every year routinely outlasts a neglected well by a decade or more.
DIY vs Professional: What You Can and Cannot Do
Most of the checklist in this guide is genuinely doable for a competent DIY homeowner, and we encourage it — the tasks are low-risk and the parts are cheap. The line between DIY and professional work is about the consequences of getting it wrong:
- Do it yourself: water sampling and testing, pre-charge checks, contact and switch replacement, wellhead and cap inspection, freeze protection, and the annual preventive chlorination (with the dosing and safety steps followed exactly).
- Call a professional: pump replacement or repair, anything involving the well casing or drilling, a shock chlorination after a positive test when the source is not obvious, and any electrical work beyond swapping a contact with the power off. If a professional chlorination retest is still positive, that is a source-hunt that belongs to a well contractor, not a weekend project.
If you are budgeting for the bigger items, our well water treatment cost guide breaks down the full price of each treatment system, and our well pump replacement cost article covers what a new submersible pump actually costs in 2026, labor included.
Frequently Asked Questions
How often should I test my well water?
At minimum, test for bacteria once a year. Run a full chemical panel — nitrates, pH, hardness, lead, arsenic, iron — every one to three years, and test immediately after a flood, nearby construction, a septic failure, or any new taste, odor, or color in the water.
How often should I chlorinate my well?
Once a year as a preventive measure, and immediately after any positive coliform test. If a preventive annual treatment is skipped for a few years, do a shock chlorination and retest within 72 hours to confirm the well is clear.
How often should I check the pressure tank pre-charge?
At least once a year. If your pump short-cycles — starts every few minutes — check it twice a year, because a leaking bladder is the most common cause and it only gets worse over time.
What does a complete well maintenance plan cost per year?
Roughly $150 to $500 per year for a homeowner doing the work themselves, or $500 to $1,500 per year with professional service. The biggest single line is usually the chemical panel test, which is spread across a year or two.
Can I maintain my well entirely on my own?
For most systems, yes — testing, pre-charge checks, contact and switch swaps, wellhead care, freeze protection, and preventive chlorination are all within a capable DIY owner’s reach. Pump replacement, casing work, and chasing a persistent bacteria source are the three tasks that belong to a professional.
See Also
Well Water Test Kit 2026: Best Kits + What to Test — how to pick a kit for bacteria, metals, and nitrates, and which parameters a home kit can handle.
How to Disinfect a Well 2026: Step-by-Step Chlorination Guide — full dosing tables and the safe procedure for the annual chlorination.
How to Precharge a Well Pressure Tank (2026 Step-by-Step Guide) — the ten-minute check that prevents most short-cycling pump burnouts.
#WellWater #WellMaintenance #PrivateWell #WellOwner #WellPump #PressureTank #WellTesting #WaterQuality #WellCare #HomeWell #WaterSafety #WellInspection #Chlorination #FreezeProtection #WellSystem