
Most well owners never think about disinfecting their well until a lab report shows coliform or E. coli, or a flood, a dead animal, or a nearby septic failure raises the alarm. That is exactly the moment when you need to know how to shock treat a well — and doing it correctly the first time is the difference between a clean retest in a week and months of boiling-water orders. In this guide, we walk through the complete chlorine shock treatment process for private wells in 2026: when it is actually needed, exact dosage math by casing size, the ten-step procedure, how long the water stays off, and how to retest so the results hold.
Shock treatment — also called well shock chlorination or emergency chlorination — is not a routine filter change. It is a full-system disinfection event: a measured dose of chlorine is introduced into the well itself, circulated through every line and fixture, held for 12 to 24 hours, then flushed out and verified with a laboratory bacteria test. From our inspection work across hundreds of private wells in the western US, the failures we see are almost always the same three mistakes: too little chlorine, dead spots that never see the solution, and retesting before the water has fully cycled.
By Robert Harrison, Certified Well Inspector
Robert has 20+ years of experience inspecting and testing residential water wells across the western US.
Disclosure: As an Amazon Associate, we earn from qualifying purchases on this page. Product selections are based on independent research and real well water data.
Published: November 14, 2026 | Last updated: November 14, 2026
Table of Contents
Why You Need to Shock Treat Your Well
A positive bacteria test is the classic trigger, but it is far from the only reason a well owner ends up standing at the wellhead with a bucket of bleach. In our experience, shock treatment is the right call in six situations:
- A failed coliform or E. coli test. This is the textbook case. The U.S. EPA sets the maximum contaminant level for bacteria in drinking water at zero — any detectable E. coli means the water must be disinfected before anyone drinks it.
- A new well has been drilled or a deep repair opened the casing. New wells are typically shock-chlorinated once at commissioning, and the same applies whenever a well contractor lifts the pump, repairs the head, or re-casings the hole.
- Flooding or high groundwater near the well. Surface water carries bacteria, fuel, and septic seepage straight toward the aquifer. Per EPA flood guidance, wells that flood or sit in standing water should be disinfected before use.
- An animal intrusion or a dead animal found at the wellhead. Rodents, deer, and birds can enter uncovered or poorly sealed wells, and the bacteria they leave behind does not wash out on its own.
- A nearby contamination event. A failing septic system, a livestock lot, or a well within a few hundred feet of your own that has failed a test can all threaten your supply through the shared aquifer.
- Buying or selling a property. Many lenders and state programs require a passing bacteria test at transfer, and a shock treatment plus clean retest is the standard cure for a failed one.
The Rule We Give Every Homeowner
Shock treatment kills bacteria that are in the water and on the surfaces of the well and lines — it does not fix the pathway that let them in. If your retest still fails after a correct shock treatment, the problem is upstream of the disinfection: an open annulus, a cracked seal, a septic line, or a dead-end pipe. Disinfect first, then go find the leak.
What Is Well Shock Chlorination?
Well shock chlorination is a one-time, high-dose disinfection of the entire water system: the water stored in the well casing, the pump, every foot of supply line, the pressure tank inlet, and all indoor and outdoor plumbing. A normal dose lands the water at roughly 250 to 500 parts per million (ppm) of free chlorine at the well — hundreds of times the residual a municipal system carries (about 0.2 to 2 ppm at the tap) — held in place for 12 to 24 hours so the chlorine can reach and kill biofilm on the inside of the casing, the pump, and the pipe walls.
It is easy to confuse shock treatment with the other disinfection tools a well owner might own. They solve different problems, and we have seen systems that skipped a shock treatment because they already owned a UV unit — then re-tested positive a week later. Here is how the four main approaches compare:
| Method | How It Works | When to Use It | Cost (2026) |
|---|---|---|---|
| Shock chlorination | One-time high dose (250–500 ppm) held 12–24 hours, then flushed | Failed bacteria test, new well, flood, intrusion | $15–50 in bleach and supplies, done DIY |
| Continuous chlorination | Small chlorine feed pump doses the line constantly | Repeated positive tests with no fixable pathway | $1,500–4,000 installed + ongoing chemical cost |
| UV disinfection | UVC light at point of use kills bacteria as water passes | Ongoing protection after a successful shock treatment | $800–2,000 installed + annual lamp |
| Ozone | Generated on-site, kills bacteria and odors, no residual | Bacteria plus taste/odor problems, larger systems | $2,000–5,000 installed + service |
Cost ranges reflect 2026 installed prices we have seen on residential systems; see our head-to-head guide, UV vs Chlorine for Well Water 2026, for the full comparison.
The short version: shock treatment is the event you run to clear an existing contamination, and UV or continuous chlorination are the systems you add afterward to keep it clear. One does not replace the other.
How to Calculate Your Chlorine Dose
Dosing is where most home shock treatments go wrong, so let us do the math with you. The standard field formula — used by most state health departments and well contractors — is simple: one gallon of regular unscented household bleach (5.25–6% sodium hypochlorite) for every 100 gallons of water in the well, with a minimum of one gallon. (If you suspect iron bacteria — black strings or slime in the well — many state agencies push the target to 500 ppm, which is roughly double the dose below.)
First, estimate how much water your well holds. The formula is the area of the casing circle times the depth, converted to gallons. For the three most common residential casing sizes:
| Casing Size | 25 ft Deep | 50 ft Deep | 100 ft Deep | 150 ft Deep | 200 ft Deep |
|---|---|---|---|---|---|
| 4-inch casing | ~16 gal | ~33 gal | ~65 gal | ~98 gal | ~130 gal |
| 6-inch casing | ~37 gal | ~73 gal | ~147 gal | ~221 gal | ~294 gal |
| 8-inch casing | ~65 gal | ~130 gal | ~261 gal | ~392 gal | ~522 gal |
Volumes are full-casing estimates (casing diameter × depth); subtract your static water level offset if the well is partially dry. Use your well contractor’s records for exact dimensions when available.
Now apply the 1-gallon-per-100-gallons rule (rounding up, never down):
| Casing Size | 25 ft | 50 ft | 100 ft | 150 ft | 200 ft |
|---|---|---|---|---|---|
| 4-inch | 1 gal | 1 gal | 1 gal | 1 gal | 2 gal |
| 6-inch | 1 gal | 1 gal | 1.5 gal | 2 gal | 3 gal |
| 8-inch | 1 gal | 1.5 gal | 2.5 gal | 4 gal | 5 gal |
Bleach = regular unscented household bleach, 5.25–6% sodium hypochlorite. If your bottle is 8.25%, cut the volume roughly in half. If iron bacteria is suspected, double these doses.
Mixing Safety — Always Add Bleach to Water
Mix the solution in a clean 5-gallon bucket by pouring the measured bleach into several gallons of water, never the reverse, and never in a sealed container. Wear rubber gloves and eye protection, work outdoors or in a ventilated well house, and keep the bleach away from ammonia-based cleaners — the combination produces toxic chloramine gas.
How to Shock Treat a Well: 10-Step Process
This is the sequence we walk homeowners through on site, adapted from state health department and EPA emergency-disinfection guidance. Total hands-on time is about an hour; the rest is waiting. Work top to bottom — the order matters, because each step assumes the previous one is done.
- Notify your neighbors and check local rules. Chlorine dosed in one well can migrate through the shared aquifer to nearby wells. Some counties require you to inform the local health department (and sometimes neighboring well owners) before shock treatment. A 10-minute phone call avoids an unpleasant surprise at their kitchen tap.
- Shut down the pump and protect your equipment. Turn off the well pump breaker. Set the water softener, carbon filter, and any RO system to bypass or drain so the high-chlorine water does not destroy resin, carbon, or membranes. If you have a water heater, note that you will flush it in step 8.
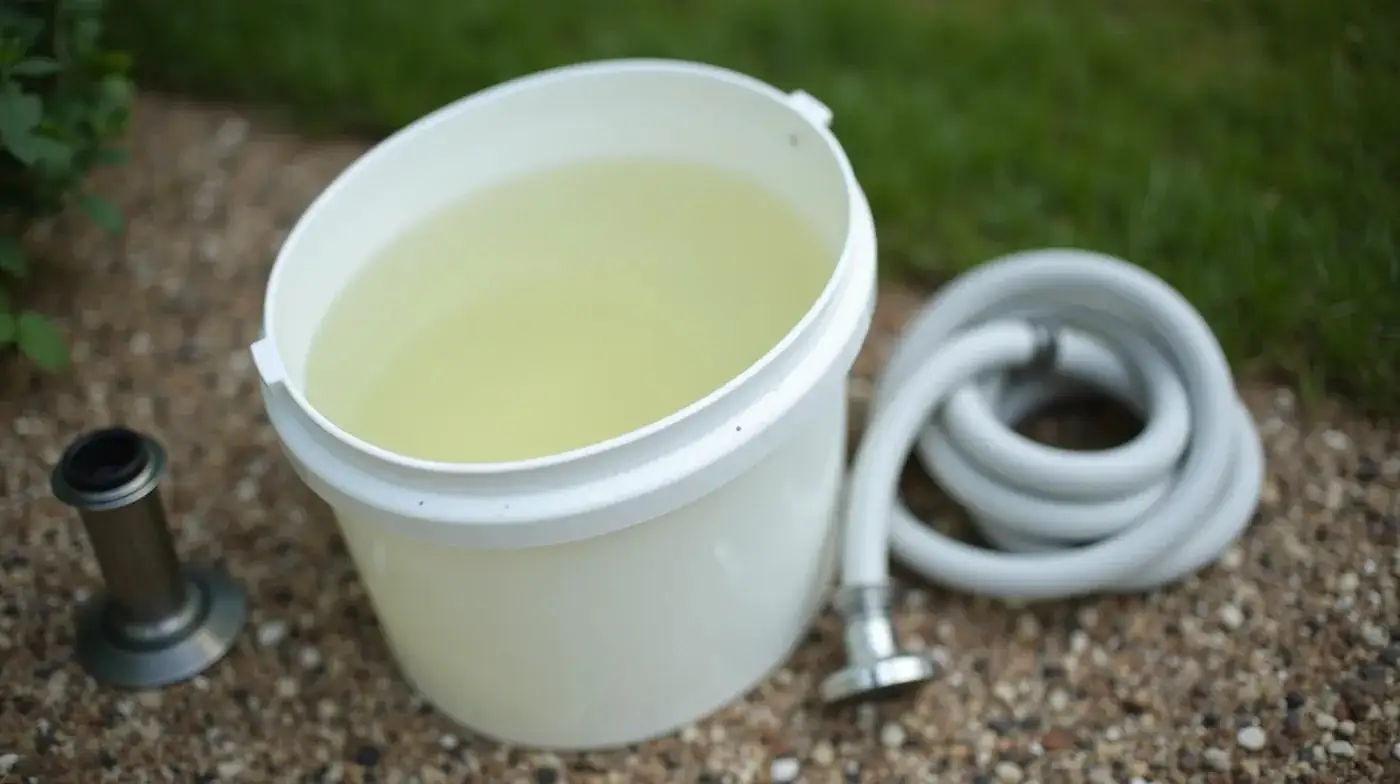
- Measure and mix the chlorine solution. Pour your measured bleach (from the dose tables above) into a clean 5-gallon bucket containing several gallons of cold water. Stir with a non-metallic rod. The solution should smell strongly of chlorine.
- Introduce the solution into the well itself. For a drilled well with a sanitary cap, remove the cap (or the vent plug, if fitted) and pour the solution directly into the casing opening, letting it flow down the well. Do not force concentrated bleach through the well pump — a high-dose slug can damage pump seals and windings, and it bypasses the mixing that makes the treatment work. For dug or bored wells, lift the cover and pour in the same way.
- Cycle the pump to mix. Turn the breaker back on and run the pump in short bursts — 30 seconds on, 30 seconds off — for about 5 to 10 minutes. The start-stop cycling pushes the solution down the well and draws it back up, mixing it through the water column instead of letting it sit on top.
- Pull chlorine to every faucet. Open each cold-water tap inside and outside, one at a time, until you smell a distinct chlorine odor at each fixture (start with the farthest outdoor spigot), then close it. Open the outdoor hose bib and run it until the chlorine smell is strong, then close it. The entire plumbing system now holds the solution.
- Hold for the contact time: 12 to 24 hours. Do not open any faucet during this window. This is the step home owners most often shorten — and it is the one that makes or breaks the treatment. Bacteria in biofilm need the full hold time to die.
- Flush the system. After the hold time, run the outdoor spigot with a hose directed at bare soil, gravel, or a drain field-free area — never into a septic system, storm drain, lake, or stream — until the chlorine odor is completely gone (typically 10 to 20 minutes). Then run every indoor tap for 2–3 minutes. Flush the water heater by opening its drain valve or running hot water until clear, so residual chlorine does not sit in the tank for weeks.
- Restore your treatment equipment. Return the softener and filters from bypass. If the softener resin saw any chlorine, run a brine cycle to restore it. Refill any system that you drained.
- Retest at the tap. Wait 48 to 72 hours after the flush (some state programs specify 7 to 10 days), then collect a sample exactly per the lab instructions and test for total coliform and E. coli. This is the only way to know the treatment worked — a faint chlorine taste at the tap is not a pass.
Pro Tip: Verify the Dose Before You Commit
Before you close the well, test a cup of water from the hose with a DPD free-chlorine test strip or kit. You are looking for roughly 250–500 ppm at the well. If you read under 100 ppm, add another half to a full gallon of mixed solution and re-cycle the pump. Overdosing is recoverable (you simply flush longer); underdosing means starting over.
What to Do With the Water During Treatment
During the 12–24 hour hold, the water in your system contains hundreds of times the chlorine level that is safe to drink. The rules we give homeowners are strict, and they are simple:
- Do not drink, cook, or bathe with the well water during the hold or the immediate flush. Use bottled water or a neighbor’s supply for those 24–36 hours.
- Keep it out of the septic system. High-dose chlorine destroys the bacteria that make your septic bed work. Route all flush water to soil or gravel on the landscape side, away from the drain field.
- Hold off on pets and livestock. A short splash is unlikely to harm a full-grown animal, but do not let pets or livestock drink from the system until the flush is complete and the odor is gone.
- Skip irrigation during the hold. A brief high-chlorine watering event is generally tolerable for established landscaping, but the flush water going to bare soil in step 8 is all any garden needs.
- Do not use the water for pools, hot tubs, or aquaria. The chlorine load will spike the sanitizer level and stress fish and plants; wait for a clean retest before dosing any body of water from the well.
After the flush and a passing retest, the water returns to normal service. If a faint chlorine taste lingers for a day or two, running the cold tap for a few minutes usually clears it — it is the last of the residual working its way out of dead-end pipe sections.
How Often Should You Shock Treat a Well?
Shock treatment is an event, not a schedule. Most healthy wells never need it more than once or twice a decade. The cadence we recommend:
| Situation | Recommended Action |
|---|---|
| New well at commissioning | One shock treatment before first use, then a passing bacteria test |
| Any positive coliform or E. coli result | Shock treat immediately, then retest at 48–72 hours (or per local health department) |
| Flooding or high water near the well | Shock treat after the water recedes and the well is inspected for damage |
| Well repair that opens the casing | Shock treat once the work is complete and the well is resealed |
| Repeat positive tests with a fixed pathway | Shock treat again, then add continuous chlorination or UV as ongoing protection |
| Healthy well, clean annual tests | No routine shock treatment needed — keep testing annually instead |
Annual testing remains the habit that catches problems early. If your test costs are a concern, our guide to how much it costs to test well water in 2026 breaks down the real price of a bacteria panel versus a full contaminant panel.
Why Shock Treatment Fails (and How to Avoid It)
When a retest comes back positive after a shock treatment, the cause is almost always one of the six below. We have chased down all of them in the field, and each is preventable with a little discipline during the treatment itself:
- Underdosing. The single most common cause. Homeowners routinely round down, use a 2% “color-safe” or diluted bottle, or dose for a shallower well than they actually have. Verify the ppm at the well with a test kit before you commit (step 7, pro tip above).
- Wrong bleach product. Scented, “fresh scent,” color-safe, or bleach-plus-fabric-softener products contain less active sodium hypochlorite or additives that tie up the chlorine. Only plain, unscented, 5.25–8.25% household bleach works as calculated.
- Short contact time. Rushing the 12–24 hour hold because the household is out of water. Plan the treatment on a day when bottled water can cover the household, then let the clock run in full.
- Dead spots the solution never reaches. A closed valve, a blocked irrigation line, or a section of pipe that does not drain back to the pump will hold untreated water for weeks and re-contaminate the system after the flush. Open and run every fixture, including hose bibs, irrigation blow-off valves, and the water heater.
- Iron or sulfur bacteria needing a heavier dose. Black strings, slime in the well, or a sulfurous taste point to bacteria that cling to surfaces; many state programs require 500 ppm for these, versus the 250 ppm baseline. If your well shows biofilm, double the dose.
- The pathway is still open. This is the one no dose fixes. A cracked sanitary seal, an open annulus, a septic line within 50 feet, or a dead-end service pipe keeps feeding bacteria in. If two correct shock treatments both fail, stop re-dosing and go find the source — our guide to black well water and other discoloration covers how to trace the entry point.
The Inspection Insight
In our experience, a well that passes a test, fails two years later, and then fails again within a month of a “successful” shock treatment almost always has a construction defect — usually at the wellhead or in the first 10 feet of casing. Disinfection is a treatment, not a cure; the well’s seal is the cure.
After the Retest: If It Still Fails
A clean retest — zero total coliform, zero E. coli per 100 mL — closes the loop, and the well returns to normal service with its annual test schedule resumed. If the retest still shows bacteria, here is the escalation we follow with homeowners:
- Repeat the shock treatment once, this time verified at the well with a chlorine test and holding the full 24 hours. A second attempt catches the underdosing and dead-spot problems from the first pass.
- Retest again at 48–72 hours. Keep the samples and chain of custody intact — a lab result is worth more when it is defensible.
- Engage the local health department and a well contractor if the second treatment fails. The next step is usually a dye test, a wellhead inspection, or a casing/seal repair — work that is beyond the scope of any DIY treatment.
- Consider ongoing protection once the pathway is fixed: a UV unit or a continuous chlorination feed, sized to the well’s flow rate. Our UV vs Chlorine comparison walks through the trade-offs for residential systems.
Meanwhile, keep the testing habit on the right track — our well water bacteria test guide covers sampling technique (the 7-minute flush, cold chain, and the difference between total coliform and E. coli) so every result you run is actually valid.
Where to Buy the Supplies
The entire supply list for a DIY shock treatment runs roughly $30 to $80. Everything below is available at hardware stores and online; we have linked the specific product types we recommend, with our Amazon tags attached for convenience:
| Item | What to Look For | Typical 2026 Price |
|---|---|---|
| Clorox Regular Bleach (5.25%) | Plain, unscented sodium hypochlorite, 5.25–6%; check the bottle date (bleach degrades within ~12 months) | $3–6 / gallon |
| DPD Free Chlorine Test Kit | DPD tablets or strips with a 0–5 ppm and a high-range (2–20 ppm) check; verify the well dose before the hold | $15–30 |
| Coliform / E. coli Well Water Test Kit | For the post-treatment retest; or use a certified lab’s sterile bottles for a defensible result | $30–60 (kits); $20–50 (lab panel) |
| 5-Gallon Bucket + Funnel | Clean food-grade plastic for mixing; a wide-mouth funnel speeds the pour into the well | $10–20 |
| Well Chlorine Shock Treatment Kit | Convenience bundles with pre-measured calcium hypochlorite; a fine alternative to household bleach if dosing by weight | $25–60 |
Prices are street prices observed November 2026; bulk bleach and lab services vary by region.
See Also
- Well Water Bacteria Test 2026: Kits, Labs & Safe Levels — how to sample correctly and read the results that trigger a shock treatment.
- UV vs Chlorine for Well Water 2026: Which Is Better? — choosing the ongoing disinfection system that follows a successful treatment.
- Black Well Water 2026: Causes, Testing & Fixes — tracing the contamination pathway when a well discolors or keeps failing tests.
Frequently Asked Questions
How much chlorine do I need to shock treat my well?
For most residential wells, one gallon of regular unscented 5.25% household bleach per 100 gallons of water in the casing, minimum one gallon — typically 1 to 3 gallons for a 4- to 6-inch well 50 to 150 feet deep. Verify 250–500 ppm at the well with a DPD test kit before starting the hold.
How long does the chlorine stay in the well?
You hold it in place for 12 to 24 hours with all taps closed, then flush it out over roughly 15–30 minutes of running water. Any residual that lingers after the flush dissipates within a day or two of normal use.
Can I use scented or “fresh scent” bleach?
No. Fragrances, dyes, and fabric-softener additives reduce the effective sodium hypochlorite concentration and can interfere with disinfection. Use plain, unscented household bleach and check the bottle is less than about a year old.
Do I have to tell my neighbors about a shock treatment?
In many areas, yes. Chlorine can migrate through a shared aquifer to nearby wells, and some counties require notification of the local health department or adjacent well owners before treatment. Call your county health department the day you plan the work — it takes ten minutes.
Is the water safe to drink right after I finish flushing?
Not automatically — only after a passing laboratory retest (48–72 hours post-flush). The flush removes the bulk of the chlorine, but the retest is what proves the bacteria are gone. Until the result comes back, treat the water as non-potable.
The Bottom Line
Knowing how to shock treat a well turns a scary positive test into a weekend project with a predictable outcome. Do the three things that separate a clean retest from a repeat failure: dose for your actual well volume and verify the ppm at the well, protect every piece of equipment the chlorine can eat, and let the full 12–24 hour contact time run without interruption. Flush the system to bare soil, keep it out of the septic bed, and close the loop with a laboratory bacteria test — the same testing discipline we cover in our well water bacteria test guide. If the second attempt still fails, stop re-dosing and start looking for the pathway: the well’s seal, not the chlorine, is what keeps the water clean for good.
#WellWater #ShockTreatment #WellDisinfection #Chlorination #PrivateWell #WellOwner #WaterSafety #WellCare #WellMaintenance #BacteriaTest #EColi #Coliform #WellWaterTesting #WellDrilling #2026Guide
Sources: U.S. EPA guidance on protecting your home’s private well water and emergency disinfection of drinking water (epa.gov), EPA “What to Do With Your Private Well After a Flood” (2024 update), state health department well disinfection protocols, and 2026 product pricing from manufacturer listings reviewed November 2026.