Are you concerned that surface water, run-off, or nearby activities might be compromising the safety and reliability of your well water?

How Do I Protect My Well From Surface Contamination?
Protecting your well from surface contamination starts with understanding how water and pollutants travel, and then applying practical, preventive steps. You’ll learn structural protections, routine maintenance, testing, and behavior changes you can adopt around the well.
Why surface contamination is a concern for your well
Surface contaminants can enter groundwater through cracks, improperly sealed wells, or nearby practices that allow pollutants to reach the water table. Contamination can affect taste, odor, and safety, and may pose health risks, especially from bacteria, nitrates, and chemicals.
Types of wells and why protection varies
Different well types—dug, bored, driven, and drilled—offer different vulnerabilities. Dug wells are shallow and more susceptible to surface water; drilled wells are deeper and often safer but still need proper sealing and maintenance.
Common surface contaminants and their sources
Knowing what contaminants to watch for helps you prioritize tests and protective measures. The table below summarizes common hazards.
| Contaminant | Common surface sources | Health risks | How you can test |
|---|---|---|---|
| Bacteria (E. coli, coliforms) | Failing septic systems, animal waste, surface runoff | Gastrointestinal illness, infections | Laboratory bacteria culture test; periodic test after heavy rain or repairs |
| Nitrates/Nitrites | Fertilizers, manure, septic leakage | Methemoglobinemia in infants; other health risks | Lab chemical analysis |
| Volatile Organic Compounds (VOCs) | Fuel storage, solvents, pesticides/herbicides | Chronic health effects, cancer risk | Laboratory VOC panel |
| Pesticides/Herbicides | Agricultural spraying, household use | Varied toxicities; possible long-term effects | Targeted lab testing |
| Heavy metals (lead, arsenic, cadmium) | Industrial activities, plumbing corrosion, natural geology | Chronic health impacts | Lab metals panel |
| Sediment and turbidity | Surface runoff, erosion, poorly sealed well | Clogs, reduced disinfection effectiveness | Visual/turbidity measurement; lab analysis for particulates |
How contaminants reach your well
Contaminants travel via surface runoff, infiltration through soil, and direct entry where well components are compromised. Heavy rain, flooding, and poor landscaping can accelerate movement of pollutants toward the wellhead.
Wellhead and structural protections
A well must be properly constructed and maintained to prevent surface water and contaminants from getting inside. These are practical steps you can take.
Install and maintain a proper well cap and sanitary seal
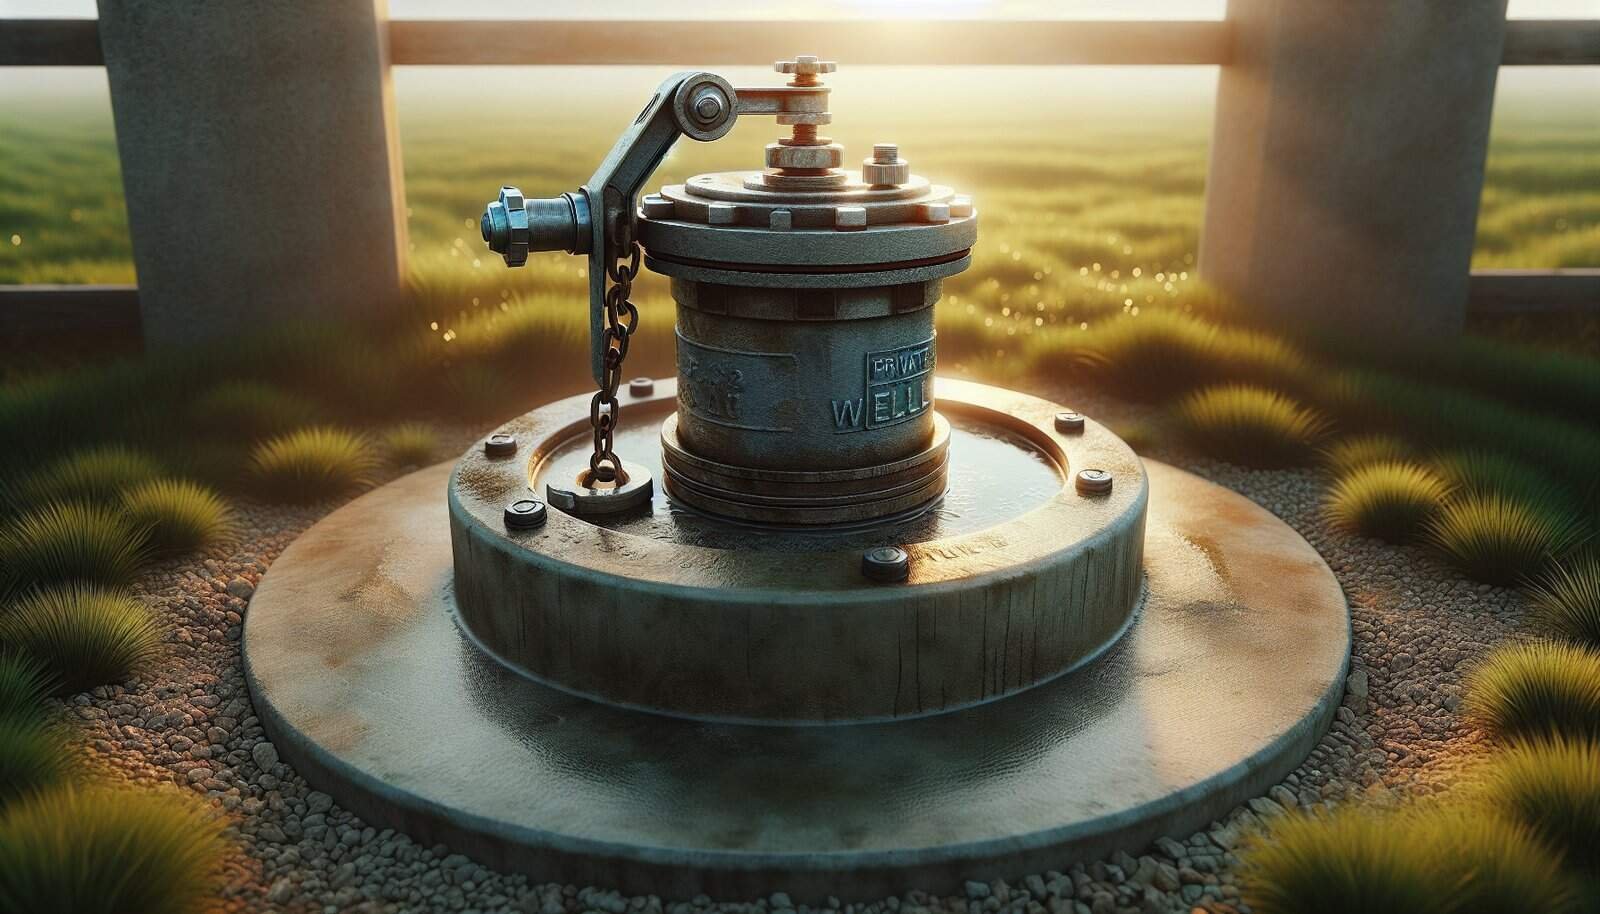
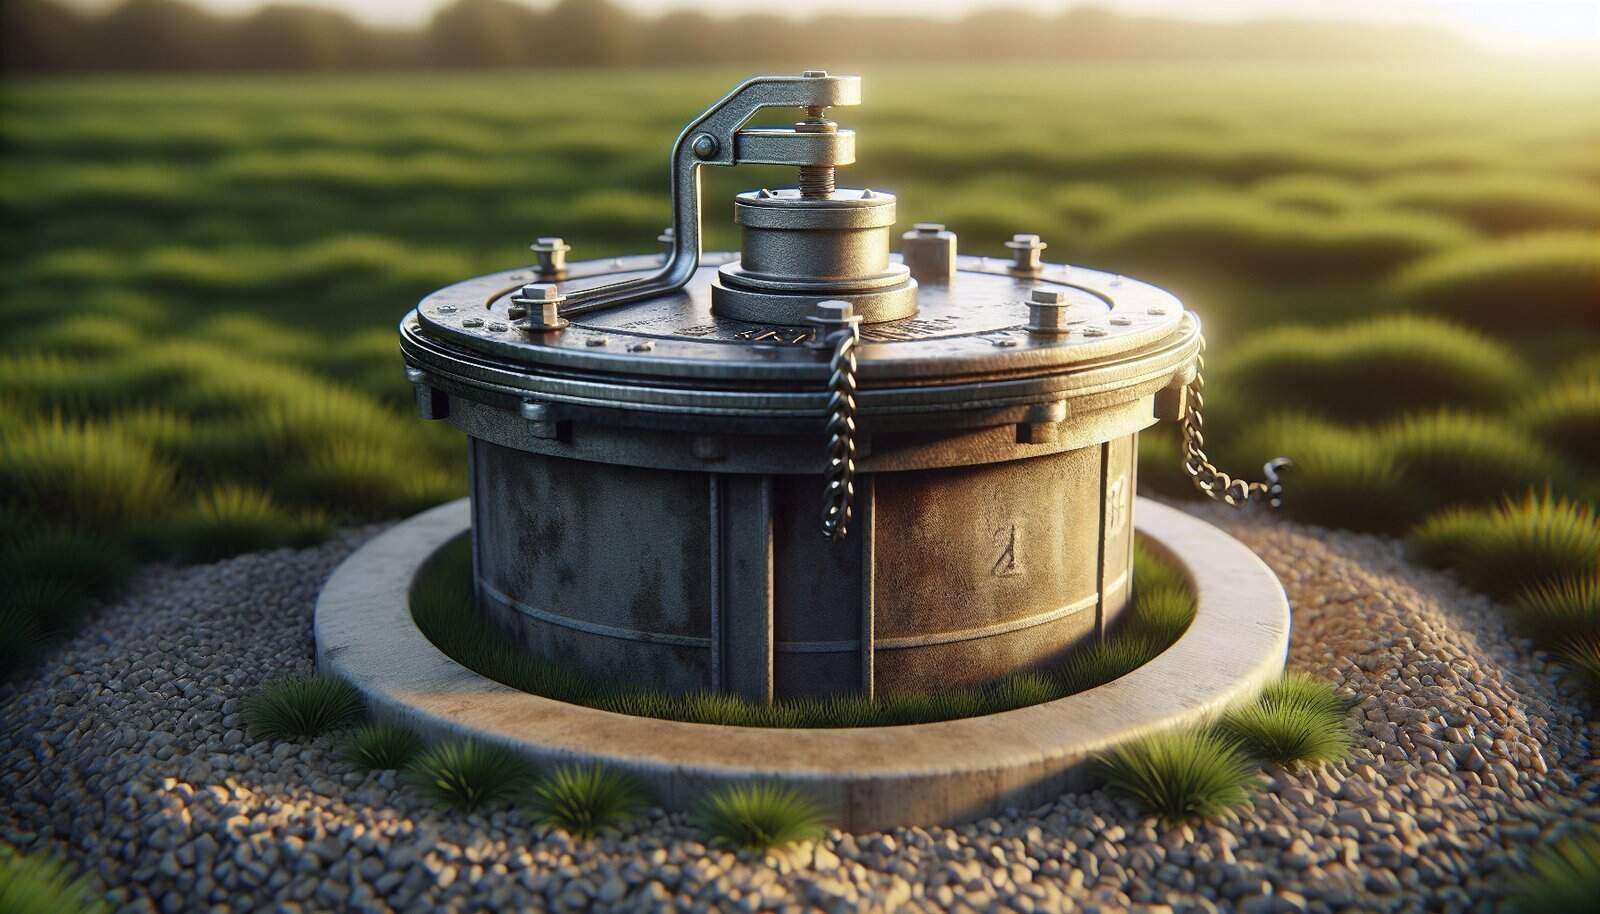
A tight-fitting well cap and sanitary seal keep insects, small animals, and surface water out. If your cap is cracked, loose, or missing, replace it immediately.
Use proper casing and grouting
Casing and grout close the annular space between the casing and the borehole, preventing contaminated surface water from traveling down the outside of the casing. Ensure grouting is intact and professionally done for new wells or repairs.
Maintain a raised and sloped well apron
The area immediately surrounding the wellhead should be raised and sloped away from the well to shed water. A concrete apron with slope of at least 1 inch per foot away from the well reduces pooling.
Keep the wellhead above potential flood levels
If your property is flood-prone, raise the wellhead or relocate the cap so that floodwater cannot seep into the well. Flooding can carry heavy contaminant loads that will require thorough testing and often disinfection.
Secure fencing and animal exclusion
Fencing around the well prevents livestock and pets from defecating near the well and damaging the wellhead. Keep at least a small buffer area (recommended minimum 10–20 feet) free of animals and manure.
Proper location and setbacks
Where your well is located in relation to potential sources of contamination is crucial. Use setbacks and planning to reduce risk.
Follow recommended setbacks from contamination sources
Setbacks vary by jurisdiction but typical minimum distances include:
- Septic tanks: 10–50 feet to leach field (varies)
- Sewage treatment or lagoons: 100 feet or more
- Fuel storage and chemical storage: 50–100 feet
- Manure storage: 100+ feet If your well was installed before current rules, consider additional protective measures or a new well in a better location.
Avoid low spots and drainage paths
Never site a well in a location where surface water naturally flows or collects. Choose higher ground and ensure surface drainage channels are directed away.

Managing surface drainage and landscaping
Your landscaping choices influence how surface water behaves around the well.
Create diversion swales and secure grading
Design slopes and swales to direct run-off away from the well. A gentle grade away from the well helps keep run-off from pooling. Periodically check after storms to ensure swales remain functional.
Use vegetative buffers for filtration
Grassy strips and deep-rooted vegetation can slow and filter out contaminants in surface run-off before they reach groundwater recharge zones. Avoid planting trees too close to the well to prevent roots from damaging casing.
Avoid sealing the area with impermeable surfaces
While a concrete apron around the well is recommended, large impermeable surfaces near the well can increase run-off velocity and erosion. Balance hardscaping with drainage control.
Sanitation and good practices around the well
Your actions and routines matter. Small behavior changes add up to big protection.
Keep chemicals and fuels away from the well
Store pesticides, fertilizers, fuel, and solvents uphill and at a safe distance. Use secondary containment for fuel tanks and ensure no spills can reach the soil near the well.
Properly manage household waste and septic systems
Maintain your septic system regularly and pump it per recommended schedules. Avoid using excessive chemicals that could leach into the drainfield and groundwater.
Avoid applying lawn chemicals near the wellhead
Don’t spray herbicides, pesticides, or fertilizers in the immediate vicinity of the well. Use targeted treatments further away and follow label instructions.

Testing your well water: schedule and parameters
Testing allows you to detect contamination early and respond before problems become severe. Establish a testing schedule that fits your well type and use.
Basic minimum testing you should do
At minimum, test annually for:
- Total coliform and E. coli bacteria
- Nitrate/nitrite
- pH and basic chemistry (when buying a property or if there are changes)
Test more frequently if you have young children, pregnant family members, or older adults or if you notice changes in water quality.
Use a reputable laboratory
Use certified labs for reliable results and for tests that are legally recognized. Home test kits can be useful for screening but may not be sensitive enough for certain contaminants.
Testing frequency suggestions
| Test parameter | Recommended frequency |
|---|---|
| Bacteria (total coliform, E. coli) | At least annually; after repairs, heavy rain, flooding, or if you see changes |
| Nitrate/nitrite | Annually, or more frequently if you have fertilized fields, septic issues, or infants in the home |
| VOCs and pesticides | Periodically if you store chemicals nearby or agricultural use occurs upgradient; consider every 1–3 years |
| Metals (lead, arsenic) | Every 3–5 years or if plumbing changes occur; sooner if local geology suggests risk |
| Turbidity and sediment | Check visually regularly; lab tests as needed after construction or disturbance |
What to do if a test is positive
If bacteria are detected, avoid drinking untreated water until it has been disinfected and re-tested. If nitrates exceed safe levels or VOCs/metals are present, stop using the water for drinking and seek professional treatment advice immediately.
Disinfection and remediation measures
When contamination is detected, certain treatments and remediation steps can restore safety.
Shock chlorination for bacterial contamination
Shock chlorination uses a calculated dose of chlorine to disinfect the well and plumbing. It’s an effective short-term response for bacterial contamination, but you’ll need to test afterward and possibly repeat if contamination source remains.
Well rehabilitation and cleaning
If sediment, biofilm, or mineral encrustation reduces water quality or yield, professional well cleaning (using air-lift, surge block, or chemical treatment) can restore performance. Work with an experienced well contractor to choose a safe method.
Treatment systems for specific contaminants
Point-of-use (POU) systems, like reverse osmosis or activated carbon filters, treat water at the tap. Point-of-entry (POE) systems treat all water entering the home (e.g., whole-house filtration, UV disinfection, water softeners). Choose systems based on lab-confirmed contamination and certified performance.

Prevention planning and regular maintenance
A proactive maintenance plan helps you avoid problems and extend the life of your well.
Inspect your well at least annually
Look for cracked or missing caps, damaged casing, pooling water, or debris around the wellhead. Document changes and address them promptly.
Keep records of maintenance, tests, and repairs
Maintain a file with drilling logs, test results, chlorination records, and repair invoices. These records help diagnose problems and are valuable if you sell the property.
Hire licensed professionals for major work
For deepening, drilling a new well, pump repairs, or grouting, use licensed well drillers and contractors. They know local codes and best practices.
Regulations, codes, and when to involve authorities
Understanding legal requirements helps you stay compliant and benefit from local expertise.
Local codes and setback requirements
Your county or state will have rules for well construction, setbacks, and abandonment. Contact your local health department or environmental agency for specifics before modifying or replacing a well.
Report significant contamination or public-health threats
If you suspect a public health threat, notify local health authorities. They can advise on emergency measures and provide testing resources.

What to do if your well is contaminated
If you find contamination, act promptly but calmly. Follow a clear set of steps.
Immediate actions for bacterial contamination
- Stop drinking the water and use bottled water or alternative safe sources.
- Boil water for at least one minute for short-term emergency use if you must use on-site water (boiling doesn’t remove chemicals).
- Have the well disinfected (shock chlorination) by a professional or follow reliable guidance.
- Retest after disinfection to ensure safety.
For chemical contamination
- Stop using water for drinking and food preparation.
- Contact your local health department for guidance and to report.
- Consider point-of-entry treatment if contamination is limited to certain chemicals and levels are known.
- If contamination is severe or from a spill, removal and remediation might be necessary, potentially including well abandonment.
When to abandon a well
If contamination cannot be remediated economically, or the well structure is failing badly, permanent well abandonment in accordance with local rules may be required. Abandonment involves filling the well with grout to prevent future contaminant pathways.
How to reduce risk from nearby land uses
Your neighbors’ activities can affect your well. Communicate and act collectively when possible.
Work with neighbors on manure and waste management
Share information about well vulnerabilities and encourage responsible storage and application of manure and fertilizers. Coordinated practices reduce shared risk.
Consider buffer zones and shared best practices
If many wells are in the area, community-level planning—like shared setbacks, managed drainage corridors, or community water testing—can protect everyone.
Dealing with low water levels in the summer
Low summer water levels are a common problem. You’ll want to understand causes and practical responses that protect your supply and the aquifer.
Why wells go low in summer
During hot months, higher water use (irrigation, baths, pools) and lower recharge (less rainfall) reduce the water table. Shallow wells and those drawing from small or stressed aquifers are most affected.
Signs your well is experiencing low water
You may notice reduced flow, sputtering faucets, air in the lines, pump short cycling, or a change in taste/clarity. Early signs should prompt conservation and assessment.
Short-term actions to manage summer low water
Act quickly to reduce demand and protect your pump and well.
Immediate water conservation steps
- Reduce outdoor watering; shift to essential watering only.
- Water lawns early morning or late evening to reduce evaporation.
- Fix leaks and install low-flow showerheads and faucet aerators.
- Use full loads in washing machines and dishwashers.
Use alternate water sources temporarily
Collect rainwater in tanks (with proper treatment for drinking) or use hauled water for drinking and cooking. For irrigation, untreated non-potable sources can be used with caution.
Protect your pump and avoid dry running
If the pump begins to cavitate or run dry, it can be damaged. Install a low-water cutoff device to prevent pump damage and watch for air in the pump lines.
Long-term solutions for chronically low wells
If low water is recurring, you’ll need a longer-term plan.
Evaluate your well yield and aquifer conditions
Hire a qualified well contractor or hydrologist to conduct a yield test and assess aquifer recharge. Understanding capacity helps you make informed choices.
Consider lowering the pump or deepening the well
If the water level has dropped but the aquifer below is still productive, lowering the pump or deepening the well can restore access. These actions require professional assessment and costs can vary widely.
Drill a new well in a better location
Sometimes the only viable solution is a new, deeper, properly located well. If possible, site it where recharge is better and contamination risk is lower.
Consider shared or municipal water connections
If multiple properties share a stressed aquifer, connecting to a municipal system or developing a managed community supply may be more sustainable.
Install storage and pressure systems
A storage tank and pressure system can buffer short-term demand spikes, reducing immediate stress on the well during peak use periods.
Well rehabilitation and maintenance to improve yield
Sometimes yields decline due to physical problems, not just aquifer changes.
Mechanical cleaning and redevelopment
Well redevelopment techniques—air-lift, surge block, jetting, and chemical treatments—can remove mineral encrustation and biofilm that restrict flow. This may restore original yield.
Check and maintain pumps and pipes
Older or improperly sized pumps waste energy and may not match well output. Ensure pumps are correctly sized for static and pumping water levels and are serviced regularly.
Cost considerations and funding assistance
Protecting and repairing wells involves costs, but some measures are low-cost and high-impact.
Typical cost ranges (approximate)
| Action | Typical cost range (USD) |
|---|---|
| Annual testing (basic bacteria + nitrates) | $40–$150 |
| Shock chlorination (DIY) | $10–$50 for materials |
| Well cap replacement | $50–$300 |
| Well inspection by contractor | $100–$400 |
| Well cleaning/redevelopment | $300–$2,000+ |
| Lowering pump or reinstallation | $500–$2,500+ |
| Drilling a new well | $3,000–$15,000+ (varies widely) |
| Point-of-use reverse osmosis system | $300–$2,500 |
Costs vary regionally and depend on depth, geology, and contractor rates.
Assistance programs
Look for state or local programs offering grants or low-interest loans for well repair, replacement, or connecting to public water supplies. Agricultural and rural development programs sometimes offer support.
Practical checklists you can use
Short, actionable lists help keep you on track.
Well protection annual checklist
- Test for bacteria and nitrates.
- Inspect well cap, casing, and apron.
- Check grading and drainage around the well.
- Remove debris and maintain fencing.
- Review records of previous tests and repairs.
Low-water season checklist
- Reduce outdoor irrigation and prioritize essential uses.
- Repair leaks and retrofit fixtures.
- Monitor pump operation for short cycling and air.
- Store emergency drinking water supply.
- Schedule professional assessment if low yields persist.
Choosing contractors and lab services
Selecting reliable professionals matters for long-term safety.
How to vet a well contractor
- Check licensing and insurance.
- Ask for references and recent job examples.
- Request written estimates and work scope.
- Ensure compliance with local codes.
How to pick a lab
- Choose state-certified labs for drinking water testing.
- Confirm the lab performs the specific tests you need.
- Verify turnaround time and sample handling instructions.
Final considerations and practical mindset
Protecting your well from surface contamination and managing low water levels requires ongoing attention, simple preventive steps, and professional help when needed. You can reduce risk significantly by keeping the well properly sealed, managing surface water, testing water regularly, and acting promptly when issues arise.
Build a habit of regular checks and record keeping
Small, consistent actions—annual inspections, timely tests, and basic upkeep—will save you time, money, and worry in the long run.
Balance short-term fixes with long-term planning
Use short-term conservation and emergency measures when needed, while planning for sustainable solutions if seasonal low water or contamination risk is persistent.
If you follow these practices and rely on appropriate testing and professional support when needed, you’ll greatly reduce the chance that surface contamination or summer water scarcity will compromise your household water supply.
