How do you clean and maintain your well pump’s impeller? It’s a question that might pop into your mind if you rely on a well pump for your home or property. Ensuring that the impeller is in good working condition is crucial to maintaining the efficiency and longevity of your well pump. Let’s dive into the nitty-gritty of cleaning and maintaining your well pump’s impeller to keep everything running smoothly.
Understanding the Importance of Your Well Pump’s Impeller
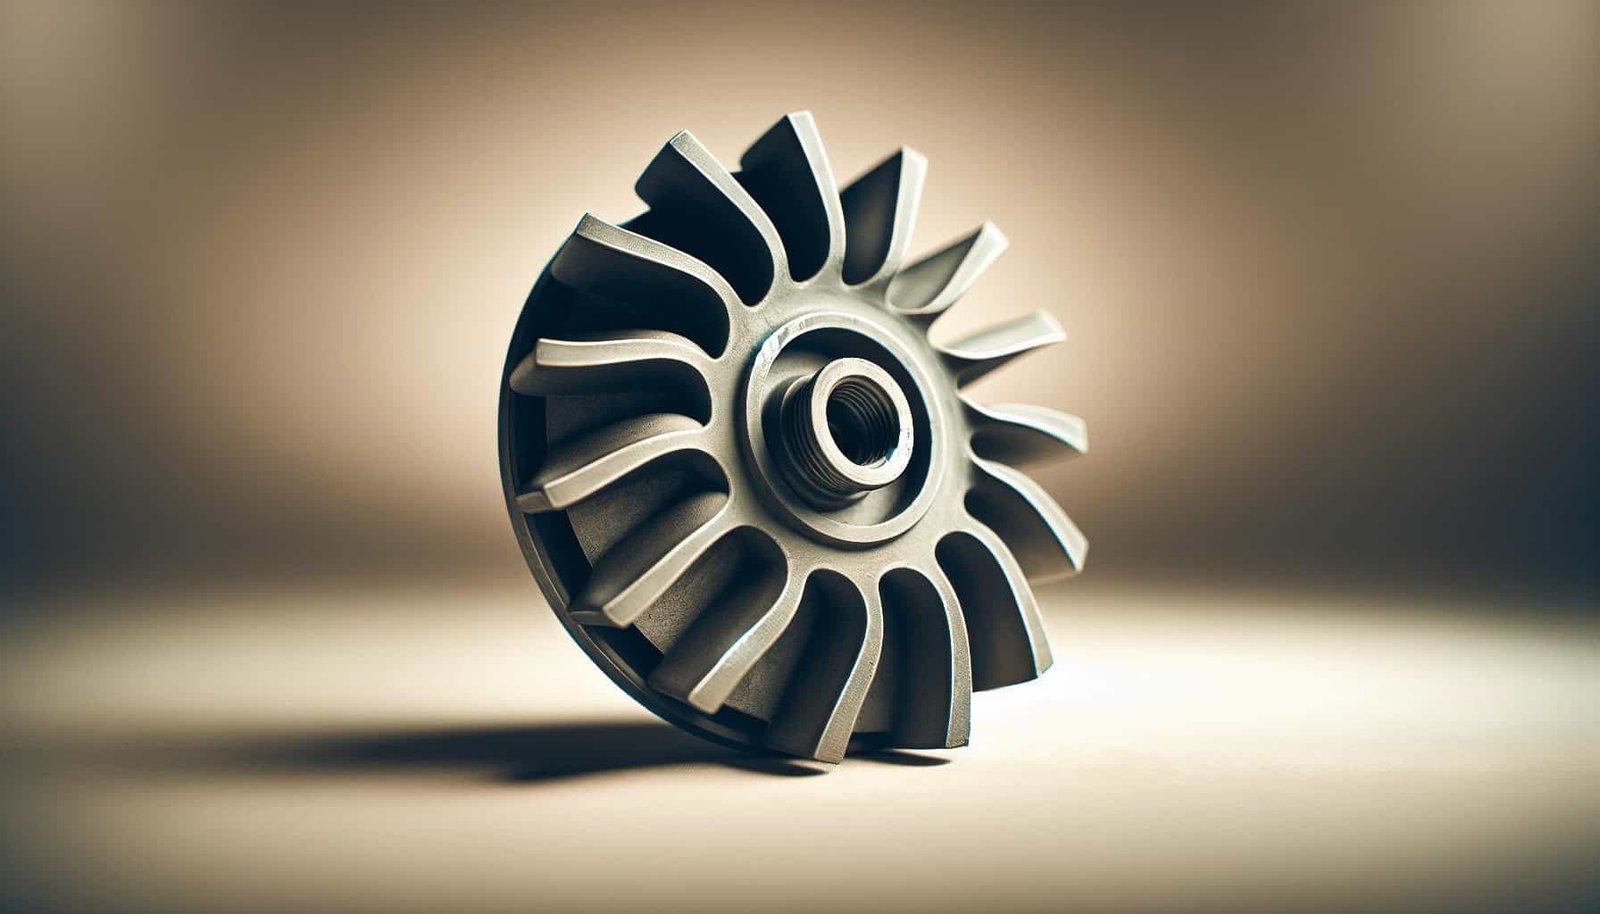
The impeller, a rotating component of the pump, plays a significant role in moving water from your well to your home. It works by converting rotational energy into kinetic energy, which pushes water through the system. Regular maintenance of your impeller can prevent breakdowns and ensure that the water flow remains consistent.
Why the Impeller Needs Attention
Just like any mechanical part, the impeller can accumulate debris, mineral deposits, and other residues over time. These buildups can lead to reduced efficiency, increased wear and tear, and eventually, complete failure of the pump if not addressed. Proper maintenance will keep your impeller in top condition and prolong the lifespan of your well pump.
Steps to Recognize When Your Impeller Needs Cleaning
Knowing when your impeller needs attention is the first step in maintaining it. Here are some signs that indicate your impeller may need cleaning or maintenance:
- Reduced Water Flow: If you notice a decrease in water pressure, it might be due to a clogged or dirty impeller.
- Unusual Noises: Any strange sounds coming from your pump could indicate debris lodged in the impeller.
- Frequent Cycling: If your pump cycles on and off more frequently, it could mean that the impeller isn’t operating efficiently.
- Increased Energy Consumption: A dirty or clogged impeller makes the pump work harder, which can lead to higher energy bills.
Preparing for Impeller Maintenance
Before you start cleaning, it’s essential to have everything in place. Preparation makes the process smoother and ensures you don’t miss any crucial steps.
Gather Necessary Tools and Materials
Having the right tools at your disposal will make the task easier and more efficient. Here’s what you’ll need:
| Tool/Material | Purpose |
|---|---|
| Screwdrivers (flathead and Phillips) | To remove screws and open compartments |
| Wrench Set | To disconnect and reconnect components |
| Clean Cloths or Rags | To wipe down parts |
| Soft Brush | To clean the impeller |
| Bucket of Clean Water | For rinsing the impeller |
| Protective Gloves | To keep your hands safe |
| User Manual | Specific instructions for your pump model |
Safety Precautions to Consider
Safety should always be your top priority. Here are a few precautions you must take:
- Turn off the Power: Before you begin, make sure to turn off the pump and disconnect it from the power source to avoid electrical hazards.
- Use Protective Gear: Wear gloves and safety glasses to protect yourself from sharp edges and any chemical residues.
- Work in a Well-Ventilated Area: If you’re using any cleaning solutions, ensure that the area is well-ventilated.
Step-by-Step Guide to Cleaning Your Impeller
With your tools in hand and safety measures in place, you can now proceed to clean your impeller. Here’s a step-by-step guide to help you through the process.
Step 1: Disconnect the Pump
Begin by turning off the power supply to the pump. This is a critical safety step. Once the power is off, disconnect the pump from the piping system.
Step 2: Access the Impeller
Carefully remove the housing that covers the impeller using the appropriate screwdrivers. Refer to your pump’s user manual for specifics, as the design can vary between different models.
Step 3: Remove the Impeller
Once the housing is off, you should be able to see the impeller. Carefully remove it from the pump. Some impellers may be secured with screws or clips, so handle these with care.
Step 4: Clean the Impeller
Now that you have the impeller out, it’s time to clean it. Use a soft brush to remove any dirt, debris, or mineral deposits. Dip the brush in clean water and gently scrub to avoid damaging the impeller.
Step 5: Inspect for Damage
While cleaning, take the opportunity to inspect the impeller for any signs of wear and tear, such as cracks or erosion. If the impeller is damaged, it might be best to replace it rather than just clean it.
Step 6: Reassemble the Pump
Once you’ve cleaned and inspected the impeller, carefully place it back in the pump. Reattach any clips or screws that were holding it in place. Replace the housing and secure it with screws.
Step 7: Reconnect and Test
Reconnect the pump to the piping system and restore power. Turn the pump on and observe its operation. Check for any unusual noises or leaks and make sure that the water flow is back to normal.

Tips for Ongoing Maintenance
Regular maintenance is key to keeping your impeller and pump in good working condition. Here are some tips to help you maintain your well pump and its components:
Schedule Regular Inspections
Set a routine to inspect your well pump and impeller periodically. Regular checks can help you catch potential issues early before they become serious problems.
Keep an Eye on Water Quality
The quality of your well water can impact the condition of your impeller. Hard water, for example, can lead to mineral buildup. Using a water softener or filter can mitigate this problem.
Address Issues Promptly
If you notice any signs of trouble, such as reduced water pressure or unusual noises, address them promptly. Delaying repairs can lead to more significant damage and costly repairs.
Troubleshooting Common Impeller Problems
Even with regular maintenance, you may encounter issues with your impeller. Here are some common problems and their potential solutions:
Clogged Impeller
A clogged impeller is a common issue that can reduce water flow and efficiency. Cleaning the impeller regularly can prevent this problem. If your impeller frequently clogs, consider installing a pre-filter to capture larger debris before it reaches the pump.
Worn-Out Impeller
An impeller that shows signs of wear, such as cracks or significant erosion, should be replaced. Continuing to use a damaged impeller can cause further damage to the pump and reduce its lifespan.
Impeller Imbalance
Sometimes, the impeller can become unbalanced due to uneven wear or debris. This can cause vibrations and noise during operation. Cleaning the impeller thoroughly and ensuring it is seated correctly can resolve this issue.
Conclusion
Taking the time to clean and maintain your well pump’s impeller is a worthwhile investment that pays off in the long run. By following the steps outlined above, you can ensure that your well pump operates efficiently and reliably. Regular maintenance and prompt attention to any issues can extend the lifespan of your pump and keep your water supply uninterrupted. So, the next time you wonder about your well pump’s impeller, you’ll know exactly what to do to keep it in tip-top shape.


