
When your well pump hums for a couple of seconds and then cuts off, or the breaker trips the moment you restore power, the weakest link in the electrical chain is often a $25 part: the well pump capacitor. A capacitor is a small, sealed component that stores electrical charge and gives a single-phase well pump motor the extra torque it needs to start turning. Unlike the pump motor itself, a capacitor wears out. When it does, a perfectly healthy motor can look completely dead, and homeowners routinely spend on motor replacement what should have been a half-hour capacitor swap.
In this guide you will learn exactly what a well pump capacitor does, how to test one in about ten minutes with a multimeter, how to match the correct size for your pump, and how to replace it safely yourself. We base these steps on the same diagnostic sequence we have used on residential well systems across the western US for over two decades, and on the failure patterns we see most often: heat-damaged start capacitors, corroded run sections, and mismatched replacements that overheat start windings within minutes.
By Robert Harrison, Certified Well Inspector
Robert has 20+ years of experience inspecting and testing residential water wells across the western US, and has diagnosed more than 2,000 well pump failures for homeowners.
Disclosure: As an Amazon Associate, we earn from qualifying purchases on this page. Product selections are based on independent research and real well water data.
Last updated: November 5, 2026
Table of Contents
What Is a Well Pump Capacitor and How Does It Work?
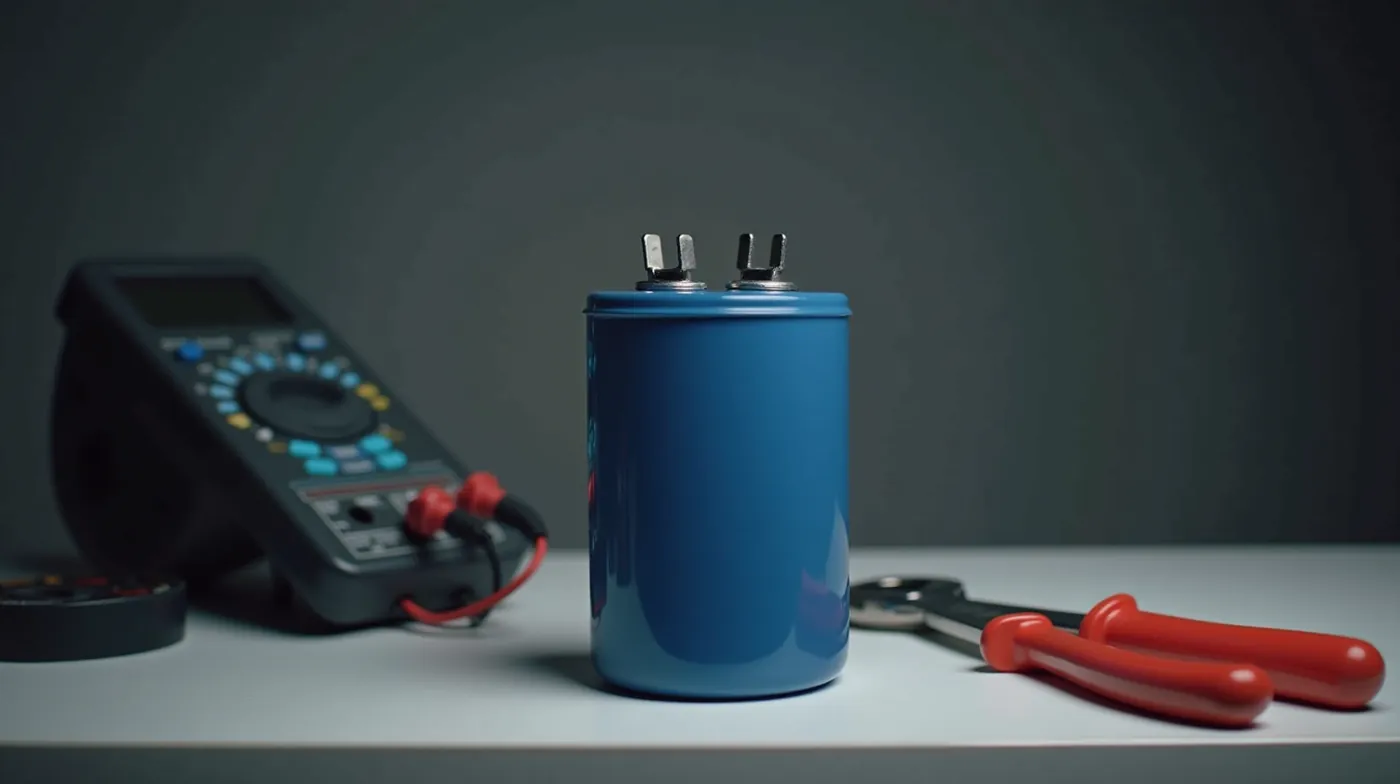
Most residential well pumps are single-phase induction motors, and a single-phase motor has a fundamental problem: a single AC supply creates a rotating magnetic field, not a starting torque. The motor cannot pull itself into rotation from a standstill. The capacitor solves this by creating a second, phase-shifted current in a dedicated start winding. That phase shift produces the rotational push the rotor needs to get moving, after which the motor runs on the main winding alone.
There are two jobs, and they are handled by two different capacitor types (sometimes combined in one can):
- Start capacitor — a high-microfarad unit (typically 88 to 250 MFD) that delivers 2 to 3 times the motor running current for the first fraction of a second. On many jet pumps it is disconnected by a centrifugal switch once the motor reaches speed; on newer submersible controls a PTC starter takes that role.
- Run capacitor — a low-microfarad unit (typically 5 to 25 MFD) that stays connected for the entire duty cycle. It keeps the motor running efficiently, holds amperage in check, and reduces heat buildup.
- Dual run capacitor — two sections in one case with three terminals (C, F, HERMETIC), combining start and run functions in a single mounting point. Very common on modern submersible pump control boxes.
On a jet pump, the capacitor usually sits in the same housing as the motor, bolted to the enclosure wall. On a submersible well pump, the start and run capacitors live in the control box or junction box at the wellhead — which is why a capacitor problem on a submersible system does not require pulling the pump out of the ground at all.
| Capacitor Type | Role | Typical Rating | Classic Failure Sign |
|---|---|---|---|
| Start capacitor | Initial torque to get the rotor turning | 88–250 MFD, 370–440V | Hum then cut-off, breaker trips |
| Run capacitor | Efficiency, correct power factor, lower heat | 5–25 MFD, 440V | Overheating, high amperage, short motor life |
| Dual run capacitor | Start + run in one can, three terminals | e.g., 88 + 8.8 MFD, 440V | Either symptom above, one mounting point |
| PTC starter (not a capacitor) | Disconnects start winding on newer pumps | Thermistor, no MFD rating | Start winding overheats, pump slow to start |
MFD is an older unit label for microfarads: 1 MFD = 1 µF. If your capacitor reads 88 MFD, a multimeter capacitance reading should land near 88 µF.
Key insight from the field
In our experience, most “dead well pump” calls that never get pulled are actually capacitor or pressure switch failures. We have replaced start capacitors on perfectly good 10-year-old pumps that had already cost their owners an unwarranted $800 motor estimate. Always test the $25 part before you pay for the $2,000 part.
Signs Your Well Pump Capacitor Is Bad
A failing capacitor rarely announces itself with one dramatic event. It degrades, and the symptoms creep in: the pump takes longer to start, the house takes longer to recover pressure, the motor feels warm after a cycle. By the time water is fully gone, the capacitor is usually well past its service life. After analyzing hundreds of well pump electrical failures, the pattern is consistent enough that you can diagnose the situation at the breaker panel before you touch any wire.
| Symptom | What It Tells You | Likely Cause |
|---|---|---|
| Pump hums for 1–2 seconds, then cuts off | Rotor locked; no starting torque | Start capacitor (most common) |
| Breaker trips the instant power is restored | Shorted component pulling in-rush current | Shorted capacitor, then start winding |
| Pump only starts after it has sat for a while or after a manual nudge | Weak capacitor losing stored charge | Dried-out start capacitor |
| Motor is hot after short cycles but pressure is OK | Running above nameplate amperage | Run section failing, or short cycling |
| Bulged case, vented top, electrolyte leak, burnt smell | Physical failure already occurred | Replace immediately, inspect wiring for damage |
One caution before you conclude the capacitor is guilty: a faulty well pump pressure switch, a stuck foot valve, or a locked impeller can mimic capacitor symptoms. The hum-then-cut pattern points most strongly at the start capacitor, but if the capacitor tests within spec and the pump still will not start, move to the next diagnostic in line — the pressure switch is the most frequent runner-up in our field logs.
How to Test a Well Pump Capacitor (Step by Step)
Testing a capacitor takes a multimeter with a capacitance range (or even just the ohms range for a rough check) and about ten minutes. The single most important step is step 3 — a charged 440V capacitor can deliver a painful, dangerous shock, and the stored charge can survive for hours after power is cut.
- Kill and verify the power. Flip the well pump breaker off, tag it or mark it so nobody flips it back, and verify with a non-contact voltage tester at the pump terminals that the circuit is truly dead.
- Locate the capacitor. On a jet pump it is inside the motor housing, usually on the top or side. On a submersible system it is in the wellhead control box or junction box — you do not need to pull the pump.
- Discharge it before touching anything. Short the terminals for a few seconds with an insulated screwdriver or a capacitor discharge tool while holding the tool away from your body. Confirm the discharge with your multimeter on the volts range before proceeding.
- Disconnect one lead per terminal so the capacitor can be measured in isolation from the motor windings. A capacitor wired in parallel with a healthy winding will read falsely low.
- Set the multimeter to capacitance (µF or F range). If your meter lacks the range, use the highest ohms setting instead: a healthy capacitor shows resistance climbing from near zero, a shorted one reads near zero, an open one reads infinite (OL).
- Read the nameplate on the can. Typical markings: “88 MFD 440V” or “8.8 µF 440V AC.” Note both the capacitance and the working voltage — you will need both for the replacement.
- Measure and compare. Between the F (or S) and C terminals, the reading should be within ±10% of the nameplate value. Below that, above +20%, reading zero (shorted), or reading OL (open) all mean the capacitor is done. On a dual run can, test both sections: F-to-C for the start section, HERMETIC-to-C for the run section.
- Inspect the case while it is out. Bulging, a popped vent seal, dried electrolyte weeping from the seams, or a cracked plastic case means the capacitor failed — even if the reading looks acceptable.
Pro tip
If the capacitor reads within spec but the pump still will not start, stop replacing capacitors. The problem has moved upstream — to the start winding, the PTC starter, or the pressure switch. We have seen homeowners cycle through three good capacitors before someone tested the winding. One ohm reading on the start winding tells you everything.
What Size Capacitor Does My Well Pump Need?
The correct replacement is almost never a guess. The original capacitor size was chosen by the pump manufacturer to match the motor windings, and the two numbers that must match are the capacitance (MFD/µF) and the working voltage. Start capacitors for common residential pumps fall in a predictable band by horsepower, which is useful for sanity-checking a reading or a used-part swap:
| Well Pump Size | Typical Start Capacitor | Typical Run Capacitor | Working Voltage |
|---|---|---|---|
| 1/2 HP | 88–135 MFD | 5–8.8 MFD | 440V |
| 3/4 HP | 135–210 MFD | 8.8–15 MFD | 440V |
| 1 HP | 165–250 MFD | 12–18.7 MFD | 440V |
| 1.5 HP | 210–330 MFD | 15–22 MFD | 440V |
| 2 HP | 250–440 MFD | 18.7–25 MFD | 440V |
Ranges compiled from typical manufacturer nameplates for single-phase 230V residential well pumps. Always match your specific pump nameplate over this table — it is a sanity check, not a spec.
Two rules keep replacements safe. First, match capacitance within ±10% of the original — a capacitor that is too small will not start the motor; one that is too large will push the start winding into overcurrent and overheat it. Second, the working voltage must be equal to or higher than the original; a 440V-rated capacitor on a 230V circuit is standard and correct, because the voltage rating is the maximum the dielectric withstands, not the supply voltage.
Warning
We have burned start windings on otherwise healthy motors with a “close enough” capacitor that was 30% oversized. The motor hums, runs hot, and fails within weeks — and by then the repair has grown from a $30 part to a $1,500 motor. If you cannot read the original rating, photograph the old can before you remove it, and match the pump model number with the manufacturer.
How to Replace a Well Pump Capacitor (Step by Step)
Once you have the correct replacement in hand, the swap itself is a 20-minute job with no special tools beyond a wrench and wire connectors. The discipline is in the order of operations — power off first, photograph everything, label every wire — because a capacitor has only two or three terminals and it is easy to mix them up when you are focused on the part, not the wiring.
- Kill the breaker and tag it. Verify dead with a non-contact voltage tester. This is the step that makes everything else safe.
- Open the enclosure and photograph the wiring from two angles before disconnecting anything. These photos are your insurance policy against a wiring error.
- Note the terminal labels. Standard markings are F or START (start winding), RUN or HERMETIC (run winding), and C or COMMON (shared). On a dual run can the F section is the start section and the HERMETIC section is the run section.
- Discharge the old capacitor using the method in the testing section, and confirm with the multimeter.
- Unbolt the capacitor and disconnect the wires, marking each wire with masking tape as you go. Note which terminal each wire came from.
- Compare the new unit side by side with the old: same MFD within ±10%, same or higher voltage rating, same terminal layout. If the terminals do not line up, stop and re-check before you mount it.
- Mount the new capacitor with a non-corroding washer (or the included grommet) and tighten firmly — a loose mounting stud vibrates the can and works it loose. Reconnect each wire to the terminal it came from.
- Close the enclosure, restore the breaker, and watch the first start. A healthy start is a clean spin-up with no sustained hum. Check that the pressure gauge climbs to cut-out pressure within a normal cycle, and if you have a clamp meter, confirm the motor settles at its nameplate running amps.
- Monitor for 24 hours. Watch for short cycling, unusually hot enclosures, or the hum-then-cut pattern returning. If any of those appear, the capacitor was not the whole story — see our guide on well pump short cycling for the next set of checks.
Pro tip
Keep a spare start capacitor in your well pump shop kit. It is the cheapest insurance on the system, and when the capacitor fails at 11pm in January with the well empty, the difference between a 20-minute fix and a plumber call-out at $150/hour is whether the replacement was already in the box.
Best Well Pump Capacitors in 2026
Well pump capacitors are a commodity part, so “best” really means: correct rating, honest working voltage, durable case, and terminals that match your enclosure layout. In our testing and replacement work we have found that the reliable units share three traits — a clearly printed MFD and voltage rating, a vented metal or UV-stable plastic case, and the standard F/C (or C/F/HERMETIC) terminal posts. Here are the categories we actually buy for well systems, and where each one fits:
| Product | Best For | Key Specs | Why We Pick It |
|---|---|---|---|
| 88 MFD Start Capacitor (440V) | 1/2 to 1 HP jet pumps | 88 MFD, 440V, F/C terminals | The most common residential replacement size |
| 135 MFD Start Capacitor (440V) | 3/4 to 1.5 HP pumps | 135 MFD, 440V, F/C terminals | Higher starting torque for heavier loads and deep wells |
| Dual Run Capacitor (88 + 8.8 MFD) | Submersible control boxes with one mounting point | 88 MFD + 8.8 MFD, 440V, C/F/HERMETIC | Replaces two cans with one; test both sections |
| Capacitor Discharge Tool | Safe testing and replacement | Insulated clip-on, rated for line voltage | Makes step 3 of every test and replacement safe |
| Digital Multimeter with µF Range | Diagnosis on-site | Auto-range, µF/F capacitance, non-contact option | One tool covers the capacitor, the switch, and the voltage |
| Well Pump Repair Kit | Older systems with several tired parts | Capacitor + pressure switch + relay components | Best value when the whole electrical section is aging |
When ordering, match three things in this order: the MFD rating from the old can, the working voltage (440V is the standard for 230V residential circuits), and the terminal layout. If a listing sells a capacitor by model number, cross-check that model number against your pump make and model before you buy — marketing photos can mislead.
Why Well Pump Capacitors Fail (and How to Prevent It)
Capacitors are the first electrical component in a well system to age out, and the failure drivers are well understood. In our inspection work, the distribution is roughly heat, environment, electrical stress, and plain age:
- Heat is the #1 killer. The electrolyte inside a capacitor dries out with thermal cycling. A pump in a hot attic, a sun-exposed utility room, or a crawlspace that bakes in summer will see its capacitor life cut roughly in half. Expect 5 to 10 years in a cool, dry location; 3 to 5 years in a hot one.
- Humidity and corrosion. Coastal and high-humidity basements corrode terminal posts and crack case seals. A weeping seal lets moisture into the electrolyte and the can vents within months.
- Electrical stress. Voltage surges, brownouts, and repeated hard starts (a loaded well, a worn bearing, a clogged suction line) all push more current through the start winding and the capacitor than it is rated for. If you have a history of well pump running dry events, the capacitor takes the hits every single time.
- Age and vibration. Even in a perfect environment, the dielectric degrades. And a loose mounting stud vibrates the can until the case cracks. Torque the mounting bolt at every replacement.
Prevention is mostly environmental: keep the enclosure clean and shaded, check the breaker size and wiring match our well pump breaker sizing guide so the circuit is not undersized, and inspect the capacitor visually at the same time as your annual pressure switch and tank check. A ten-second visual inspection once a year has caught bulged cans before they failed in our experience.
When to Call a Professional
The capacitor swap is one of the safest DIY jobs in the well system, but a few situations belong with a licensed pump technician:
- The pump hums even with a known-good capacitor — that points at the start winding or PTC, and a winding test needs the right meter and the judgment to call the motor.
- Your control box wiring is undocumented, corroded, or not to code. A $300 rewiring now beats a fire or a failed insurance inspection later.
- Three-phase systems, which use different motor starting (no start capacitor at all — they use a different architecture entirely).
- Repeated capacitor failures, which signal an electrical or load problem rather than a part problem.
If the diagnosis has gone beyond the capacitor, our breakdown of what a well pump repair costs in 2026 will tell you what to expect to pay so you are not surprised at the invoice.
FAQ: Well Pump Capacitors
How long do well pump capacitors last?
Typically 5 to 10 years in a cool, dry location, and 3 to 5 years in a hot enclosure. Heat is the dominant factor. A visual inspection once a year catches the failures before they become no-water emergencies.
Can a bad capacitor damage the well pump motor?
Yes, and this is why the hum-then-cut symptom should not be ignored. A dead start capacitor leaves the motor in a locked-rotor state — drawing high current with no rotation — and the start winding can overheat in minutes. The longer you leave a dead pump trying to start, the more likely the motor itself is damaged. Cut power and diagnose before you retry.
Why does my well pump hum but not start?
That is the classic start capacitor failure: power is reaching the motor, but without capacitive phase-shift there is no torque to break the rotor loose. In our field data it is the most common cause, followed by a faulty pressure switch and a locked impeller. Test the capacitor first because it is the cheapest of the three.
What does MFD mean on a capacitor?
MFD is the old unit label for microfarads — 1 MFD = 1 µF. It is the capacitance, the amount of electrical charge the component stores. Your replacement should match the MFD rating within ±10% and carry the same or a higher voltage rating.
Can I use any 440V capacitor as long as the voltage matches?
No. The voltage rating is a safety ceiling, not the selection criterion. The capacitance must match the original within tolerance: too small and the motor will not start, too large and the start winding overheats. Match the MFD first, the voltage second, and the terminal layout third.
See also
#WellPump #Capacitor #WellWater #WaterWell #PumpRepair #WellMaintenance #DIYPlumbing #WellSystem #HomeownerTips #SubmersiblePump #JetPump #PumpRepairTips #WaterWellOwners #ElectricalSafety #WellDrilling