Are you wondering what actually happens during a water well inspection and what you should expect?
What Happens During A Water Well Inspection?
A water well inspection checks the physical condition of your well system and the quality of your water. It helps you identify safety, structural, and contamination issues so you can take action to protect your household and your investment. This article walks you through each step so you feel informed and prepared.
Why a water well inspection matters to you
A well inspection gives you a clear understanding of whether your drinking water is safe and whether your well system is functioning properly. You’ll learn about structural problems that might let contaminants enter your water, discover if your pump and controls are working efficiently, and get lab results that measure actual water quality. This knowledge helps you protect health, avoid costly repairs, and comply with local regulations.
Who performs a water well inspection?
A licensed well contractor, certified well driller, hydrogeologist, or public health inspector typically performs inspections. You should choose someone licensed in your state or province and experienced with private wells. For complex issues, consultants with groundwater or water-quality specialties may be needed.
What you should ask when hiring an inspector
Ask about credentials, liability insurance, references, and whether they take water samples or only perform physical checks. Confirm what’s included in the inspection report, turnaround time for lab tests, and approximate cost. You’ll want an inspector who communicates clearly with you and provides practical next steps.
When you should schedule an inspection
You should arrange for an inspection in several situations: before buying a home with a private well, after seasonal storms or flooding, following repairs or pump installations, when you notice taste, odor, or appearance changes, and as part of routine maintenance every 1–3 years. If someone in your household becomes ill with symptoms like gastrointestinal upset, get water tested promptly.
Recommended inspection frequency
Routine water testing for bacteria is often done annually, while broader chemical testing can be performed every 1–3 years or when you suspect contamination. A full physical inspection of the system is reasonable every 3–5 years, or more often if you have frequent problems.
What the inspection covers — an overview
Inspections typically include:
- Visual and physical checks of the wellhead, casing, cap, and surface conditions.
- Assessment of the pump, pressure tank, controls, and electrical components.
- Measurement of static water level, pump drawdown, and well yield.
- Sanitary survey of the surroundings for potential contamination sources.
- Water sampling and laboratory testing for bacteria and common chemical contaminants.
- Review of well records and permits, if available.
Each of these elements tells you something different about risk and performance. The inspector will compile findings and recommend repairs, treatments, or further testing.
Site and structural inspection
The inspector will examine the immediate area around your well for anything that can compromise water safety. This is sometimes called a sanitary survey.
Wellhead, cap, and casing
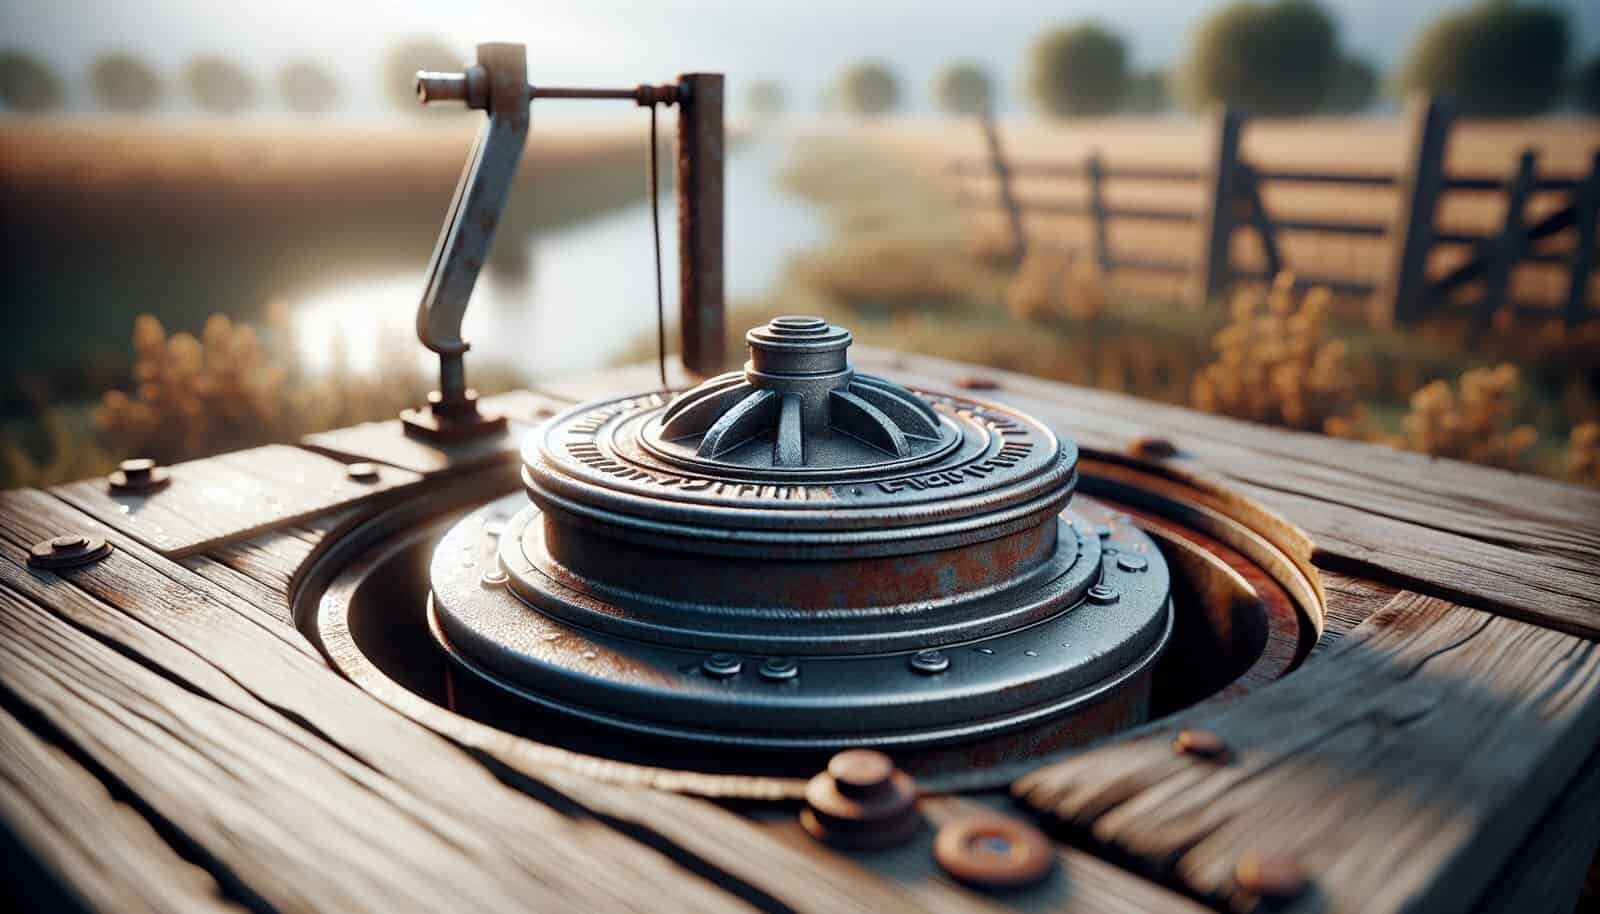
The wellhead is where the well meets the surface. The inspector checks the well cap and casing for damage, proper sealing, and evidence of tampering. Caps that are loose, cracked, or missing can allow insects, small animals, or surface runoff into the well.
Surface seal and grouting
A proper surface seal (grout) prevents contaminated surface water from traveling down the annular space between the casing and borehole. The inspector looks for cracked or missing grout and records how far above ground the seal extends.
Well depth and casing condition
Confirming the depth and inspecting the casing for corrosion, holes, or damaged joints helps determine if the well structure is sound. If the casing is compromised, the risk of contamination from shallow aquifers or surface sources increases.
Surface drainage and nearby hazards
The ground around the well should slope away so water runs clear of the wellhead. The inspector identifies contamination sources nearby, like fuel tanks, septic systems, livestock areas, pesticide storage, or drainage from barns and roadways.
Mechanical and electrical system inspection
Your well’s mechanical and electrical components determine whether your water system delivers consistent pressure and flow.
Pump type and pump condition
The inspector will identify the pump type (submersible, jet, or shallow-well pump), note the model and age, look for signs of wear, and assess whether it’s suited to the well. They may measure the pump’s performance during a yield test.
Pressure tank and controls
A pressure tank and switch maintain steady water pressure. The inspector inspects the tank for rust or leaks, checks the pressure settings, and tests the pressure switch to ensure it cycles properly. A failing pressure tank can cause short cycling or low pressure.
Electrical and safety components
Inspectors check wiring, conduit, disconnect switches, and grounding. Proper electrical installation prevents shocks and protects equipment. They also verify that any alarms, flow sensors, or automatic controls are working.
Hydrologic testing: static water level, yield, and drawdown
Testing how the well performs when pumped provides critical data on water availability and pump sizing.
Static water level
The static water level is measured when the pump has been off for several hours and indicates the water level in your well at rest. This helps identify seasonal changes and long-term declines in the aquifer.
Pumping test and drawdown
A pumping test measures how much the water level drops (drawdown) while the pump runs at a known rate. The inspector will run the pump and record water levels over time. High drawdown or low yield can indicate a poor aquifer, a failing well, or pump problems.
Well yield and recovery rate
Yield is how much water the well can sustainably provide. The tester measures recovery after pumping stops. A well with slow recovery may not support heavy water demands, and you may need to limit simultaneous water use or consider well rehabilitation or a different water source.
Water sampling and laboratory tests
Testing your water is one of the most important parts of an inspection. Visual and mechanical checks can’t detect many contaminants that affect health or taste.
Typical samples taken
The inspector commonly collects samples for:
- Bacteriological analysis (total coliforms and E. coli)
- Nitrate and nitrite
- Common ions: chloride, sulfate
- Metals: lead, arsenic, iron, manganese
- pH and total dissolved solids (TDS)
- Volatile organic compounds (VOCs) and pesticides when suspected
You may choose additional tests based on local geology (e.g., radon, uranium) or nearby agricultural/industrial activity.
How sampling is done
Samples are typically collected from an indoor tap after flushing to remove stagnant water. Sterile bottles and chain-of-custody forms are used. For bacteria, samples must be chilled and delivered to the lab within a specified time. The inspector or homeowner should avoid disinfecting fixtures before sampling unless instructed.
Interpreting results
Bacterial contamination usually indicates a breach in the wellhead or surface infiltration and requires immediate action. Elevated nitrates often point to agricultural runoff, septic systems, or manure storage. Metals and VOCs relate to geology or nearby industrial contamination. Acceptable limits are defined by regulatory agencies; your inspector should explain what each result means and recommend responses.
Common contaminants and their implications
Knowing which contaminants to look for helps you prioritize action when results come back.
| Contaminant | Common sources | Health effects | Typical corrective action |
|---|---|---|---|
| Total Coliforms & E. coli | Surface runoff, broken well seal, animal/insect entry | Gastrointestinal illness; E. coli indicates fecal contamination | Shock chlorination; fix sanitary defects; retest |
| Nitrate/Nitrite | Fertilizers, septic systems, animal waste | Infants: methemoglobinemia (blue baby syndrome) | Identify source; improve septic; alternative water or treatment |
| Arsenic | Natural geologic sources | Long-term cancer risk, skin issues | Point-of-use or point-of-entry treatment (adsorption, reverse osmosis); consider alternative source |
| Lead | Plumbing, solder, fixtures | Developmental issues in children, neurological | Replace plumbing, use filters certified for lead, test and remediate |
| Iron & Manganese | Natural geologic sources | Staining, taste, clogging equipment (cosmetic/operational) | Filtration, water softeners, aeration |
| VOCs (e.g., solvents) | Gas stations, industrial spills, pesticides | Various: cancer risk, neurologic issues | Identify source; treatment (air stripping, GAC), possible well abandonment |
| Total Dissolved Solids (TDS) | Mineral dissolution, brackish water | Taste, scaling | Treatment (reverse osmosis), blending with other sources |
This table helps you evaluate urgency and treatment options based on results.
Sanitary survey: what the inspector looks for nearby
The inspector will document anything within the typical setback distances that could contaminate your well, such as septic fields, fuel tanks, animal pens, chemical storage, or low areas where runoff accumulates. You should make changes to reduce risks, such as relocating storage, repairing septic systems, or installing proper drainage.
Typical minimum setback distances
Regulations vary, but common recommended distances include:
- Septic tank: 50–100 feet
- Drainfield: 100–200 feet
- Fuel storage: 50–100 feet
- Barns and livestock: 50–100 feet
These are general guidelines; check your local rules. If hazards are too close, the inspector will flag them and suggest mitigation steps.
Sanitation and disinfection: shock chlorination
If bacteria are detected, shock chlorination is a common first response. The inspector will either disinfect the well and plumbing or instruct you to have it done.
What shock chlorination involves
The process introduces a high concentration of chlorine into the well and piping for a specified contact time, followed by flushing until chlorine is removed. This kills many bacteria but may not address chemical contaminants. After treatment, you should retest water to confirm it’s free of bacteria.
When to use shock chlorination
Use it when tests show coliforms or E. coli or when you see signs of biological activity (slime, iron bacteria). If contamination recurs, you may have a structural problem that requires repair, such as surface water entry or a fractured casing.
Repairs and rehabilitation options
If the inspection identifies a problem, several corrective actions are possible.
Wellhead and casing repairs
Replace or repair caps, seals, and damaged casing. Install a sanitary well cap and regrout the annular space if necessary to stop surface infiltration.
Pump and pressure system repairs
Replace failing pumps, correct pump sizing, repair or replace pressure tanks, and fix faulty switches or wiring. Proper repair prevents repeated problems and improves efficiency.
Well redevelopment and cleaning
If yield is low or well is clogged with sediment, a well can be developed or rehabilitated using methods like surging, airlifting, chemical treatment, or redevelopment with specialized equipment. This can restore productivity and extend well life.
Abandonment of old wells
Abandoned or unused wells are a serious contamination risk. Proper sealing (grouting) by a licensed contractor prevents them from acting as a conduit for surface contaminants into groundwater.
Typical inspection duration and cost
Inspection time and costs vary widely depending on the scope and region.
| Inspection Type | Typical time | Typical cost range (USD) |
|---|---|---|
| Basic visual & sanitary survey | 1–2 hours | $100–$300 |
| Full physical inspection + flow test | 2–4 hours | $200–$600 |
| Water sampling (lab fees per sample) | — | $20–$200 per parameter |
| Comprehensive inspection with pump test + lab | 3–6 hours | $400–$1,200+ |
Costs depend on travel distance, well depth, complexity, and the number of lab tests you order. If you’re buying a home, consider adding the well inspection to your purchase contingencies.
What the written inspection report includes
You should receive a written report that usually contains:
- Site photos of the wellhead and surrounding area
- Measurements: static level, pumping level, well depth, casing length
- Pump specifications and pressure tank settings
- Lab test results with interpretation
- List of deficiencies and recommended repairs
- Estimated costs or referrals for repairs or further testing
A clear report helps you make decisions about repairs, negotiation in a sale, or ongoing monitoring.
How to prepare before the inspector arrives
Prepare to make the inspection efficient and accurate by doing a few simple things.
Steps you can take
- Locate well records, permits, and previous test results for the inspector to review.
- Make sure the inspector has access to the wellhead, mechanical room, and any interior sampling taps.
- Turn off automatic irrigation or other large-demand systems so the inspector can test pump performance without interference.
- Note any recent changes such as new septic systems, chemical use, flooding, or unusual water taste/odor.
These steps save time and help the inspector focus on items of concern.
After the inspection: next steps for you
Once you receive the report, prioritize actions based on safety first. If bacteria are present, follow up immediately with disinfection and retesting. For structural repairs, obtain multiple quotes from licensed contractors. If contaminants need treatment, evaluate point-of-use vs. point-of-entry systems and long-term options like connecting to a municipal supply if feasible.
Document and track changes
Maintain a log of inspections, test results, repairs, and service dates. This record helps future inspections and supports property transfers. It’s also useful in evaluating long-term changes in water quality or yield.
Emergency situations and immediate steps
If you detect a sudden change—cloudy water, strong odor, discoloration, or illness—do not drink the water until it’s tested. Use bottled water for drinking and food preparation. Contact a licensed inspector or public health authority immediately, especially if multiple household members become ill.
After flooding or septic failure
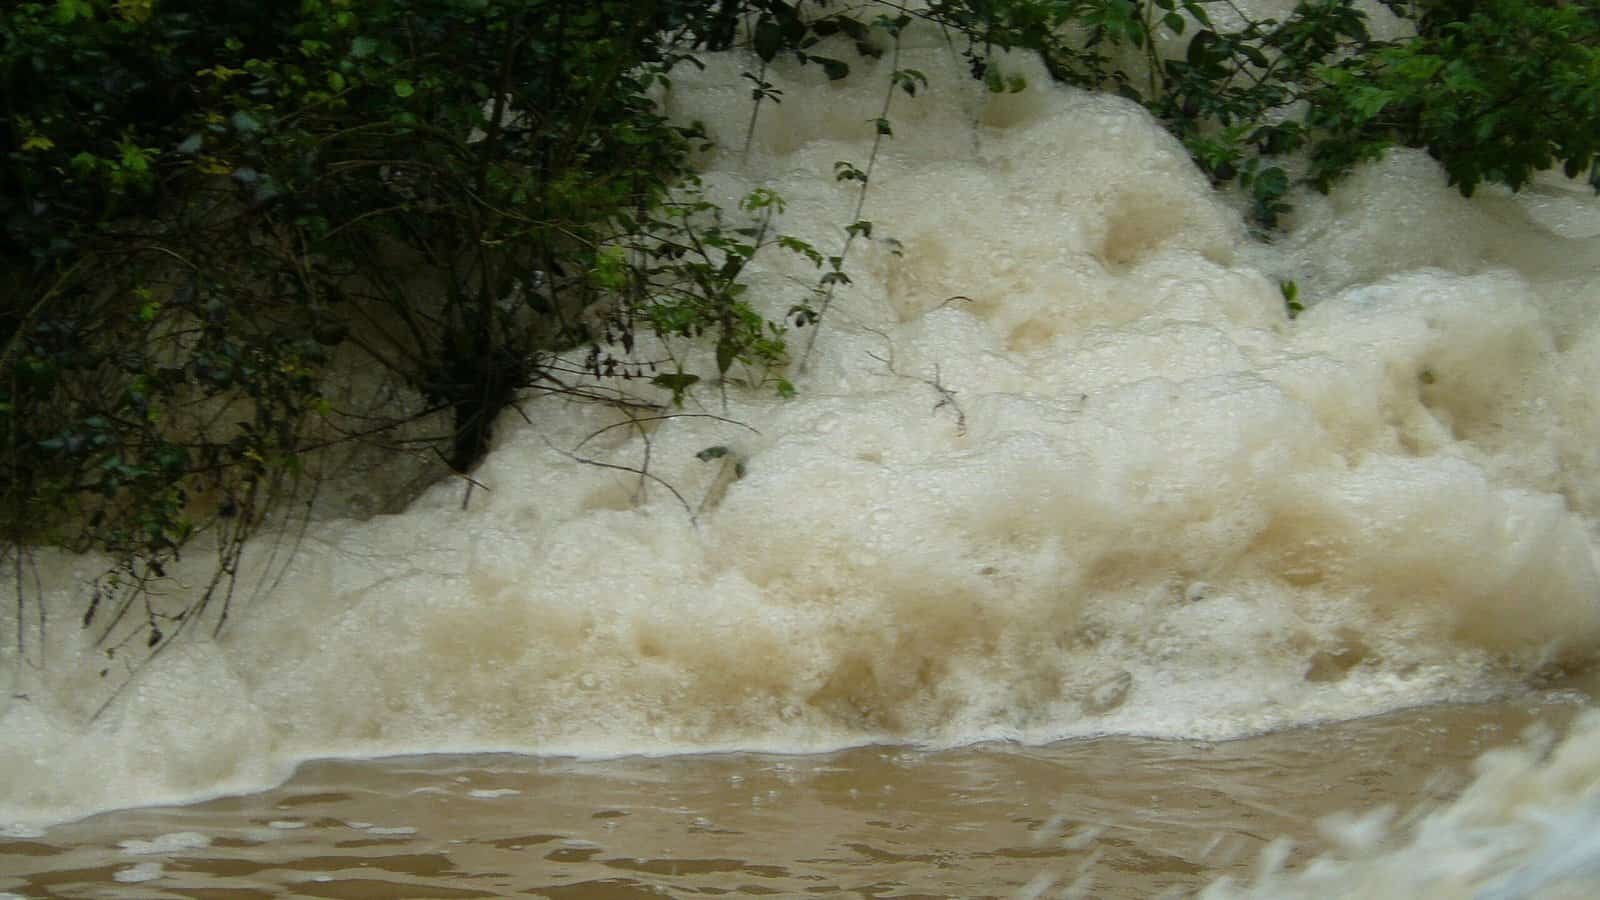
Floodwater can contaminate wells through surface infiltration. If your well was flooded, arrange for a complete inspection and shock chlorination, with follow-up bacteriological testing before resuming normal use.
Common myths about well inspections
A few misconceptions can lead to complacency; here are clarifications.
- Myth: “If the water looks clear, it’s safe.” Visual clarity does not guarantee absence of bacteria or chemical contaminants.
- Myth: “My neighbor’s well is fine, so mine will be too.” Groundwater quality can vary significantly over short distances.
- Myth: “I don’t need testing because I’ve never had problems.” Some contaminants have no immediate taste or smell but pose long-term health risks.
Regular inspections and testing are the only reliable way to know your well’s condition.
When to involve public health agencies
If lab results show E. coli or other human health threats, notify your local public health department. They can provide guidance, public resources, and sometimes testing support. If contamination appears to be a result of a nearby regulated facility, environmental agencies may get involved.
Long-term well care and maintenance tips
Proactive maintenance reduces the risk of future problems. Keep the area around your well free of debris, avoid using chemicals near the well, maintain septic systems, and seal any abandoned wells on your property. Test water annually for bacteria and every 1–3 years for a broader suite of parameters.
Simple maintenance checklist
- Keep well cap tightly secured.
- Keep chemicals, fuel, and fertilizer away from the well.
- Keep vehicles and heavy equipment off the well.
- Repair cracked or uneven concrete pads.
- Ensure proper drainage away from the well.
- Schedule routine pump service every few years.
These simple steps protect your water and reduce expensive future repairs.
Final thoughts: what you gain from a proper inspection
A thorough well inspection gives you actionable information about water safety, system performance, and long-term risks. You’ll get a prioritized list of repairs and treatments, lab data to inform decisions, and documentation that increases the value and safety of your property. Being informed helps you protect your family and avoid surprises.
If you have questions about the inspection process, test results, or your options for repairs and treatment, consult a licensed well professional or your local public health agency. Your well is a vital piece of home infrastructure, and regular inspection is the best way to keep it working safely and reliably.
