Have you ever found yourself wondering about the safest way to install a well on your property? It’s a common question, especially if you’re thinking about adding a water source that gives you control over water quality and supply. Whether you’re new to this idea or just looking for more information, you’re in the right place. Let’s take a deep look at what’s involved in installing a well, from planning through the final stages, so you can make informed decisions every step of the way.

Understanding the Basics of Well Installation
Before diving into the process, it’s essential to understand what a well is and why having one might be beneficial. A well is a structure created to access groundwater from underground aquifers. It can provide a reliable source of water for drinking, irrigation, and other household needs. Moreover, having a well can enhance your property’s value by offering an independent water supply.
Why Consider Installing a Well?
The main advantage of installing a well is gaining access to a private and continuous water supply. This autonomy means you’re less reliant on municipal water systems, which can sometimes be disrupted or contaminated. Wells can also be more cost-effective in the long run, particularly if local water rates are high. Plus, because you’re drawing from a natural source, the water is often of high quality, provided the well is properly constructed and maintained.
Components of a Well
Understanding a well’s components can help you appreciate the installation process:
- Casing: This is a tube-shaped structure placed in the ground to prevent collapse and keep surface contaminants away from the water source.
- Screen: Positioned at the bottom, the screen prevents sediments from entering while allowing water to flow through.
- Pump: This is essential for moving water from the well to your home.
- Seal: Placed at the top, the seal prevents surface water and debris from entering the well.
With these components in mind, you can better relate to the installation steps covered later.
Assessing Your Property for Well Installation
Before starting the installation, assessing your property is vital to ensure that installing a well is feasible. This phase involves a series of evaluations and preparations.
Site Evaluation
A professional will help you determine the best location for the well on your property. Factors to consider include:
- Soil composition: Different types of soil can affect drilling ease and well stability.
- Topography: Elevation changes can influence water flow and quality.
- Proximity: The well should be located away from potential contamination sources like septic tanks and fertilizer storage.
Legal and Regulatory Considerations
Compliance with local regulations is crucial. You might need permits or approvals from local authorities to ensure your well meets safety and environmental standards. Knowing these prerequisites in advance can save time and prevent legal complications.
Water Testing and Analysis
Before drilling, conducting water tests will reveal the quality and composition of your potential water source. Analyzing water for contaminants will help you decide if additional treatment systems are necessary post-installation.
Planning Your Well Installation
The planning stage is where you finalize designs and engage with professionals who will bring the well to fruition. Good planning minimizes issues during installation.
Selecting the Right Well Type
Several well types may suit your needs:
- Dug/Bored Wells: Shallow and wide, suited for areas with a high water table.
- Driven Wells: Use a pipe driven into the ground; suitable for sand or gravel environments.
- Drilled Wells: Deep and narrow, capable of accessing water from deep aquifers and generally the most reliable.
Table: Well Type Comparison
| Well Type | Depth | Cost | Durability | Suitable Terrain |
|---|---|---|---|---|
| Dug/Bored | Shallow | Low | Medium | High water table areas |
| Driven | Moderate | Moderate | Moderate | Sand/Gravel |
| Drilled | Deep | High | High | Most terrains |
Choosing a Reliable Contractor
Hiring a professional contractor with a good track record is essential for a safe and efficient installation. Look for:
- Licenses and Certifications: Ensure they meet state and local requirements.
- References and Reviews: Speak to previous clients or check online reviews for insights.
- Insurance: Verify that the contractor carries adequate liability insurance.
Installation Process
The actual installation process involves several steps, each requiring careful attention to detail to avoid future issues.
Drilling the Well
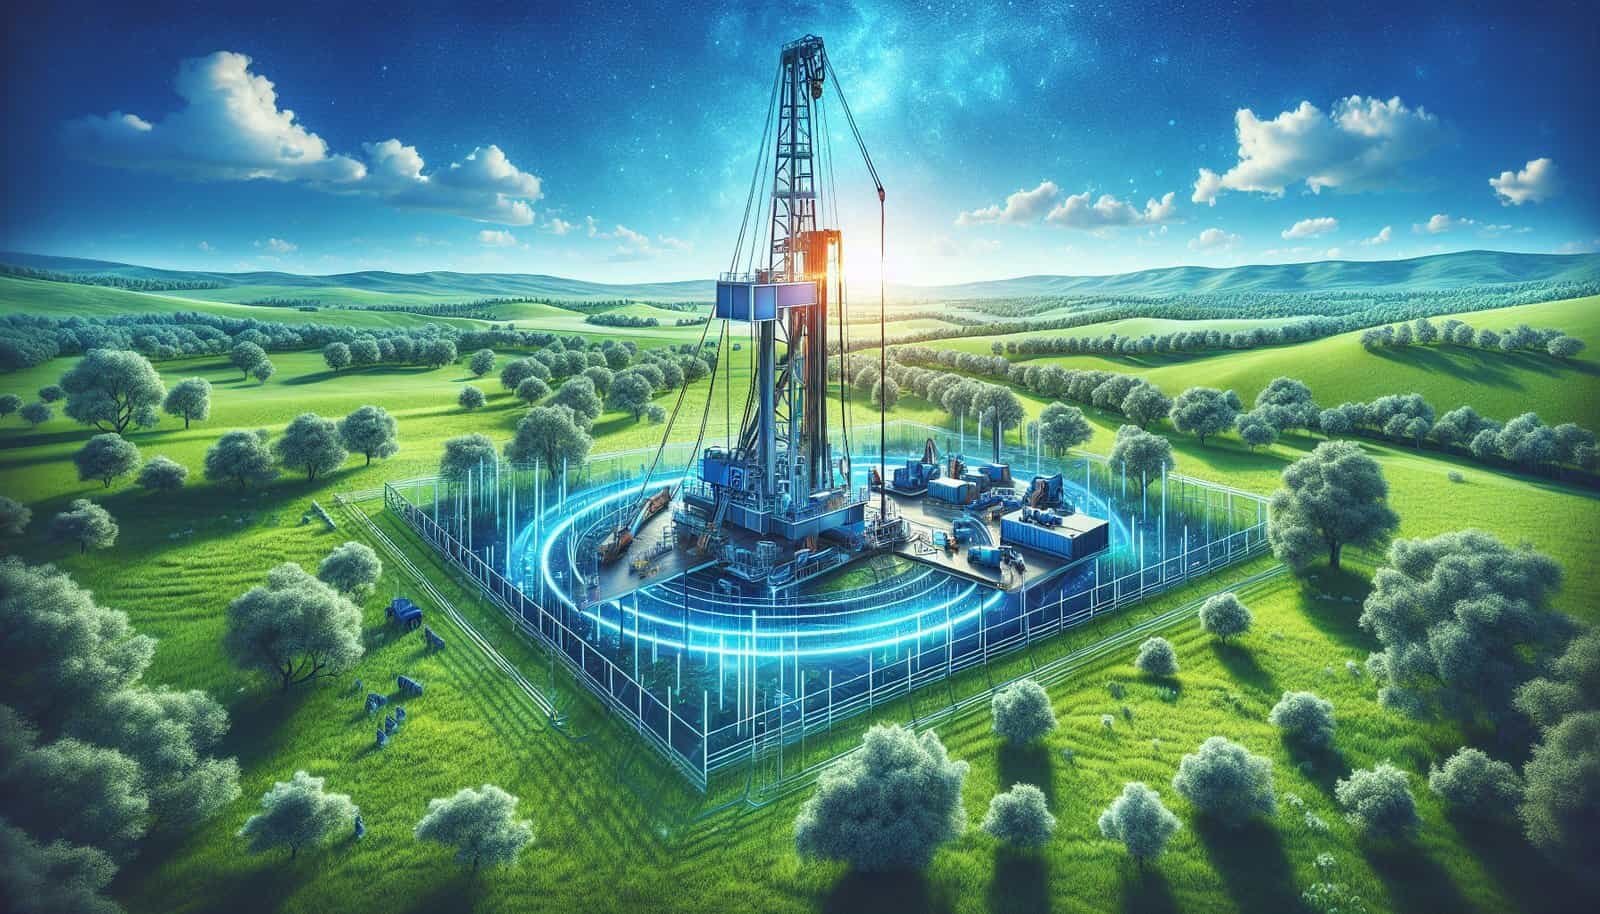
Drilling is typically the first physical step and requires specialized equipment. Depending on the well type, the process and duration can vary. Generally:
- Select Drilling Method: Rotary or cable tool methods are common.
- Monitor Depth and Alignment: Ensure the drill follows the planned path.
- Install Casing and Screen: These components prevent the well from collapsing and ensure clean water access.
Installing the Pump System
Once drilling is complete, the pump system is installed. Selecting the right pump type (submersible or jet pumps) is crucial for efficient water delivery:
- Submersible Pumps: Positioned inside the well and efficient for deep wells.
- Jet Pumps: Located above ground and ideal for shallow wells.
Sealing and Capping
The final stage of installation involves sealing and capping:
- Sealing: Ensures no surface water or contaminants can enter the well.
- Capping: Protects the well opening when not in use, preventing debris from entering.

Post-installation Steps
After the well is installed, there are a few more steps to ensure everything functions properly.
Initial Water Testing
Testing the water after installation confirms its quality. Look for:
- Microbiological Contaminants: Such as bacteria or viruses.
- Chemical Contaminants: Like nitrate, lead, or pesticides.
Regular testing should be part of ongoing well maintenance.
Establishing a Maintenance Routine
To sustain water quality and system functionality:
- Inspect Annually: Check the well components and pump performance.
- Remove Debris: Clear any debris from the area surrounding the well.
- Disinfect Well: Shock chlorinate the well periodically as a preventive measure.
Challenges and Common Issues
Even with careful planning, challenges might arise during or after installation.
Dealing with Low Water Yield
A well sometimes does not produce as much water as anticipated. Solutions might include:
- Hydrofracturing: Increasing the water flow by opening fractures in the bedrock.
- Installing a Storage Tank: To store water and meet fluctuations in demand.
Contamination Concerns
Contamination can affect your well water’s safety and quality. Steps to mitigate this include:
- Regular Testing: Identifying issues early.
- Filtration Systems: Installing systems to remove specific contaminants.

Financial Considerations
Understanding the costs involved can help you budget effectively for your well installation.
Installing Cost Factors
Several factors influence the cost of installing a well:
- Depth: Deeper wells are generally more expensive.
- Terrain Difficulties: Rocky or hard soil can increase costs.
- Pump Type: Submersible pumps might be more expensive than jet pumps.
Table: Installation Cost Estimation
| Cost Factor | Estimated Expense | Notes |
|---|---|---|
| Drilling (per foot) | $15 – $30 | Varied by region and depth |
| Casing | $20 – $50 per foot | Material affects cost |
| Pump System | $300 – $5000 | Type and brand dependent |
| Permits/Inspections | $100 – $500 | Depending on local laws |
Long-term Value
A well can add to long-term property value by reducing water bills and providing a reliable water source, especially in locations with water scarcity.
Environmental Impact and Sustainability
Considering the environment is crucial when planning a well.
Minimizing Environmental Impact
Installations should aim to have minimal environmental disruption:
- Eco-friendly Drilling: Opt for methods with minimal ecological footprint.
- Groundwater Management: Assure responsible extraction levels to maintain aquifer health.
Promoting Sustainability
Using the well sustainably is key:
- Efficient Water Use: Adopt conservation practices to use water wisely.
- Regular Checks: Ensure the well doesn’t negatively impact the local water table.

Conclusion
Installing a well on your property is a significant undertaking that entails careful planning, from evaluating your land to selecting a reputable contractor. The installation itself involves detailed steps—from drilling to equipment setup—that ensure the well’s longevity and efficacy. Post-installation care, including regular maintenance and water testing, will ensure you enjoy a clean, reliable water supply for years to come. While the process involves an initial financial outlay, the long-term benefits often outweigh the costs, providing you with a sustainable water source. Taking a thoughtful approach to the well installation prioritizes both your needs and environmental responsibilities, making it a wise and beneficial investment.

