Are you worried about damage, contamination, or costly repairs to your wellhead?

What’s The Best Way To Protect My Wellhead?
You want a wellhead that stays secure, delivers clean water, and avoids expensive problems. This guide walks you through practical protection strategies so you can choose what fits your site, climate, and budget.
Why Protecting Your Wellhead Matters
Your wellhead is the gateway between the groundwater and the water you use every day, so its integrity directly affects water quality and safety. Protecting the wellhead helps prevent contamination, mechanical damage, regulatory violations, and costly repairs down the line.
Common Threats to Wellheads
There are many ways a wellhead can be compromised: physical impact from vehicles or equipment, surface water runoff carrying contaminants, freezing and frost heave, corrosion, vandalism, and animal activity. Knowing which threats are most likely at your site helps you prioritize protective measures.
Regulatory and Safety Considerations
Local, state, and federal regulations often set minimum requirements for well construction, sanitary seals, setbacks from pollution sources, and maintenance records. You should check applicable codes, permits, and inspection requirements before making modifications so you remain compliant and protect public health.
Types of Wellhead Protection
You have a range of physical, mechanical, and administrative options for protecting a wellhead; combining several measures gives the best results. Below are the main protection types and practical guidance so you can match solutions to risks.
Surface Pad and Concrete Curbing
A concrete pad with a raised curb around your well protects the casing from vehicle strikes and creates positive drainage away from the well. The pad should be properly sloped and sealed to prevent water pooling, and it’s often the first, cost-effective layer of protection.
- Benefits: durable, reduces surface water infiltration, prevents ruts and erosion.
- Considerations: must be adequately drained and sealed at the casing penetration to avoid directing surface runoff into the well.
Wellhead Casing, Caps, and Sanitary Seals
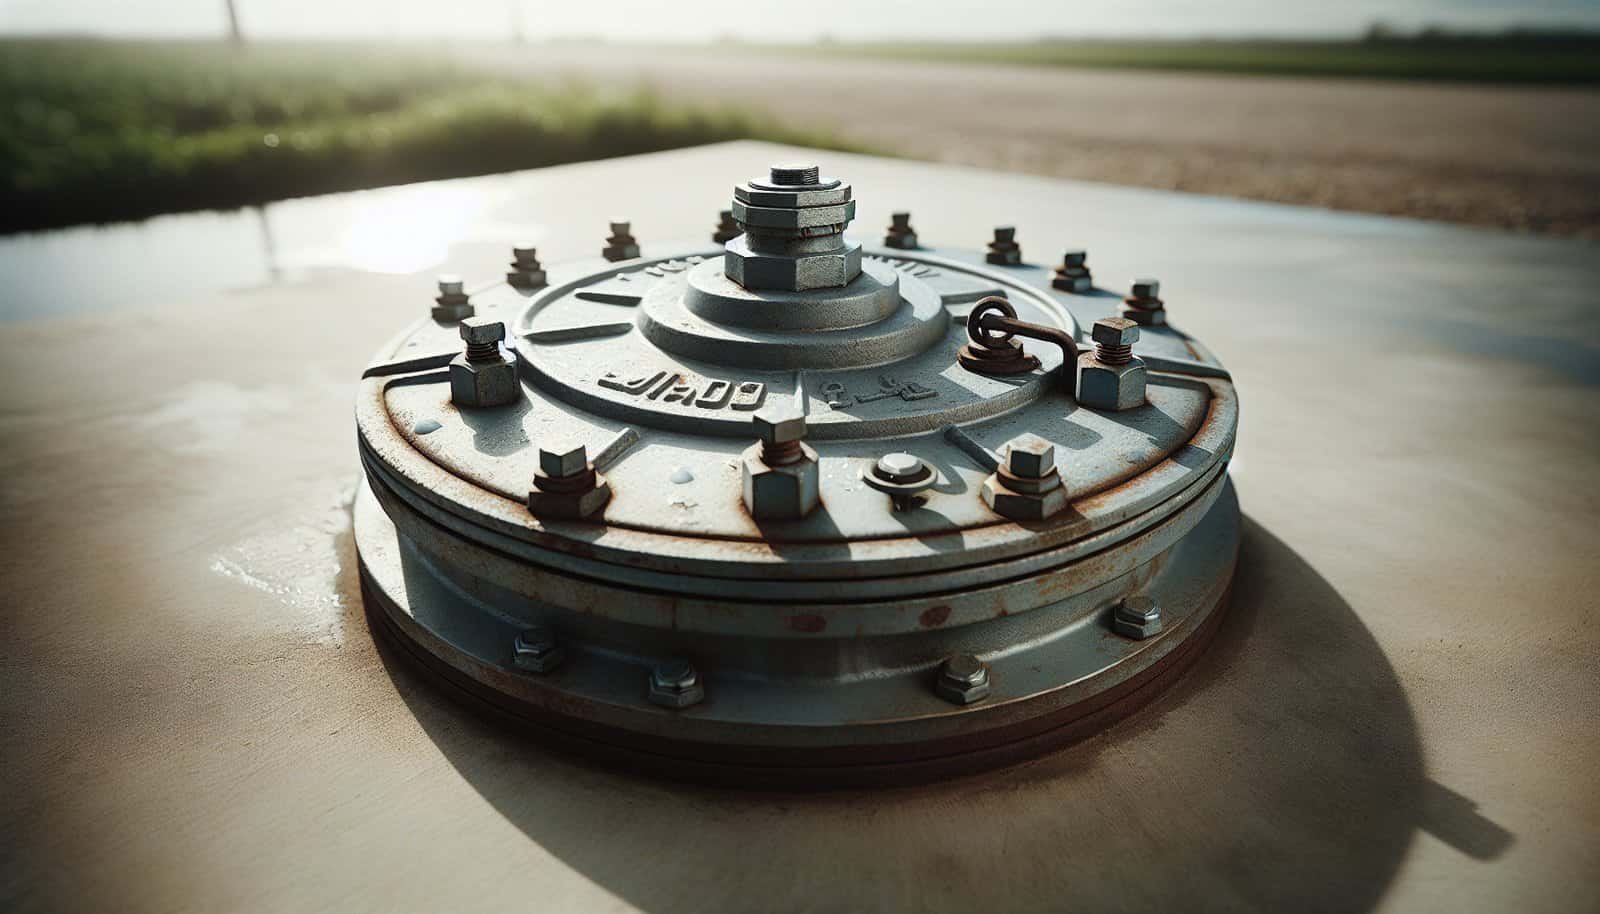
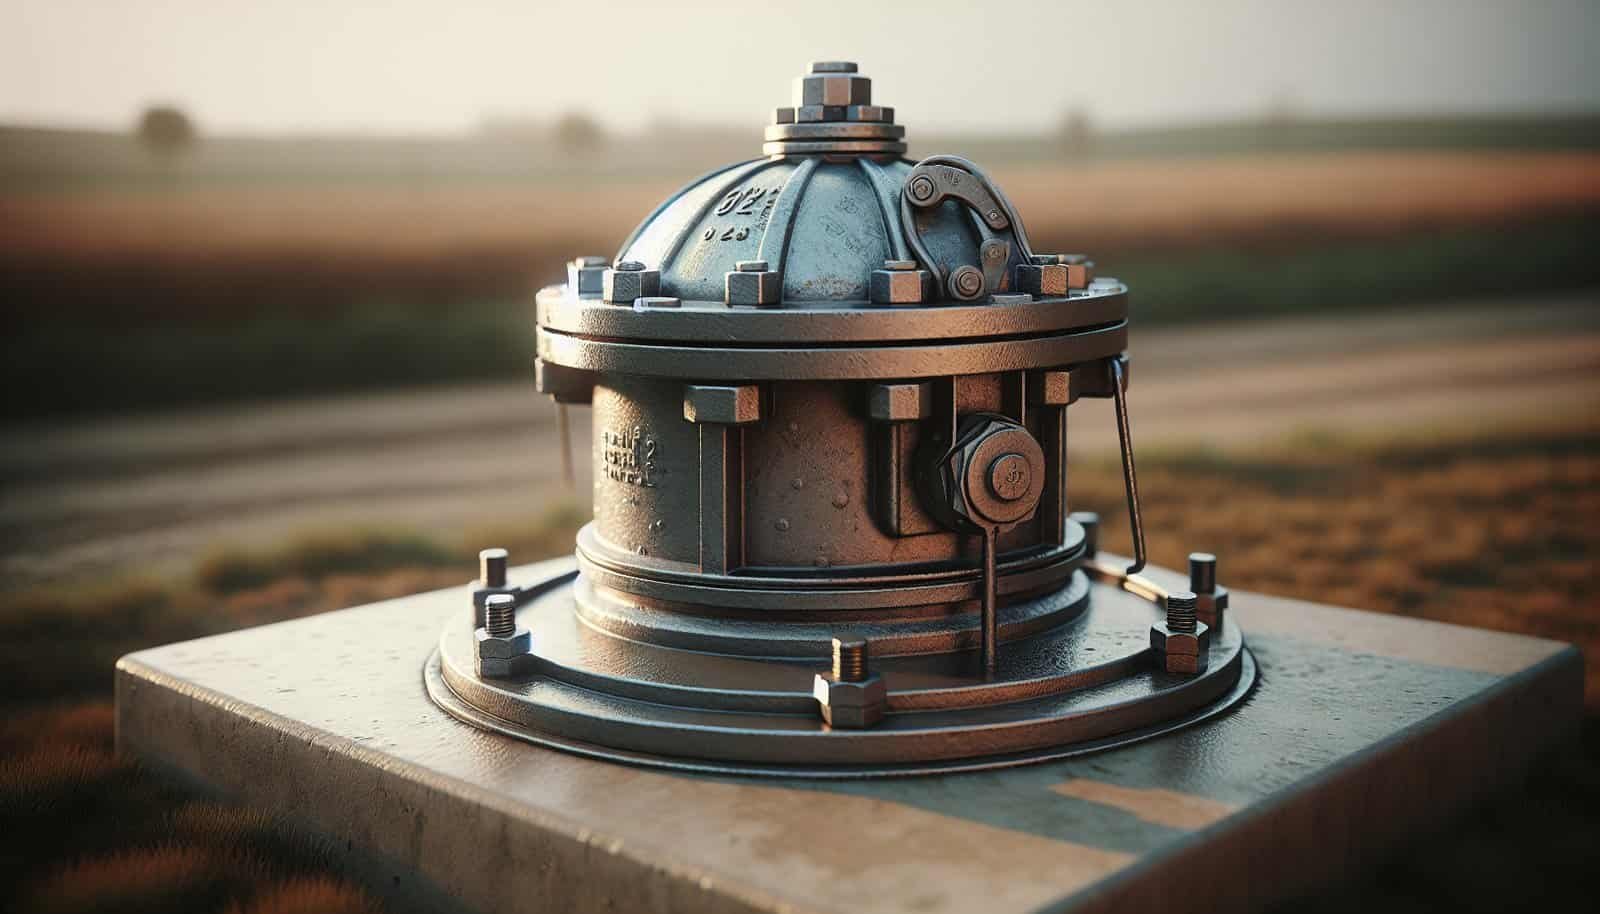
Properly fitted casing and a secure sanitary cap are fundamental. Stainless steel or molded caps with screened vents and lockable designs stop insects, debris, and unauthorized access while maintaining necessary venting.
- Use sanitary seals that meet your jurisdiction’s standards.
- Consider lockable caps if you have vandalism or tampering concerns.
Frost Protection and Insulation
In cold climates you must prevent freezing of the wellhead and the distribution piping. Options include above-ground insulation, heat tape or cable with a thermostat, buried services below the frost line, or frost-free well pits.
- For shallow installations, bury pipe and pumps below frost level when feasible.
- Heat tracing requires electrical safety measures and regular checks.
Security Measures: Fencing, Locks, and Cameras
Physical security elements keep people and large animals away from the wellhead. A locked fence or enclosure, security signage, and motion-activated cameras create a layered deterrent against accidental or malicious damage.
- Fencing should be sturdy and tall enough to block unauthorized access and exclude livestock.
- Use tamper-proof hardware and consider monitored cameras for remote sites.
Chemical and Contamination Controls
Control sources of contamination close to the well: locate potential hazards like fuel tanks, septic systems, livestock areas, and chemical storage at safe distances. Apply sanitary connections, screened vents, and backflow prevention devices where required.
- Maintain housekeeping to remove pesticides, fertilizers, and other pollutants from the well’s immediate area.
- Consider buffer zones and impermeable surfaces where spills could occur.
Cathodic Protection and Corrosion Control
If you have metal casings or piping subject to electrochemical corrosion, cathodic protection (sacrificial anodes or impressed current systems) can extend the life of the metal and reduce leakage risks. Regular corrosion inspection helps you decide when to replace components.
- Assess water chemistry and soil conditions to evaluate corrosion risk.
- Periodic testing of protective anode systems ensures continued effectiveness.
Structural Guards and Bollards
If vehicles or heavy machinery operate near the well, steel bollards or concrete barriers can protect the casing from impact. Position the bollards to allow service access while preventing direct vehicle contact.
- Bollards should be deeply anchored and painted for visibility.
- Combine with signage and traffic control measures if needed.
Vegetation Management and Drainage
Maintain a clear, graded area around the well so surface water flows away, not toward, the wellhead. Keep deep-rooted trees and heavy shrubs away from the casing to avoid root intrusion and reduce the chance of basement or foundation issues around the well pad.
- Maintain a low-maintenance, gravel or turf buffer around the well to reduce erosion.
- Ensure drainage channels and swales direct runoff to safe discharge areas.
Choosing the Right Protection Strategy for Your Wellhead
The best protection is tailored to your well’s location, depth, usage, and risk profile. Start by assessing vulnerabilities such as proximity to traffic, surface drainage patterns, climate exposures, local contamination sources, and regulatory obligations.
Conduct a Site Risk Assessment
Walk the site and map nearby hazards — septic systems, agricultural fields, fuel storage, roads, and low spots where runoff accumulates. Test your water for microbial and chemical contaminants and document baseline conditions so you can spot changes after you make protective improvements.
- An assessment helps you rank threats and target investments where they matter most.
- Keep a copy of your site map and test results for future reference.
Prioritize Based on Risk and Budget
Some measures are inexpensive and highly effective — like grading for drainage and installing a sanitary cap — while others, such as a full enclosed pump house or cathodic protection, cost more but may be necessary in high-risk situations. You should prioritize mandatory regulatory controls and critical risks first.
- Create a phased plan: immediate low-cost fixes, mid-term upgrades, and long-term investments.
- Factor in lifecycle costs: spending more now on durable protection may save significant repair or replacement costs later.
Integrating with a Maintenance Plan
Protection doesn’t stop after installation; set a routine inspection and maintenance schedule and keep records. Regular maintenance increases the lifespan of protective components and helps you detect issues early while they are still simple and inexpensive to fix.
- Include checklists, inspection dates, and corrective actions in your maintenance log.
- Test water quality annually or more often if you notice changes.

Installation Best Practices
Whether you hire a pro or do the work yourself, follow best practices for materials, sealing, grounding, and local codes. Use certified, corrosion-resistant materials for caps and seals, and ensure any electrical heating or pumps are installed by a licensed electrician per code.
- Proper sealing around the casing is critical — follow manufacturer and code specifications for grout, cement, or sanitary seals.
- If you install protective enclosures, maintain ventilation and access for pump servicing.
Maintenance and Inspection Schedule
Regular inspections will catch small issues before they become big problems. A simple schedule might include a visual check monthly, a more thorough inspection quarterly, and professional service plus water testing annually.
- After major weather events, machinery operations, or construction, perform an extra inspection.
- Keep records of inspections, repairs, and water tests to prove consistent care to regulators or future buyers.
What to Look For During Inspections
Inspect for cracked or missing caps, signs of tampering, rust or corrosion on metal parts, standing water near the pad, loose bolts, and unsecured vents. Also test water clarity, taste, and odor — sudden changes can indicate contamination.
- Listen for unusual pump noises and monitor flow rates and pressure for signs of mechanical issues.
- If you find evidence of insect or rodent intrusion, re-seal vents and openings immediately.
Troubleshooting Common Problems
If you find turbidity, bacteria, or chemical contamination, do not drink the water until you identify the source and treat appropriately. For mechanical failures like pump burnout or electrical faults, shut down power and call a professional if you are unsure, because incorrect repairs can create safety hazards.
- For minor leaks at the wellhead, tighten fittings and replace worn gaskets; for persistent leaks, schedule a professional evaluation.
- If water levels drop or the pump cycles frequently, suspect well drawdown, clogged screens, or failing pump equipment — these usually require specialist diagnosis.
Costs and Budgeting
Costs vary widely depending on the measures you choose, your location, and whether you use professionals. The table below provides typical price ranges to help you budget and prioritize.
| Protective Measure | Typical Cost Range (USD) | Notes |
|---|---|---|
| Concrete pad and curb | $300 – $2,000 | Depends on size, site prep, and local labor rates |
| Lockable sanitary cap | $50 – $400 | Stainless steel or molded plastic with screened vent |
| Fencing and gate | $300 – $3,000 | Depends on size, material, and gate/security features |
| Bollards/vehicle barriers | $200 – $1,500 per bollard | Installation and concrete footing add cost |
| Insulation and heat tape | $50 – $600 | Includes thermostat and electrical work if needed |
| Enclosed well house/pump house | $1,500 – $15,000+ | Wide range depending on size, materials, and insulation |
| Cathodic protection | $500 – $5,000 | Depends on system type and complexity |
| Professional well inspection & testing | $150 – $600 | Basic bacterial and chemical tests vary by lab |
| Camera/security system | $200 – $2,000 | Depends on monitoring and remote access features |
- These are ballpark numbers; get multiple quotes and check local suppliers.
- Factor in lifetime costs like electricity for heat tape, maintenance, and periodic replacement.
When to Hire a Professional
You should hire licensed well contractors, pump technicians, or water quality specialists for tasks that involve deep repairs, pump replacement, electrical heating installations, complicated sealing, or when contamination is suspected. Professionals ensure compliance with code, provide warranties, and reduce the risk of improper repairs that could worsen problems.
- Use licensed electricians for heat tape or any electrical work near water.
- For water quality problems, consult a certified laboratory and a water treatment professional.
Sample Wellhead Protection Checklist
Use this checklist to monitor and maintain protection measures around your wellhead. Perform the tasks on the suggested schedule and record findings to create a useful maintenance history.
| Task | Frequency | Action/Notes |
|---|---|---|
| Visual inspection of cap, casing, and pad | Monthly | Look for cracks, missing seals, corrosion, or tampering |
| Check drainage and remove debris | Monthly | Ensure water runs away from the well; clear leaves or sediment |
| Inspect locks, fencing, and security | Quarterly | Test locks, hinges, fence integrity |
| Test for coliform bacteria | Annually or after system repairs | Use certified lab; take samples following lab instructions |
| Test for nitrates and relevant local contaminants | Annually | More frequent if you live near agricultural areas |
| Inspect electrical heat systems | Annually (before winter) | Check wiring and thermostat; use licensed electrician for repairs |
| Inspect cathodic protection | Annually | Test system performance and replace anodes as needed |
| Professional well inspection and pump check | Every 2–3 years | More often if problems or heavy use |
- Keep date-stamped photos and notes in a well maintenance log.
- Adjust frequency if your site faces higher risk or seasonal hazards.
Frequently Asked Questions
How close can I place potential pollution sources to my well?
Regulatory setbacks vary; many jurisdictions require minimum distances for septic systems, fuel storage, livestock areas, and chemical applications. Check local codes, and as a rule, keep hazardous activities as far away as possible — ideally hundreds of feet for high-risk sources.
Can I seal the wellhead completely to prevent contamination?
You should never seal the well in a way that prevents necessary ventilation or access for maintenance. Use a sanitary, screened cap and approved seals; completely airtight closures can create pressure issues and complicate servicing.
How often should I test my water?
Test for bacteria at least annually and after any system work, flooding, or unexplained water quality changes. Chemical tests (nitrates, metals, volatile organics) should typically be done annually or based on local risk factors like agriculture or industrial activity.
What should I do if my water tests positive for bacteria?
Stop using the water for drinking or cooking until you have a confirmed remedy. Disinfect the well using shock chlorination per recommended procedures and retest until results are clear, and consider hiring a professional to identify the contamination source.
Are lockable caps enough to prevent vandalism?
Lockable caps deter casual tampering but won’t stop determined vandalism. Combine caps with fencing, lighting, signage, and where needed, surveillance to provide stronger protection.
Does burying the wellhead help?
Burying the wellhead without proper pit construction and ventilation can cause problems. If using a buried pit, ensure it’s designed for sanitary conditions with proper access, drainage, and frost protection; otherwise, a well-built above-ground pad and shelter is usually safer and easier to maintain.
When will I need to replace the wellhead components?
Components like caps, seals, and vents may last many years but should be inspected regularly and replaced if cracked, corroded, or not sealing. Pumps typically last 8–20 years depending on quality and usage; keep performance records to predict replacement timing.
What insurance or liability concerns should I consider?
Check homeowner or farm insurance policies for coverage on water systems and potential liability from contaminated water. Document your maintenance efforts and follow local codes to reduce liability and demonstrate due diligence.
Final Recommendations
Start with a basic protective package: a properly sealed sanitary cap, a concrete pad with positive drainage, and clear signage and fencing if needed. From there, prioritize measures based on your site assessment — frost protection in cold climates, cathodic protection in corrosive soils, and secure enclosures or cameras where vandalism or vehicle traffic is likely.
- Keep a written maintenance plan and records of inspections, repairs, and water testing.
- Address small issues quickly to avoid expensive failures and ensure the long-term safety of your water supply.
If you want, you can share details about your well location, climate, and immediate concerns, and you’ll get a tailored protection plan that fits your needs and budget.
