
Your well pressure tank holds a factory air pre-charge — a specific PSI on the air side of the tank that controls how much water sits between pump cycles. When that pre-charge drops, your pump short-cycles, wears out prematurely, and the tank loses usable capacity. Precharging a well pressure tank correctly is one of the most overlooked maintenance jobs in the entire system, yet a ten-minute check with a tire gauge can add years to your pump life. In this step-by-step guide, you will learn exactly how to precharge a well pressure tank, what PSI to set, the tools you need, and the mistakes that ruin a fresh tank or cause constant pump cycling.
By Robert Harrison, Certified Well Inspector
Robert has 20+ years of experience inspecting and testing residential water wells across the western US.
Disclosure: As an Amazon Associate, we earn from qualifying purchases on this page. Product selections are based on independent research and real well water data.
Published: October 2026 · Updated for the 2026 season · 7 min read
Table of Contents
What Is a Precharge on a Well Pressure Tank?
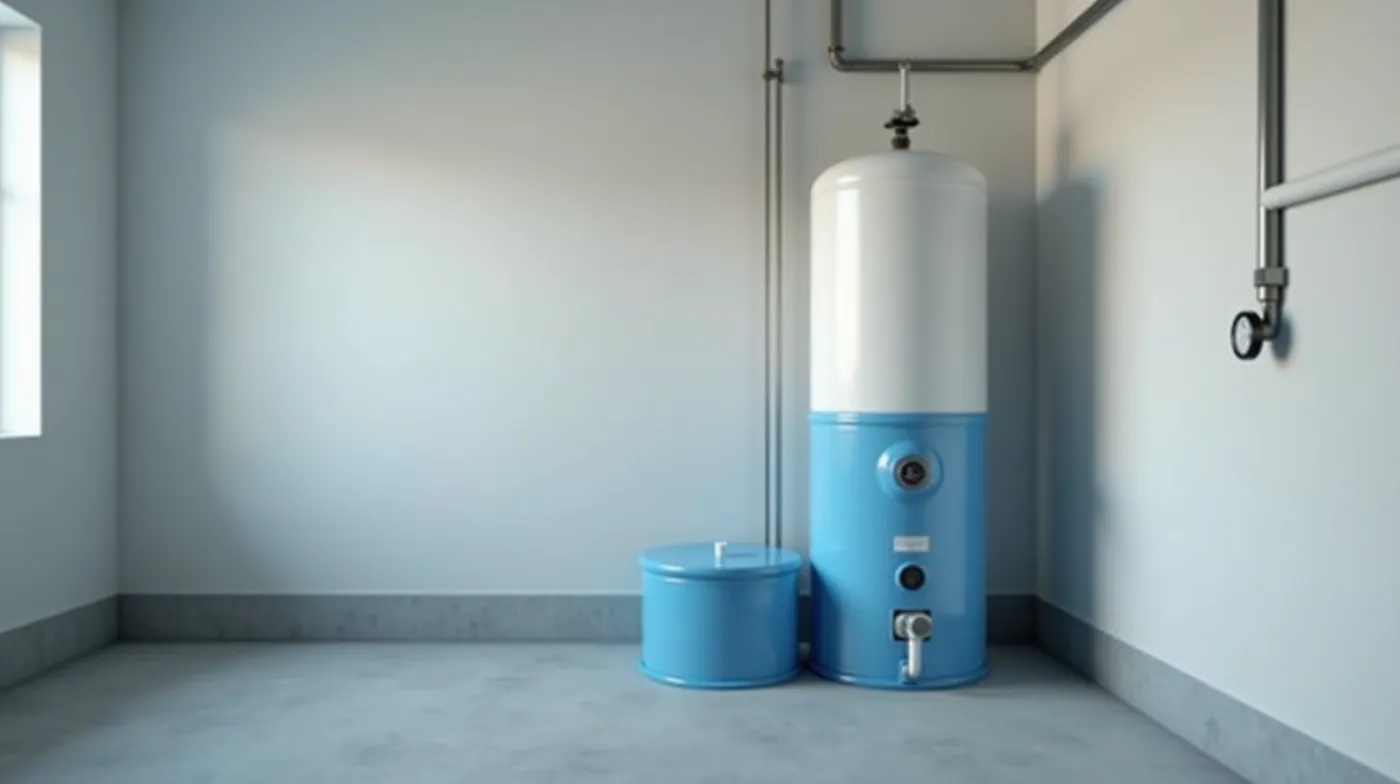
A pressure tank is split into two sides by a rubber bladder (or diaphragm): the water side and the air side. The air side is filled with dry air at a set pressure — that is the pre-charge. It is the only thing that keeps a cushion of air between your pump cycles, so the pump does not start and stop every time a faucet opens.
Think of the pre-charge as the tank’s spring. When the pump is off, that air cushion is compressed against the water, pushing water out of the tank to meet small demands — a glass of water, a flush — without the pump ever firing. When pressure drops to the pump’s cut-in setting, the pump kicks back on and refills the tank to the cut-out setting. Get the pre-charge right and the pump runs long, calm cycles; get it wrong and the pump short-cycles, wears out in a fraction of the time it should, and the tank cannot hold enough water between cycles.
The 2-PSI Rule
The correct pre-charge is always 2 PSI below your pump’s cut-in pressure. For the most common 28/38 system, that is a 26 PSI pre-charge. For a 30/50 system, it is 28 PSI. That two-PSI gap is what lets the pump reach cut-in before the air cushion is fully compressed.
When to Check or Reset Your Pressure Tank Pre-charge
The pre-charge slowly drops over time as air seeps past the valve and as the bladder flexes. You do not need to check it monthly, but these are the signals that it is time to precharge your well pressure tank:
- Pump short-cycling — the pump starts and stops every few seconds or minutes. This is the number-one symptom of a low pre-charge.
- Water spurts from the Schrader valve when you press it — the bladder is ruptured and the tank is wet.
- Low or inconsistent water pressure that gets noticeably worse as a cycle runs.
- The pump runs constantly or never quite reaches its cut-out pressure.
- The tank feels dead — no air cushion, so every small draw starts the pump.
As part of routine maintenance, the Well Water Education Foundation recommends checking your tank’s air charge at least once a year, and many inspectors check it every six months. If your pump is short-cycling, do not wait for the annual check — test the pre-charge today, because short-cycling is what actually kills pumps.
Tools You Need to Precharge a Well Pressure Tank
The good news: precharging is cheap. You do not need a special well tool — the Schrader valve on a tank is the same type found on a tire, so a standard gauge and a pump do the job. Here is the short list.
| Tool | Purpose | Typical Price |
|---|---|---|
| Digital Tire Gauge | Reads the current pre-charge PSI; accurate and fast | $15–30 |
| Ball-Pen Gauge | Compact analog gauge that fits in a pocket | $8–15 |
| Portable Air Compressor | Adds air back to the tank up to 30+ PSI | $40–90 |
| Floor Pump | Low-cost alternative for topping off air | $15–25 |
Any accurate PSI gauge works. A cheap tire-shop gauge is fine; avoid the built-in gauges on gas-station pumps, which are rarely accurate in the low PSI range a tank needs.
How to Find Your Pre-charge PSI
Before you add a single PSI of air, find the pressure your pump actually uses. Look at the tank’s label or your pressure switch; it is usually stamped with the cut-in and cut-out settings (for example, 28/38 or 30/50). Then apply the rule: pre-charge = cut-in minus 2 PSI.
| Cut-in / Cut-out (PSI) | Correct Pre-charge (PSI) | Notes |
|---|---|---|
| 25 / 35 | 23 | Low-pressure systems (some small homes) |
| 28 / 38 | 26 | Most common residential setting |
| 30 / 40 | 28 | Standard 10 PSI differential |
| 30 / 50 | 28 | Wider 20 PSI band; larger draw-off |
| 40 / 60 | 38 | Higher-pressure or larger-system setups |
If you cannot find the switch settings, run the pump and watch a gauge on the system until it shuts off — that number is your cut-out. Your pre-charge target is 2 PSI below the cut-in, not 2 PSI below the cut-out. This is the most common error people make, so it is worth repeating: the reference point is the cut-in.
Step-by-Step: How to Precharge a Well Pressure Tank
Now the actual procedure. It takes about ten minutes and costs nothing beyond a gauge.
- Shut the pump off at the breaker. Turn off the dedicated breaker for the well pump. This protects the pump and stops it from fighting your adjustment. Close off water usage in the house first so the system is stable.
- Relieve the system pressure. Open a faucet on the lowest floor and let it run until the flow stops, then close it. This lets the water side equalize so the gauge reads only the air side.
- Find the Schrader (air) valve. On a vertical tank it is on top, on a horizontal tank it is on the side, always on the air side opposite the water fittings. It is covered by a small plastic cap.
- Remove the cap and read the current pre-charge. Press a tire gauge firmly onto the valve stem and note the PSI. This is your starting point.
- Check for water. If water sprays out of the valve instead of air, the bladder is ruptured. Stop here — you cannot re-precharge a wet tank; replace the bladder instead.
- Set your target. Your target is 2 PSI below the pump cut-in. For a 28/38 system that is 26 PSI.
- Add or release air to reach the target. If the reading is low, connect a portable air compressor or floor pump and add air slowly to the target. If it is high, press the valve to bleed air until you reach the target. Go slowly — you only need a few PSI in most cases.
- Recheck the reading. Wait a few seconds, press the gauge on again, and confirm you are exactly at the target.
- Replace the cap. Screw the plastic cap back on to keep dirt out of the valve.
- Restore power and verify. Turn the breaker back on, let the pump build to cut-out, then watch for a full hour. The pump should run a long, calm cycle and stay off — no rapid on/off. If it still short-cycles, the problem is not the pre-charge; see our short-cycling guide.
Pro Tip
Do a quick before/after test: run one faucet and time how long the pump stays off. After a correct pre-charge, a single glass of water should not start the pump at all. If it does, the air cushion is still too small.
Common Pre-charge Mistakes to Avoid
Get These Wrong and You Will Be Back Out Here
Pre-charging is easy to get subtly wrong. Here are the errors we see most often in the field.
- Setting pre-charge to the cut-out instead of cut-in. The reference point is always the cut-in minus 2. Setting it to cut-out starves the tank of usable water.
- Over-precharging. Too much air means less room for water, so the pump runs more often and you can get water hammer. Do not max it out.
- Under-precharging. Too little air means a small air cushion, which is exactly what causes short-cycling and pump wear.
- Testing with pressure still in the system. Always relieve the water side first, or your gauge reads a mix of water and air pressure and is meaningless.
- Using an inaccurate gauge. A wobbly or uncalibrated gauge can be off by 5 PSI or more in the low range. Use a known-accurate gauge.
- Trying to re-precharge a wet tank. If water comes out of the valve, no amount of air fixes it. The bladder is gone.
When to Replace Your Pressure Tank Instead of Re-precharging
Most tanks last 5–10 years before the bladder weakens. You have a failing tank — not a low pre-charge — when:
- Water sprouts from the Schrader valve when you press it (ruptured bladder).
- The pre-charge drops again within a few weeks of a fresh top-up (the bladder is letting air into the water side).
- The tank is more than 8–10 years old and keeps cycling.
At that point, re-precharging only buys a few days. You can replace just the bladder on many tanks, or size and replace the whole tank if it is corroded or undersized for your home. A properly sized tank with a healthy bladder will make the short-cycling go away for good.
FAQ — Precharging Well Pressure Tanks
What is the normal pre-charge on a well pressure tank?
It is your pump’s cut-in pressure minus 2 PSI. For the most common 28/38 system, that is 26 PSI; for a 30/50 system, it is 28 PSI.
How do I know if my pressure tank still has air in it?
Press a gauge onto the Schrader valve. If you read air pressure, the tank has air. If water sprouts out, the bladder is ruptured and the tank is wet.
Should the pre-charge be higher or lower than the pump cut-in?
Lower — exactly 2 PSI below the cut-in. Higher than cut-in and the tank loses usable water and the pump cycles more.
How often should I check the pre-charge?
At least once a year as routine maintenance, and immediately whenever the pump starts short-cycling. Many inspectors check every six months.
Can I use a regular tire gauge?
Yes. The tank’s valve is the same Schrader type as a tire, so any accurate tire gauge works. Just make sure it is calibrated for the low PSI range.
The bottom line: precharging a well pressure tank is a ten-minute job that protects the most expensive part of your system — the pump. Set it to 2 PSI below your cut-in, check it once a year, and your pump will run longer and calmer than you thought possible.
See Also
#WellPressureTank #PressureTankPrecharge #WellPump #WellWater #WellMaintenance #PrivateWell #Homeowner #WellWaterSystem #PressureTank #WaterPressure #WellSystem #SchraderValve #BladderTank #WellDrilling #WaterWell