
When your submersible well pump dies, the pressure tank empties within the hour and the house starts running on the last few gallons of stored water. The good news: replacing a submersible well pump is a job most homeowners can finish in a single afternoon, with the right preparation, the right replacement parts, and a few safety habits that protect both the new pump and the well itself.
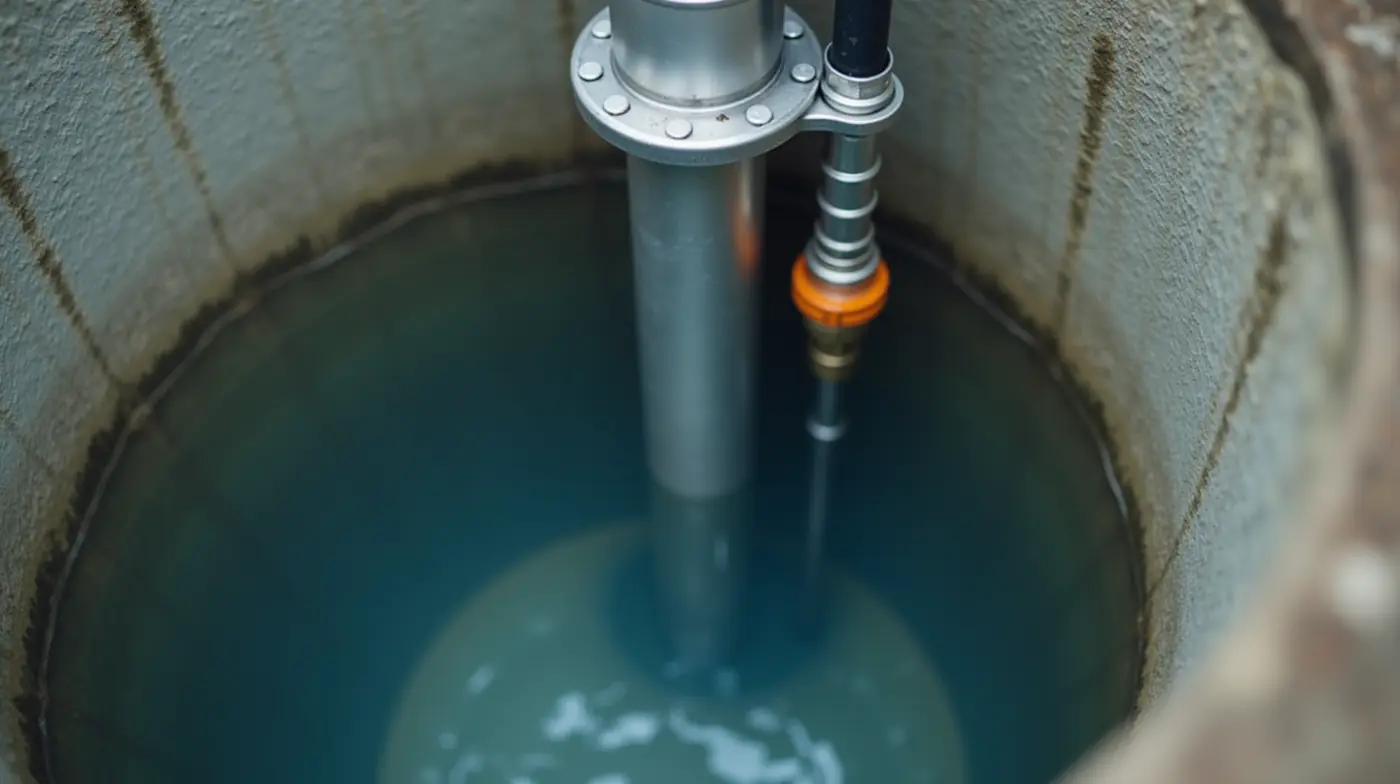
This guide walks through the complete replacement process, from cutting power to the 48-hour verification that confirms the new pump is doing its job. It is based on the kind of swaps we handle in the field every week: a 1/2 HP unit in a 90-foot well in rural Oregon, a 1 HP unit in a 200-foot well in the Texas hill country. The procedure is the same at any depth, but the tools you need and the risks you manage change as the well gets deeper, and we flag both as we go.
By Thomas Reynolds, Pump Systems Engineer
Thomas has installed and serviced over 1,000 well pump systems for homeowners, from shallow conversions to 400-foot deep-well submersibles.
Disclosure: This article contains product recommendations. As an Amazon affiliate, we may earn a small commission from qualifying purchases at no extra cost to you. This helps support our research and content.
Published: November 11, 2026
What This Guide Covers
How to confirm the pump is the component that actually failed, what a submersible well pump replacement costs DIY versus professional, the full parts and tools list, the 12-step replacement procedure, and the 48-hour post-install verification checklist.
How to Tell the Pump Is the Problem
Before you order anything, confirm the pump is really the component that failed. In our field work, roughly one in four dead pump calls turns out to be a blown contactor, a cracked pressure switch, or a tripped thermal overload instead. The difference matters because a new 1/2 HP pump costs several hundred dollars, while a contactor costs about $40.
The signs that point at the pump itself:
- The motor hums but no water comes out. A humming motor with zero flow is a locked rotor or a seized impeller. The pump is the problem.
- The pump runs, pressure builds, then the thermal overload trips. High amperage draw and short cycling mean the impeller is worn or the water level has dropped. See our guide to well pump thermal overloads for the reset procedure, but if this happens repeatedly, plan on a replacement.
- Water comes back with sand. Grit in the stream means the impeller is cavitation-worn and the seal faces are going. The pump is past the point of cheap repair.
- The pump is 10 to 15 years old. Submersible pumps in clean water typically last 10 to 15 years. An old pump that fails during a heat wave is not a repair candidate.
Quick Triage Before You Buy Anything
Turn the pump on for 30 seconds. Hum with no water means the pump is dead. Complete silence means the contactor, pressure switch, or overload is suspect. Check those three components first and save yourself the cost of a pump you do not need. If the pump is humming and drawing more than 20 percent above its nameplate amps, we cover how to read that in our well pump amp draw guide.
If the pump is making its last sounds, our guide to the 12 warning signs of a failing well pump will help you confirm the diagnosis before you commit to the purchase.
What It Costs to Replace a Submersible Well Pump
Here is what a typical replacement runs, based on 2026 market pricing for the parts and going rates for professional labor. The biggest variable is well depth: every foot of extra depth adds cable, hanger hardware, and labor time.
| Component | DIY Cost | Pro-Installed |
|---|---|---|
| 1/2 HP submersible pump | $350–$550 | $350–$550 |
| 3/4 HP submersible pump | $500–$800 | $500–$800 |
| 1 HP submersible pump | $700–$1,200 | $700–$1,200 |
| Pump hanger and adapter kit | $40–$90 | $40–$90 |
| Submersible check valve (1 in) | $35–$75 | $35–$75 |
| Pump cable (6/3 URD, 150 ft) | $150–$300 | $150–$300 |
| Labor (100–150 ft well) | $0 | $500–$1,200 |
| Labor (200 ft+ well) | $0 | $1,000–$2,500 |
| Total, typical 100 ft well | $700–$1,100 | $1,500–$3,500 |
2026 market pricing. Professional labor varies significantly by region, well depth, and whether the pump is accessible from the house or a well house.
A pump is the single most expensive component in the system, so shop the submersible well pump options before you commit. For a complete price breakdown with regional labor ranges, see our guide to well pump replacement costs in 2026.
Tools and Parts You Will Need
Order the replacement pump before you schedule the job. Everything else on this list is small enough to have on hand or pick up in an hour.
- Replacement submersible well pump. Match the voltage, horsepower, and frame size of the old unit. The nameplate on the pump body lists all three. Browse current submersible well pump options by horsepower before ordering.
- Pump hanger and adapter kit (1 inch). Sets the new pump at the correct depth. Always buy new; a corroded hanger is one of the most common causes of early failure on an otherwise fine pump.
- Submersible check valve (1 inch bronze). Prevents water from flowing back down the well when the pump stops. Replace it while the pump is out; it costs less than the trip it prevents. See our guide on the well pump check valve for what a failed one looks like.
- Submersible pump cable (6/3 URD, 600V). Only needed if the old cable is damaged. Cut it to pump depth plus 10 feet. Search for 6/3 URD submersible pump wire if yours is cracked or chewed.
- Well water level gauge (tape type). A tape with a float weight that drops to the bottom of the well. You need the static water level before you set the new pump depth. Look for a well water level measuring tape.
- Digital multimeter. For the final amperage check. A basic digital multimeter handles the job.
- 24-inch pipe wrench, Teflon tape, work gloves, and safety glasses. Standard well work kit.
Read the Old Nameplate Before You Order
Voltage (115V or 230V), horsepower, and frame size (1 inch or 1-1/4 inch) must all match, or the hanger, cable, and possibly the electrical circuit will not fit the new pump. If you are replacing a 230V unit with a 115V unit, the existing disconnect and wire gauge are not right for the change. Our guide to 115V versus 230V submersible well pumps covers the tradeoffs in detail.
Step-by-Step: How to Replace a Submersible Well Pump
These are the 12 steps we follow on every submersible pump replacement, in order. The whole sequence takes 2 to 4 hours at typical residential depth.
- Cut power and lock it out. Turn off the pump circuit breaker (or pull the fuse from the disconnect box) and hang a tag on the breaker that says do not energize. Nothing in this job is safe with the circuit live.
- Depressurize the system. Open a faucet at the highest point in the house and let it run until the flow stops. This drains the pressure tank down to the static water level and takes the strain off the tank while the well is open.
- Measure the water level and record it. Drop the level gauge to the bottom of the well and read the static water level. Also note the total depth to the bottom of the well. These two numbers set where the new pump hangs. Our full guide on measuring well water level covers the technique.
- Photograph every connection. At the junction box or contactor, photograph each wire position before you touch anything. Submersible pump wiring is not complicated, but a photo saves the 30-minute head-scratch when the new cable has a different pin layout.
- Disconnect the pump cable. Loosen the cable connector at the junction box or contactor and pull the cable through. If the cable runs into the pump from the top, you will now have a long length of cable hanging down the well attached to the old pump.
- Decide whether to reuse the cable. Inspect the jacket for cracks, sun damage, and rodent bites. If the cable is sound, reuse it and save two to three hundred dollars: cut it a few inches above the old pump connector. If it is damaged, you will pull it out with the pump and lower the new cable with the new pump.
- Unhook the pump from the hanger. Loosen the hanger adapter nut with the pipe wrench. If the pump is stuck, tap the pump housing lightly with a rubber mallet while pulling up with steady, vertical force. Never twist the cable; the cable carries the pump weight and a twisted cable is a failed cable.
- Pull the pump straight up. Two people for anything below 100 feet. Keep the pull vertical, use the wellhead as a guide, and watch the cable pay out without kinks. Note exactly how deep the pump was hanging; it should be a few feet below the static water level you measured in step 3.
- Inspect the old pump. Spin the impeller by hand. It should turn freely with no grit. Look for cracks in the housing and check the foot valve or check valve for sand and debris. A seized impeller or cracked casing confirms the pump was the problem; a clean pump with a clogged foot valve means the valve was the culprit.
- Set the new pump depth on the hanger. The new pump should hang so its bottom sits at least 3 feet above the static water level and at least 12 inches above the bottom of the well. If the water level has not changed, matching the old depth is the right call.
- Lower the new pump and connect it. If you are reusing the old cable, attach the connector to the new pump tail first, then lower. Twist the cable connector onto the pump by hand, then a quarter turn more. Overtightening cracks the cable jacket and creates a slow leak that will kill the new pump within a year. Attach the new check valve and hook the pump onto the hanger.
- Reconnect and test. Match the wiring to the photo from step 4, restore power, and open a downstream faucet. Water should arrive within a couple of minutes; submersible pumps self-prime. If no water comes, check that the breaker is actually on, the check valve is seated, and the pump is fully hung on the adapter.
Six Common Mistakes That Make a Pump Swap Worse
Most of the follow-up calls we get after a DIY submersible pump replacement trace back to one of these six mistakes:
- Ordering by brand instead of spec. Two pumps with the same name can have different voltage, horsepower, and frame size. Match the nameplate, not the logo.
- Overtightening the cable connector. The number one cause of a new pump leaking and dying within a year. Hand-tight plus a quarter turn is the correct torque, every time.
- Hanging the pump too low. A pump below the dynamic water level runs dry, ingests sand, and burns out in weeks. Set it at least 3 feet above the static water level and leave it there. Our guide on a well pump running dry explains what dry-running damage looks like inside a pump.
- Reusing a corroded check valve. The original failure may have been the valve, not the pump. A new valve costs under $50 and rules the problem out permanently.
- Skipping the amperage check. A new pump that draws more than 10 to 20 percent above its nameplate current has an impeller rubbing or a wiring problem. Catch it in the first hour, not in six months. See our well pump amp draw guide for how to read the numbers.
- Twisting the cable while pulling the old pump. Vertical force only. A kinked or twisted submersible cable is a $200 to $400 repair on top of the pump.
48-Hour Verification Checklist After the Swap
The install is not done when water comes out of the faucet. It is done when the new pump has run through a full 48 hours and checks out on all five of these:
- Pressure cycling. With the pump off, the gauge should read near the cut-out pressure (typically 52 to 58 PSI). With the pump on, it should climb to cut-out and shut off. If the pump short-cycles, the pressure switch settings or the tank air charge need attention.
- Amperage within nameplate range. Measure the running current with the multimeter. It should be within 10 percent of the nameplate rating, and it should hold steady, not climb.
- Flow matches the old well performance. Run a simple GPM test and compare against what the well produced before. Our step-by-step well pump GPM test guide shows the two-minute procedure.
- No leaks after 24 hours. Check the wellhead, the junction box, and the pump connector for moisture. A slow connector leak shows up as a wet ring on the cable after a day of running.
- Water quality retest if the well was ever bacteria-positive. Any work that opens the well to the atmosphere is a recontamination risk. If this well has ever tested positive for E. coli, run a new bacteria test after the job. Our guide on well water bacteria testing covers the kits and the safe levels.
When to Call a Professional
A submersible pump replacement is a DIY job for most residential wells, but the situation changes at the following points:
- The well is deeper than 150 to 200 feet. Pump weight, cable length, and the physical effort of the pull all scale with depth. Most drillers charge a flat rate for depth work and have the rigging for it.
- The old pump will not come out. Reasonable vertical force, no movement, stop. Forcing a stuck pump can crack the casing, and a casing repair costs far more than a pump.
- No water after a correct install. If the wiring is right, the pump is hung properly, and there is still no water, the problem is structural: a dropped water table, an open annulus, or a broken casing section. That is a driller or a well inspector, not a pump store.
- The wiring is multi-phase or unfamiliar. Some older and commercial systems run three-phase motors. Do not improvise on a three-phase circuit.
- You find damage to the casing or wellhead during the job. Stop and photograph it. Casing integrity is the difference between a well that lasts 50 years and one that needs re-drilling.
Frequently Asked Questions
How long does it take to replace a submersible well pump?
For a typical 100 to 150 foot well, plan on 2 to 4 hours of work once the parts are on hand. Professional installation at that depth is usually a half-day job. Deeper wells take longer, and a stuck old pump can turn a half-day into a full day.
Can you replace a well pump without pulling the old one out?
Not in the usual sense. The old pump has to come out before the new one can be installed, because both hang from the same hanger on the same water line. What you can save is the cable: if the existing cable is in good condition, reuse it and skip the $200 to $400 cable cost entirely.
What if the old pump is stuck in the well?
Tap the pump housing lightly with a rubber mallet while pulling straight up with steady vertical force. Never twist the cable and never apply sideways force. If the pump does not move after a reasonable amount of effort, stop and call a professional. A stuck pump is usually a corroded foot valve, and forcing it can crack the casing.
Do I need a new pump hanger?
Yes. Always install a new hanger and adapter set with a new pump. A corroded or deformed hanger is one of the most common causes of a new pump failing early, and the kit costs less than $90.
How long will the new pump last?
With clean water and no dry-running, a quality submersible pump typically runs 10 to 15 years. Setting the pump at least 3 feet above the static water level and keeping the check valve in good shape are the two things that decide where on that range your pump lands. See our guide on how long well pumps last for the full breakdown.
Should I buy 115V or 230V?
Match the voltage of your existing circuit. If the old pump was 230V, the disconnect box and wire gauge are already sized for it, so buy a 230V unit and the electrical side of the job disappears. Our comparison of 115V versus 230V submersible pumps covers the efficiency and cost differences.
See Also
→ How to Size a Submersible Well Pump — pick the right horsepower and flow rate before you order the replacement.
→ Well Pump Replacement Cost in 2026 — the full price breakdown with regional labor ranges.
→ Signs of a Failing Well Pump — confirm the pump is the problem before you spend money on a replacement.
Conclusion
Replacing a submersible well pump is one of the most satisfying jobs in private well ownership: an afternoon of work that puts water back in the house and, done right, buys the system another 10 to 15 years of quiet service. The steps that separate a good swap from a bad one are boring but non-negotiable. Cut and lock out the power. Measure the water level and record the old pump depth. Match the new pump to the old nameplate on voltage, horsepower, and frame size. Hang the new pump at least 3 feet above the static water level on a fresh hanger. And run the 48-hour verification so you know the new pump is doing its job before you call the job done.
#SubmersibleWellPump #WellPumpReplacement #WellMaintenance #PrivateWell #WellOwner #WellCare #DIYWellRepair #WellWater #WellPump #WaterWell #HomeownerGuide #WellSystems #WellPumpRepair #DrinkingWater #WellDrilling