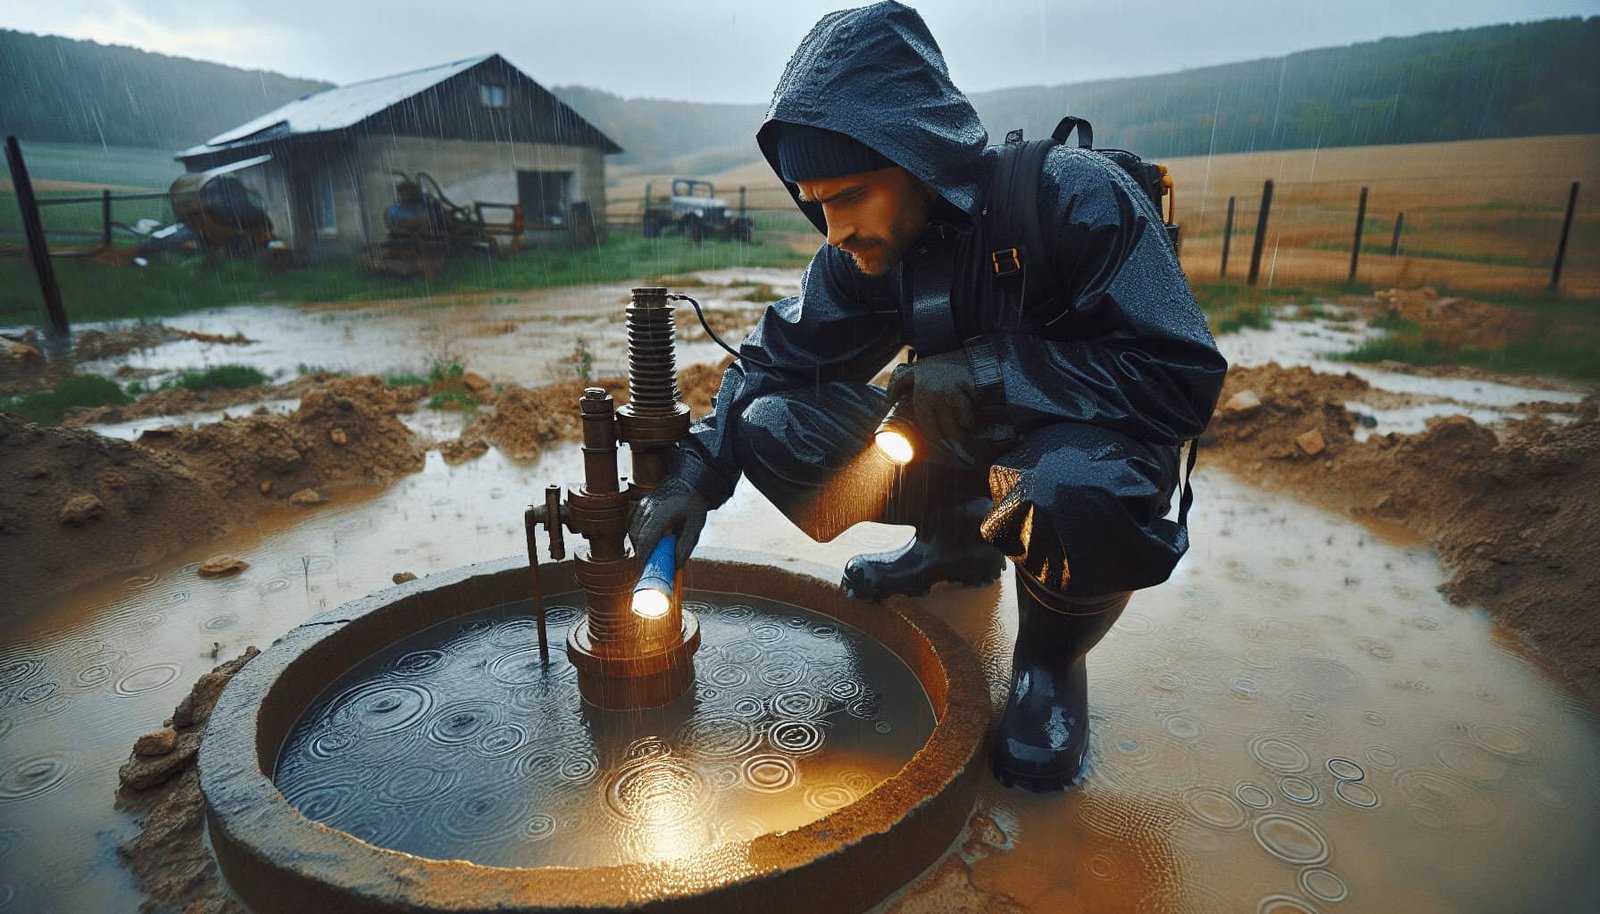
Have you ever wondered how heavy rainfall affects your well and what steps you should take to inspect it afterward? Understanding this process is essential to ensure the safety and quality of your water supply. Let’s dive into the details of how you can effectively inspect your well after a heavy rainfall.
Why Inspecting Your Well After Heavy Rainfall Is Important
Heavy rainfall can impact your well in numerous ways, from physical damage to potential contamination. When rainwater percolates through the soil, it can introduce contaminants such as bacteria, nitrates, and chemicals into your well water. Additionally, substantial rainfall can cause structural damage to the well, impacting its efficiency and the quality of water it produces.
Potential Risks of Heavy Rainfall
Rainwater can flood septic systems, leach chemicals from agricultural run-offs, or dislodge sediments around your well, all contributing to potential contamination. Here’s a brief table to summarize the potential risks:
| Potential Risk | Description |
|---|---|
| Contamination | Introduction of bacteria, nitrates, or chemicals into the well water |
| Structural Damage | Physical damage to the well structure due to erosion or flooding |
| Sediment Displacement | Movement of sediments into the well affecting water clarity and quality |
| Increased Water Turbidity | Cloudiness or muddiness of the water caused by stirred-up sediments |
Inspecting your well after a heavy rainfall can help detect these issues early and prevent potential health risks for you and your family.

Initial Visual Inspection
The first step in inspecting your well after heavy rainfall is to perform a thorough visual inspection. This will help you identify visible signs of damage or contamination.
Check the Well Cap and Casing
Inspect the well cap to ensure it is securely in place and undamaged. A loose or damaged well cap can allow contaminants to enter your water supply.
- Well Cap: Ensure it’s tightly sealed and free from cracks or damage.
- Casing: Check the well casing for any signs of cracks, corrosion, or other damage.
Inspect Surrounding Area
Survey the area around your well for pooling water, erosion, or other changes in the landscape that could affect your well’s integrity.
- Erosion: Look for washed-out areas or channels formed by runoff.
- Pooling Water: Check for standing water near the well, which could indicate improper drainage or contamination risks.

Water Quality Testing
After performing a visual inspection, the next step is to test your water quality. Water testing can identify potential contaminants that visual inspections might miss.
Types of Contaminants to Test For
Conduct comprehensive tests to check for various contaminants. The table below outlines some common contaminants to test for after heavy rainfall:
| Contaminant | Description |
|---|---|
| Bacteria | E. coli and coliform bacteria can indicate fecal contamination |
| Nitrates | Often from fertilizers; high levels can be harmful, especially for infants |
| Chemicals | Possible presence of pesticides, herbicides, or industrial chemicals |
| Sediment | Check for increased turbidity or cloudiness |
How to Test Your Water
You can collect samples yourself or hire a professional. If opting for DIY, be sure to follow proper collection procedures to avoid contamination.
- Sample Collection: Use clean, sterilized containers to collect water samples.
- Laboratory Testing: Send your samples to a certified laboratory for detailed analysis.
- Home Test Kits: For preliminary testing, home test kits can provide quick results for certain contaminants.

Addressing Detected Issues
Identifying issues is just the beginning. The next crucial step is to address any problems found during your inspection and water testing.
Contamination Mitigation
If your water tests positive for contaminants, you must take corrective measures to ensure your water is safe for consumption.
- Shock Chlorination: This involves adding chlorine to the well to kill bacteria.
- Water Filtration Systems: Installing filters can help remove specific contaminants.
- Professional Treatment: Contact a water treatment specialist for advice and services tailored to your specific contamination issues.
Structural Repairs
If your well has suffered structural damage, prompt repair is essential to ensure continued safe operation.
- Casing Repairs: Cracks or corrosion in the casing should be professionally sealed or replaced.
- Cap Replacement: If the well cap is damaged, replace it with a new, secure cap.
- Erosion Control: Address any erosion around the well with proper landscaping or drainage systems.

Preventive Measures
Once your well is back in good shape, consider implementing preventive measures to safeguard it from future heavy rainfall events.
Maintain Proper Drainage
Ensuring proper drainage around your well can prevent water from pooling and minimize erosion risks.
- Grading: Ensure the ground slopes away from the well.
- Drainage Systems: Install trenches or French drains to redirect water away from the well site.
Regular Inspections and Maintenance
Regularly inspecting and maintaining your well can help you catch issues early before they become significant problems.
| Frequency | Task |
|---|---|
| Monthly | Visual inspection of the well cap, casing, and surrounding area |
| Annually | Comprehensive water quality testing |
| Every 3-5 Years | Professional inspection and servicing |

Conclusion
Inspecting your well after heavy rainfall is a critical step in ensuring the safety and quality of your water supply. By conducting a thorough visual inspection, testing your water quality, addressing any detected issues, and implementing preventive measures, you can protect your well from potential damage and contamination risks.
Remember, maintaining a safe and efficient well isn’t just about what you do after a storm, but also about regular upkeep and being proactive. If you have any concerns or need professional assistance, don’t hesitate to reach out to a well maintenance expert.

