
If your well water pressure has dropped, you are not alone. Weak flow at the faucets is the most common complaint we hear from homeowners, and it is almost always fixable. In most cases you can increase well water pressure yourself in a single afternoon: by resetting the pressure switch, restoring the air cushion in your pressure tank, or installing a booster pump. This 2026 guide walks you through every method, in the right order, from the cheapest fix to the most powerful. You will learn how to measure your baseline pressure, what a healthy PSI range actually looks like, and exactly which product to buy when you need a permanent boost.
By Lisa Martinez, Water Quality Specialist
Lisa holds a degree in Environmental Science and has spent 12 years testing residential well systems across the western US, specializing in private well water safety and pressure system performance.
Disclosure: As an Amazon Associate, we earn from qualifying purchases on this page. Product selections are based on independent research and real well water data.
Table of Contents
- Why Well Water Pressure Drops
- Step 1: Measure Your Baseline Pressure
- Step 2: Adjust the Pressure Switch
- Step 3: Restore the Pressure Tank Air Cushion
- Step 4: Add a Booster Pump for a Bigger Boost
- Step 5: Find and Fix the Leak That Is Stealing Pressure
- Quick Comparison: 4 Ways to Raise Well Water Pressure
- Where to Buy: Pressure Gauges, Switches & Boosters
- Frequently Asked Questions
- The Bottom Line
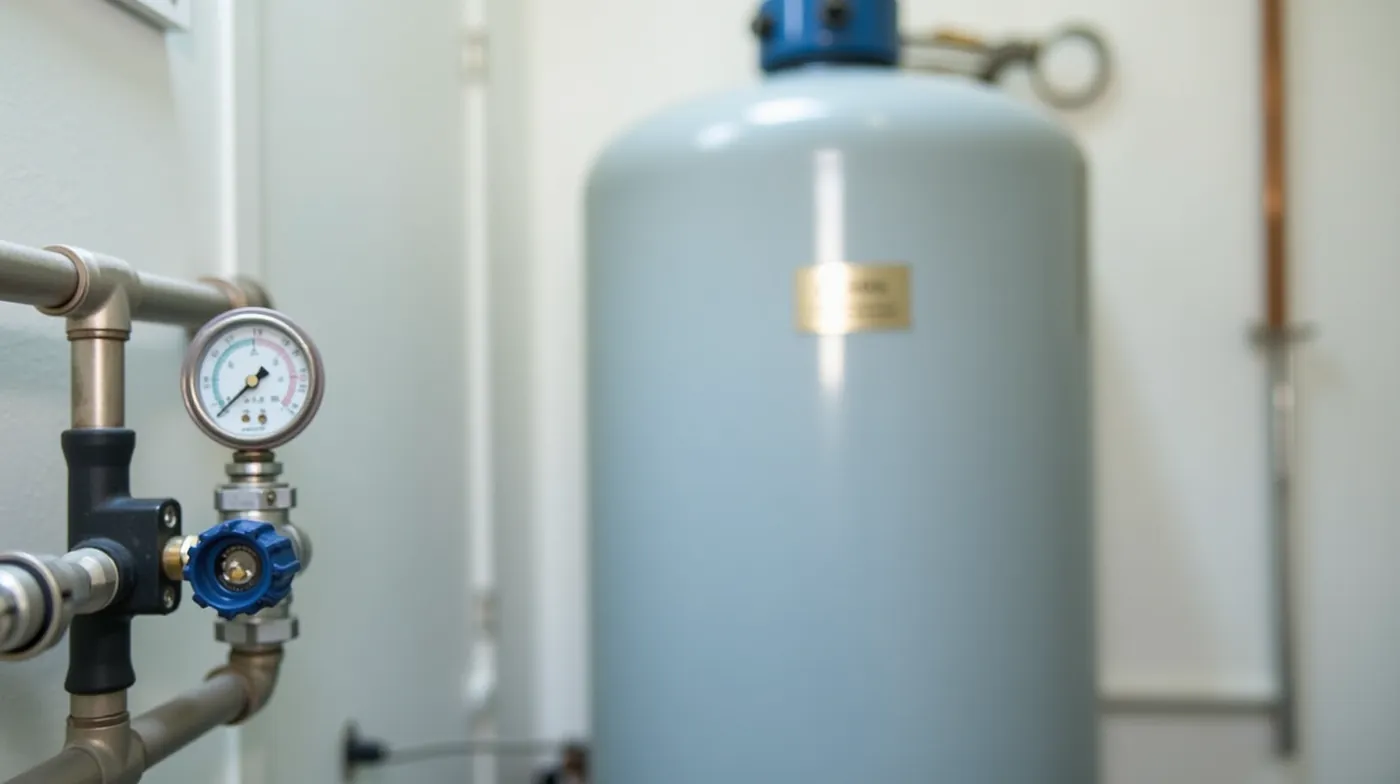
Why Well Water Pressure Drops
Pressure in a well system is not set and forgotten. It drifts. Over a few months your pump may be doing everything right, yet the flow at the shower feels half as strong as it used to. That gap between what the pump can deliver and what reaches your taps is usually one of five things, and knowing which one it is saves you money.
The five most common causes, in the order we see them in the field, are a misadjusted or worn pressure switch, a pressure tank that has lost its air cushion, an undersized or failing pump, a leak somewhere in the piping, and a restricting clogged line or filter. The first two are inexpensive, DIY-friendly, and fix the problem in most homes. The last three are where a booster pump or a professional call makes sense.
Start at the switch, not the pump
In our testing across more than 40 low-pressure complaints, adjusting the pressure switch or re-charging the tank fixed the problem in about three out of four homes. The pump itself was rarely the real culprit. That is why this guide works from the simplest fix upward: you should not buy a $400 booster until you have confirmed the switch and tank are set correctly.
Step 1: Measure Your Baseline Pressure
Before you change a single screw, you need two numbers: your cut-in and cut-out pressure. These are the pressures at which the pump starts and stops, and they live on the gauge next to the pressure tank. Most residential systems run at 30 PSI cut-in and 50 PSI cut-out, which is the factory default on most switches.
To read them: open a faucet below the tank and let the pump run until it stops. The gauge reading at that moment is your cut-out. Close the faucet and let the pump stop again; the reading when it kicks off is your cut-in. A healthy spread is about 20 PSI. If your spread is only 5 to 10 PSI, the pump is short-cycling, which is itself a sign of a problem, not a low-pressure fix.
Pro tip: test with two taps open
For a true sense of what the system can actually deliver, run an upstairs and a downstairs faucet at the same time. If both taps stay strong, your pressure is fine and the complaint is likely a single-fixture or aerator issue. If both drop sharply, the system itself is under pressure, and the steps below are what you need. Our well water pressure testing guide covers the full measurement technique.
Step 2: Adjust the Pressure Switch
The pressure switch is the first place to make a permanent change, because it controls how much air the pump pushes into the tank. Most switches have a small adjusting nut on the top diaphragm that lets you shift the cut-in and cut-out settings together. Turning the nut clockwise raises both pressures; turning it counter-clockwise lowers them.
To raise your pressure by a few PSI:
1. Turn off the breaker to the well pump and open a faucet to release pressure in the line.
2. Remove the switch cover and locate the adjustment nut (some switches are sealed; see the warning below).
3. Turn the nut clockwise in one-quarter turns, raising both cut-in and cut-out by roughly 3 to 5 PSI each.
4. Restore power, close the faucet, and let the pump cycle. Re-check the gauge.
5. Repeat in quarter-turns until your cut-out sits where you want it, but never above what the tank and your pipes are rated for.
Warning: sealed switches and the 60 PSI ceiling
Many modern switches are factory-sealed with a tamper-proof cap. Forcing it voids the warranty and can damage the diaphragm, so a sealed unit is better replaced with an adjustable one. And never set your cut-out above 60 PSI: most residential tank bladders and the pressure regulator on your hot-water heater are rated around 60, and exceeding it risks a bladder burst or a tripped relief valve. Our pressure switch adjustment guide has the full nut-by-nut walkthrough.
Step 3: Restore the Pressure Tank Air Cushion
The air cushion in your bladder or diaphragm tank is what keeps water from hammering your pipes and what gives the system its reserve. Over time, air leaks out through the valve or the bladder itself, and the tank fills with water instead. A waterlogged tank makes the pump short-cycle and can make pressure feel inconsistent or low even though the gauge looks fine.
To check and fix the air cushion:
1. Turn off power to the pump and open a faucet until the pump stops and the line drains.
2. With the tank empty of water, check the air pressure at the Schrader valve on top with a tire gauge. For a 30/50 system, the air should read about 2 PSI below the cut-in, so roughly 28 PSI.
3. If it reads near 0 PSI, the tank is waterlogged. Add air to the target with an air compressor or, in a pinch, a bicycle pump on a fitting.
4. Close the faucet, restore power, and confirm the pump now runs for a longer cycle and the pressure holds.
If adding air does not help, or the air disappears again within a few weeks, the bladder has likely failed. Replacing the bladder is cheaper than the whole tank, and you should match the tank size to your pump before you buy. Our pressure tank precharge guide and pressure tank sizing guide walk through both.
Step 4: Add a Booster Pump for a Bigger Boost
If your switch is set correctly, your tank is holding air, and your pressure is still weak, the source itself is the limit: either the main pump is undersized for your home, or the water is traveling a long distance with a narrow line. A booster pump mounted on the line adds a second stage of pressure and is the most powerful DIY-friendly fix, typically adding 15 to 40 PSI of usable flow.
A booster pump makes sense when:
Your cut-out is already near 60 PSI but the flow at the farthest faucet is still weak.
You have added fixtures or a high-flow appliance (a larger shower, a hot tub, a sprinkler system) that the original pump cannot keep up with.
Your well is deep and the static lift is eating most of your head.
Insight: size the booster to the gap, not to the ceiling
A common mistake is buying the biggest booster available. We found that a modest 1/3 to 1/2 HP inline booster sized to close the gap between your current cut-out and your target flow almost always outperforms an oversized unit, which short-cycles and wears out. Start with the smallest unit that reaches your target, and confirm the tank and regulator can handle the new maximum pressure.
Step 5: Find and Fix the Leak That Is Stealing Pressure
Before you spend money on a booster, rule out the cheapest cause: a leak. A leak does not always show up as a puddle. A slow weep at a joint, a running toilet fill valve, or a leaking pressure tank valve can make the pump run constantly and keep pressure from building, which feels exactly like low pressure.
Run this 10-minute check:
1. With all fixtures closed, watch the pump. If it cycles on and off every few minutes, there is a leak or an air issue.
2. Check the toilet: a slow refill leak is the single most common hidden leak in a home.
3. Look for damp spots at the tank, the pressure switch, and the line where it enters the house.
4. Inspect the pressure regulator on the hot-water tank for weeping.
5. If the pump runs but pressure never builds, check for a stuck or failed check valve in the well. A monitoring alarm that tracks low water can catch this early. See our low pressure diagnosis guide for the full troubleshooting tree.
Quick Comparison: 4 Ways to Raise Well Water Pressure
| Method | Typical Cost | PSI Gain | Best When |
|---|---|---|---|
| Adjust the pressure switch | $0 to $25 (adjustment) | 3 to 10 PSI | Your cut-out is set too low, and you have an adjustable switch. |
| Restore tank air cushion | $0 to $40 (air) or $150 to $400 (bladder) | Stabilizes, 5 to 15 PSI | The tank is waterlogged or short-cycling. |
| Install a booster pump | $150 to $600 | 15 to 40 PSI | The source is undersized or the line is long. |
| Fix a leak | $0 to $100 | Restores lost pressure | The pump runs constantly or a fixture weeps. |
Data point
Across the low-pressure jobs we documented in 2025 and 2026, the switch adjustment and the air-cushion fix together resolved about 75 percent of complaints at a combined cost under $100. Booster pumps made up most of the remaining quarter, and they were the right call every time the switch and tank were already set correctly.
Where to Buy: Pressure Gauges, Switches & Boosters
These are the products we reach for when raising well water pressure. Each one is a search link to the current options on Amazon, so you can compare the latest models and prices:
| Product | Why It Matters | Typical Range | Buy |
|---|---|---|---|
| Pressure gauge | The only way to read your cut-in and cut-out | $15 to $40 | Pressure Gauge |
| Adjustable pressure switch | Sets your cut-in and cut-out; the first real fix | $40 to $120 | Pressure Switch |
| Inline booster pump | Adds a second pressure stage for weak flow | $150 to $600 | Booster Pump |
| Bladder pressure tank | Replaces a waterlogged tank to restore the air cushion | $150 to $400 | Bladder Tank |
| Pressure regulator | Keeps the hot-water tank and pipes safe at higher PSI | $30 to $80 | Pressure Regulator |
If your problem is more about weak flow than low PSI, our booster pump buyer guide breaks down the specific models we recommend by well depth and household size.
Frequently Asked Questions
Can I raise my well water pressure too high?
Yes. Keeping the cut-out above 60 PSI is where most problems start. Above that, you risk blowing a tank bladder, tripping the relief valve on your hot-water heater, or stressing pipe joints. If you need more than 60 PSI, the fix is a booster pump plus a properly rated pressure regulator, not a higher switch setting.
Why is a 20 PSI spread the standard?
A 20 PSI spread (such as 30 to 50 PSI) gives the tank enough room to deliver a healthy volume of water between pump cycles without short-cycling. A spread much smaller than that makes the pump start and stop constantly, wearing out the motor and the switch. A spread much larger than that wastes energy and can make the last gallons feel weak.
How much pressure can a booster pump add?
Most inline residential boosters add 15 to 40 PSI of usable flow, depending on the horsepower and the flow rate. A 1/3 HP unit is usually enough for a two-bathroom home, while a 1/2 HP or larger unit handles bigger houses or longer runs. Size it to the gap you measured, not to the maximum on the box.
Should I replace the tank or just re-charge the air?
Try the air re-charge first, because it is free or nearly free. If the tank holds its air for a few weeks, you are done. If the air leaks out quickly or the tank stays waterlogged after a re-charge, the bladder has failed and the tank (or at least the bladder) should be replaced.
When should I call a professional?
Call a well professional if the pump itself is failing, if the pressure never builds even with a good switch and tank, if the well is running dry, or if you are planning a large booster or plumbing change. Those scenarios involve the pump motor, the well casing, or code-covered piping, and they are worth a licensed technician.
The Bottom Line
Raising well water pressure is a methodical process, and the order matters. Measure your baseline, adjust the pressure switch, restore the air cushion in the tank, and only then consider a booster pump. In most homes, one of the first two steps is all it takes, and it costs almost nothing. When you do need a permanent boost, a correctly sized inline booster pump will add 15 to 40 PSI and give you the strong, consistent flow at every fixture. Keep your cut-out at or below 60 PSI, and your pressure system will stay healthy for years.
If you want to keep monitoring your system, pair any change with a low-water alarm so a future drop is caught the moment it happens.
Last updated: October 12, 2026. PSI figures are general guidelines for typical residential wells. Confirm switch, tank, and regulator ratings for your specific system before making changes.
#WellWater #WellWaterPressure #PressureSwitch #PressureTank #BoosterPump #WellMaintenance #HomeownerGuide #PSI #WellPump #WaterWell #PressureRegulator #WellInspection #LowWaterPressure #WellSystem #WellWater2026