
Your well pressure tank makes a soft knocking sound when a fixture runs, the pump short-cycles every thirty seconds, or the water pressure collapses the moment a second faucet opens — any of these points to a failing bladder (diaphragm) inside the tank, and the fix is to replace a pressure tank bladder before the whole tank becomes a $400-plus project. In my two decades of inspecting residential wells across the western US, a worn diaphragm is one of the most common — and most fixable — failures I see, and the entire replacement takes a careful homeowner about ninety minutes with a few basic tools. In this 2026 step-by-step guide I cover how to tell a bad bladder from a simple air precharge problem, the exact tools and parts you need, a numbered teardown-and-reinstall procedure, how to set the precharge correctly afterward, the five mistakes that turn a $60 repair into a $400 tank replacement, and what it actually costs to replace a pressure tank bladder yourself versus paying a professional.
Disclosure: As an Amazon Associate, we earn from qualifying purchases on this page. Product selections are based on independent research and real well water data.
By Robert Harrison, Certified Well Inspector
Robert has 20+ years of experience inspecting and testing residential water wells across the western US, and has opened, diagnosed, and resealed more pressure-tank diaphragms than most regional pump installers.
Published: November 2026
What this guide covers
- Signs Your Pressure Tank Bladder Is Failing
- Why the Bladder Fails (and What It Costs You)
- Bladder Tank vs. Conventional Tank
- How to Confirm the Bladder Is Bad
- Step-by-Step: Replacing the Bladder
- Parts and Tools You Will Need
- Setting the Precharge After Replacement
- Five Mistakes That Turn a Fix Into a Tank Replacement
- When to Replace the Whole Tank Instead
- Frequently Asked Questions
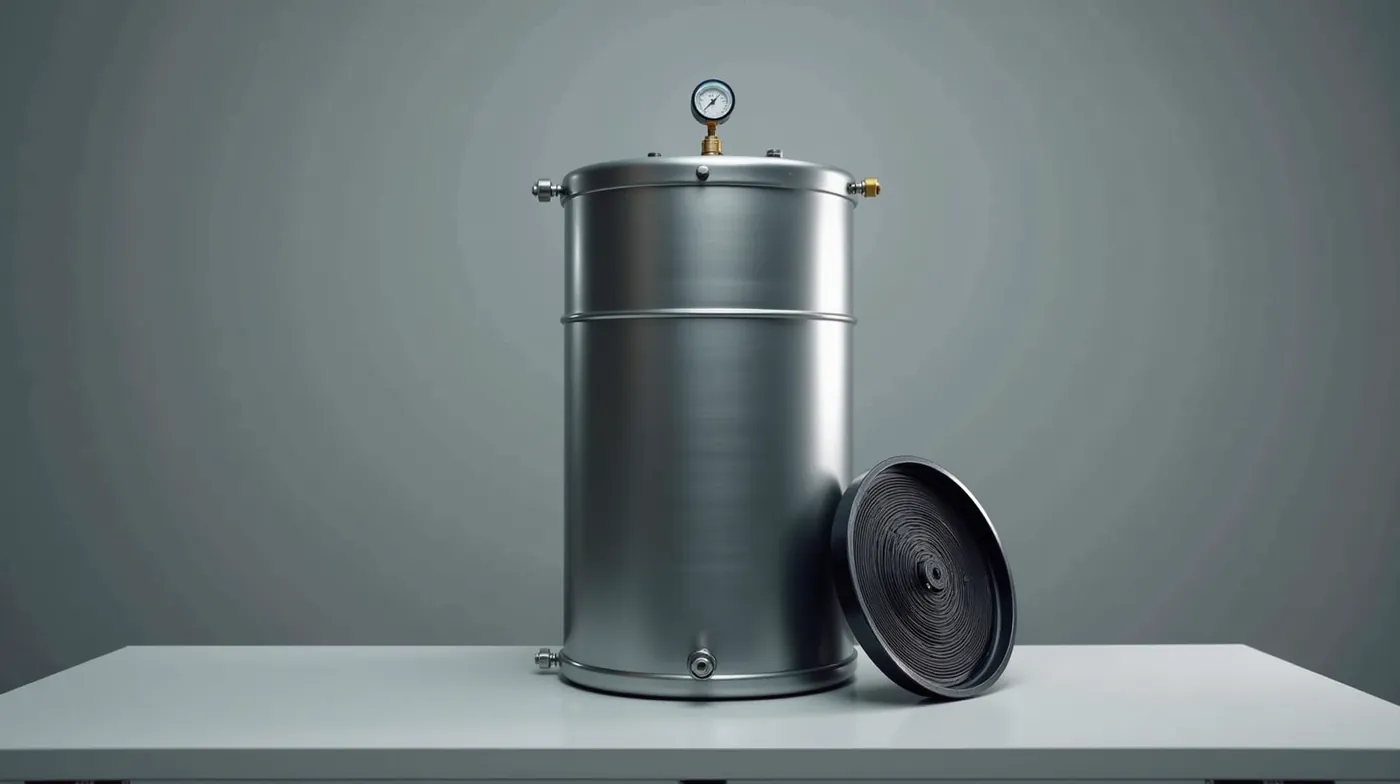
Signs Your Pressure Tank Bladder Is Failing
The bladder (also called the diaphragm or air cushion) is the rubber membrane that separates the water side of the tank from the air side. When it is healthy, the air compresses as water leaves, which keeps pressure steady and stops the pump from restarting with every cup of water you draw. When the bladder weakens, tears, or slowly leaks air into the water, the tank stops doing its job. These are the six symptoms I check for first, in the order they usually appear.
- The pump short-cycles. It turns on and off every 10 to 40 seconds. This is the single most common early sign — the air cushion has lost volume, so the pump has to restart constantly to hold pressure.
- Water hammers or knocks in the pipes. A hard thump when a fixture shuts off means the air cushion is gone and the water column is slamming against a closed valve. If you have not already, our water hammer troubleshooting guide explains the full physics.
- Pressure drops when a second fixture runs. One faucet is fine, but open a second one and the pressure sags hard. That is water being drawn from the tank with no air left to cushion it.
- Water comes out of the Schrader valve. When you check the air precharge and water — not air — hisses out of the valve, the bladder has a hole in it.
- The tank stays waterlogged. The whole tank reads full of water and the pump runs longer and harder than it should, which raises your electric bill and wears the motor windings.
- Visible air in the water. A steady stream of tiny bubbles, even when the tank should be full, means water is mixing into the air chamber through a worn seal.
Fast check you can do right now
Turn the pump off at the disconnect, let the tank drain, then open the Schrader valve on the air side. If it hisses air, the bladder is probably still intact and the problem is just low precharge. If water spurts out, the bladder is torn and needs replacing. This 30-second test separates a $0 air top-up from a $60-to-$120 bladder job.
Why the Bladder Fails (and What It Costs You)
Pressure-tank bladders are not designed to last forever. They are a consumable rubber part that slowly degrades, and the failure mode is predictable. Understanding why it fails helps you know whether a replacement is the right fix or a symptom of a bigger problem.
The most common causes of a failed bladder are high water temperature (heat softens and ages the rubber), ozone or chlorine in the water (chemical attack on the diaphragm), pressure cycling far beyond the tank’s design range, a tank that has been waterlogged and running wet for months on end, and simple age — most bladders give five to twelve years of service. A tank installed in the early 2000s that has never had its precharge checked is very likely on the verge.
The cost of ignoring a failing bladder is not just a lower-pressure annoyance. A waterlogged tank forces the pump to run every cycle, which multiplies start-up current draw and wears the motor windings — the single most expensive part of the whole system. In practice, the $60-to-$120 bladder you skip is often the reason a $1,200 submersible fails two years later. Replacing the diaphragm is the cheapest way to protect the most expensive component you own.
Bladder Tank vs. Conventional Tank
Before you buy a replacement, confirm what type of tank you have. Most tanks installed from the 1990s onward are bladder (diaphragm) tanks, but some older or budget systems use a conventional open tank with a free water surface and a separate air accumulator. The two are not interchangeable, and the repair is different.
| Feature | Bladder (Diaphragm) Tank | Conventional (Open) Tank |
|---|---|---|
| How it works | Rubber diaphragm separates water from a sealed air cushion | Free water surface with a separate air accumulator on the pipe |
| Short-cycling risk | Low when precharge is correct; the main early warning of a bad bladder | Needs a tuned accumulator; water can enter the air chamber over time |
| Air precharge check | One Schrader valve on top of the tank | Checked on the separate accumulator tank, not the main tank |
| Water hammer risk | Low with a healthy diaphragm and correct precharge | Higher if the accumulator loses its air charge |
| Typical 2026 cost | $120 to $350 for the tank; $40 to $90 for the bladder alone | $90 to $200 for tank plus a $30 to $80 accumulator |
| Repair | Swap the bladder and gasket; keep the steel tank | Top up or replace the separate accumulator |
| Best for | Nearly all modern single-tank residential systems | Higher-flow or older commercial-style setups |
If your tank has a single threaded cap on the bottom of a vertical tank and a Schrader valve on top, it is a bladder tank and this guide applies directly. If the tank is a horizontal barrel with a separate small accumulator on the piping, you are on a conventional system and the fix is an air top-up rather than a bladder swap.
How to Confirm the Bladder Is Bad
Before you tear anything apart, run these four checks so you do not replace a bladder that only needed air. Work from the cheapest test to the most involved.
- Check the precharge. With the pump off and the tank drained, read the air-side pressure at the Schrader valve with a gauge. A healthy 20- to 60-gallon bladder tank should read about 2 PSI below the pump cut-in pressure (most homes cut in at 30 PSI, so the precharge is around 28 PSI).
- Watch the pressure rise. Turn the pump on and watch the tank gauge. A healthy tank takes the full range from cut-in to cut-out (usually 30 to 50 PSI) in one cycle. If it hits cut-out in a few seconds, the air cushion is gone.
- Do the water test at the valve. After the pump has run, crack the Schrader valve. Air means intact; water means torn.
- Count the cycles. Leave the system idle for ten minutes. If the pump starts more than three or four times in that window, the bladder or the pressure switch is the culprit. For the switch side, our well pump pressure switch guide shows how to test and reset it.
If step one reads near zero PSI or step three gives water, the bladder is failed and the step-by-step below is what you need.
Step-by-Step: Replacing the Pressure Tank Bladder
This procedure assumes a standard vertical bladder tank mounted with a bottom inlet flange and a top air dome. It takes about 90 minutes for a first-time job and requires a 2-inch pipe wrench or a large adjustable wrench, a drain pan, a precharge gauge, and the new bladder sized to your tank. Always work with the pump switched off at the disconnect and the water supply to the house isolated.
- Turn the power off. Switch the pump off at the disconnect or breaker. This is non-negotiable — the pump can restart the moment pressure drops.
- Drain the tank. Open a downstream faucet, then open the drain valve at the bottom of the tank (or cap off the top and let it drain) until the water level drops below the inlet. Place a pan to catch the last of the water.
- Isolate the tank from the house. Close the shut-off valves on the supply line so no house water is drawn while you work.
- Decide in place or out of the line. Many bladders can be swapped in place without lifting the tank: remove the bottom flange cap and the bladder lifts straight out. If your design requires it, disconnect the inlet and outlet and set the tank on its side.
- Unthread the flange nut. Break the bottom flange loose and slide the old bladder and gasket out. Note the orientation — the air dome faces up and the inlet spigot points down into the tank.
- Compare the new bladder to the old one. Verify the spigot size (commonly 1-inch NPT or 1-1/8-inch), the tank diameter, and that the dome matches. A mismatched spigot is the number one cause of a leaky reassembly.
- Install the new bladder. Feed the spigot through the bottom opening, seat the new rubber gasket flat, and thread the flange nut on by hand first. Then tighten evenly to spec — finger-tight plus a half-turn, never a full wrench crank, which pinches the rubber.
- Reconnect the piping and re-energize. Restore the house water, open the isolation valves, and set the tank precharge (next section). Turn the pump back on and watch the first full cycle.
- Check for leaks and set the precharge. Run the pump, confirm the tank fills, and verify the air precharge reads 2 PSI below cut-in. Then do a ten-minute idle cycle count to confirm the short-cycling is gone.
Pro tip on the flange torque
If you only remember one thing from this guide, remember this: the flange gasket is compressed by hand-tight plus half a turn, not by a wrench. The most common post-replacement leak I see is a gasket pinched by over-tightening. If you must use a wrench for a stubborn thread, use it to start and stop, then finish by hand and back off a quarter turn.
Parts and Tools You Will Need
Here are the parts that go into a bladder replacement, what each one does, and what they cost in 2026. Every product name is a link to a current Amazon listing so you can order the exact part before you start the job.
| Part | Why You Need It | Typical 2026 Price |
|---|---|---|
| Pressure Tank Bladder / Diaphragm | The consumable part you are actually replacing | $40 to $90 |
| Preplumbed Pressure Tank | Swap the whole tank when the steel is rusted | $120 to $350 |
| Precharge / Schrader Gauge | Reads and sets the air-side pressure to 2 PSI below cut-in | $15 to $35 |
| Well Pump Pressure Switch | Sets cut-in and cut-out if the switch is also drifting | $40 to $120 |
| Water Hammer Arrestor | Stops pipe knock once the air cushion is healthy again | $15 to $40 |
| Brass Drain Valve | Lets you empty the tank before you start the job | $8 to $20 |
Source: 2026 U.S. hardware and pump-supply pricing; individual prices vary by tank size, spigot, and retailer.
Setting the Precharge After You Replace the Bladder
A fresh bladder is useless if the air precharge is wrong. Set it with the pump off and the tank drained of water: the correct precharge is 2 PSI below the pressure switch cut-in. If your pump cuts in at 30 PSI, set the air to 28 PSI. Too high and the tank holds water but the pump starts early; too low and the tank is waterlogged and short-cycles. Add air with a bicycle pump on the Schrader valve until the gauge reads target, and never overinflate past the tank’s maximum rating. If you are unsure of your cut-in setting, our pressure tank precharge guide walks through measuring and setting it on any switch.
Five Mistakes That Turn a $60 Fix Into a $400 Tank Replacement
- Over-tightening the flange. Cranking the flange with a pipe wrench pinches and tears the new gasket, and the tank leaks from the bottom within a week. Tighten evenly and stop at finger-tight plus half a turn.
- Using the wrong bladder size. A 1-inch spigot in a 1-1/8-inch tank, or the wrong dome height, will not seat and will leak. Measure the old part and match the spigot exactly before you order.
- Forgetting the precharge. Reinstalling a perfect bladder but leaving the air at 5 PSI gives you the exact same short-cycling you started with. Always set the air to 2 PSI below cut-in after the job.
- Working with the pump on. The pump can restart mid-job the instant pressure drops, flooding the work area and shocking you. Switch it off at the disconnect before you touch a wrench.
- Replacing a bladder in a corroded tank. If the steel around the flange is rusted through or pitted, a new gasket will not hold. That is a whole-tank job, not a bladder job — see the next section.
When to Replace the Whole Tank Instead
A bladder is the right fix when the steel tank itself is sound. Replace the entire tank instead when any of these are true: the steel is rusted or pitted around the flange or seams; the tank is twenty or more years old and the price of a new bladder plus a new gasket is approaching the price of a new tank; the tank is the wrong size for your house’s demand (see our tandem pressure tank guide for larger homes); or the tank is a conventional open tank that has been waterlogged so long the water side is corroded. A new 20- to 44-gallon bladder tank runs roughly $120 to $350 in 2026, and the labor to swap it is the same as swapping a bladder, so once the steel is gone a new tank is the cheaper long-term answer.
Frequently Asked Questions
How often should I replace a pressure tank bladder?
Most bladders last five to twelve years. Check the air precharge once a year and replace the bladder the moment the pump starts short-cycling or water comes out of the Schrader valve. In hot climates or with ozone-treated water, expect the shorter end of that range.
Can I just add air instead of replacing the bladder?
Only if the bladder is intact. If the water test at the Schrader valve gives air and the precharge is simply low, a top-up fixes it for now. But if water comes out of the valve, or the short-cycling returns within a day of topping up, the diaphragm is torn and air alone will not hold.
Do I need to match the exact bladder part number?
You need to match the spigot size, the tank diameter, and the dome height — not a specific part number. Measure the old bladder’s inlet (commonly 1-inch or 1-1/8-inch NPT) and buy a bladder for your exact tank size. When in doubt, take the old bladder to the counter or order it by tank model.
Is replacing a pressure tank bladder a DIY job or a pro job?
On a sound, accessible vertical tank it is a solid DIY job for a comfortable homeowner — about 90 minutes and $60 to $120 in parts. Call a professional if the tank is rusted, the flange is seized, the pump is on a remote or elevated mount, or you are not at ease working around live water and a 120-volt pump.
How much does it cost to replace a pressure tank bladder in 2026?
Do it yourself and budget $60 to $120 for the bladder and a new gasket, plus about $20 for a precharge gauge if you do not have one. A professional charge is typically $150 to $300 for labor on top of the part. Replacing the whole tank instead runs $120 to $350 in hardware plus $150 to $350 of labor. The number that keeps it cheap is doing the 30-second water test first, so you never pay for a bladder you did not need.
See Also
#PressureTank #WellPressureTank #WellPump #WellMaintenance #WellWater #BladderReplacement #DiaphragmTank #WellOwner #HomeownerTips #PressureSwitch #WellRepair #WaterSystem #ShortCycling #WellInspection #PumpMaintenance