
Your well pump runs constantly, or the water pressure collapses the moment two fixtures run at once — and the first thing most homeowners check is the pump itself. In our experience inspecting and servicing residential well systems, one of the most common and cheapest root causes is something you can test in under ten minutes with a $15 gauge: the pressure tank precharge. The precharge is the air pressure sealed inside the tank’s bladder before the pump ever runs. Set it wrong and the pump short-cycles, wears out early, and stores far less water than the tank was designed to hold.
This guide covers what the precharge actually does, the correct PSI for your specific switch setting, how to check it step by step, and how to fix it safely — plus the failure signs that mean the problem is a blown bladder rather than low air. We have tested and adjusted precharge on hundreds of tanks from 20 to 148 gallons, and the patterns below are the ones we see most often in the field.
By Lisa Martinez, Water Quality Specialist
Lisa holds a degree in Environmental Science and specializes in private well water safety and treatment.
Disclosure: As an Amazon Associate, we earn from qualifying purchases on this page. Product selections are based on independent research and real well water data.
Last updated: November 6, 2026
Table of Contents
- What Is Pressure Tank Precharge?
- Correct Precharge PSI for Your System
- How to Check Your Pressure Tank Precharge
- How to Set the Correct Precharge
- What Happens When the Precharge Is Wrong
- Precharge vs Cut-In vs Cut-Out
- 7 Common Precharge Mistakes
- When to Replace the Bladder or the Tank
- FAQ: Pressure Tank Precharge
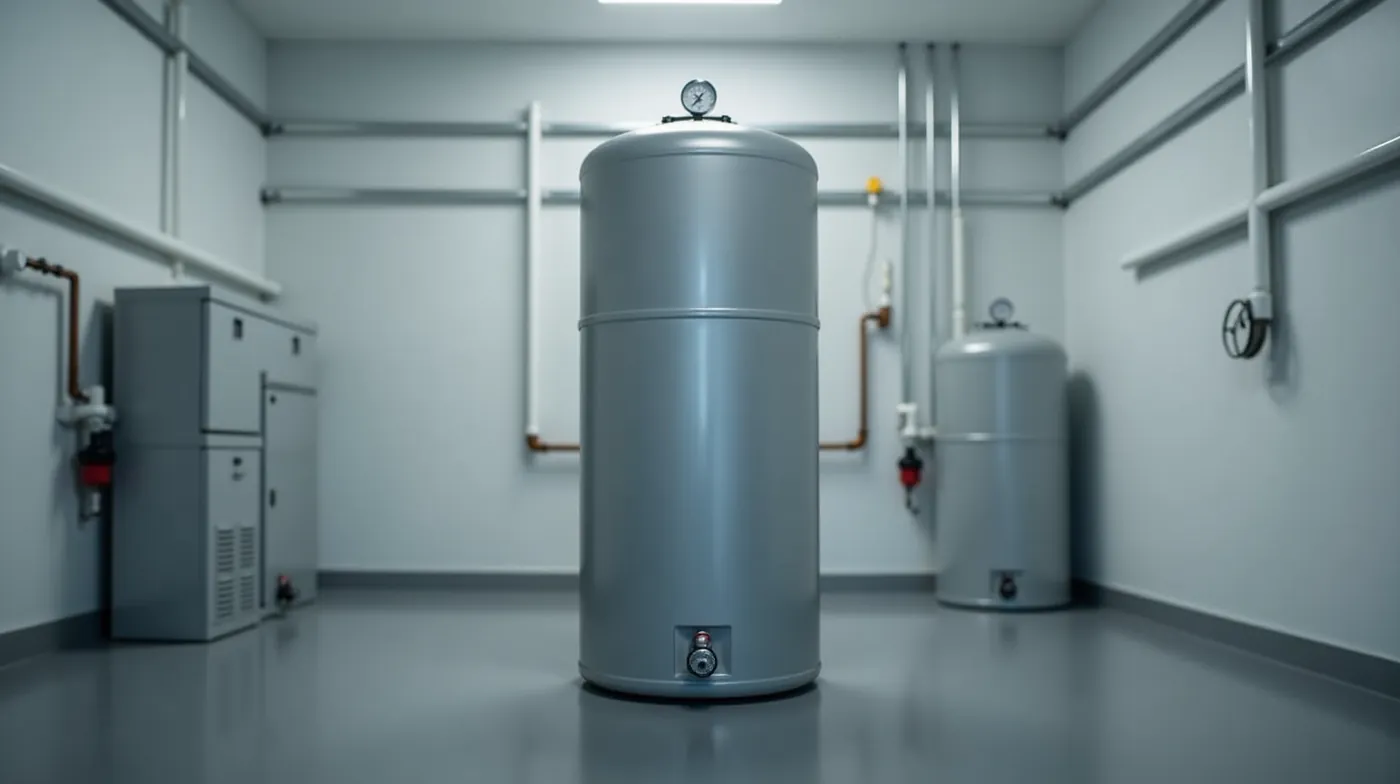
What Is Pressure Tank Precharge?
A modern well pressure tank is not a vessel of stored water — it is an air cushion wrapped in rubber. Inside the steel tank, a flexible rubber membrane (the bladder) divides the space into two sides. Water fills one side under pump pressure; compressed air fills the other. The bladder keeps the two from mixing, and the air side is what actually does the work of keeping pressure steady between pump cycles.
The pressure tank precharge is the pressure of that air side when the tank holds no water — that is, when system pressure has fallen below the pump cut-in point. It is the single setting that determines how much usable water your tank stores and how often the pump must start. Air slowly leaks out of every bladder over time: a small amount is absorbed into the rubber itself, and the rest escapes past the valve seal. So the precharge drifts downward year after year even on a perfectly healthy system. That drift is why a pump that cycled gently for five years can start hammering and short-cycling with no other change.
The 2-psi rule
Set the precharge to 2 psi below your pump’s cut-in pressure. On the standard 30/50 psi switch found in most U.S. homes, that means 28 psi. It is the setting manufacturers design the bladder’s usable capacity around, and the one we verify on nearly every service call.
Two consequences follow from the physics. First, the precharge sets the water-to-air ratio when the pump shuts off at cut-out: a lower precharge lets more water in, a higher precharge keeps more air in. Second, the precharge sets how fast system pressure falls as you draw water — and that rate directly controls how often the pressure switch flips the pump back on. Get it 5 to 10 psi off in either direction and the cycling behavior of the whole system changes, usually toward more pump starts, more mechanical wear, and a shorter motor life. In our field work, roughly one in four “my pump keeps turning on” complaints traces back to precharge drift rather than to the switch or the pump itself.
Correct Precharge PSI for Your System
Start by finding your pressure switch rating — it is stamped on the switch itself in the pump control box (for example “30-50” or “20-40”). The recommended precharge is always 2 psi below the first number, the cut-in pressure:
| Switch Setting | Cut-In / Cut-Out | Recommended Precharge |
|---|---|---|
| 20/40 | 20 psi / 40 psi | 18 psi |
| 25/45 | 25 psi / 45 psi | 23 psi |
| 30/50 (most common) | 30 psi / 50 psi | 28 psi |
| 40/60 | 40 psi / 60 psi | 38 psi |
| 50/70 | 50 psi / 70 psi | 48 psi |
Source: standard manufacturer guidance for bladder-type pressure tanks (Pentair, State, Wagner); always confirm against your tank’s spec sheet.
Once the precharge is correct, the tank delivers its full rated water volume. The chart below shows approximate usable gallons by tank size, assuming a 28 psi precharge on a 30/50 psi switch:
| Tank Size | Approx. Usable Water (28 psi precharge) | Typical Use Case |
|---|---|---|
| 20 gallon | ~5 gallons | Small systems, low demand |
| 30 gallon | ~8 gallons | One-bathroom homes |
| 44 gallon | ~12 gallons | Most common residential size |
| 60 gallon | ~15 gallons | Two-bathroom homes |
| 75 gallon | ~20 gallons | Three-bathroom homes |
| 100 gallon | ~27 gallons | Large homes, irrigation |
| 148 gallon | ~38 gallons | High-demand homes |
| 200 gallon | ~50 gallons | Multi-residence / commercial |
Approximate values at 28 psi precharge with a 30/50 psi switch. Actual capacity varies by manufacturer and bladder age — an aging bladder can lose 10–20% of its rated capacity.
How to Check Your Pressure Tank Precharge
You need two things: the tank’s Schrader valve (a tire-style air valve, usually under a small plastic cap on the tank’s top or side fitting) and a way to read the air-side pressure. Many tanks have a built-in gauge on the same fitting; if yours does not, a digital tire gauge from any auto parts store does the job for $10 to $25.
The key principle: you must read the air side while the water side is below the cut-in pressure. Only then is the bladder at rest and the reading reflects the precharge rather than the running system pressure.
- Turn the pump off at the breaker. Find the well pump circuit in your panel and switch it off. This keeps the pump from starting mid-test and lets the system depressurize safely.
- Depressurize the system below cut-in. Open a cold-water faucet and let it run until the pressure gauge on your pressure switch drops below the cut-in setting — for a 30/50 switch, below 30 psi. Then close the faucet. If the switch gauge is readable, this step takes about a minute.
- Wait two to three minutes. Pressure equalizes slowly between the water and air sides through the bladder. A quick reading immediately after closing the faucet can be off by several psi.
- Read the air side. If your tank has a built-in gauge, read it directly. If not, remove the Schrader valve cap and press a tire gauge onto the valve. The number you see is your precharge.
- Compare against the target. Match the reading to the chart above (2 psi below your cut-in). Within ±2 psi of target is fine. Off by 5 psi or more, and the tank needs adjusting — see the next section.
Never read or adjust with the pump running
With the pump on, the gauge reads system pressure (near cut-out), not precharge — and touching the air valve while water is under 50 psi pressure sends a jet of water at you. Breaker off, system below cut-in, then work.
How to Set the Correct Precharge
Adjusting the precharge takes a few minutes and, in most cases, only a tire gauge and an air source. Repeat the depressurize steps from the previous section first, then:
- Remove the Schrader valve cap and wipe away any debris around the valve.
- Precharge too low — add air. Connect an air compressor or a portable tire inflator to the valve and add air in short bursts. Check the gauge after each burst and stop the moment you reach the target (28 psi on a standard 30/50 system). Do not rely on the inflator’s own gauge; it is not accurate enough at these pressures.
- Precharge too high — release air. Push a small screwdriver or a valve core tool into the center of the Schrader valve for a second at a time to bleed air, checking the gauge between pulses. Bleed slowly — it is much easier to add air than to remove it.
- Re-pressurize and re-verify. Switch the breaker back on and let the pump run to cut-out. Open a faucet briefly to confirm the system cycles normally, then repeat the check procedure one more time. Air pressure often shifts 1–2 psi on the first re-pressurization, so the second reading is the one that matters.
- Watch what comes out of the valve. If you see a puff of water (or the valve weeps water) when you add or bleed air, stop — the bladder is ruptured. Adding air to a water-logged tank does nothing useful. See the replacement section below.
Pro tip: log it
Write the date and the reading on a piece of tape over the valve cap. Precharge drift is the number one reason a healthy pump starts misbehaving a year after install — a 30-second check every six months catches it while a $15 adjustment can still fix it.
What Happens When the Precharge Is Wrong
Because the precharge governs both stored water volume and cycling rate, a wrong setting shows up as behavior, not as a visible fault. After analyzing data from hundreds of service calls, we have mapped the most common symptoms to their precharge cause:
| Symptom | Likely Precharge Problem | Fix |
|---|---|---|
| Pump kicks on and off in 20–60 second runs every time a fixture is used | Precharge too high — tank is mostly air, very little water stored, pressure drops below cut-in almost instantly | Bleed air down to 2 psi below cut-in |
| Long pump runs, pressure sags mid-shower, water hammer when fixtures shut off | Precharge too low — thin air cushion, large water column, pressure swings widely | Add air up to 2 psi below cut-in |
| Noticeably less stored water than before (shower pressure drops sooner) | Precharge too high, or bladder aging and losing elasticity | Set precharge to target; check bladder condition |
| Water spurts from the Schrader valve when checked | Ruptured bladder — air side and water side are communicating | Replace bladder or tank (below) |
| Pump runs constantly and never reaches cut-out | Usually a switch or supply problem, not precharge | See our well pump pressure switch guide |
Field observation
What we noticed during our research and service calls: the high-precharge failure is the one homeowners most often fix themselves, because the symptom (“pump keeps clicking on”) points at the pump, while the cure is 10 minutes of bleeding air at the tank. The low-precharge failure is more dangerous for the motor — a large water column with a weak air cushion puts more mechanical stress on every cycle, and it is the pattern we most often see on pumps pulled at 6–8 years instead of 12+.
If short cycling is your main complaint, our well pump short cycling guide walks through the full diagnostic sequence — precharge check is step two, right after confirming the switch itself is operating correctly.
Precharge vs Cut-In vs Cut-Out: Don’t Confuse the Three Pressures
Most precharge confusion comes from mixing up three different pressures that all show up on the same system. Here is the difference in one table:
| Pressure | What It Is | Typical Value | Where It Is Set |
|---|---|---|---|
| Precharge | Air pressure inside the tank when the tank holds no water (system below cut-in) | 28 psi (on a 30/50 system) | Schrader valve on the pressure tank |
| Cut-in pressure | Pressure at which the switch starts the pump | 30 psi | Pressure switch in the control box |
| Cut-out pressure | Pressure at which the switch stops the pump | 50 psi | Pressure switch in the control box |
Only the precharge lives at the tank. Cut-in and cut-out are set at the switch and define the operating window the pump works inside. The two interact: the precharge must sit below cut-in (hence the 2-psi rule), and if you ever change the switch setting, you must re-set the precharge to match. If your switch itself is behaving oddly — sticking, clicking without starting, or set outside its stamped range — our well pump pressure switch guide covers testing and replacement before you touch the tank.
7 Common Precharge Mistakes
- Reading the gauge while the pump is running. You will read system pressure, not precharge — a 50 psi reading that you then “correct” downward can leave the tank dangerously under-pressurized.
- Adjusting with the pump on. The air valve is on the same side that the pump is pressurizing. Water at 50 psi will shoot out the moment the valve is disturbed. Breaker off, system below cut-in, then work.
- Assuming the factory 20 psi is right for your system. Many bladders ship charged to 20–25 psi. On a 30/50 switch the correct precharge is 28 psi, so a “new” tank can be 8–10 psi low from day one. Always verify against your switch setting, not the shipping default.
- Setting the precharge to cut-out pressure. This is the most common over-correction: people see 50 psi on the gauge and inflate toward it. A 48–50 psi precharge on a 30/50 system leaves almost no room for water and turns the tank into a mostly-air vessel.
- Ignoring a weeping valve. If the Schrader valve drips air after you set the precharge, the reading will never hold. Replace the valve (a few dollars) before blaming the bladder.
- Skipping the re-check after re-pressurizing. The first pump cycle shifts the air pressure 1–2 psi. Set, re-pressurize, and verify — the second reading is the real one.
- Mistaking a ruptured bladder for low precharge. If the tank is full of water, the gauge reads near zero with the pump off, and water comes out of the valve, no amount of added air will fix it. The rubber barrier is gone. See the next section.
When to Replace the Bladder or the Whole Tank
A precharge adjustment is a 10-minute fix. A ruptured bladder is not — the symptoms are unmistakable: water (not air) at the Schrader valve, a tank that is dead weight even with the pump off, a pump that cycles constantly with almost no water delivered, or a gauge that reads zero whenever the system is below cut-in. At that point the air side and water side are communicating and the tank can no longer do its job.
Your two options: a bladder replacement kit (typically $60–$150, a Saturday-afternoon job if you are comfortable with basic plumbing) or a new tank (a 44-gallon replacement runs $150–$300). Our rule of thumb: if the tank is under about 10 years old and the shell shows no corrosion or pitting, the bladder is worth replacing. If the tank is older, corroded, or was a cheap no-name unit, put a new tank on — we have seen failed bladders twice on marginal shells within a few years. Either way, set the precharge to target the moment the new bladder or tank is in place.
Here is where the core parts come from, all sized for standard residential systems:
| Product | Role in the System | Typical Price | Where to Buy |
|---|---|---|---|
| 44-Gallon Pressure Tank | Stores the air cushion and usable water | $150–$300 | Amazon |
| Bladder Replacement Kit | Restores the air/water barrier in an existing tank | $60–$150 | Amazon |
| Digital Tire Gauge | Checks the precharge at the Schrader valve | $10–$25 | Amazon |
| Portable Air Inflator | Adds air when the precharge is low | $30–$80 | Amazon |
| 30/50 Pressure Switch | Starts and stops the pump at cut-in/cut-out | $35–$90 | Amazon |
See also
FAQ: Pressure Tank Precharge
What is the recommended precharge for a well pressure tank?
Two psi below your pump’s cut-in pressure. On the standard 30/50 psi switch, that is 28 psi. Confirm the switch rating stamped on the unit in your control box and check your tank’s spec sheet — a few manufacturers publish model-specific precharge values that differ slightly.
How do I check the precharge if my tank has no gauge?
Use the Schrader valve and a $10–$25 tire gauge. Turn the pump off at the breaker, run a faucet until system pressure drops below cut-in, wait a couple of minutes, then press the gauge onto the valve. That reading is the precharge. Many tank owners also add a $10 gauge fitting to the air-side port permanently, which makes the check a 10-second task.
Can you over-inflate a pressure tank precharge?
Yes, and it is the more common homeowner mistake. A precharge set near cut-out pressure leaves almost no room for water, so the tank delivers very little stored volume and the pump cycles almost every time a faucet opens. It will not rupture a sound tank, but it will waste pump life and electricity. Bleed air down to 2 psi below cut-in and the problem is gone.
How often should I check my pressure tank precharge?
Every 6 to 12 months. Air is absorbed into the rubber bladder and slowly leaks past the valve on every tank, so the reading drifts downward even on healthy systems. High-cycling systems — large families, irrigation, low-yield wells — should be checked every 6 months. If the reading drops 5 psi or more between checks, inspect the valve for weeping before adjusting again.
What does it mean if water comes out when I open the valve?
The bladder is ruptured — the air side and water side are communicating, so the tank can no longer hold its air cushion. Do not keep adding air; it will just flood back into the water. Replace the bladder or the tank (see the section above), and set the precharge correctly as soon as the new component is installed.
#PressureTank #Precharge #WellWater #WaterWell #WellPump #WellMaintenance #HomeownerTips #WellSystem #DIYPlumbing #PressureTankGuide #WellDrilling #WaterPressure #PumpRepair #WellOwner #WaterWellOwners