
Published: October 25, 2026
By Thomas Reynolds, Pump Systems Engineer
Thomas has installed and serviced over 1,000 well pump systems for homeowners. He has spent two decades restoring low-yield wells, clearing clogged screens, and coaching owners on the safe DIY rehabilitation steps that keep a well productive without a $3,000 rig call.
Disclosure: As an Amazon Associate, we earn from qualifying purchases on this page. Product selections are based on independent research and real well water data.
Table of Contents
- What Is Well Surging and Why Homeowners Do It
- When You Should (and Shouldn’t) Surge a Well
- Tools and Equipment You Need to Surge a Well
- How to Surge a Well: Step-by-Step
- How Long to Surge and How to Know It Is Working
- Surging vs. Hydro-Jetting vs. Airburst
- Safety Tips and Mistakes to Avoid
- After You Surge: Test and Monitor Your Water
- When to Call a Professional Well Contractor
- Frequently Asked Questions About Surging a Well
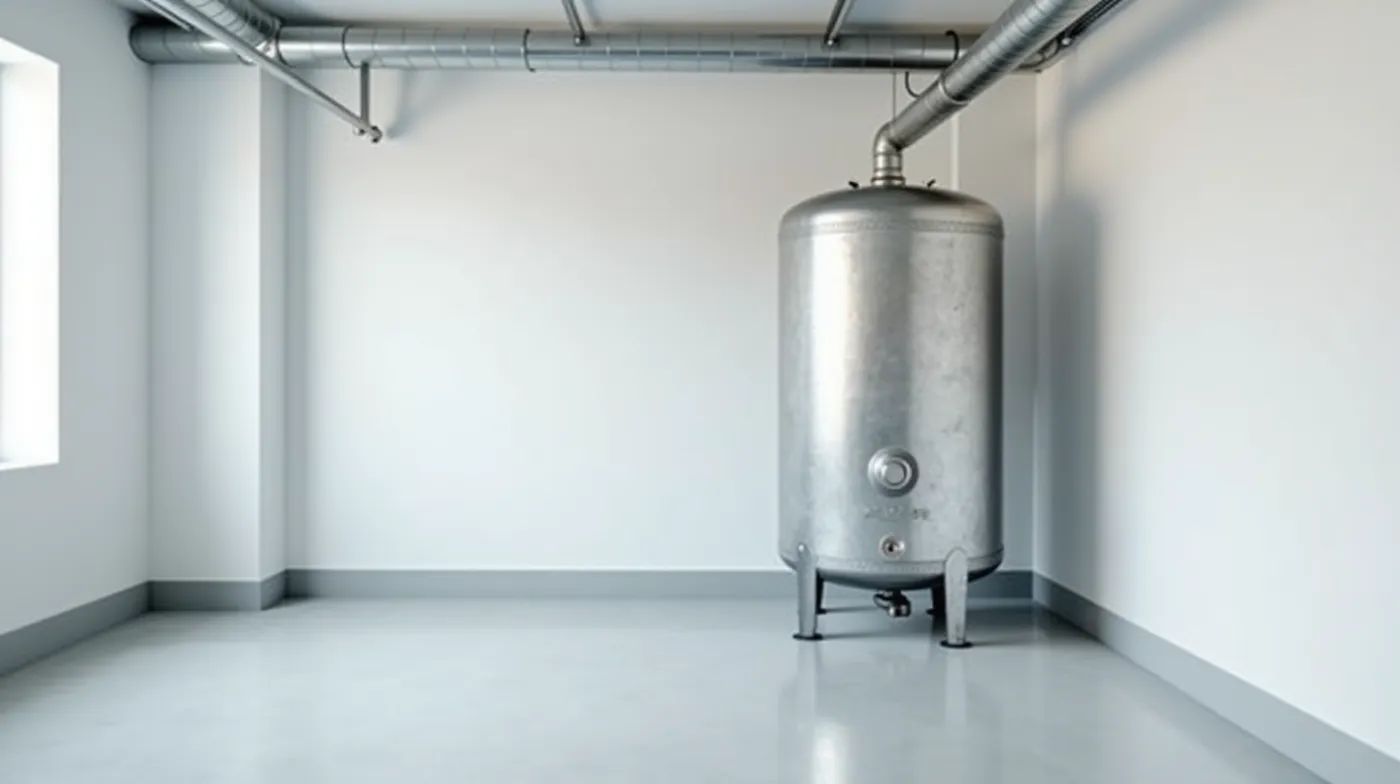
Figuring out how to surge a well is the question most homeowners search for once they notice the water flow quietly dropping over the past few months, a layer of fine sand settling in the morning coffee glass, and the water turning milky the first time the pump kicks on. Surging is a controlled, low-cost rehabilitation technique that flushes sand, silt, and trapped bacteria out of the well screen and the aquifer immediately surrounding it, and in many cases it restores a meaningful share of the well’s original yield without calling a contractor. It is the gentler first step before any heavier rehabilitation, and this guide covers the whole process so you know exactly when it will help, what it costs, and where the DIY route ends and a professional well contractor begins.
In this guide we walk through exactly how to surge a well yourself: what the process actually does under the water table, the signs that your well is a good candidate, the tools you need, a step-by-step procedure you can follow with a standard residential pump, how to read the results, and the specific situations where surging is the wrong move and you should call a professional instead. Whether you have a shallow-well jet pump or a deep submersible, the same principles apply, and we flag the differences where they matter.
What Is Well Surging and Why Homeowners Do It
Well surging is a method of well development and rehabilitation in which water is drawn out of the well and pushed back in in a controlled, turbulent cycle. The turbulence is the point. When you simply run a pump at a steady rate, water moves through the well screen in a relatively smooth, laminar flow, and loose material that has packed itself into the screen slots and the surrounding gravel pack stays exactly where it is. But when you alternate between high and low flow, and in some setups briefly reverse the direction of flow, you create pressure waves and eddies that loosen the sand, silt, and bacterial film that have accumulated over months or years.
Think of it like shaking out a clogged coffee filter. Steady pouring does not clear the fines; a sharp burst of agitation does. Surging is that burst of agitation, applied to the entire screen length of your well. Done correctly, it pulls the loose material out of the formation and back up the casing, where it exits through the discharge line and is gone. The well is left with more open screen area and a cleaner immediate aquifer, which usually translates into a higher static water level, faster recovery between pump cycles, and clearer water.
Why this is different from just running the pump
Letting a pump run continuously at full flow is not the same as surging. Continuous flow can actually push loose sand deeper into the formation and make a clog worse. Surging works because of the change in flow direction and rate, not the volume alone. If you are going to do this, you need to vary the flow on purpose, and that is what the step-by-step procedure below is built around.
Surging sits in the middle of a small family of well-development techniques. It is less invasive and far cheaper than hydro-jetting, which blasts pressurized water through a specialized lance down the well, and it is gentler than airbursting, which cycles compressed air and water. For most residential wells that have simply accumulated routine sediment, surging is the right first response. For a well that has been sitting unused for years, or one that was drilled without proper development in the first place, you may eventually need to step up to the heavier methods, and we cover that comparison later in this guide.
When You Should (and Shouldn’t) Surge a Well
Surging is not a universal fix, and applying it to the wrong well can cost you water you do not have to spare. Before you buy a hose and start cycling the pump, check your situation against both lists below. The good-candidate signs are the ones we see most often on service calls, and the do-not-surge signs are the ones that turn a $60 afternoon project into a $4,000 well-repair job.
Signs your well is a good surging candidate
- Gradual loss of flow. The well used to fill the pressure tank in 90 seconds and now takes four minutes, with no change in household water use. A slow, steady decline is the classic signature of a screen that is packing up.
- Increased sand or silt. You see more sediment in the water, in the sediment trap, or in the filter than you did a season ago, especially right after the pump starts.
- Milky or cloudy water at startup that clears, then returns. This is often fine suspended solids being disturbed by the pump, and a controlled flush can pull the loose material out for good.
- The well was recently worked on. After drilling, a casing repair, or any well work, a development surge is standard practice to open up the formation and establish a clean flow path.
- You live in a sandy or silty aquifer. These formations shed fines naturally, and a periodic surging every one to two years keeps the screen open before the problem compounds.
Signs you should NOT surge a well yourself
- The well is structurally compromised. If the casing is cracked, the well head is leaking, or you have a known annular-seal problem, the pressure cycling of surging can worsen the damage and pull in contaminated surface water. Fix the structure first, or have a contractor assess it.
- The well is already critically low-yielding. If the well barely produces at all, aggressive surging can drive the remaining loose material further into the formation and drop the yield to zero. A professional may need to do a more controlled development with monitoring.
- You cannot access the well safely. If the well is in a confined pit, a deep dry hole, or a location where you cannot safely reach the pump and valves, stop and call a pro.
- You have no baseline data. If you do not know your current static water level and flow, you cannot tell whether surging helped or hurt. Measure first, or skip the DIY route.
Rule of thumb before you start
If the well is structurally sound, the decline is gradual rather than sudden, and you can measure a baseline water level and flow, you are in the sweet spot for a DIY surge. If any of those three is missing, treat this as a professional job and read on for context rather than a to-do list.
Tools and Equipment You Need to Surge a Well
Good news: you do not need a rig or a specialty pump to surge a well. The entire job can be done with your existing pump and a handful of inexpensive items. The table below lists what we keep on the truck for a standard residential surge, what each item is actually for, and what it costs in 2026. The one item worth owning long-term is a reliable well pump pressure gauge, because reading pressure and flow is how you prove the surge worked.
| Item | What It Is For | Typical 2026 Cost |
|---|---|---|
| Jet Pump (Shallow Well) | Your source of flow and back-pressure on wells under ~25 ft | $250 to $500 |
| Submersible Well Pump | Your existing pump on deep wells; you surge with it in place | Already owned |
| Heavy-Duty Garden Hose | Carries discharge water to a drain or low spot away from the wellhead | $40 to $90 |
| Pressure Gauge | Reads system pressure and flow change as you cycle the pump | $20 to $45 |
| Well Bailers | Optional; pulls standing water and loose sediment out by hand | $25 to $60 |
| Check Valve | Keeps water from draining back into the well between cycles | $20 to $55 |
One more item that is not in the table but matters: a way to measure the water level in the well. A simple measuring tape with a weight tied to the end, dropped down the casing until it hits water, gives you the static water level. This is the single most important measurement in the whole process, because it is what tells you whether the surge actually opened up the well. If you have never measured your well’s yield before, our guide on how to test your well water yield with a DIY drawdown walks through the full method, and it is worth doing before and after any surge so you have real numbers to compare.
How to Surge a Well: Step-by-Step
Follow these steps in order. The procedure assumes a structurally sound residential well and a working pump. Shallow-well jet pump systems and deep submersible systems differ in a few specific spots, and we call those out where they occur. Keep your baseline water-level and flow numbers from the previous section in front of you the whole time.
- Kill power to the pump and close the system valve. Switch off the pump at the breaker or its disconnect, and if there is a shut-off valve on the discharge line, close it. This isolates the system so you can work safely and control exactly when water moves. If you are surging a shallow-well jet pump, this also lets you work on the pump without water blasting everywhere.
- Record your baseline. With the pump off and the water level settled (wait at least 30 minutes, or overnight for a slow well), measure the static water level from the top of the casing down to the water surface. Write it down. Then, if you have a way to measure it, note the current flow in gallons per minute. These two numbers are your before picture.
- Set up a discharge path. Connect a heavy-duty hose to the pressure tank outlet or a test hydrant on the discharge line, and run the far end to a drain or a low spot well away from the wellhead. You do not want the sand-laden water you are pulling out of the formation to just sit next to the well where it can soak back in.
- Open the valve and start the pump at full flow. Restore power, open the shut-off valve fully, and let the pump run at its normal rate. Watch the pressure gauge. You are establishing the well’s maximum clean flow before you start agitating it.
- Throttle to create back-pressure. This is the heart of the surge. Slowly close the discharge valve partway to restrict flow and build back-pressure in the line, then reopen it to full. Repeat this open-and-restrict cycle every 10 to 20 seconds. The alternation between high and low flow is what loosens the packed material. On a jet pump you can also briefly reverse the flow by switching the intake and discharge connections if your setup allows it, which adds a directional kick to the agitation.
- Run the cycle for 30 to 90 minutes. Keep the open-and-throttle pattern going. Watch the water coming out of the hose. Early on it may be cloudier and carry more sand, and over the course of the run it should get progressively cleaner as the loose material is pulled out. If the water stays dirty the entire time, or the well starts running dry, stop and reassess rather than pushing harder.
- Let the well recover, then remeasure. Shut the pump off and close the valve. Let the well sit for at least an hour, or overnight for the most accurate reading. Measure the static water level again and note the flow. Compare it to your baseline. A successful surge shows a higher static water level, faster recovery, and cleaner water.
- Disinfect if bacteria are a concern. Surging agitates the formation and can disturb any bacteria that were present, so if you have any reason to suspect bacterial contamination, follow the surge with a chlorine shock. Our step-by-step guide on how to disinfect a well covers the correct chlorine dosing and the mandatory re-test afterward.
How Long to Surge and How to Know It Is Working
There is no single timer that applies to every well, but the range we use on service calls is 30 to 90 minutes of active open-and-throttle cycling for a typical residential well. A small, recently clogged well often shows improvement within the first 30 minutes. A well that has been losing yield over several seasons may need the full 90 minutes, and occasionally a second session a few days later. The goal is not to run the pump for a fixed duration; the goal is to run it until the water coming out of the discharge hose is visibly clean and steady, then stop and let the well recover before you remeasure.
You are watching for three signals that the surge is working. First, the water clarity: the discharge starts cloudy and progressively clears as the loose material is pulled out. Second, the sand load: you should see less sediment in the hose over the course of the run, not more. Third, and most important, the numbers: after the well recovers, the static water level should be higher and the recovery time faster than your baseline. If the water gets cleaner but the water level does not improve, you cleared the immediate casing but the formation is still restricted, and that is a sign to consider a more aggressive development method rather than simply surging again.
Surging vs. Hydro-Jetting vs. Airburst: Which Should You Use
All three techniques are forms of well development, but they differ in how much force they apply, how deep they can reach, what they cost, and whether a homeowner can safely do them. Surging is the gentlest and the cheapest, which makes it the right first step for routine maintenance. Hydro-jetting and airbursting are the tools you escalate to when surging has not recovered the well. The table below is how we think about the decision on a service call.
| Method | Best For | Typical Depth | 2026 Cost | DIY-Friendly |
|---|---|---|---|---|
| Surging | Routine sediment, gradual yield loss, post-work development | Any depth with your existing pump | $60 to $150 in supplies | Yes, the standard DIY method |
| Hydro-Jetting | Heavy clogging, packed screens, surging failed to recover | Deep wells with a jetting lance | $500 to $2,500 for a pro | No, requires rig equipment |
| Airbursting | Wells with standing water, new wells, degassing | Deep wells with an air compressor | $300 to $1,500 for a pro | Limited, needs compressor + lance |
If surging does not do the job, the next step is almost always professional hydro-jetting, and our guide to the best hydro-jetting equipment for well rehabilitation explains how the process works and what to expect from a contractor. For new or recently drilled wells that need development before first use, our companion guide on well airburst degassing and development equipment covers the airburst side. And if the underlying problem is that your pump was never sized for the well in the first place, no amount of surging will fix that, so see our guide on how to size a well pump correctly before you spend money on rehabilitation.
Safety Tips and Mistakes to Avoid
Surging is one of the safer well jobs a homeowner can do, but a few mistakes are expensive enough that they are worth calling out before you start. The first and most common is running the pump dry. If the well is low and you keep cycling the pump, you can pull it below the water level and run the motor dry, which is one of the fastest ways to destroy a submersible motor. Watch the pressure gauge and stop the moment the pressure starts to sag and not recover. Our guide to well pump overheating explains exactly what dry-running does to a motor and how to recognize the early signs.
- Do not surge a structurally damaged well. Pressure cycling on a cracked casing or a leaking well head can pull contaminated surface water down the annulus and turn a yield problem into a contamination problem.
- Do not run the pump continuously without throttling. Steady flow is not surging and can drive sand deeper. The open-and-restrict cycle is what makes the technique work.
- Do not overdo it. More is not better. Excessive or too-aggressive surging can erode the screen, loosen the gravel pack, and actually reduce yield. Stop when the water is clean and the numbers have improved.
- Manage the back-pressure. Throttling builds pressure in the discharge line. Make sure your hose and fittings are rated for it, and never stand directly in front of a connection while the system is pressurized.
- Protect the wellhead from your discharge. Run the dirty water away from the well so it cannot soak back in and reintroduce the very contamination you are trying to flush out.
Stop and call a pro if
The well runs dry during the surge, the water level drops and does not recover, you see a sudden change in water color or odor that suggests contamination, or the well is deeper than about 150 feet. Those are all signs that a controlled, monitored professional development is the safer path.
After You Surge: Test and Monitor Your Water
Surging is a mechanical process, but it agitates the formation, and that has a water-quality consequence you should plan for. The loose material you are pulling out can include bacteria that were settled in the aquifer, so the water may be safer in terms of flow but need a moment to stabilize biologically. Treat a post-surge the same way you would treat any well disturbance: monitor the water for clarity and sand over the next few days, and if you have any reason to suspect bacterial contamination, run a bacteria test or follow up with a chlorine disinfection and a confirmatory re-test. Our guide on how often you should test your well water covers the testing schedule we recommend, and it is worth a read if you have not tested since before the surge.
Finally, give the well a few days to fully settle, then re-run your yield measurement one last time. That final number is your new baseline, and it is the one you compare against in the coming months. If the well has recovered and is holding, you have just saved yourself a costly rehabilitation job and bought back several years of clean flow.
When to Call a Professional Well Contractor
DIY surging is the right call for a structurally sound, moderately clogged residential well, and it will solve the problem for a large share of homeowners. But it is not the right tool in every situation. Call a licensed well contractor rather than attempting it yourself when the well is deeper than about 150 feet, when the casing or well head is damaged, when the well is already critically low-yielding and you cannot afford to lose more water, when surging has not recovered the well after a reasonable attempt, or when your local rules require a permit or a licensed contractor for well work. A professional brings a hydro-jetting rig, an air compressor, and the ability to monitor the well in real time, and on a well that needs more than a simple surge, that equipment and oversight are what protect your water supply.
Frequently Asked Questions About Surging a Well
How often should I surge my well?
For a well in a sandy or silty aquifer, a light surging every one to two years is a good maintenance rhythm. For a well in a tight, low-sediment formation, you may only need to surge when you actually notice a change in flow or water clarity. The best rule is to surge reactively based on your measured yield rather than on a fixed calendar: if the well is performing well, leave it alone.
Can surging damage my well?
Done correctly on a structurally sound well, surging is gentle and is the least invasive of the development techniques. The risk comes from surging the wrong well (damaged casing, critically low yield) or from being too aggressive, which can erode the screen or push sand deeper. Measure a baseline, throttle in controlled cycles, and stop when the water is clean and the numbers have improved.
Do I need a special pump to surge a well?
No. You surge with the pump you already have, whether it is a shallow-well jet pump or a deep submersible. The technique is about varying the flow with your discharge valve, not about the pump itself. The only time you need different equipment is if you escalate to hydro-jetting or airbursting, which do require a rig.
How much does it cost to surge a well?
A DIY surge typically costs $60 to $150 in supplies, most of it a heavy-duty hose and a pressure gauge if you do not already have them, plus the cost of the water you discharge. A professional well development, if you need one, ranges from about $300 for a simple airburst to $2,500 or more for a full hydro-jetting job, depending on depth and how clogged the well is.
Is surging the same thing as well development?
Surging is one method of well development, not the whole category. Well development is the general process of opening up a well and its surrounding aquifer so water flows freely, and it includes surging, hydro-jetting, airbursting, and bailing. A brand-new well needs development before first use, and an older well may need it again as sediment accumulates. Surging is simply the gentlest, most homeowner-accessible of those methods.
Related Guides
Well Rehabilitation: Complete Guide to Restoring Your Water Well — the full picture of why wells lose yield and every method for bringing them back.
How to Test Your Well Water Yield — DIY Drawdown — measure your static level, flow, and recovery before and after you surge.
Best Hydro-Jetting Equipment for Well Rehabilitation in 2026 — the next step up when a DIY surge is not enough to recover the well.
#HowToSurgeAWell #WellSurging #WellDevelopment #WellRehabilitation #WellWater #PrivateWell #WellMaintenance #WellScreen #WellYield #WaterWell #HomeownerGuide #WellCare #SubmersiblePump #JetPump #DIYWellWork