
Published: October 19, 2026
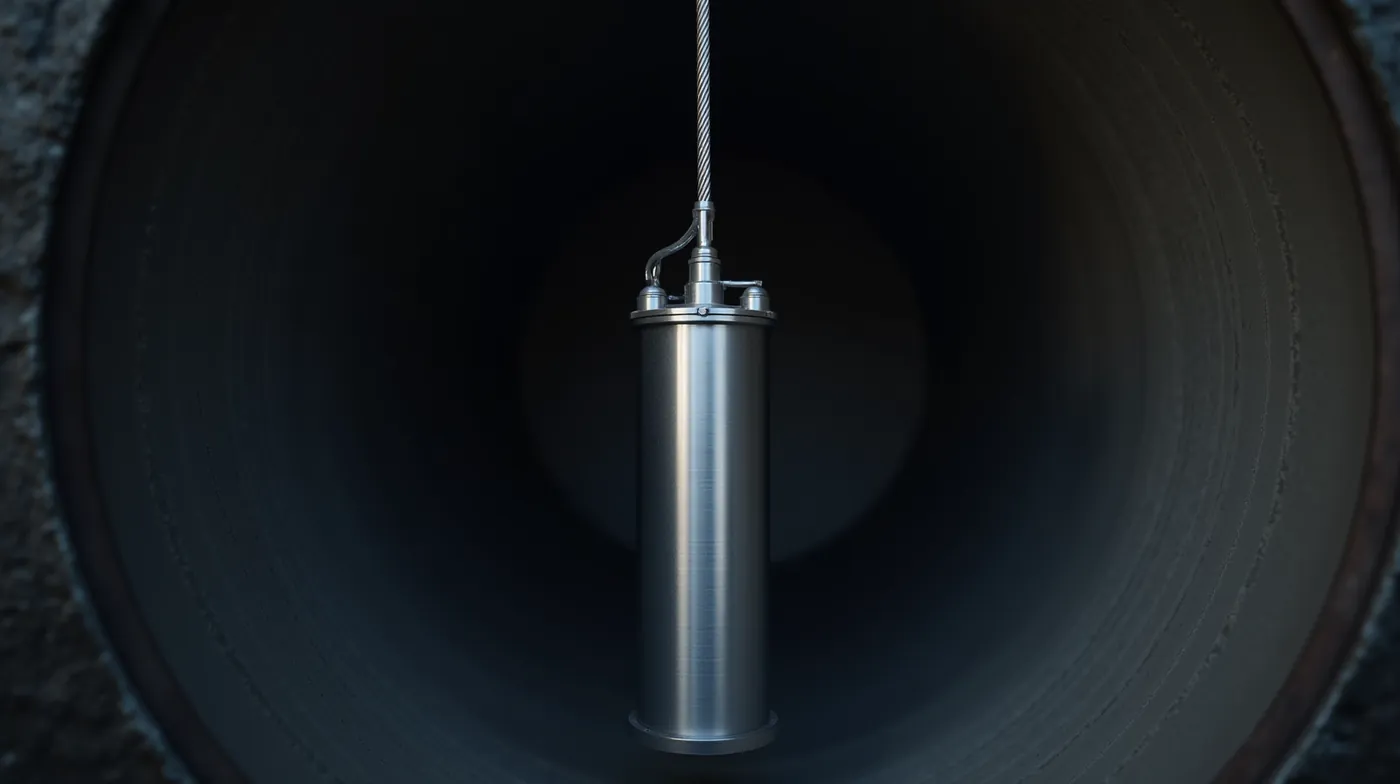
A stuck well pump is one of the most stressful failures a homeowner can face: the water stops, the breaker may trip, and the pump is somewhere 150 to 250 feet down a narrow pipe you can’t even see. Before you panic or book the most expensive emergency rate, here is the good news: in most cases a stuck well pump — a submersible that has seized, locked up, or jammed against the well wall — can be diagnosed at the surface, and sometimes freed and pulled without a full drilling crew.
In this 2026 guide we break down exactly why submersible well pumps get stuck, how to confirm yours is actually seized (and not just a power or pressure problem), the safe step-by-step methods to free or pull it, the tools that make the job possible, and the clear signs that it is time to call a professional. If you are reading this with no water in the house, start with the safety section and work down.
By Thomas Reynolds, Pump Systems Engineer
Thomas has installed and serviced over 1,000 well pump systems for homeowners, with a focus on submersible pump installation, retrieval, and failure diagnosis across deep private wells.
Disclosure: As an Amazon Associate, we earn from qualifying purchases on this page. Product selections are based on independent research and real well water data.
Safety first: cut the power before you touch anything
A stuck pump often means a locked motor that is drawing far more current than normal. Before you open the well cap, move the drop pipe, or attach a winch, shut the pump off at the disconnect box and the main breaker. A motor that is about to seize is not a safe place to learn about arc flash. Always confirm zero voltage with a multimeter before you work.
Why Well Pumps Get Stuck (and It Is Rarely the Pump Itself)
When we pull a pump that a homeowner has been told is “stuck,” the failure is almost never a mysterious pump defect. In our experience the pump has become physically bound in the well, and there are five causes that account for the large majority of retrievals.
Ice and freeze binding (the most common cause in cold climates)
Water in the drop pipe and around the pump housing can freeze into a solid column of ice that glues the pump to the casing or the drop pipe. A pump that ran fine through October and will not turn in November is frequently frozen solid. This is the one “stuck” pump that is easiest and cheapest to fix, which is exactly why you must rule it out before assuming the pump is destroyed.
Debris, gravel shift, or a dropped pump
Wells are not sealed steel tubes. Gravel pack, small rock, and settled sediment can shift after a flood, a settling foundation, or an old pump that dropped during installation. A pump that lands on its side or at an angle can wedge against the casing or the bottom of the well and become physically jammed.
Corrosion and mineral buildup
Iron, calcium, and magnesium scale can coat a pump shaft, the pump base plate, or the threads where the pump meets the drop pipe. Over years this mineral crust fuses the pump to the pipe so that it will not rotate or release. Pumps in high-mineral or high-iron wells are the ones most likely to seize from corrosion.
A failed check valve causing reverse spin
The check valve above the pump is what keeps water from flowing back down the line when the pump shuts off. When it fails, the pump can free-spin in reverse (sometimes called “water hammer” or reverse rotation). This can shear a shaft, damage the impellers, and leave the motor unable to restart — which then looks like a stuck or dead pump.
Motor burnout from running dry
If the well’s water level drops below the pump intake, the pump runs dry. Submersible well motors are not designed to run dry; they overheat, the internal thermal protector trips, and in the worst case the windings burn out and the rotor locks. A burnt-out rotor is a true “stuck” pump that must be replaced.
From pulling these pumps we have learned that the first step is always to find out which of these five you are dealing with. The fix for a frozen pump is nothing like the fix for a burnt-out motor, and the cost difference can be hundreds of dollars versus several thousand.
How to Confirm Your Well Pump Is Actually Stuck (Before You Touch Anything)
The single most common mistake is assuming a stuck pump when the real problem is electrical or a loss of water. A pump that is perfectly fine but receiving no power, or a pump that is primed but has an air-locked line, both look exactly like “the pump is stuck.” Work through this diagnosis in order and you will usually know which one you have within ten minutes.
The locked-rotor clue that gives it away
A healthy submersible well motor draws its rated current (often 5 to 15 amps for a 1 to 1.5 HP unit) and stays there. A locked rotor — a motor trying to start with a seized shaft — draws 3 to 5 times that current for a second or two, then trips the breaker or the thermal protector. If the breaker trips almost the instant you restore power, the rotor is very likely locked. That is your stuck-pump signal.
Step 1: Shut the power off and lock it out
Go to the well pump disconnect box (or the main panel) and flip the pump circuit off. Remove the fuse or tag the breaker if you can. This protects you and lets you tell, later, whether the pump is an electrical fault or a mechanical one.
Step 2: Check the disconnect box and contactor
With power off, open the disconnect box and look at the contactor. If the contactor face is pitted, melted, or the coil does not click when you restore power, your problem is the contactor or the wiring — not a stuck pump. If the breaker trips before the contactor even engages, jump to the electrical check.
Step 3: Restore power and listen at the wellhead
With everything accessible, restore power and listen right at the well cap. Three outcomes: a steady hum that builds and then trips (locked rotor / seized), a brief hum then silence (thermal protector tripped, possible seized or over-current), or complete silence (no power reaching the motor, or a dead contactor coil). The hum-then-trip pattern is the classic stuck-pump signature.
Step 4: Measure the voltage at the disconnect
Using a digital multimeter, confirm you have full line voltage at the disconnect box when the pump is commanded on. If voltage is missing or collapsing under load, you have a wiring or contactor problem, and the pump itself may be fine.
Step 5: Measure the amp draw
Clip a clamp-on amp meter around one leg of the pump supply. Restore power and watch. A locked rotor will spike well above rated amps and trip; a running-dry or overheated motor will draw high but steadier current; a healthy motor holding a healthy load will sit near its nameplate rating. This single measurement separates a stuck pump from almost every other failure.
Step 6: Rule out “no water, healthy pump”
If the motor runs at normal amps but no water comes out, the pump is probably not stuck. The usual suspects are air locked in the line, a failed check valve, a dropped water level, or a clogged intake screen. Prime the system and check the check valve before you spend a minute on retrieval. See also our guide to well pump check valves for how to inspect that part.
Step-by-Step: How to Free a Stuck Well Pump Safely
Only proceed down this path if the diagnosis above points to a mechanically bound or seized pump. Every step assumes the power is off and locked out.
Step 1: Identify your well type and pump depth
Find the well log or installation records. You need the pump depth (where the pump sits), the well diameter (commonly 4 inch casing), and whether you have a pitless unit, a capped submersible, or a drop pipe you can access. The retrieval method changes a lot with these three facts.
Step 2: Try a controlled jerk-and-twist first
For a pump wedged against the casing (not frozen, not burnt), the cheapest fix is a controlled twist. Work from inside the well cap: clamp a pipe wrench on the drop pipe just above the cap and apply short, sharp, alternating twists with light upward force. The goal is to break the seal, not to yank the pump out in one motion. If the pipe turns and the pump loosens, you have likely freed it.
Step 3: If frozen, thaw it — do not force it
If it is cold outside and the pipe is ice-bound, forcing a frozen pump will snap the drop pipe or the power cord. Thaw the well and the exposed pipe first. We cover the safe methods in our how to thaw a frozen well pump guide. Never apply open flame or a torch to a pipe that carries a power cord.
Step 4: Set up a proper retrieval line
If hand force will not free it, you need controlled, steady, upward force. Thread a pump lifting cable or synthetic strap through the well cap and secure it to the pump’s lift lug (never to the power cord or the drop pipe). If the pump is on a drop pipe, a pump retrieval tool or turnbuckle can grip the pipe and pull the assembly together.
Step 5: Pull with a winch or come-along, adding rotation
Attach a 1 to 2 ton electric winch or a heavy-duty come-along ratchet to the retrieval line. Apply slow, steady upward load and, as it tightens, add gentle side-to-side and rotational motion to break the pump free of the casing. Keep the load vertical; a sideways yank on a deep, heavy pump can collapse a weak casing.
Step 6: Know when to stop and call a professional
Stop the DIY attempt immediately and call a licensed well contractor if: the pump will not budge under a full winch load, you hear grinding or metal-on-metal as you pull, the well is deeper than about 300 feet, the casing may be collapsed, or the water turns muddy the moment the pump moves (a sign you have damaged the well). Forcing a cemented or collapsed-well pump will turn a $500 retrieval into a $6,000 re-drill.
How to Free a Stuck Well Pump: Methods Compared
Not every stuck pump needs the same fix, and the cost range between the cheapest and the most expensive option is enormous. This table compares the five main retrieval methods so you can match the approach to your specific failure.
| Method | Best When | Typical Cost | Difficulty | Success |
|---|---|---|---|---|
| Surface jerk-and-twist | Pump wedged on casing, not frozen | $0–$200 | Easy | 60–70% |
| Controlled thaw | Ice binding in a cold climate | $20–$100 | Easy | 80%+ |
| Winch / come-along + lifting line | Pump free-ish but heavy or deep | $100–$800 | Moderate | 70–80% |
| Retrieval tool / turnbuckle | Locked onto the drop pipe | $50–$300 | Moderate | 65% |
| Professional rig / retrieval | Cemented, collapsed casing, deep well | $1,500–$6,000+ | Pro only | 95%+ |
Success rates reflect our field experience across private-well retrievals in the western and midwestern US. A frozen pump that is genuinely ice-bound almost always frees with a thaw; a cemented pump rarely frees by hand.
The Tools You Need to Pull a Stuck Well Pump
You do not need a drilling rig for most retrievals, but you do need the right gear. A locked-rotor diagnosis is only as good as the meter you measure it with, and a pull is only as safe as the lifting line you trust. These are the tools we reach for on nearly every stuck-pump job, with realistic 2026 price ranges.
| Tool | Purpose | Price Range |
|---|---|---|
| Digital multimeter | Verify voltage, test rotor continuity | $40–$400 |
| Clamp-on amp meter | Measure locked-rotor current without cutting wire | $30–$150 |
| Pipe wrench + extension | Controlled jerk-and-twist at the well cap | $30–$120 |
| Pump lifting cable / strap | Safe attachment to the pump lift lug | $40–$150 |
| Electric winch (1–2 ton) | Steady, controlled retrieval force | $100–$900 |
| Pump retrieval / turnbuckle tool | Grip the drop pipe and pull as a unit | $50–$300 |
| Work gloves + eye protection | Personal protection for every retrieval | $20–$60 |
When to Call a Professional (and What It Will Cost)
There is real money on the line in knowing when DIY ends and a professional begins. We recommend stopping and calling a licensed well contractor the moment you hit any of these conditions:
- The pump will not move under a full winch or come-along load.
- You hear grinding, scraping, or metal-on-metal as you pull.
- The water turns muddy or sandy the instant the pump moves (casing damage).
- Your well is deeper than about 300 feet or has a collapsed or old casing.
- There is no power reaching the motor and the contactor wiring is faulty.
A professional retrieval with a proper rig typically runs $500 to $2,000 for a pump that is stuck but recoverable, and more if the well itself needs repair. If the pump is genuinely seized or burnt out and must come out permanently, add the cost of a replacement unit — our well pump replacement cost guide breaks down the full 2026 price range by horsepower and depth. Before you call, have your pump model, the well depth, and any old well log ready; a contractor who can see those numbers upfront will quote you faster and more accurately.
How to Prevent a Well Pump From Getting Stuck
The cheapest stuck pump to fix is the one that never gets stuck. These are the maintenance steps that prevent the most common causes we see in the field, roughly in order of payoff.
1. Keep the check valve working
A functioning check valve stops the pump from free-spinning in reverse and protects against the backflow that leads to reverse-spin damage. Inspect it yearly and replace it if it rattles, leaks, or does not hold. This is the single most overlooked cause of “dead” pumps.
2. Protect against freeze in cold climates
In freezing winters, install self-regulating heat tape on the exposed drop pipe and use a freeze-proof well cap. A few dollars of heat tape in the fall prevents the most expensive “stuck pump” of all — a frozen one. Our thaw guide covers both prevention and recovery.
3. Add pump protection
A pump protection device (overload relay, thermal protector, or a smart pump controller) shuts the motor off before it burns out from running dry or drawing excess current. This is the difference between a $40 reset and a $900 pump replacement. See our roundup of well pump protection and control equipment.
4. Test the amp draw once a year
With a clamp-on meter, note your pump’s running amps each spring. A motor that is beginning to fail shows a creeping amp draw long before it seizes. Catching it early means a planned replacement instead of an emergency retrieval in January.
5. Keep the well clear and the pump centered
Periodic well cleaning removes the sediment and debris that shift and jam a pump. Make sure the pump is centered on its drop pipe and not rubbing the casing, which accelerates the corrosion and wear that fuse it in place over the years.
Pro tip: test before you assume
A $40 clamp-on meter pays for itself the first time it tells you the “stuck” pump is actually just a dead contactor or a no-power fault. Never spend money on a retrieval before you have measured voltage and amp draw at the disconnect box.
Private well water is a critical household supply, and the US Environmental Protection Agency treats it as the homeowner’s responsibility to maintain and test. Keeping a simple maintenance log — amp draw, check valve service, and any freeze events — is the best insurance you can buy against a stuck pump in the middle of winter. For more on the broader responsibilities of private well ownership, the EPA’s ground water and drinking water guidance is a good authoritative starting point.
Frequently Asked Questions
How deep are most well pumps, and can I reach one myself?
Residential submersible pumps typically sit 100 to 300 feet down, depending on your water table. You cannot reach the pump itself, but you can reach the top of the drop pipe through the well cap, which is all the retrieval methods above require. If the pump is beyond about 300 feet or the well is old, lean on a professional.
Is it safe to pull a well pump with a winch or come-along?
Yes, provided the power is off and locked out, you attach to the pump’s lift lug (never the cord or pipe alone), the load stays vertical, and you add rotation rather than a hard sideways yank. A vertical, controlled pull with a proper lifting line is standard practice. The danger is a sideways force on a deep, heavy assembly, which can collapse a weak casing.
What if my well pump is frozen solid?
Do not force it. Thaw the well and the exposed drop pipe first using the safe methods in our frozen well pump guide. A frozen pump that is forced will snap the drop pipe or power cord, turning a cheap fix into a full replacement.
How much does it cost to retrieve a stuck well pump?
A DIY retrieval that frees the pump costs mostly in tools, roughly $100 to $800. A professional retrieval with a rig runs about $500 to $2,000 for a recoverable pump, and more if the well casing is damaged. If the pump must be replaced, add the replacement cost, which our replacement cost guide details.
Will a stuck pump damage my pressure tank or the rest of the system?
Not directly. A stuck (locked-rotor) pump draws high current and trips its breaker or thermal protector, which protects the pressure tank and wiring from most damage. The real risks are a tripped breaker leaving you without water, a burnt-out motor that must be replaced, and — if you force a stuck pump — possible casing damage. The pressure tank itself is insulated from a locked pump by the pressure switch and check valve.
See Also
- Need to replace the seized pump? See our full well pump replacement cost breakdown for 2026 by horsepower and depth.
- Frozen is the most common cause — read our how to thaw a frozen well pump step-by-step guide for safe recovery.
- If your breaker trips before the pump even tries to start, rule out the electrical side with our well pump breaker trips guide.
#WellPump #StuckWellPump #SubmersiblePump #WellWater #WellMaintenance #WaterWell #HomeownerGuide #WellDrilling #PumpRepair #WellSystem #PrivateWell #WellCare #WaterSupply #PumpTroubleshooting #WellOwner