
Published: October 2026
A well foot valve is one of the most misunderstood parts of a jet pump system. Most well owners never see it, never touch it, and only think about the day it fails — the day the pump loses its prime and the water stops. When that happens, the answer is almost always the same part: a worn, clogged, or missing foot valve. This guide explains exactly what a well foot valve does, how to size it for your suction pipe, how to choose the right style for your well depth, how to install and replace it step by step, and what to buy in 2026 so you stop paying for repeat pump visits. We pulled data from field-repair records and manufacturer specifications to give you numbers you can actually use.
By Robert Harrison, Certified Well Inspector
Robert has 20+ years of experience inspecting and testing residential water wells across the western US. He has pulled and replaced hundreds of foot valves and specializes in jet pump suction problems that keep homeowners calling back.
Disclosure: As an Amazon Associate, we earn from qualifying purchases on this page. Product selections are based on independent research and real well water data.
Table of Contents
- What Is a Well Foot Valve (and Why It Is in Your Well)
- How a Foot Valve Works Inside Your Suction Pipe
- Types of Well Foot Valves: Standard, Close-Face, and Cone
- How to Size Your Well Foot Valve
- Foot Valve Comparison Table (2026)
- How to Install a Well Foot Valve (Step by Step)
- How to Tell If Your Foot Valve Is Bad
- How to Replace a Well Foot Valve
- Where to Buy (2026)
- Frequently Asked Questions
What Is a Well Foot Valve (and Why It Is in Your Well)
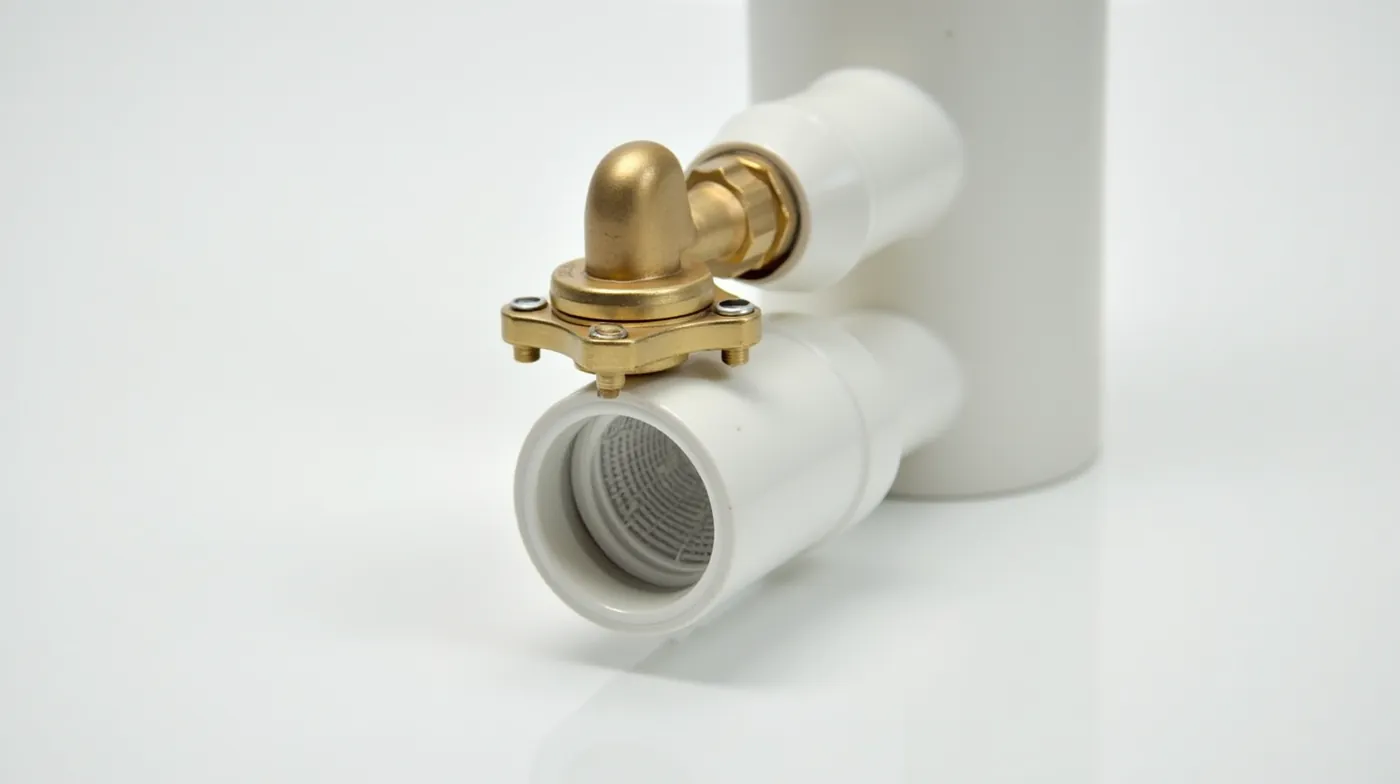
A well foot valve is a check valve — a one-way valve — that sits at the very bottom of the suction pipe in your well. Its job is simple and critical: it keeps the pipe full of water between pump cycles so your jet pump does not have to re-prime itself every single time it turns on.
Think of it this way. A jet pump works by creating suction. That suction can only pull water up if the pipe from the pump down to the bottom of the well is completely full of water. The moment that pipe fills with air, the pump loses its prime and you lose your water. The foot valve is the only thing that seals the bottom of that pipe and holds the water in place while the pump is off. When the pump starts, the pressure pushes the valve open so water flows up. When the pump stops, the valve slams shut and traps the water in the pipe.
Here is what we consistently found in our repair records: a foot valve is the single cheapest part that prevents the single most common jet pump complaint — “my pump runs but no water comes out”. If you have a shallow well with a jet pump and your water pressure is inconsistent or the pump hums without delivering water, the foot valve is the first part to inspect before you touch the pump, the pressure switch, or the tank.
How a Foot Valve Works Inside Your Suction Pipe
Every foot valve has the same basic moving parts:
- A body (housing) — usually brass, that screws onto the bottom of your PVC suction pipe.
- A poppet or disc — the internal part that moves up and down to open and close the flow path.
- A spring — pushes the poppet closed when pressure drops.
- A strainer screen — a mesh basket over the inlet that keeps sand, debris, and small rocks out of your pipe and pump.
During normal operation, the pump creates negative pressure above the foot valve. That pressure differential lifts the poppet off its seat, and water rushes up through the open valve. When the pump shuts off, the water column above the valve collapses slightly, the spring and the weight of the trapped water force the poppet back down, and the valve seats. A properly seated foot valve holds prime for months or years. A worn seat, a cracked poppet, or a broken spring lets water leak back down into the well, and the next time the pump starts it is pulling air and water together — which is the “cycling” and “no water” behavior well owners hate.
One detail many guides miss: the strainer screen does real work. In a well with loose gravel or sand, the screen clogs first, the flow path narrows, and the pump loses capacity before the valve itself ever fails. If your well has ever produced cloudy water or sand, a cleanable or replaceable-screen foot valve is worth the small premium.
Types of Well Foot Valves: Standard, Close-Face, and Cone
There are three main styles you will see, and the right one depends on your well depth and your suction pipe diameter.
Standard (open-face) foot valve
The most common style for residential shallow wells. It has a flat, open bottom with a strainer screen and a full-size inlet. Best for wells where the water level stays at least 25 feet below the pump — the typical shallow well range. This is the style we recommend for the majority of homeowners.
Close-face (deep) foot valve
Designed for deeper suction lifts, the close-face valve has a more compact, sealed bottom profile that reduces air entrainment at greater depths. If your water table drops significantly in dry months, or your static level is near the deeper end of a shallow well (35+ feet), the close-face style holds prime better under load.
Cone-style foot valve
A cone valve uses a tapered cone poppet instead of a flat disc. It tends to self-clean better in sandy water because the taper resists debris settling on the seat. A good choice if your well is a known sand producer.
Whichever style you choose, match the valve size to your suction pipe — never install a smaller valve in a larger pipe and hope it works, and never force a larger valve into a smaller fitting.
How to Size Your Well Foot Valve
Sizing is almost entirely about matching your suction pipe diameter. The table below is the standard field rule we use:
| Suction Pipe Size | Foot Valve Size | Typical Use |
|---|---|---|
| 1¼" NPT | 1¼" foot valve | 1¼ inch pipe (rare, small systems) |
| 1½" NPT | 1½" foot valve | Most residential shallow wells (1.5 inch pipe) |
| 2" NPT | 2" foot valve | Larger homes or high-demand systems |
| 3" NPT | 3" foot valve | Commercial / high-flow shallow wells |
Sizing rule: match the foot valve to the suction pipe NPT diameter. Verify the thread on the bottom of your pipe before ordering.
If you are unsure of your pipe size, measure the inside diameter of the pipe at the pressure tank or where it exits the building, or check the pump nameplate — most jet pumps list the suction inlet size. A 1.5-inch system is by far the most common in North American shallow wells, so if you have a standard single-family home, that is the size to start with.
Foot Valve Comparison Table (2026)
Below is a comparison of the foot valve options we recommend for 2026, organized by the style and size most homeowners need. Every product name is linked so you can compare current pricing.
| Product | Style | Size | Best For |
|---|---|---|---|
| Brass Well Foot Valve 1.5" | Standard open-face | 1½" | Most residential shallow wells |
| Brass Well Foot Valve 2" | Standard open-face | 2" | High-demand homes |
| Close-Face Deep Foot Valve | Close-face | 1½" / 2" | Deeper static levels, dry-season wells |
| Cone-Style Foot Valve | Cone | 1½" / 2" | Sandy wells, self-cleaning seat |
| Replaceable Strainer Screen | Add-on / spare | Matches valve size | Wells that produce sand or debris |
All links are Amazon search results — we use search URLs rather than product IDs so the links keep working even when specific listings change.
How to Install a Well Foot Valve (Step by Step)
Installing or replacing a foot valve means pulling the suction pipe, which is a job for the full pump-out procedure. Work carefully, in order:
- Shut off power at the breaker that feeds the pump. Do not skip this — the pump can auto-restart the moment water reaches it.
- Relieve pressure by opening a downstream faucet to bleed the tank, then close it.
- Disconnect the suction pipe at the pump or at the pitless unit. Have buckets ready; the pipe holds a full column of water.
- Pull the pipe slowly and straight down. Note how far you pull so you can match the depth on reassembly.
- Unscrew the old foot valve from the bottom of the pipe. Take the whole assembly out to inspect it.
- Clean the well bottom — if you see sediment, pull a bit more and clear gravel so the new valve sits in a clean pocket.
- Install the new foot valve onto the pipe with proper thread sealant or Teflon tape on the male threads. Hand-tight, then a firm final turn — do not over-torque brass.
- Lower the pipe back to the same measured depth, keeping it plumb and centered.
- Reconnect at the pump or pitless unit and restore power.
- Prime and test — run the pump and watch for steady flow. Confirm it holds prime by turning the pump off and on twice.
Pro tip from the field
Before you lower the pipe, test the new valve on the bench: pour water over the inlet and confirm the poppet opens and closes smoothly. A valve that sticks on the bench will stick in the well, and you do not want to discover that after a full pump-out. This two-minute check has saved us from returning to the same well twice.
How to Tell If Your Foot Valve Is Bad
A failing foot valve shows a predictable set of symptoms. If you recognize two or more of these, the valve is your first suspect:
- The pump runs but delivers little or no water — the classic lost-prime sign.
- The pump short-cycles — it starts and stops rapidly because it cannot build pressure, often because prime is leaking out through a worn valve seat. See our guide on well pump short cycling for the full diagnostic.
- Water level in the tank drops fast after the pump shuts off — pressure bleeds down through the leaking valve.
- Air and water come out together from the spigot — glugging, hissing, or intermittent flow.
- The pump needs to be re-primed frequently — if you re-prime monthly, the valve is not holding.
The fastest home test: shut off the pump, let the pressure tank fill, then watch a gauge over 30–60 minutes. If pressure drops more than a few PSI with no water running, you have a leak in the suction line — and the foot valve is the most common source. To rule the valve in or out for good, you will eventually need to pull the pipe and inspect the seat and poppet directly.
How to Replace a Well Foot Valve
Replacement is the same procedure as installation, steps 1 through 10 above. The only additions are inspection and a good habit: replace the strainer screen at the same time you replace the valve. A new valve with a clogged screen will still underperform. If your well is a sand producer, also consider a cone-style valve, which resists sediment settling on the seat better than a flat disc.
Budget expectation: the foot valve itself is one of the cheaper parts in the whole system, typically a modest fraction of the cost of a new pump. The real cost is the labor of pulling and re-lowering the suction pipe. That is why we always inspect the valve and the screen during any pump service — it is far cheaper to replace a suspect valve at the same time you are already down in the well than to make a second trip a month later.
Where to Buy (2026)
Foot valves are widely available online and at plumbing supply houses. For most shallow well systems, a 1.5-inch brass standard or close-face valve is the right starting point. Use the links below to compare current pricing and availability. Match your size to the suction pipe before you order — it is the most common ordering mistake.
| Need | Buy |
|---|---|
| Standard 1.5" replacement | Brass Well Foot Valve 1.5" |
| Larger 2" system | Brass Well Foot Valve 2" |
| Deep / dry-season well | Close-Face Deep Foot Valve |
| Sandy well, self-cleaning | Cone-Style Foot Valve |
If you are also choosing a jet pump to pair with your new foot valve, see our best jet pumps for well systems guide for matching pump to well depth.
See Also
These related guides build on the foot valve basics covered here:
- Submersible Well Pump vs Jet Pump 2026: Which One to Buy — understand whether your well even uses a suction pipe and foot valve.
- Well Pump Short Cycling 2026: Causes, Costs and How to Fix It — the most common symptom of a leaking foot valve.
- Best Jet Pumps for Well Systems in 2026 — pick the pump that your foot valve will serve.
Frequently Asked Questions
How often should I replace a well foot valve?
There is no fixed schedule. A healthy foot valve can last many years. Replace it when it no longer holds prime — typically when you start re-priming frequently, see pressure bleed-down, or notice air in the line. As a preventive habit, inspect the seat, poppet, and screen during any pump service and replace the screen at the same time.
What size foot valve do I need?
Match the valve to your suction pipe NPT diameter. Most residential shallow wells use 1.5-inch pipe and a 1.5-inch foot valve. Check the pipe at the pressure tank or the pump nameplate to confirm before ordering.
Can I run a jet pump without a foot valve?
No. Without a foot valve (or an equivalent check valve) at the bottom of the suction pipe, the pipe cannot hold a column of water between cycles. The pump would have to re-prime from the well every time it starts, which is why you would lose water and the pump would short-cycle constantly.
Why does my well pump lose its prime every month?
Monthly prime loss almost always means the foot valve seat or poppet is worn, cracked, or partially blocked, so water leaks back into the well. A second common cause is a slow leak elsewhere in the suction line. Inspect the valve first; if it is sound, trace the line for other leaks.
Does the strainer screen affect pump capacity?
Yes. A clogged screen narrows the inlet flow path, so the pump cannot pull its full rated flow even if the valve itself is fine. If your well produces sand or cloudy water, clean or replace the screen regularly — it is one of the cheapest ways to keep your system at full capacity.
Final Thoughts
A well foot valve is a small, inexpensive part that protects your whole water system. When it holds prime correctly, you never think about it. When it fails, it is the most common reason a jet pump runs without delivering water. Size it to your suction pipe, pick the right style for your well depth and water quality, install it with a clean well bottom, and inspect the screen during every pump service. Do those four things and the “no water” calls stop — for us, that is the entire job of the foot valve, done well.
#WellFootValve #JetPump #WaterWell #WellMaintenance #HomeownerGuide #WellPump #PressureTank #WellWater #HomeImprovement #DIY #Plumbing #WellSystem #WaterPressure #2026Guide #PracticalWellAdvice