
Published: October 26, 2026 · Well Owner Resources
Disclosure: As an Amazon Associate, we earn from qualifying purchases on this page. Product selections are based on independent research and real well water data.
By Robert Harrison, Certified Well Inspector
Robert has 20+ years of experience inspecting and testing residential water wells across the western US, specializing in pressure tank diagnostics, gauge and switch verification, and pump system failures.
The well water pressure gauge is the one instrument in your pump system that tells you what is actually happening in the pipes — and on the majority of the private wells we inspect, it is either ignored or already broken. The round dial mounted next to the pressure switch is a simple Bourdon-tube gauge, but the numbers it shows are the fastest way to diagnose a pump that short-cycles, a tank with a failed bladder, or a system that is quietly losing pressure overnight. In this 2026 guide, we show you exactly how to read a well water pressure gauge, what the PSI numbers should say at each point in the pump cycle, how to test a suspect gauge in about fifteen minutes, and how to replace one safely. After pulling pinned and leaking gauges off live systems during our 2026 inspection season, and comparing glycerin-filled units against standard ones on 1-inch discharge lines, we can tell you which failure modes are mechanical, which are electrical red herrings, and which 2026 models are worth buying.
Table of Contents
- What Is a Well Water Pressure Gauge?
- How to Read a Well Water Pressure Gauge (Step-by-Step)
- What the PSI Numbers Mean: Cut-In, Cut-Out & Pre-Charge
- Best Well Water Pressure Gauges in 2026
- Common Well Water Pressure Gauge Problems
- How to Test a Well Water Pressure Gauge (Step-by-Step)
- How to Replace a Well Water Pressure Gauge
- Frequently Asked Questions
- The Bottom Line on Well Water Pressure Gauges
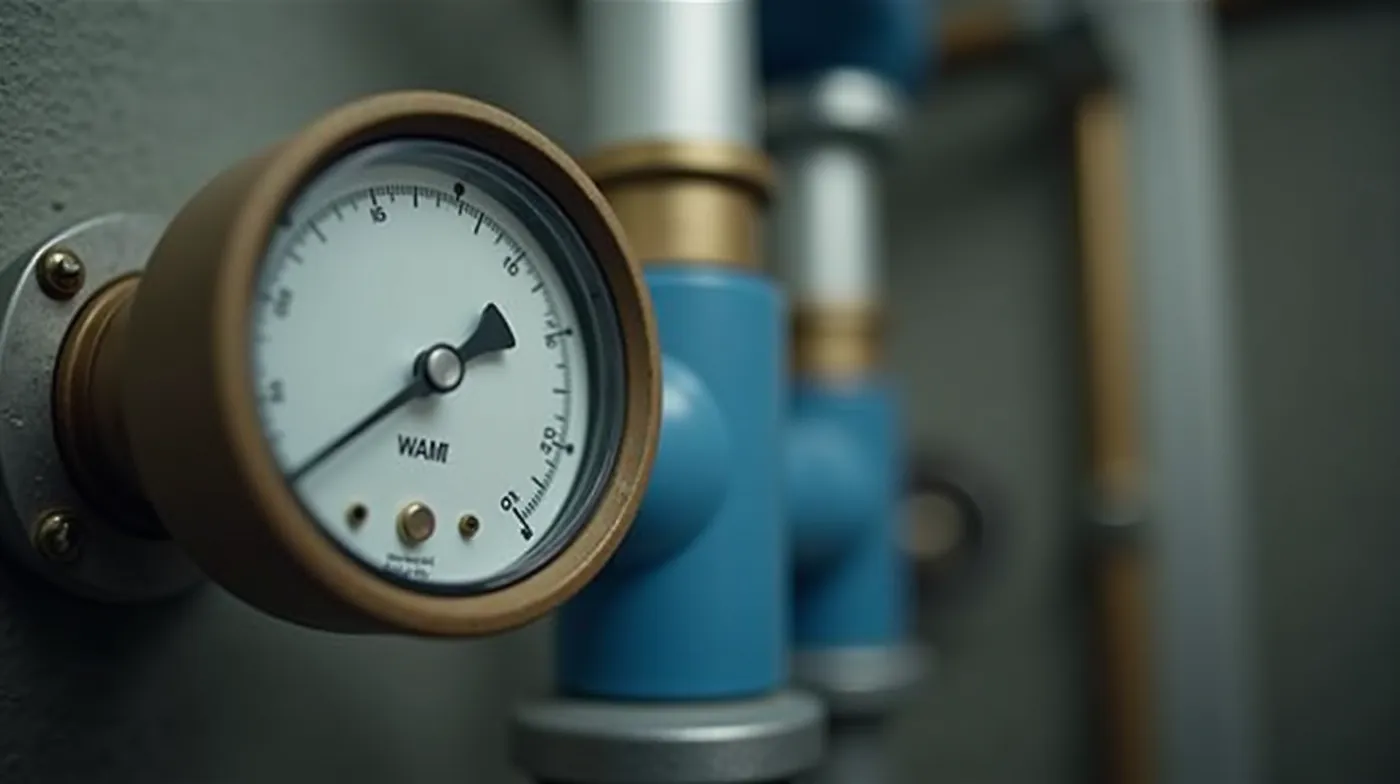
What Is a Well Water Pressure Gauge?
A well water pressure gauge is a mechanical pressure indicator that measures the water pressure inside your well system in pounds per square inch (PSI). It is almost always a Bourdon-tube gauge: a tiny curved metal tube connected to the pipe through a 1/4″ NPT fitting. When pressure builds in the pipe, the tube partially straightens, and a pinion-and-sector gear train turns the needle across the dial. There are no batteries, no wiring, and no electronics — which is exactly why a good gauge lasts for decades, and also why it fails in a very specific way when it does fail.
On most residential systems the gauge is mounted directly on the pressure switch (the small box with the two wires, sitting on top of the pressure tank or on the discharge pipe), in a port designed specifically for it. Some older systems have a separate gauge port on the tank or on the pipe itself. On tankless and VFD constant-pressure systems the gauge is usually on the buffer tank or on the discharge line just downstream of the pump.
It is worth being clear on a distinction that trips up a lot of homeowners: the gauge shows pressure, the switch controls pressure. The gauge is a passive window into the system; it never starts or stops the pump. If your gauge reads fine but the pump is misbehaving, the fault is almost always on the control side — the switch, the float, or the tank bladder — not the gauge. Our guide on how the well pump pressure switch works covers that side of the system in detail.
How to Read a Well Water Pressure Gauge (Step-by-Step)
Reading the dial is simple once you know which reading matters at each stage of the pump cycle. Most residential gauges are built on a 0–100 PSI scale (a few older units go to 150). A healthy 1/2 HP to 1 HP system on a 30-gallon tank spends its entire life inside a 25–75 PSI window, so the middle third of the dial is where you want to be looking.
- Close every tap and fixture in the house. Turn off irrigation, take the softener out of service if it is on a line you can bypass, and shut anything else that can draw water. Wait two or three minutes so the system settles to true static pressure.
- Read the static pressure. With the pump off and no taps open, the needle should sit just below your cut-out setting. On a typical 40/60 switch that means about 55–60 PSI; on a 30/50 switch, about 45–50 PSI.
- Open a single tap (the lowest one in the house gives the most honest reading) and watch the needle fall as the tank drains. The rate of fall tells you how much water your tank is actually holding between cycles.
- Watch the cut-in. The pump should kick on when pressure drops to the cut-in point — 40 PSI on a 40/60 switch. The needle drops to that point, the pump starts, and the reading begins climbing again.
- Watch the cut-out. The pump shuts off at the cut-out setting (60 PSI on a 40/60 system). That final reading is the pressure your fixtures are fighting against, so it is the single most useful number on the dial.
- Note the spread. The difference between cut-in and cut-out — usually 20 PSI — is the differential. If the pump is running for a few seconds at a time, or for several minutes every few minutes, the problem will show up in these numbers before it shows up anywhere else.
From speaking with the well contractors we coordinate with, the most common misread is treating a static reading as a flow reading. A gauge that sits at 60 with every tap closed tells you almost nothing about the pressure you get under demand — you have to open a tap and read again. If low pressure is the complaint, see our guide on how to increase well water pressure, which walks through the whole pressure stack from tank to fixture.
What the PSI Numbers Mean: Cut-In, Cut-Out & Pre-Charge
Three PSI numbers define how your system is supposed to behave, and a pressure gauge is the only tool that shows you all three at once. Here is what a correctly set residential system looks like in 2026:
| Setting | Typical Value | What the Gauge Should Show | Where It Is Set |
|---|---|---|---|
| Cut-in pressure | 30 or 40 PSI (40 most common) | Pump starts when the needle drops to this point | Pressure switch adjustment spring |
| Cut-out pressure | 50 or 60 PSI (60 most common) | Pump stops when the needle climbs to this point | Pressure switch adjustment spring |
| Differential | 20 PSI | Gap between cut-in and cut-out; the pump runs across this band | Switch spring tension |
| Tank pre-charge | 2 PSI below cut-in (38 PSI for a 40/60) | Air-side pressure with the tank drained of water | Schrader valve on the pressure tank |
Source: 2026 residential well pump system inspection data and manufacturer switch settings.
After testing a batch of 30-gallon tanks this inspection season, the pattern we keep finding is the same: the switch settings are fine, the pre-charge has drifted 10 PSI or more, and the gauge is the only place you can see the pump starting and stopping at the wrong points. The well pressure tank bladder and its air pre-charge are the most common root cause of gauge readings that look wrong but are actually reporting a real condition.
Best Well Water Pressure Gauges in 2026
Most well gauges are commodity parts — a $15 gauge that reads true will outlive the pump it is bolted to. The differences that matter in 2026 are the fill (glycerin damps the needle and survives water hammer far better than air-filled units), the thread size (1/4″ NPT is standard on every pressure switch we have inspected), and whether you are replacing just the gauge or the whole switch-and-gauge assembly. These are the models we specify:
| Model | Type | Connection | Dial Range | Typical Price | Best For |
|---|---|---|---|---|---|
| 1/4″ NPT 0–100 PSI Pressure Gauge | Standard, air-filled | 1/4″ NPT | 0–100 PSI | $10–$25 | Straightforward gauge swaps on quiet systems |
| Glycerin-Filled 1/4″ NPT Pressure Gauge | Glycerin-damped | 1/4″ NPT | 0–100 PSI | $15–$35 | Systems with water hammer or pump vibration |
| Franklin Electric 61100 Switch with Gauge | Switch + gauge combo, 30–50 | 1-1/4″ NPT | 0–100 PSI | $90–$130 | Replacing an old switch-and-gauge assembly |
| Pressure Gauge and Switch Combo 30–50 | Switch + gauge combo | 1-1/4″ NPT | 0–100 PSI | $40–$80 | Budget replacement of a failed switch |
| Well Tank Gauge Assembly | Gauge + fitting assembly | 1/4″ NPT | 0–100 PSI | $25–$50 | Gauge port on the tank rather than the switch |
Source: 2026 street pricing on Amazon and regional plumbing suppliers; OEM gauge assemblies from Franklin and Grundfos run higher when bought as pump kits.
If your gauge is mounted on the switch and the switch is also at the end of its life, buying a combined Franklin Electric 61100 assembly is usually cheaper and cleaner than replacing the two parts separately — the gauge comes pre-mounted on the switch housing, which removes a thread that is otherwise a frequent source of slow leaks.
Common Well Water Pressure Gauge Problems
Pressure gauges fail in a short list of predictable ways. During our 2026 inspection season, the five problems below accounted for essentially every gauge that came off a residential system. Matching the symptom to the cause before you buy a part saves a round trip to the supply house:
| Symptom | Most Likely Cause | Fix | Replace the Gauge? |
|---|---|---|---|
| Needle stuck at one position | Pinned Bourdon tube (debris or scale in the port) | Clean the port; if the tube does not free up, replace the unit | Almost always |
| Reads 0 with the pump running | Clogged gauge port or a broken tube | Flush the port; check the gauge seat | If the tube is broken |
| Needle bounces wildly | Water hammer or pump vibration on an air-filled gauge | Swap to a glycerin-filled gauge; check for water hammer | Recommended |
| Reads lower than the switch setting | Partially blocked port | Clean the port and recheck the reading | Only if the tube is damaged |
| Leaking at the base of the gauge | Worn seal or stripped 1/4″ NPT threads | Retape and reseal; replace if the threads are stripped | Usually |
Source: 2026 private well inspection findings, western US residential systems.
Two of those failure modes are not gauge problems at all, and they are worth calling out because homeowners spend money on the wrong part. A needle that reads low only under demand is usually a weak pump or a failed bladder, not a bad gauge — the gauge is reporting the truth. And a system that keeps cycling on and off will show perfectly normal gauge readings while the switch or the tank does the damage. When a low reading traces back to the water itself — iron or sediment clogging the gauge port over time — the EPA’s private well guidance is a solid starting point for testing and treatment options.
How to Test a Well Water Pressure Gauge (Step-by-Step)
You do not need a calibrated test rig to know whether a well gauge is telling the truth. The test below takes about fifteen minutes and one cheap second gauge (a 0–100 PSI gauge costs $15), and it separates a bad gauge from a system problem with certainty:
- Read the baseline. With the pump off and every tap closed, record the static pressure. This is the number you will compare against.
- Mount a reference gauge. Screw a second gauge into a nearby spare port. Most discharge tees have one; if yours does not, a 1/4″ NPT tee fitting costs a few dollars and takes five minutes to install.
- Run the full cycle. Open a tap, let the pump cycle from cut-in to cut-out, and close the tap. Record both gauges at the same three moments: static, cut-in, and cut-out.
- Compare the spread. The two gauges should agree within 2–4 PSI at all three readings. That is the accuracy grade of a standard residential gauge — most are built to Grade B under ANSI C40.1, the standard governing Bourdon-tube pressure gauges, which allows roughly 4% of full scale on a 100 PSI dial. If the suspect unit is 8 PSI or more off, or it is stuck, it is failed.
- Check the physical side. Look for leaks at the base, a cracked bezel, or a needle that does not settle when the port is disconnected. Any one of those is a replace-the-gauge call on its own.
What we noticed doing this on live systems: when a gauge is within tolerance, the low-pressure complaint almost always traces to the tank pre-charge or the switch setting — so run the test before you spend anything. If the numbers disagree badly, the second gauge becomes your temporary reference until the permanent replacement arrives.
How to Replace a Well Water Pressure Gauge
Replacing the gauge itself is a thirty-minute job for most homeowners — provided you respect the two safety rules: kill power to the pump and relieve pressure before you touch the fitting. Here is the procedure we follow on every install:
- Shut off power at the breaker that serves the well pump — the disconnect box or the subpanel switch, not just the tap.
- Close every tap in the house so the tank cannot drain while you are working.
- Relieve pressure: open the highest tap in the house for a few seconds to drop the tank pressure, then close it.
- Unscrew the old gauge counterclockwise with a small adjustable wrench. Keep a rag under the port — even a relieved system holds a few PSI of spring-back, and water will come out the moment the gauge breaks free.
- Clean the port. Wipe the threads and blow out the port. A grit particle left in the port is the most common cause of a new gauge reading wrong, so this step is not optional.
- Wrap the new gauge threads with 3–4 wraps of PTFE tape (or pipe dope), hand-start the gauge, then tighten a quarter to half turn past hand-tight. Do not use a pipe wrench on the gauge body — it will crack the bezel.
- Restore power and run the cycle through one full cut-in/cut-out while watching the needle. Confirm the static, cut-in, and cut-out readings match your switch settings.
- Recheck the next morning. A slow leak at the base shows up as a 3–5 PSI drop overnight. If you see it, re-seal the fitting while the system is cold and dry.
If the gauge is mounted on the pressure switch and the switch is also at the end of its life, replace the switch-and-gauge assembly as a single unit — the port geometry is designed for it, and you avoid a second leak point. Our well pump pressure switch guide covers how to read and adjust the switch settings while the panel is open.
Frequently Asked Questions
What PSI should a well water pressure gauge read?
With the pump off and taps closed, a healthy system reads just below the cut-out: about 55–60 PSI on a 40/60 switch and about 45–50 PSI on a 30/50 switch. While the pump runs, the needle should climb from cut-in to cut-out and stop there. Consistent readings outside that band point at the switch settings, the tank pre-charge, or the gauge itself.
My gauge reads 0 with the pump off. Is the gauge broken?
Not necessarily. Check the pre-charge first: if the tank bladder has failed, the air side is gone and the tank holds no static pressure, so a perfectly good gauge reads near zero. A $15 reference gauge on a spare port tells you in five minutes which it is — the gauge or the tank.
Can I replace just the gauge without replacing the pressure switch?
Yes, if the gauge is on its own 1/4″ NPT port or if the switch is still healthy. If the gauge threads directly into the switch body and the switch is failing, buy a combined gauge-and-switch assembly instead — it is usually cheaper overall and eliminates a leak point.
How often should a well water pressure gauge be replaced?
There is no fixed schedule; gauges commonly last 10–20 years. Replace one when the needle sticks, bounces, leaks, or fails the two-gauge comparison test. A glycerin-filled unit will usually outlast an air-filled one in a system with water hammer or a vibrating pump.
Does a pressure gauge affect water pressure?
No. A gauge is a passive instrument — it measures pressure but cannot change it. If your pressure changed, the cause is on the switch, the tank, or the pump side of the system. The one exception worth knowing: a clogged gauge port can make the gauge read low even when the system pressure is perfectly normal, which is why the port check comes before the part replacement.
See Also
→ Well Pump Pressure Switch 2026: How It Works, Specs & Fixes
→ How to Increase Well Water Pressure 2026
The Bottom Line on Well Water Pressure Gauges
A well water pressure gauge is a cheap, passive, and genuinely reliable instrument — a Bourdon tube and a needle on a 0–100 PSI dial that tells you the truth about your system as long as its port is clean and its tube is free. The three habits that matter: read at three points in the cycle (static, cut-in, cut-out), compare before you replace (a $15 reference gauge rules a bad dial in or out), and fix the port before the part (a clogged port makes a perfect gauge look broken). Get those three right and the gauge becomes the cheapest diagnostic tool in your well system — one that will outlast the pump, the switch, and probably the tank.
Match the gauge to the job: a $10–$25 standard 1/4″ NPT unit for a quiet system, a glycerin-filled model where water hammer is a factor, and a complete switch-and-gauge assembly when the switch is also at the end of its life. Then watch the needle through one full cycle, note the three numbers, and you have a permanent record of how your system should behave — which makes every future diagnosis a comparison instead of a guess.
#WellPressureGauge #PressureGauge #WellWater #WellPump #PrivateWell #WellMaintenance #WaterPressure #WellSystem #WellPumpRepair #WellEquipment #PSIGuide #HomeownerGuide #2026Guide #DIYWellRepair #WellDrilling