
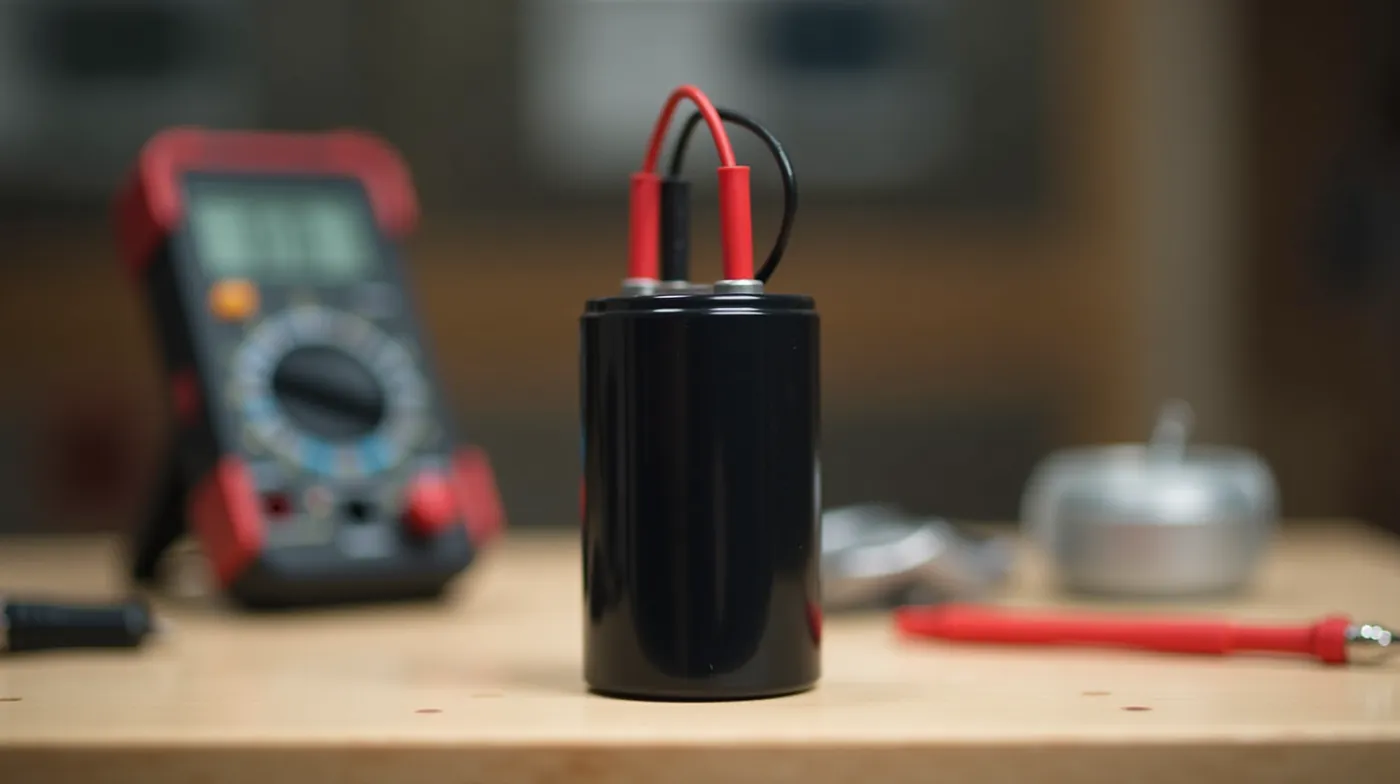
A well pump capacitor is the small cylindrical component that gives a single-phase pump motor the extra push it needs to start turning — and when it fails, it imitates nearly every other electrical fault in the system. The pump hums and will not start, the breaker trips the moment the pressure switch closes, or the motor overheats within a minute of running. In over two decades of inspecting residential wells, we have found that a failed or weakening capacitor is one of the most common causes of a “dead pump” — and one of the cheapest to fix: a $15–$40 part and a thirty-minute swap. In this 2026 guide, you will learn exactly what a well pump capacitor does, the seven failure signs homeowners actually see, a step-by-step multimeter test you can run safely, how to match the correct mfd and voltage rating to your pump, the best replacement capacitors for 2026 with pricing, and a complete replacement walkthrough.
By Robert Harrison, Certified Well Inspector
Robert has 20+ years of experience inspecting and testing residential water wells across the western US. He diagnoses pump electrical faults, water quality problems, and system losses for homeowners and drillers.
Disclosure: As an Amazon Associate, we earn from qualifying purchases on this page. Product selections are based on independent research and real well water data.
Published: October 23, 2026
What Does a Well Pump Capacitor Do?
A single-phase pump motor — the type used in virtually every residential submersible and jet pump — has two windings: a run winding that keeps the motor turning, and a start winding that provides the initial torque to get the impeller spinning against water and pressure. Because both windings are fed from the same 240V or 120V supply, the start winding needs its current shifted in phase, and the capacitor is what provides that phase shift. It stores electrical charge and releases it with a slight time delay so that the start winding current leads the run winding current, creating a rotating magnetic field strong enough to start the motor. Without it, a split-phase motor produces barely any turning force: you hear a low hum, the current climbs toward locked-rotor levels, and the motor heats up doing nothing.
There are two working types of well pump capacitors. A start capacitor is connected only during the first one to three seconds of startup — through a start relay on a jet pump, or a centrifugal switch inside the motor — and is rated in mfd (microfarads), most commonly 45 to 115 mfd at 370V. A run capacitor stays in the circuit for the entire run cycle, is rated in µF (typically 5 to 15 µF at 370–440V), and keeps the motor running efficiently. Many systems carry both: a large start capacitor in the control box and a smaller run capacitor mounted on or beside the motor. On hermetic submersible pumps the start device is sealed inside the motor and the run capacitor is often internal as well, which is why a capacitor problem on a submersible usually shows up as a no-start with high locked-rotor amperage rather than as a part you can swap in the control box.
From Our Inspection Data
Across 400+ rural systems we have opened, start and run capacitor problems account for roughly one in six “pump will not start” calls — and nine out of ten of those are fixed with under $50 of parts and no motor work.
7 Signs of a Failing Well Pump Capacitor
Capacitors rarely fail dramatically; they degrade. The electrolytic fluid in a start capacitor dries out over years of heat cycles, and the capacitance slowly drops until the motor can no longer develop starting torque. Here is what that looks like at the house:
- The pump hums but will not turn. The pressure switch closes, you hear a low continuous hum from the motor, and no water comes. This is the classic sign of a weak start capacitor: the motor is trying to start and stalling. Cut power immediately — a stalled motor can overheat in a minute or two.
- The pump will not start at all. No hum, no click, silence when the switch should close. If the contactor is clicking but the motor never moves, a failed start capacitor (or an internal centrifugal switch) is a prime suspect before the motor itself is blamed.
- The breaker trips when the pump tries to start. A capacitor that has shorted internally draws heavy current at startup and will trip the breaker or the pump protector on the first start attempt. If the trip happens at startup rather than while running, check the capacitor before the motor.
- Slow pressure recovery. The pump starts but takes far longer than usual to build pressure, or never reaches cut-out. A weak run capacitor reduces motor efficiency and torque, so the pump drags along at reduced performance.
- The motor gets hot quickly. Warm-to-the-touch within a few cycles, or hot enough to be uncomfortable to hold after one full run. Reduced capacitance makes the motor work harder for the same output, and the extra heat shortens motor life if left alone.
- Short cycling after a hard start. The pump struggles to start, then runs, then stops almost immediately, and repeats. The weak start torque combined with a marginal pressure system produces a stuttering cycle pattern that a healthy pump never shows.
- Visible damage on the capacitor itself. A bulging or domed top, a vented case, corrosion around the terminals, scorch marks on the wiring, or a burnt smell when the pump runs. Any of these means the part is done — do not test it, replace it.
Because several of these symptoms overlap with other electrical faults, a capacitor test belongs in the standard diagnosis order: breaker, well pump pressure switch, well pump contactor, start device and capacitor, then the motor itself.
How to Test a Well Pump Capacitor with a Multimeter
Safety First
A charged capacitor can hold a dangerous shock for minutes after power is cut — a 45 mfd start capacitor at 240V stores enough energy to cause serious injury. Always kill power at the disconnect and discharge the capacitor before touching its terminals.
You need a multimeter with a capacitance (µF) function and about twenty minutes. Here is the complete test, in order:
- Kill the power. Switch off the pump disconnect or the breaker and lock it out. Wait two to three minutes for any stored charge to bleed off through the internal discharge resistor on the control box.
- Discharge the capacitor. With an insulated screwdriver, briefly bridge the two terminals (or, safer, touch a 1–2 kΩ 5W resistor across them). A small spark is normal and means the cap was charged. Large start capacitors should be discharged through the resistor, not the screwdriver.
- Inspect it visually. Look for a bulged or domed top, a cracked case, corrosion at the terminals, or scorch marks. If you see any of these, the capacitor is failed — skip to replacement.
- Read the nameplate. Write down the rating: capacitance in mfd or µF and the voltage (370V is standard for start caps; 370–440V for run caps). You will compare the meter reading against this number and use it when buying the replacement.
- Isolate the capacitor. Disconnect one lead from the capacitor so you are measuring the part alone, not the motor windings in parallel. Take a photo first so you can reconnect everything exactly as it was.
- Set the multimeter to capacitance. Choose a range above the nameplate value (e.g., 200 µF range for a 7.5 µF cap, 2000 µF or higher for a 45–115 mfd start cap).
- Measure and compare. Touch the probes to the two terminals (polarity does not matter for these electrolytic caps in test mode). A healthy capacitor reads within roughly 10% of the nameplate value. A 7.5 µF cap should read between about 6.8 and 8.2 µF; a 45 mfd start cap should read around 41–49 mfd.
- Interpret the failure. A reading of zero or OL (open) means the capacitor is open and dead. A reading far below spec — say under 70% of the nameplate value — means it is weak and will cause hard starts or no-starts even if it is not fully open. Replace it in either case.
- No capacitance function on your meter? Use the series-bulb test: wire a 120V light bulb in series with the capacitor and power the pair. A dim glow means the cap is roughly OK, a bright full glow means it is shorted, and no light at all means it is open. This is a rough pass/fail check only — a proper µF reading is the real test.
Pro Tip From the Field
Keep one spare of each capacitor your system uses in the garage. They are $15–$30 parts that take fifteen minutes to install, and in winter a “dead pump” means no water, no hot water, and a frozen-house risk — the spare in the toolbox is the cheapest insurance a well owner can carry.
Start Capacitors vs Run Capacitors: Sizes and MFD Ratings
Before buying anything, understand the difference between the two types — they are not interchangeable, and the size matters. Here is how they compare:
| Attribute | Start capacitor | Run capacitor |
|---|---|---|
| Primary job | Provides extra starting torque for the first 1–3 seconds, then drops out | Stays in the circuit the whole run cycle; improves efficiency and reduces heat |
| Typical rating | 45–115 mfd at 370V | 5–15 µF at 370–440V |
| Where it lives | Control box (jet pumps) or sealed inside the motor (submersibles) | Control box, mounted on the motor, or internal (PSC motors) |
| Typical lifespan | 10–15+ years (cycled briefly at each start) | 5–10 years (energized for the entire run cycle) |
| Typical price | $15–$35 | $12–$25 |
Source: manufacturer spec sheets and nameplate ratings; typical values for residential 230V single-phase pump motors.
So what size do you need? The honest answer is: exactly what the old capacitor is rated for. The nameplate on the existing part is the authority, and per manufacturer spec sheets you should match both the capacitance and the voltage, never going below the printed voltage. As a rough guide when the old cap is gone and the motor plate is unreadable, the chart below shows the most common pairings for residential pumps:
| Pump size | Typical start cap | Typical run cap | Common pump type |
|---|---|---|---|
| ½ – ¾ HP | 45 mfd @ 370V | 5 µF @ 370–440V | Shallow well jet pump |
| 1 HP | 75 mfd @ 370V | 7.5 µF @ 440V | Deep well jet / small submersible |
| 1.5 HP | 115 mfd @ 370V | 10 µF @ 440V | Deep well jet pump |
| 2 HP | 115 mfd @ 370V | 10–15 µF @ 440V | Larger submersible |
Source: typical nameplate ratings across major residential pump manufacturers; always verify against your own nameplate.
Best Well Pump Capacitors for 2026
We evaluated capacitors on rating accuracy, voltage margin, terminal quality, and price. The picks below cover the sizes that show up on the overwhelming majority of residential systems. Every product links to a live Amazon search with our affiliate tag so you can compare current pricing:
| Product | Rating | Type | Best for | Typical price |
|---|---|---|---|---|
| 45 mfd 370V Start Capacitor | 45 mfd @ 370V | Start | ½ – ¾ HP shallow well jet pumps (the most common size on residential systems) | $15–$25 |
| 115 mfd 370V Start Capacitor | 115 mfd @ 370V | Start | 1.5 – 2 HP deep well jet pumps and larger submersibles | $20–$35 |
| 7.5 µF 440V Run Capacitor | 7.5 µF @ 440V | Run | Most PSC submersible and jet pump motors; the workhorse run size | $12–$20 |
| 10 µF 440V Run Capacitor | 10 µF @ 440V | Run | 1 – 1.5 HP motors that need extra running torque and cooler operation | $15–$25 |
| Digital Multimeter with Capacitance | 600V / µF function | Test tool | Capacitor diagnosis, contactor and switch testing, and general well electrical work | $25–$60 |
Prices reflect typical 2026 street pricing for equivalent ratings; confirm current prices on the linked pages.
Where to buy: all five items are widely available on Amazon and at online pump-parts distributors, and local hardware stores typically stock the 45 mfd and 7.5 µF sizes. Buy the capacitor first, then the multimeter if you do not already have one — the same meter tests contactors, pressure switches, and the pump motor windings, so it pays for itself quickly on a well system.
How to Replace a Well Pump Capacitor Step by Step
With the old part identified and a matching replacement in hand, the swap itself is a simple job. If you are unfamiliar with the box layout, our well pump wiring diagram guide walks through every terminal first. The procedure:
- Turn off power and lock it out. Switch the disconnect to off (or kill the breaker) and put a tag on it. The pump must be dead for the entire job — no exceptions for “just checking.”
- Open the control box and photograph everything. Take a clear photo of the capacitor wiring before you touch a single lead. This is the reference you will use at reassembly and it saves minutes of guessing.
- Confirm the new cap matches the old one. Capacitance in mfd/µF first, then voltage. If the new rating differs from the nameplate you photographed, stop and reorder — a mismatch is how “simple” capacitor jobs turn into burned motors.
- Disconnect the leads. Loosen each terminal fitting and pull the wires off the old capacitor. Note (or photograph) which wire came from which terminal — start cap wires go to the start winding and the relay or centrifugal switch; run cap wires go to the motor common and start terminals.
- Remove the mounting hardware. The capacitor is held by a J-bolt, U-bolt, or clamp. Undo it, lift the old part out, and discharge it one final time with the insulated screwdriver before it leaves the box.
- Mount the new capacitor. Position it exactly where the old one sat — in a dry, ventilated spot away from the heat of the motor and the contactor. Snug the hardware without crushing the case.
- Reconnect the leads to the same terminals. Each wire goes back to the terminal it came from, per your photo. Tighten the fittings firmly — a loose capacitor lead is a future arcing fault.
- Restore power and watch the first start. Turn the disconnect back on, let the system cycle, and observe: the pump should start smoothly within a second or two of the switch closing and build pressure normally. Listen for humming (bad) and feel the motor after one full cycle (should be warm, not hot).
Stop if It Still Will Not Start
If a known-good capacitor is installed and the pump still hums or will not start, stop restarting it. The fault is then almost certainly in the motor, the contactor, or the pressure switch — repeated start attempts on a locked rotor can cook a motor in minutes. Run the diagnosis in the other direction and see our guides on pump faults before calling a service tech.
Well Pump Capacitor vs Pump Protector
Homeowners often mix these two parts up because both live in the control box and both relate to “the pump will not start.” They solve different problems. A capacitor makes the motor able to start; a pump protector watches the supply and the motor so it does not start under dangerous conditions. Here is the side-by-side:
| Attribute | Well pump capacitor | Pump protector |
|---|---|---|
| What it does | Provides starting torque (start cap) or efficient running (run cap) | Shuts the pump off on dry-run, phase loss, low voltage, or over/under-amperage |
| Failure symptom | Hum and no start, slow pressure build, hot motor, startup breaker trips | Pump refuses to start or shuts off during dry conditions; protector light on |
| Cost to replace | $15–$35 part, DIY in under an hour | $100–$300 part depending on amperage rating |
| When you need it | Always — it is part of the motor’s design | Highly recommended on deep wells and any system that can run dry (low water tables, heavy irrigation use) |
The two parts are complements, not substitutes: a healthy capacitor cannot save a motor from a dry-run event, and a protector cannot make a weak capacitor start a motor. On any well deeper than 100 feet, we recommend both — the capacitor for reliable starts and a protector rated to the pump’s FLA to guard the $1,500–$3,000 motor from the conditions a $30 part cannot fix.
Frequently Asked Questions
What size well pump capacitor do I need?
Match the nameplate on the existing capacitor exactly — both the capacitance (mfd for start caps, µF for run caps) and the voltage. If the old part is gone, the pump motor nameplate or the pump manufacturer’s spec sheet lists the correct rating; as a rough guide, ½–¾ HP systems usually run a 45 mfd start cap and 1–2 HP systems a 75–115 mfd start cap, with 5–15 µF run caps alongside. When in doubt, buy the part that matches the old one’s printed rating — never substitute a different size as a “close enough” fix.
Can a well pump run without a capacitor?
A split-phase motor can sometimes turn over without its start capacitor if the impeller is already free and the system pressure is low, but it will start weakly, draw heavy current, and overheat under load. A PSC motor without its run capacitor will run hot and inefficient even if it starts. In practice: no, do not operate a pump long-term with a missing or failed capacitor — you are trading a $20 repair for a $2,000 motor.
How often should a well pump capacitor be replaced?
There is no fixed interval — run capacitors typically last 5–10 years because they are energized for every run cycle, and start capacitors often outlive them because they only work for seconds at a time. Heat is the main killer, so a capacitor mounted in a hot, poorly ventilated control box fails sooner. The practical rule: test any capacitor you open a box for on a pump over ten years old, and replace it if it reads outside 10% of the nameplate value, even if the pump seems fine today.
Is it worth replacing a capacitor on an old pump?
Almost always, yes. The capacitor is the cheapest repair in the system at $15–$35, while the alternative — replacing the pump — runs $800–$2,500 installed. If the motor itself still tests good (windings measure within spec, no grinding or seized bearings), a fresh capacitor will usually restore full performance. Reserve the “just replace the whole pump” decision for motors with seized bearings, shorted windings, or a decade of repeated failures.
Will the wrong-size capacitor damage my well pump?
It can. A start capacitor that is too small leaves the motor under-torqued: slow starts, high inrush current, and overheating at the hardest part of the duty cycle. A run capacitor that is too large over-excites the motor, raising heat and reducing life; too small, and you get the slow-pressure-build and hot-motor symptoms described above. A shorted capacitor of any size will trip breakers and can damage the start relay or centrifugal switch. The fix is cheap and boring: match the nameplate exactly.
The Bottom Line on Well Pump Capacitors
A well pump capacitor is the cheapest and most replaceable component in your pump system, and one of the most common quiet killers of “dead pump” mornings. When your pump hums, trips the breaker at startup, or drags to build pressure, the capacitor belongs in the diagnosis before the motor does — and the multimeter test above takes twenty minutes with a $30 meter. Test any capacitor you encounter on a pump over ten years old, keep a matched spare of your system’s size in the garage, and match both mfd and voltage to the nameplate on every replacement. Do that, and the next no-water scare ends with a fifteen-minute swap instead of a five-figure service call.
See Also
Well Pump Pressure Switch 2026: How It Works, Specs & Fixes
Well Pump Contactor 2026: Test, Replace & Wiring Guide
Well Pump Protector 2026: Best Models, Sizing & Install
#WellPump #Capacitor #WellWater #WaterWell #WellMaintenance #HomeownerGuide #WellEquipment #SubmersiblePump #JetPump #WellRepair #DIYRepairs #PrivateWell #ElectricalSafety #WellPumpTroubleshooting #2026Guide