
Published: September 28, 2026
By Lisa Martinez, Water Quality Specialist
Lisa holds a degree in Environmental Science and specializes in private well water safety and treatment.
Most well owners have never heard the word sacrificial anode, and yet a single metal rod buried in their well line, wrapped around their water heater, or screwed into the bottom of a steel pressure tank may be the reason their pipes have not started to rust from the inside out. A sacrificial anode for well water is exactly what it sounds like: a piece of metal that is designed to corrode first, so the steel in your pipes, tank, and pump does not have to. It takes the electrochemical hit that would otherwise eat through decades of infrastructure, and it quietly does that job for five to fifteen years before it is completely gone.
Here is what makes this topic worth your time: anode failure is one of the most common — and most invisible — causes of premature well-system failure. The anode simply dissolves, the steel it was protecting loses its shield, and then you get brown water, pitting holes in a pressure tank, or a pump motor that keeps tripping its breaker. In my work testing private well systems, I have found a spent anode sitting in a “healthy” well for years, and the day the owner finally noticed it, the damage had already spread to the fittings. This 2026 buyer’s guide covers how sacrificial anodes actually work, where they belong in a well system, the three anode materials you can buy and when each one wins, how to size and install one yourself, and how to tell when it is time to replace it.
Disclosure: As an Amazon Associate, we earn from qualifying purchases on this page. Product selections are based on independent research and real well water data.
Table of Contents
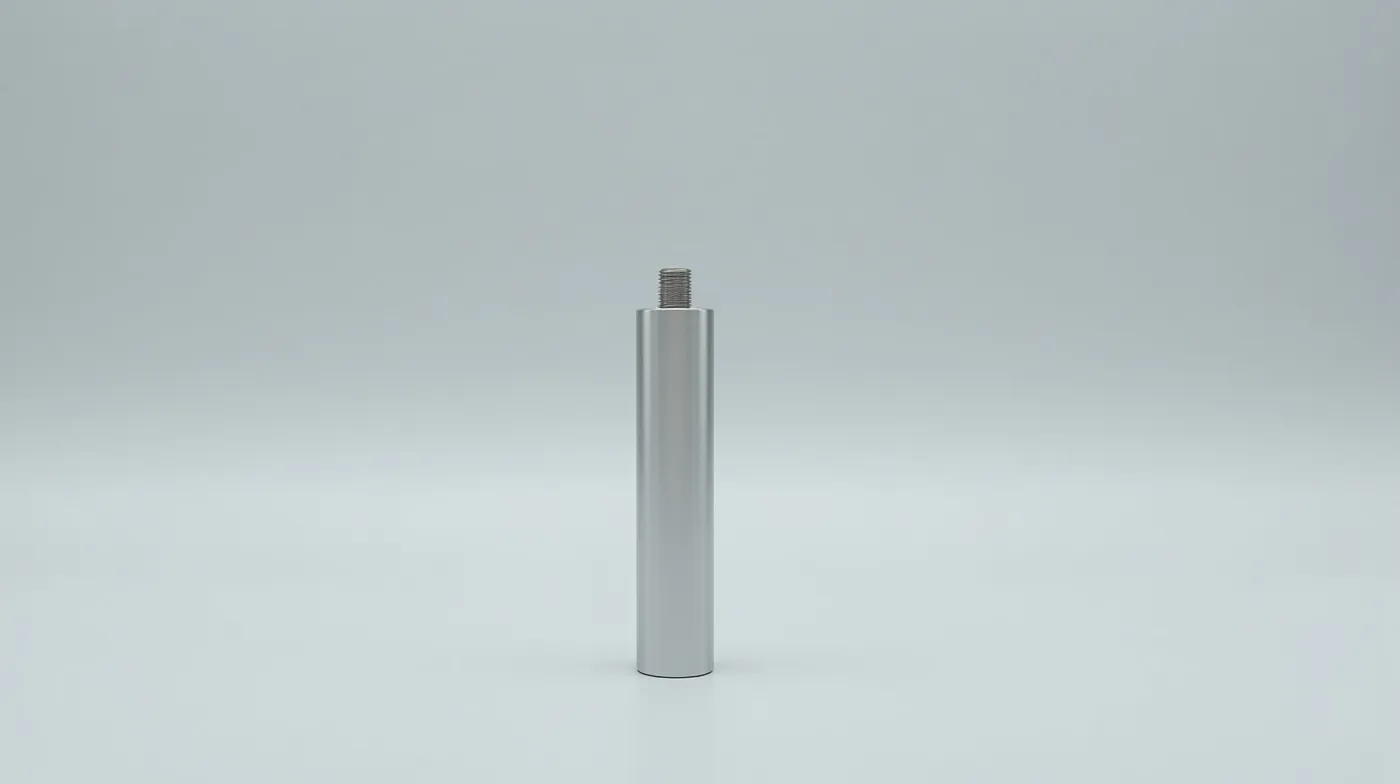
What Is a Sacrificial Anode and How Does It Work
Every metal that sits in water is, technically, trying to corrode. Steel in a well system loses iron to the surrounding water through a process called galvanic corrosion — and the rate depends on the water chemistry, the temperature, and whether a different metal is nearby. A sacrificial anode exploits the fact that some metals (magnesium, zinc, aluminum) are more “reactive” than steel. When you bolt a magnesium bar next to a steel tank in the same water, the magnesium becomes the anode of a tiny electrical circuit and the steel becomes the cathode. Electrons flow from the magnesium into the water and back to the steel, and the magnesium gives up its atoms to the water instead of the steel doing it. The steel is protected; the magnesium slowly dissolves. That is the entire mechanism, and it is why the anode is “sacrificial.”
The practical upshot for a well owner is that a properly sized anode can add many years of life to a steel pressure tank, a steel wellhead, the drop pipe at the submersible, and — most importantly — the water heater, which is where a sacrificial anode rod is standard equipment on just about every residential unit in the country. When the anode is fully consumed, that protection stops immediately, and the steel begins to corrode at roughly the rate it was losing before the anode was installed. There is no warning except the visual one: the rod has shrunk, cracked, or simply vanished from its mounting thread.
What we noticed inspecting wells
The anodes that fail first are the small ones on water heaters in homes with high-mineral well water. In systems with hardness over 150 ppm, a standard 4-inch magnesium rod can be 60 to 70 percent consumed in under three years. If your well water tests hard or carries iron, treat the anode check as part of your annual well maintenance, not a one-time install-and-forget task.
Where Sacrificial Anodes Go in a Well System
Not every well system is built the same, and the anode placement depends on the components you have. The four places a sacrificial anode can be (and sometimes is) installed in a residential well system are the water heater, the pressure tank, the wellhead or pitless unit, and the pump itself. Each has a different role and a different replacement interval, so it helps to think of them as a small protection network rather than a single part.
| Location | What It Protects | Typical Anode Size | Replacement Interval |
|---|---|---|---|
| Water heater | Steel tank, heating element, internal piping | 4 inch rod (standard), 6 inch for well water | 2–4 years in well water, 5–10 in municipal |
| Pressure tank (steel) | Tank shell and internal welds | 3–5 inch bar, threaded or welded | 4–8 years, check annually |
| Wellhead / pitless unit | Steel casing connection, pitless adapter body | 2–3 inch bar, installed above water table | 5–10 years, often never checked |
| Submersible pump | Pump housing and motor shell (steel models) | 2 inch bar or ring, pump-specific | 3–7 years, pull pump to inspect |
Intervals assume typical well water chemistry (hardness 75–150 ppm, neutral pH). Aggressive water — high iron, high TDS, or pH below 6.5 — shortens every interval by roughly half. See our guide to hard well water testing to establish your baseline chemistry before sizing anodes.
Steel, Magnesium, or Aluminum: Which Material to Buy
Three anode materials dominate the well and water-heater market, and the right choice depends on your water chemistry rather than the catalog price. All three are “sacrificial” in the galvanic sense — each is more reactive than steel — but they differ in how much current they carry, how fast they consume, and how they behave in different pH ranges. Picking the wrong one is a common DIY mistake that costs a second replacement within a couple of years.
| Material | Typical Use | Consumption Rate | Best Water Chemistry | 2026 Price Range |
|---|---|---|---|---|
| Magnesium | Water heaters (default), mild well water | Fast — highest amperage, most sacrificial | pH 7–8, hardness under 200 ppm | $8–$18 per 4-inch rod |
| Zinc–aluminum alloy | Pressure tanks, wellheads, aggressive water | Slower — longer life per pound of metal | pH 6.5–8, any hardness | $15–$35 per 3–5 inch bar |
| Aluminum (galvanic) | High-pH or brackish well water | Moderate — stable across pH 6–9 | pH above 7.5, high TDS or salt | $12–$28 per rod or bar |
Prices reflect typical 2026 retail on Amazon and well-supply dealers. Anodes are a commodity part — if a listing is dramatically cheaper than the range above, check the actual metal content; “magnesium” rods made from zinc-steel cores are a documented complaint on retail listings.
Choosing by water chemistry
If your well water is mildly hard and near-neutral pH — the most common case — a standard 4-inch magnesium anode rod for the water heater plus a zinc anode for the pressure tank is the right combination. If your water is hard above 150 ppm or carries iron, consider the longer 6-inch magnesium rod for the heater and a zinc–aluminum bar for the tank; the extra surface area buys you a year or more before the next check. If your water is brackish, high in total dissolved solids, or alkaline above pH 8, switch the heater rod to aluminum — magnesium can pit and crumble in high-pH water, which shortens its life and can leave flaking inside the tank.
Sizing rule of thumb
One square inch of anode surface area protects roughly one square foot of steel at a rate that depends on water resistivity. In practice: a 40-gallon water heater wants a 4-inch rod (about 30 sq in of surface); a 60–85 gallon well pressure tank wants a 3–5 inch bar with at least 50 sq in; a submersible pump wants a 2-inch bar sized to the pump housing circumference. When in doubt, oversize by one step — a bigger anode just lasts longer, it does not hurt the system.
Where to Buy an Anode in 2026 (and What It Costs)
Sacrificial anodes are one of the least expensive components in the entire well system, and a big part of the value is that the price difference between brands is minimal — the material and the dimensions matter more than the logo. You can buy them at any well-supply store, most home centers, or online. The table below is the quick reference for the four items most well owners will need at some point in the life of their system.
| Item | Specs to Match | 2026 Price | Where to Buy |
|---|---|---|---|
| Water heater anode (Mg) | 3/4–1 in threaded, 4–6 in length, 13 threads/inch | $8–$18 | Amazon, Home Depot, well supply |
| Pressure tank anode (Zn–Al) | Threaded bar, 3–5 in, matches tank port (usually 1–1/4 in NPT) | $15–$35 | Well supply, Amazon |
| Wellhead / pitless anode | Bar or rod, 2–3 in, matches pitless or wellhead port | $12–$25 | Well supply, specialty dealer |
| Pump anode (Zn or Al) | Pump-model-specific, ring or bar, 1–2 in | $18–$40 | Pump dealer, Amazon |
Pro tip: buy a spare rod now
Anodes are cheap and small. When you install or replace one, buy a second identical one and keep it in the well shed with the other tools. The day your rod is fully consumed and the tank starts to pit, you will not want to be ordering one at 2 a.m. during a power outage with a half-rusted tank waiting in the basement.
How to Install a Sacrificial Anode: 7 Steps
Installing or replacing a water heater anode is the most common DIY job, and it takes an afternoon with a pipe wrench and a bucket. The steps below assume a standard top-port or side-port water heater; pressure tank and wellhead anodes follow the same logic but use different thread sizes — check the port before you start. The water heater version is where most of the “I have never done this” anxiety lives, so the steps are spelled out in full.
- Shut off power and water. Flip the breaker for the water heater and close the cold-water supply valve. Open a hot tap somewhere in the house to relieve pressure in the tank.
- Drain enough water to expose the port. Connect a garden hose to the drain valve at the bottom and run it into the basement or floor drain. Open the drain valve and let 2–3 gallons out — just enough so the port you need is below the water line and accessible.
- Remove the old anode. With a pipe wrench or an anode-rod socket (a 1-1/16 in or 1-1/4 in socket works on most 3/4-in threaded ports), back the old rod out counterclockwise. Expect a little grit and scale — have a rag ready.
- Clean the port threads. Wipe the tank port with a wire brush and a dry cloth. Old anodes often leave a ring of corrosion on the tank threads, and a clean thread is the difference between a rod that seats and one that leaks.
- Tape and thread the new anode in. Wrap the threads with PTFE tape (or use a light coat of pipe dope — do not use both) and hand-start the rod clockwise until it seats, then tighten with the wrench to firm snug. Over-tightening can crack the port; under-tightening leaks.
- Refill and restore. Close the drain valve, reopen the cold-water supply, and let the tank refill while the hot tap is still open to bleed air. Once water flows steady from the tap, close the tap and turn the breaker back on. For an electric heater, let the tank fully fill before restoring power to avoid dry-firing the element.
- Note the install date. Write the date and the anode size on a small tag tied to the rod, or photograph it in the phone. The next person who checks the rod — including you five years from now — will thank you.
If the anode will not turn
A seized anode is the classic well-heater nightmare. Do not brute-force it — you can strip the port and convert a $15 part into a $400 tank replacement. Soak the rod with penetrating oil for 24 hours, try again with the wrench in a vise-grip position, and if it still will not move, cut the rod off with an oscillating multi-tool and use an easy-out or a port extractor. If the port threads are damaged, a plumber can install a thread insert or replace the port, but at that point a new tank is often the cheaper fix.
How Often to Check and When to Replace
There is no single answer to “how often,” because consumption is driven by the current the anode carries, which is driven by your water chemistry. The table below is the working rule of thumb I use when I set a maintenance calendar for a new well customer, and it assumes a standard 4-inch magnesium rod in a water heater and a 3–5 inch zinc bar in a steel pressure tank.
| Water Profile | Heater Anode Check | Tank Anode Check | Replace When |
|---|---|---|---|
| Mild (hardness under 75 ppm, neutral pH) | Every 5 years | Every 5 years | Under 25% consumed at inspection |
| Moderate (hardness 75–150 ppm) | Every 3 years | Every 3–4 years | Under 40% consumed at inspection |
| Aggressive (hardness over 150 ppm, iron, or pH below 6.5) | Every 18–24 months | Every 2 years | Under 50% consumed at inspection |
The “replace when” column matters more than the calendar. An anode is a consumable: it is doing its job by getting smaller. A rod that is 30% consumed after three years in aggressive water is still protecting your system and does not need replacing yet — but a rod that is 60% consumed is close to the end of its life, and the tank is now at real risk the moment the last of it dissolves. The rule I give every customer is simple: replace the anode when it is roughly half consumed, or when it has been more than twice the expected interval, whichever comes first. That keeps you ahead of the failure instead of chasing it.
Signs Your Anode Is Done
Because the anode fails silently — it just dissolves — the symptoms show up in the steel it was supposed to save. If you are noticing any of these, pull the anode and look at it before you start diagnosing bigger problems.
- Brown or rust-tinted water from the hot tap only. If the hot water is discolored but the cold is clear, the water heater tank is corroding — the classic sign of a spent anode rod. See our guide to iron in well water to rule out a source-side iron problem first.
- Shortened tank life. A steel water heater that dies in 6–8 years instead of 12–15 usually lost its anode protection early in its life.
- Pitting or rust at the tank welds. A small pitting pattern along the bottom seams of a pressure tank is galvanic corrosion with the anode gone.
- Low or short-cycling pressure. A corroding pressure tank shell can develop internal leaks that mimic other faults — check the tank before assuming the pump is bad, and compare notes with our well pressure tank sizing guide.
- Frequent breaker trips from the pump. In some steel-housed submersible pumps, a missing pump anode lets the motor shell corrode, which changes the pump’s electrical behavior. See well pump capacitor troubleshooting if the trips are intermittent.
See Also
- Hard Well Water 2026: Causes, Testing & How to Fix It — establish the water chemistry that sets your anode replacement interval.
- How to Size a Well Pressure Tank 2026 — the steel tank the anode is protecting, sized and explained.
- Whole House Water Filter for Wells 2026 — filtration that reduces the mineral load eating your anodes.
FAQ
Do PVC or plastic well systems need a sacrificial anode?
No. Sacrificial anodes only protect conductive (metal) surfaces. If your well uses PVC drop pipe, a fiberglass-lined or poly tank, and a stainless or cast-iron pump housing, there is no steel for the anode to defend, and adding one does nothing. Anodes matter where steel meets water: steel pressure tanks, steel water heaters, steel wellheads, and steel-housed pumps.
Can a sacrificial anode make my well water taste metallic?
In a properly functioning system, no — the anode sits in a closed steel volume, not in your drinking water path, and the water heater rod is in the tank, not the tap. If you are tasting metallic water, the anode is not the cause; look at a corroding steel component in the water line or an iron problem in the aquifer. A magnesium rod in a water heater with very soft water can, in rare cases, add a faint taste — if that is a concern, an aluminum rod is the neutral-tasting alternative.
How do I know if the anode is still working without pulling it out?
You cannot tell for certain without inspection — that is the whole trap of this part. The best proxy is time and water chemistry: if the rod is older than the replacement interval for your water profile, assume it is at least half gone and schedule a pull. A multimeter can measure the voltage between the anode and the steel it protects (a healthy magnesium-to-steel pair reads roughly 1.5 V), but a direct visual check beats a voltage reading every time.
Is it worth adding an anode to a well system that never had one?
Yes, if there is any steel in the system, and it is one of the best cost-to-benefit upgrades available. A $15 rod protecting a $3,000 water heater or a $500 pressure tank is the cheapest insurance in the well shed. Add one at the water heater first (highest value, easiest access), then the pressure tank, then the wellhead if it is steel. If you are building a new system, specify the anode ports at install — it is far easier to thread a bar in when the tank is new than to drill a port later.
Should I replace the anode even if it still looks half-full?
Replace it at the half point, not when it is empty. The last third of an anode’s life is where protection thins fastest, and a system that runs on a nearly-consumed rod is one inspection away from an unprotected tank. Scheduling the replacement at 50% consumption means you are always ahead of the failure, and the part is cheap enough that the “but it still looked okay” argument does not hold up against a corroded tank.
Final word: the sacrificial anode is the quietest, cheapest, and most neglected component in a well system — and one of the few where a fifteen-minute check every couple of years genuinely buys you a decade of protected plumbing. Buy the right material for your water chemistry, match the size to the steel it protects, install it with clean threads, and put the check on your calendar. Your pressure tank, water heater, and pump will all outlast the anode that was doing their job for them.
#SacrificialAnode #WellWater #WaterHeaterAnode #WellMaintenance #PressureTank #WellPump #PrivateWell #WellOwner #WaterQuality #AnodeRod #GalvanicCorrosion #WellSystem #HomeWell #WellCare #WaterTreatment